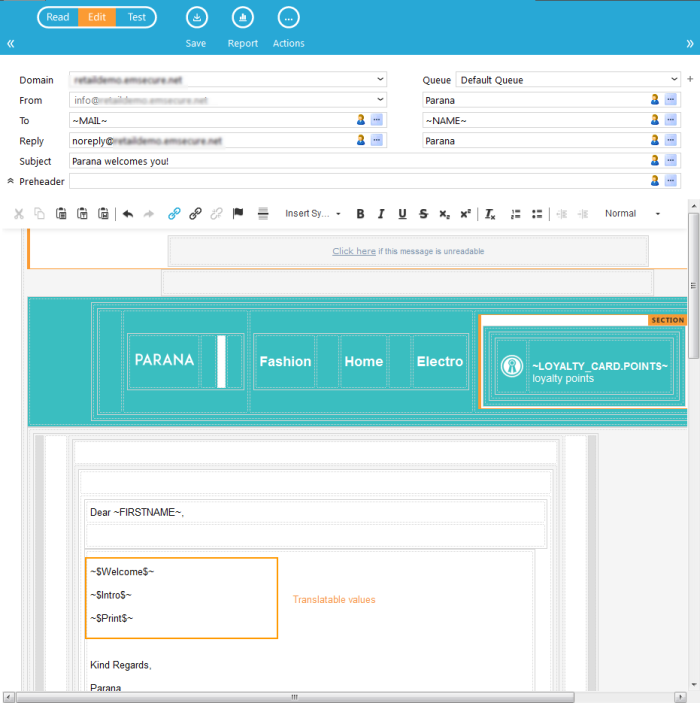
When translation files are used, first a 'master' message is created in which parameters are put for the parts of the message that are to be translated. (e.g. ~$intro$~).
The parameters must be added to the message as indicated in the example, with tildes (~) and dollar signs ($).
The translation of these parameters is stored in a file. One translation file per language is required. The name of the file must be the same as the language code. (E.g. for the translation to dutch the language code is NL and thus the filename will be NL.txt)
Adding translations with translation files will create new messages with the translated values hard coded. There will be as many messages as there are translation languages. The translated message has the same name as the template but extended with the language code. It is the translated language that will be used in a journey, not the 'master' message.
Now, to be able to use translations, the files must be created first.
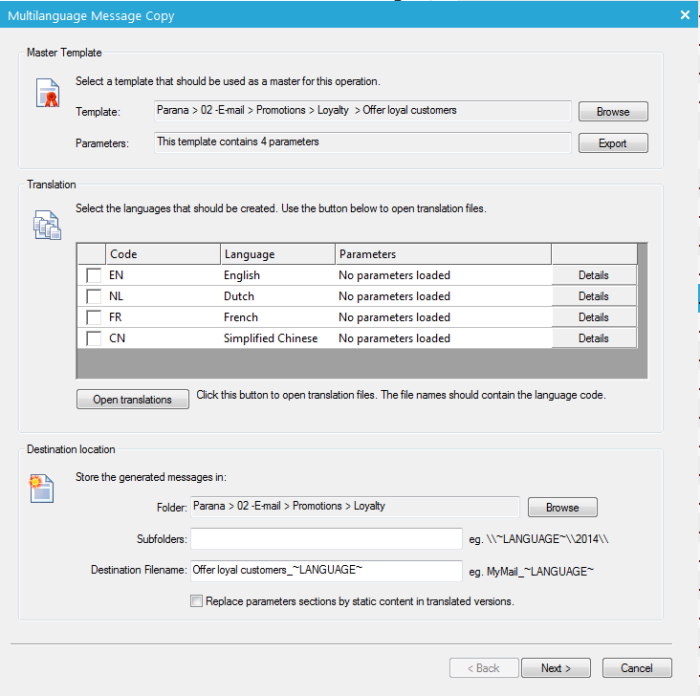
1. In the 'Actions' menu from the top bar, available when in 'Edit' mode, select 'Translate'. A dialog pops up to configure the files:
2. The Template field allows selecting the template message that must be translated. When the option 'Translate' is called from the message, the information in this field is already filled out.
3. Within the Translation table, select the target languages for the translation by checking the corresponding check boxes. Per selected language a message is generated.
When a language is selected, the corresponding translation file must be loaded. The file is either an xml or txt file.
4. Press the 'Details' button to load the content of the file.
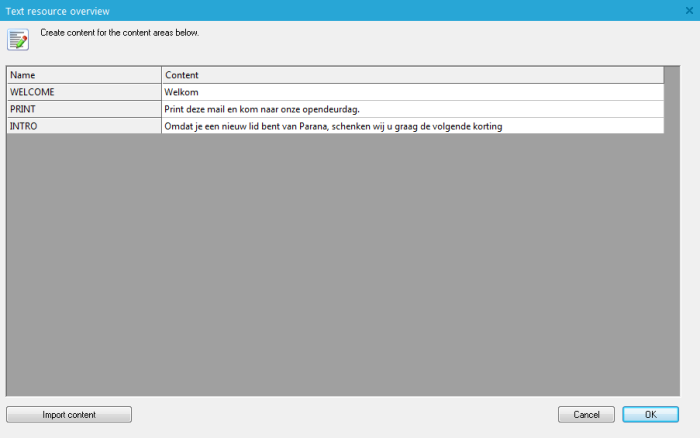
5. On the following dialog, Press the button 'Import content' and browse for the location of the translation file. The content is loaded.
6. Close the dialog. The above parameters can be used in the message.
7. Next, define the destination of the translated messages. A folder, subfolder and file name can be defined. By default the translated message is created in the same folder as the 'master' message.
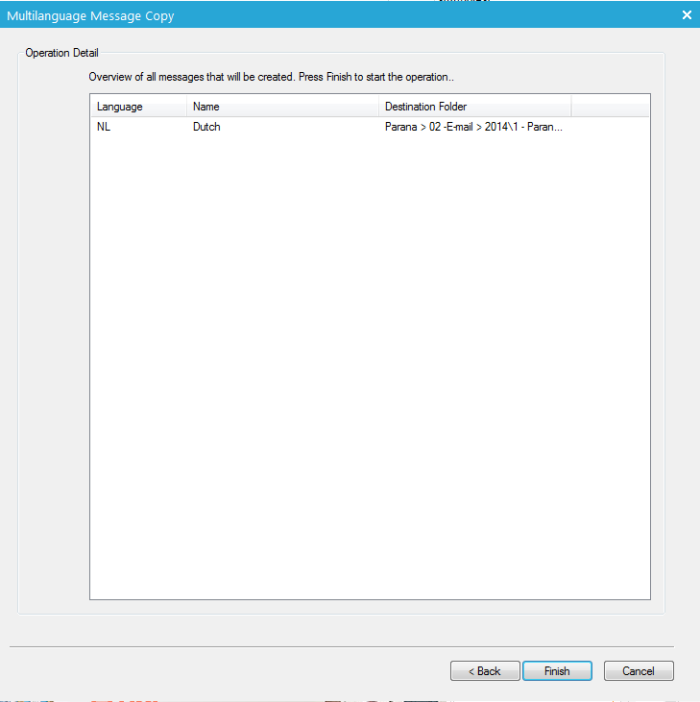
8. When all settings are defined, press the 'Next' button. An overview of all translated messages is given.
9. Press 'Finish'. The translated messages are available from the tree on the left.
When opening the translated message, the text is displayed in the specific language.


