Getting Started With Content Blocks: Hero Image With Data Source list
When to use — Use a Data Selection List to dynamically populate the Content Block with the available choices. Images are simply stored as records in this list and the Content Block dynamically fetches the right image. Use this solution when you want to automate the way these Content Blocks are filled out.
What to use — The steps to achieve this are explained below. There is a bit more initial work required but once set up, everything is automated. Assumption is made that you know how to create a list, define the fields, add data to the list and define a data selection in a message.
Create a Data Selection List
The Data Selection List is your source from which images will be pulled.
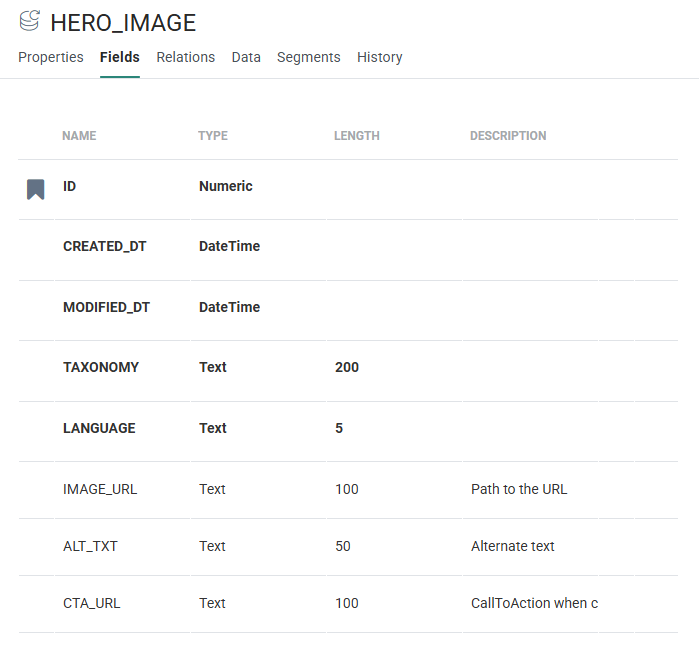
1. First, in the List chapter begin by creating a Data Selection List containing attributes needed for a hero image, e.g.:
- Source path to the image – a URL
- Alternate text for this image
- Click through link
2. Populate this list with some example content. you can manually add these records or use an import from an external source. For example:

Note: A common approach is for the list to be populated with content from external sources (e.g.: API calls, or a data export) such as news articles or new products introduced to the product catalog, and the email would then publicize this information – separating the actual business content from the presentation and design elements.
Define a Data selection in the email
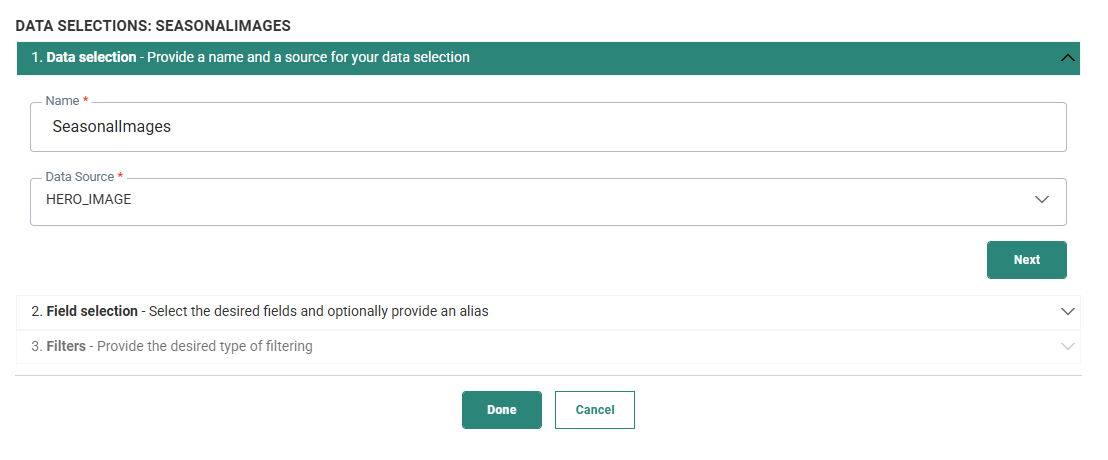
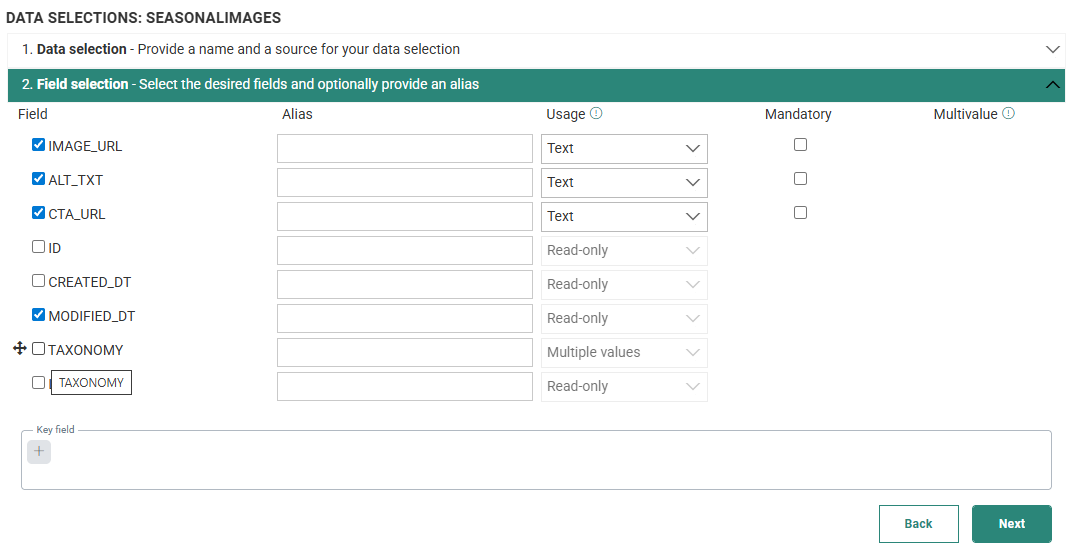
1. In the email, create a Data Selection that exposes this information. Start by selecting the Data Selection List as a source and give it a name:
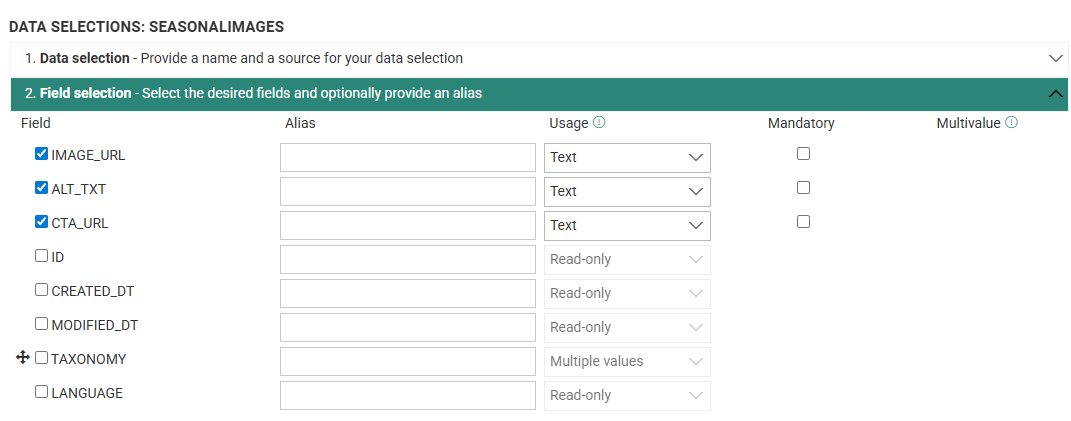
2. Select the fields that are to be displayed by the repeater in the message. These fields are referenced using the following syntax: [%itemValue('fieldname')%].
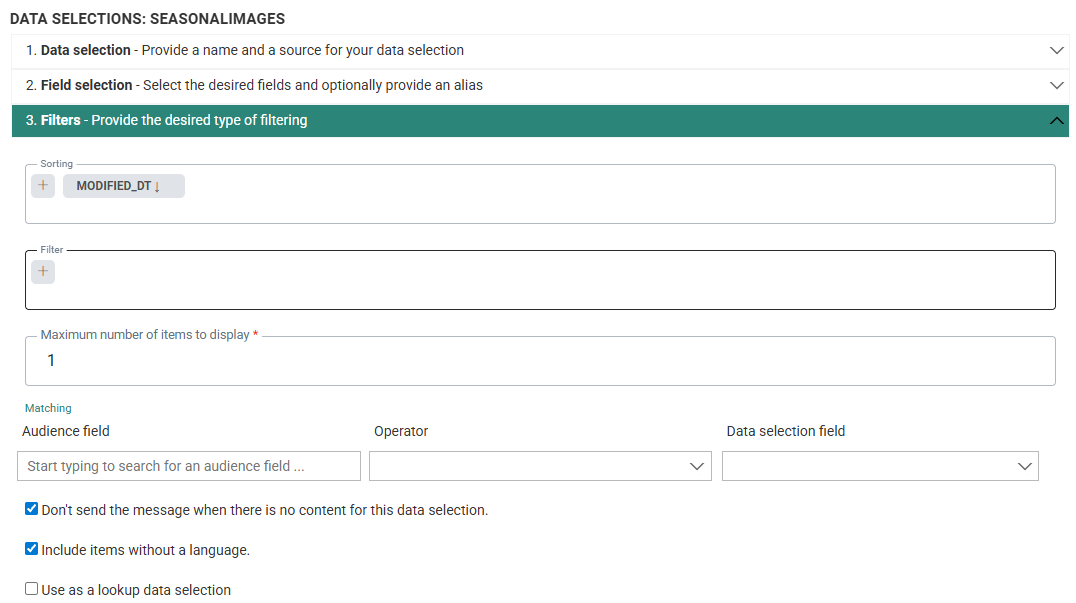
3. For now, we keep it simple and show one record from this list:
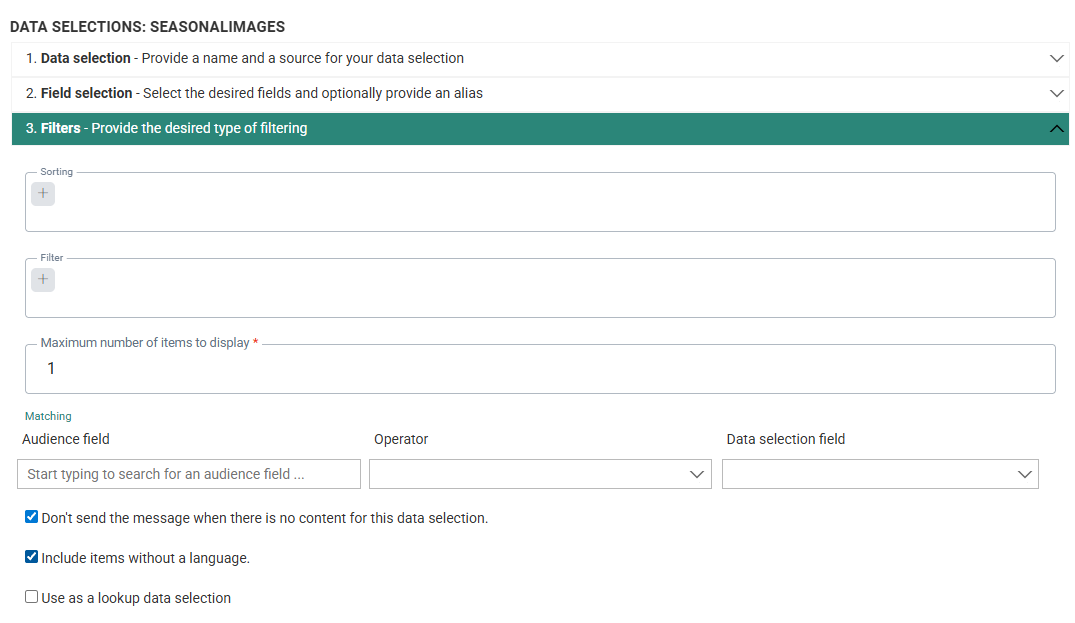
Note that as each of the Data Selection List records have no language associated with them, the Include items without a language option is ticked. Alternatively, the language setting could be useful for Hero Images (Atomium, London Bridge, Eiffel Tower) which are locale specific so that language filtering selects the appropriate image.
Create a Content Block using personalization fields for the Data Selection
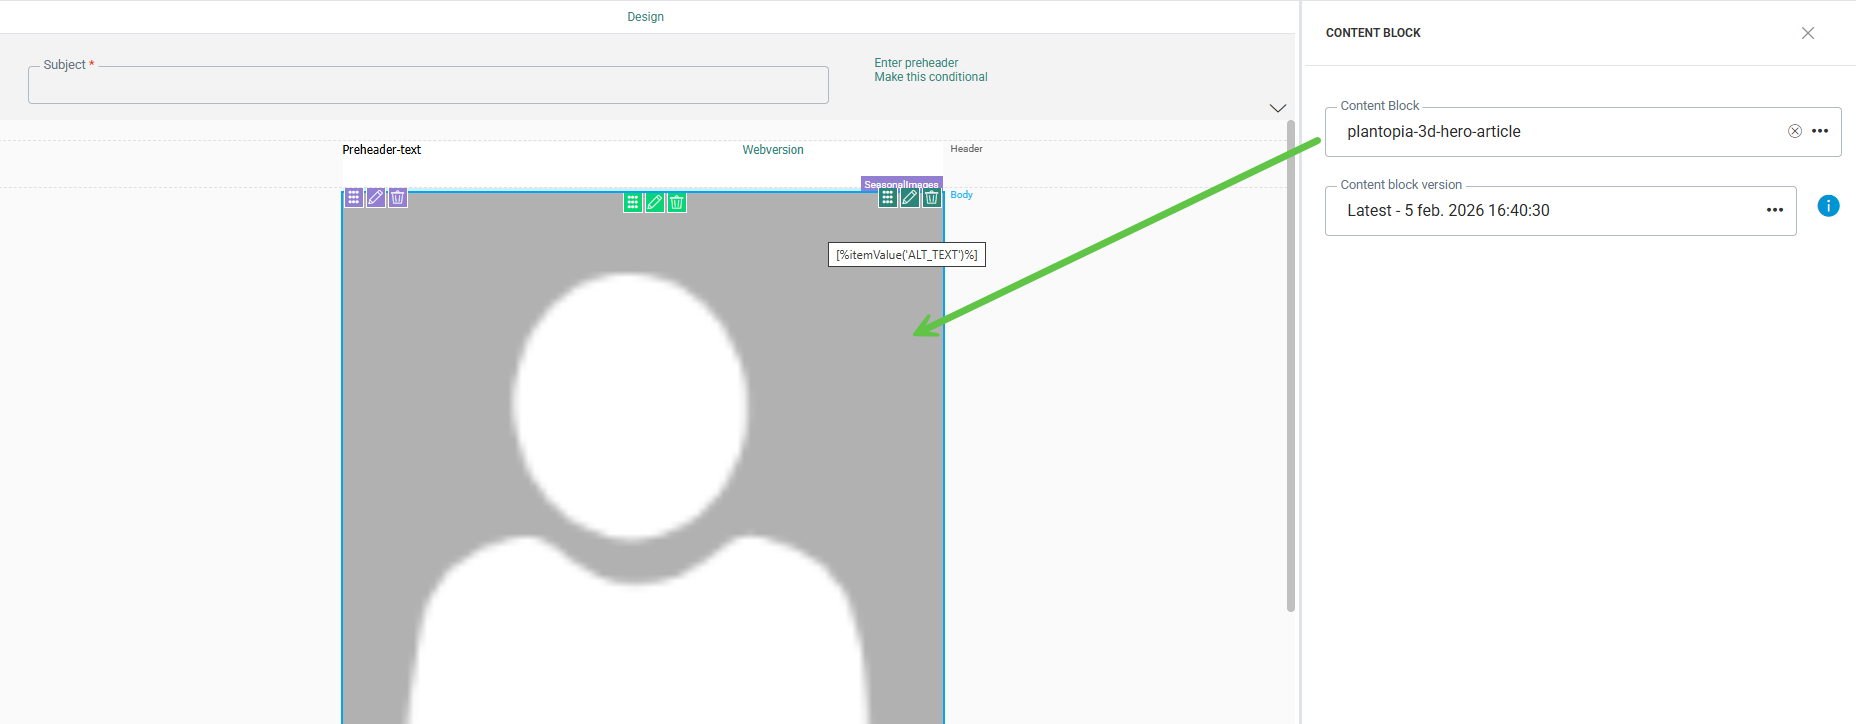
1. In the Library, create a Content Block (plantopia-3d-hero-article) for your hero image and use the <img> tag.
2. Use personalization in the image tag for the source of the image and the alt text. Insert the fields from your Data Selection with the variable [%itemValue('fieldname')%]. (Replace fieldname with the actual field, e.g., image_url, alt_text, link).
Result — The Content Block pulls the right values from your Data Selection List at send time, so the image (and optional alt text or link) updates automatically for each item.
<!-- :: Start Hero image: displays content fetched by the Data Selection -->
<img id="OWATemporaryImageDivContainer1" class="full"
src="[%itemValue('IMAGE_URL')%]" alt="[%itemValue('ALT_TEXT')%]" border="0"
width="600" style="width:600px; max-width:100%; display:block;" />

<!-- :: End Hero image -->
Adding the Content Block to the message
1. Add first a repeater to the message and select the Data Selection defined in previous steps. All content added to the repeater will pull its data from the Data Selection.
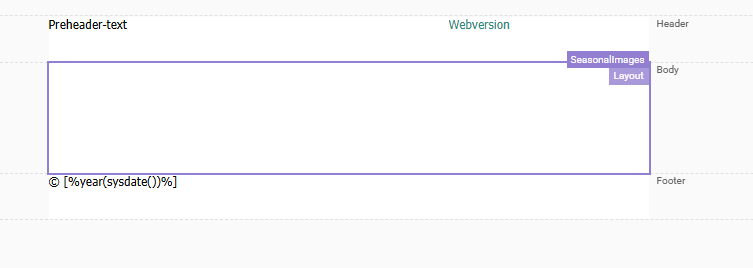
2. Add a column to the repeater.
3. Add the Content Block created in the previous step to a row inside the repeater.
The image in the Content Block is now populated dynamically with the first item found in the Data Selection.
However, if there are several Hero Image selections, which one is picked? There are a number of approaches to be explored here:
- Use a filter to select the most recently-added (or changed) record.
- Use a set of date fields to specify when the image should be shown (and a filter to select the right one)
- Use a template and permit manual selection of a particular record. This approach involves the greatest initial work in creating such a feature, but once created the cost of ongoing work is drastically reduced, so should be seen as an option for heavier usage (e.g.: articles with multiple fields, or several rows) – reducing the repetition of managing upwards of fifty images with alternate text and links etc for every email.
For situations in which this Content Block is infrequently used, or the selection rarely made (e.g.: multiple messages that involve repeated use of the same branded image) this approach may over-complicate what should be a simple task.
As with the previous approaches, potential use cases and prior history should help justify which methods are considered the most suitable for content creation and reuse potential.
Filtering the records returned from the Data Selection
Filtering on record creation/modification date
For example, you want to choose the latest item as your Hero image.
- Select one or more date fields in your Data Selection — for example, last modified.
- Add a filter/sort on a chosen date field — set it so the most recent record appears at the top of the list.
Result
The most recently updated record will drive the Hero image, so that image displays automatically.
Important to know
This approach makes the Hero image dynamic. It affects new communications going forward and can change what recipients see when they click links later (for example, Webversion or article links).
Because the filter always surfaces the newest record, recipients may land on a different image than the one originally shown in their email.
Testing is important — validate before sending broadly.
Setting viewing dates
The previous technique requires manually tweaking a Data Selection List record to cause it to be selected by the Data Selection. This idea could be extended by specifying date ranges in which the images will be displayed and filter to match which range today falls into.
Important to note:
- You’re filtering a Data Selection List (DSL) by date so the right image shows for those dates.
- To keep future images showing correctly, someone must maintain the list (add new rows, set future dates, retire old ones).
- Because the match is dynamic, if a Data Selection List record is later updated, past emails don’t “freeze” the old value. When a recipient clicks an old email, the filter may now point to a newer image or destination than what they originally saw.
Why it matters
- Great for freshness — Current emails always show the latest content for the date range.
- Risk for history — Older emails can change after send, which may confuse recipients (“this isn’t the image I saw”).
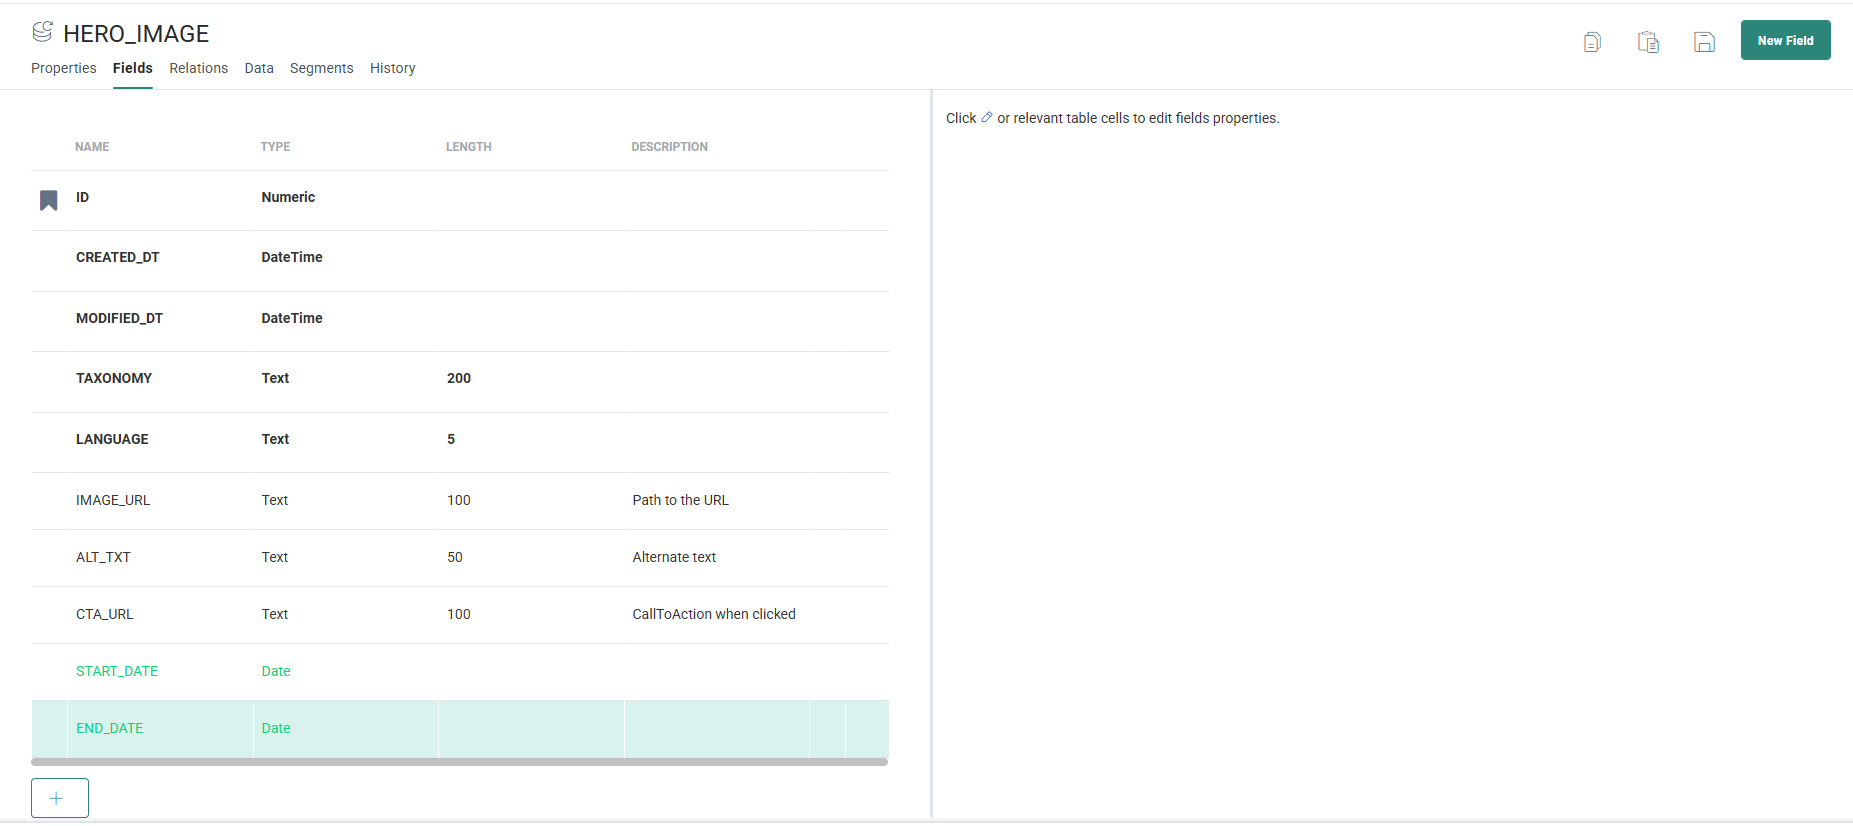
1. Add START_DATE and END_DATE fields to the Data Selection List. These dates will define when these images will appear for each of the records, for example to pick seasons.
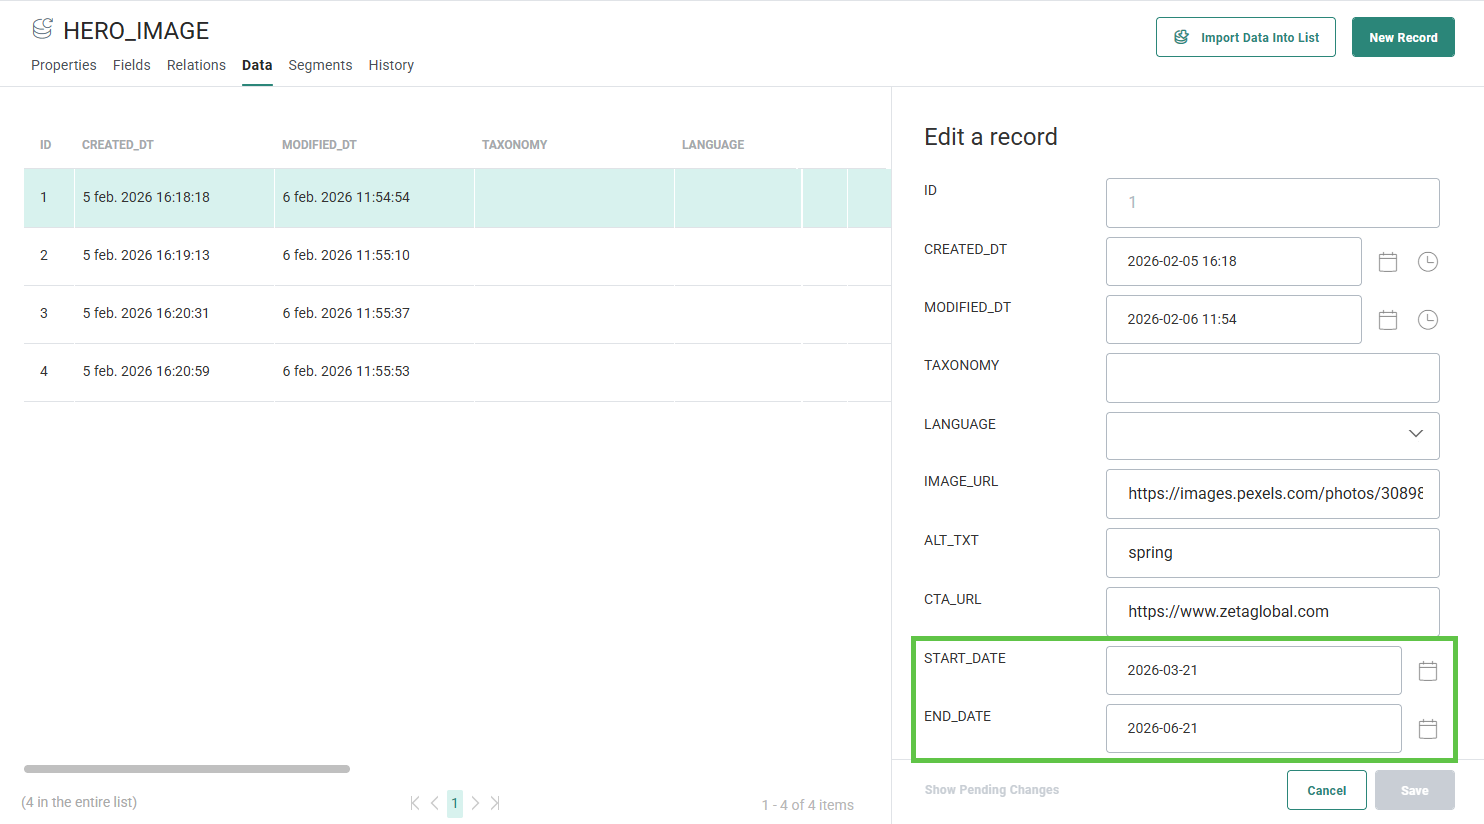
2. Add some data to these fields for the different records:
3. Next, in the Data Selection in your message, select the Start_Date and END_DATE in the Fields selection:

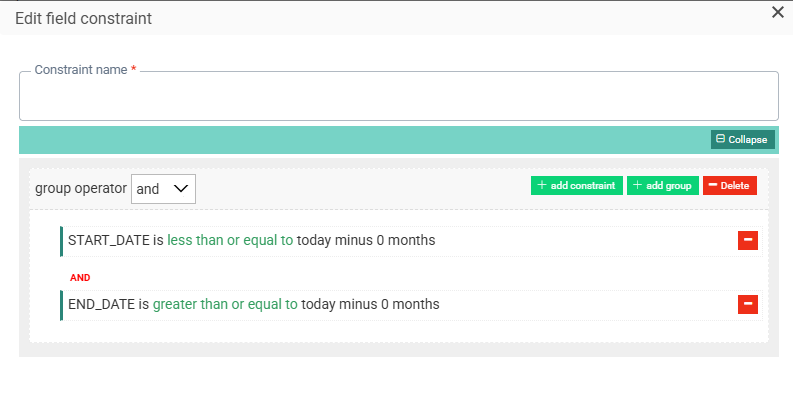
4. Use a filter to specify that today's date must lie between the record's START_DATE and END_DATE: