Getting Started With Conversational RCS
About this guide — This user guide is designed to help you understand how to set up, manage, and optimize Conversational RCS to create two-way, dynamic customer interactions at scale. By leveraging features such as rich media, suggested replies, carousels, and verified sender profiles, Conversational RCS allows you to increase engagement, build trust, and drive higher conversion rates
How to use it — This guide will walk you through the key capabilities and best practices to ensure you can confidently launch and manage impactful RCS conversations.
Overview
In this guide you will:
- Create an outbound RCS message that includes a Reply Button.
- Create a second outbound RCS message that will be sent as a response to the user’s reply to the first RCS.
- Configure an Inbound Event in Admin Configuration to capture positive replies from the first RCS message.
- Build a simple Journey to send the initial RCS message.
- Build a second Journey to capture the positive reply and send an automated response.
Prerequisites
Before you begin, confirm you have:
- An approved/active RCS sender / agent. Check with your System admin or Zeta representative to set this up.
- RCS channel configured in the Admin Configuration
- An audience with at least one test device/number that supports RCS
- User permission to access:
- Data exchange to set up the Inbound event
- Messaging / Templates
- Journeys
Step 1 — Create the first outbound RCS message with a Reply button
This message will be sent to the full audience and ask recipients if they are interested in knowing more about Selligent.
1. Go to Content and create an RCS message for your audience (in this example 01 - NoraStyle Users).
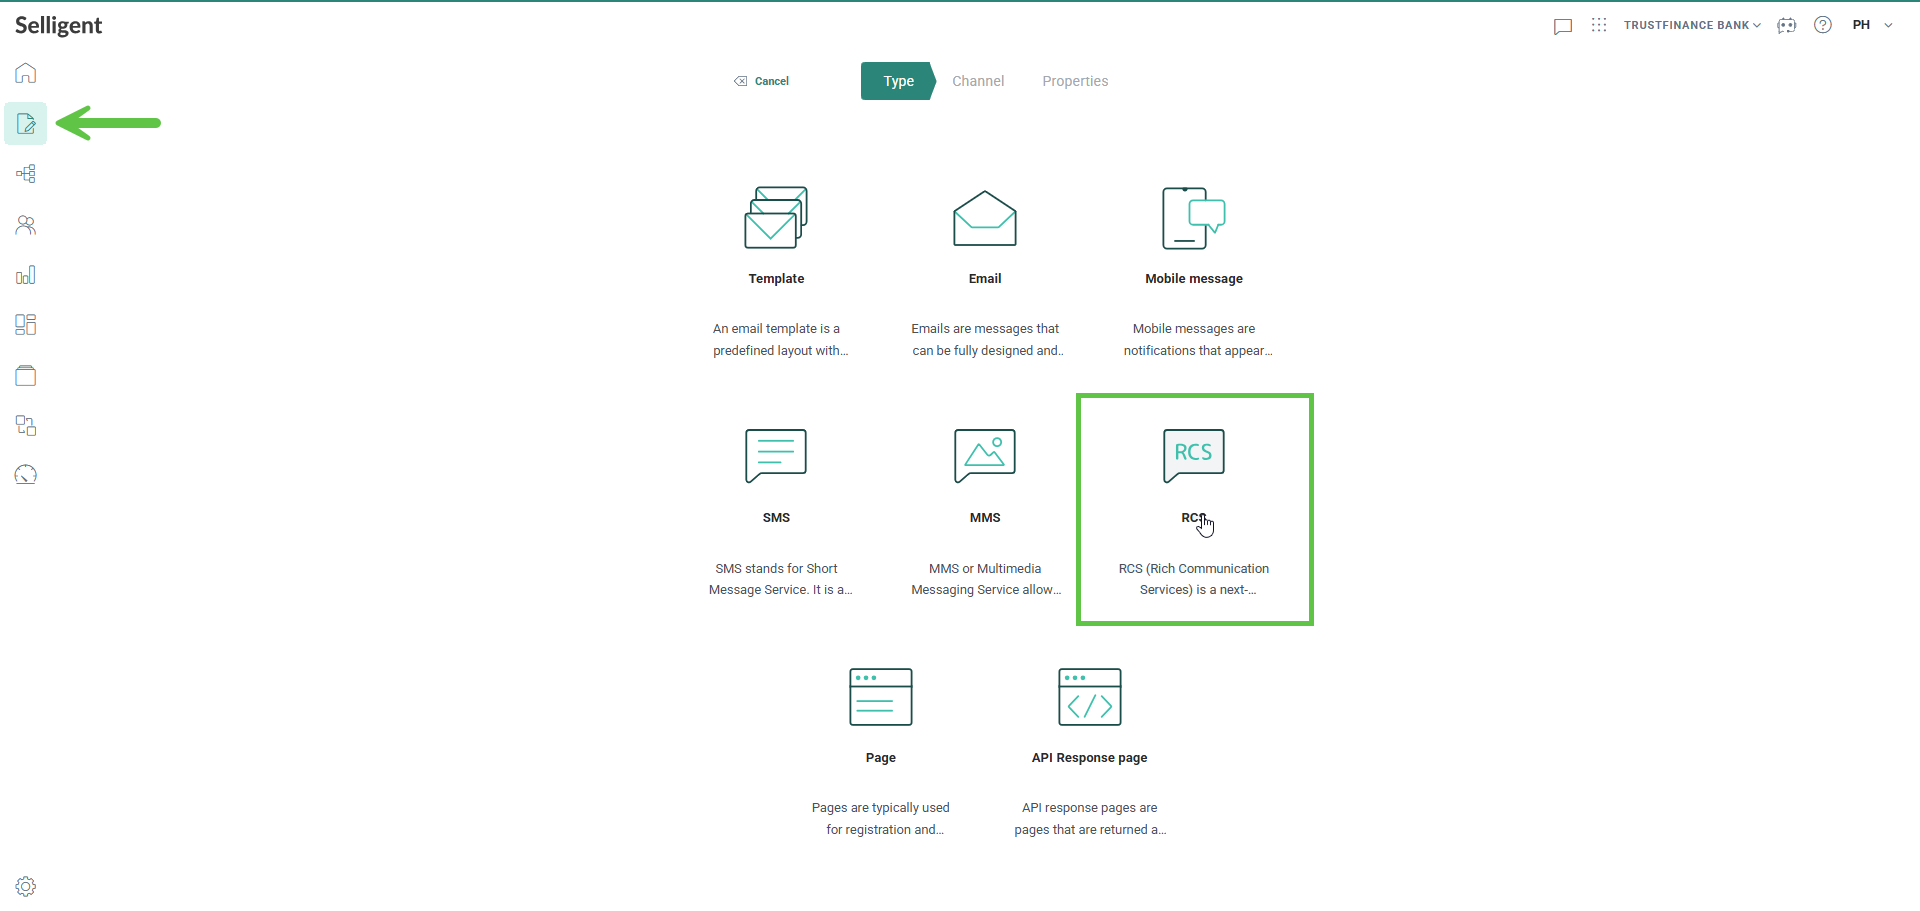
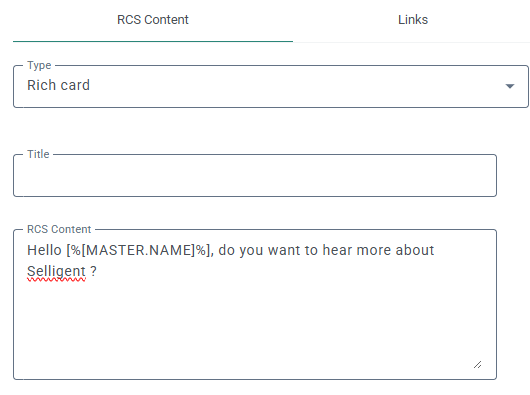
2. Choose your message type. In this case select Rich Card as we want to add a Reply button.
3. Enter your message content, for example: “Hello [%[MASTER.NAME]%], do you want to hear more about Selligent ?”
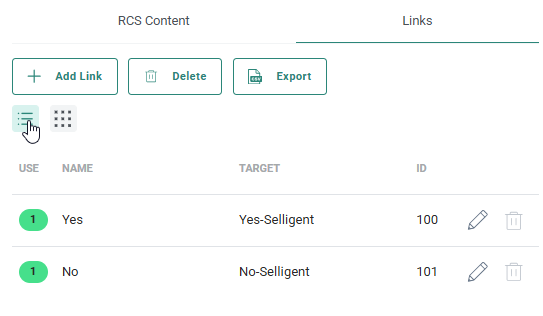
4. On the Links tab, create 2 Reply links, one for Yes, and one for No:
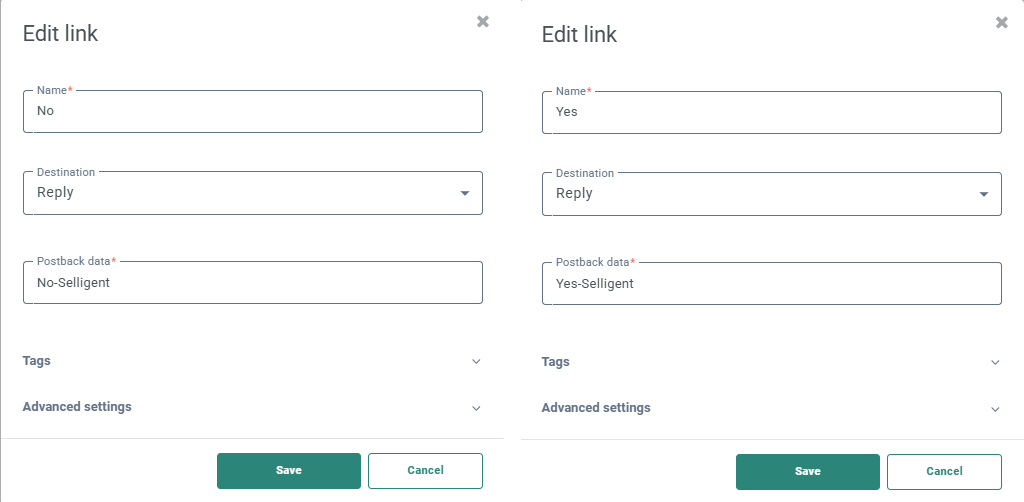
Note: Ensure it is configured as a Reply, as we need the postback data to capture the keywords for the incoming RCS reply. More details on Reply links are available in this article.
Only the Yes reply will be used in the example, but you can easily set up a different journey to handle the No reply.
Once configured, these links will be shown on the Links tab and be available for use in the buttons:
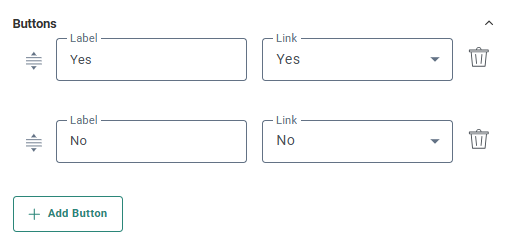
5. Add two Buttons (this is the key requirement) to the RCS message and link the Reply links created earlier. Button label examples:
6. Add an SMS fallback message.
7. Name the message clearly (example): RCS_Do_you_like_Selligent
8. Save and Publish the message.
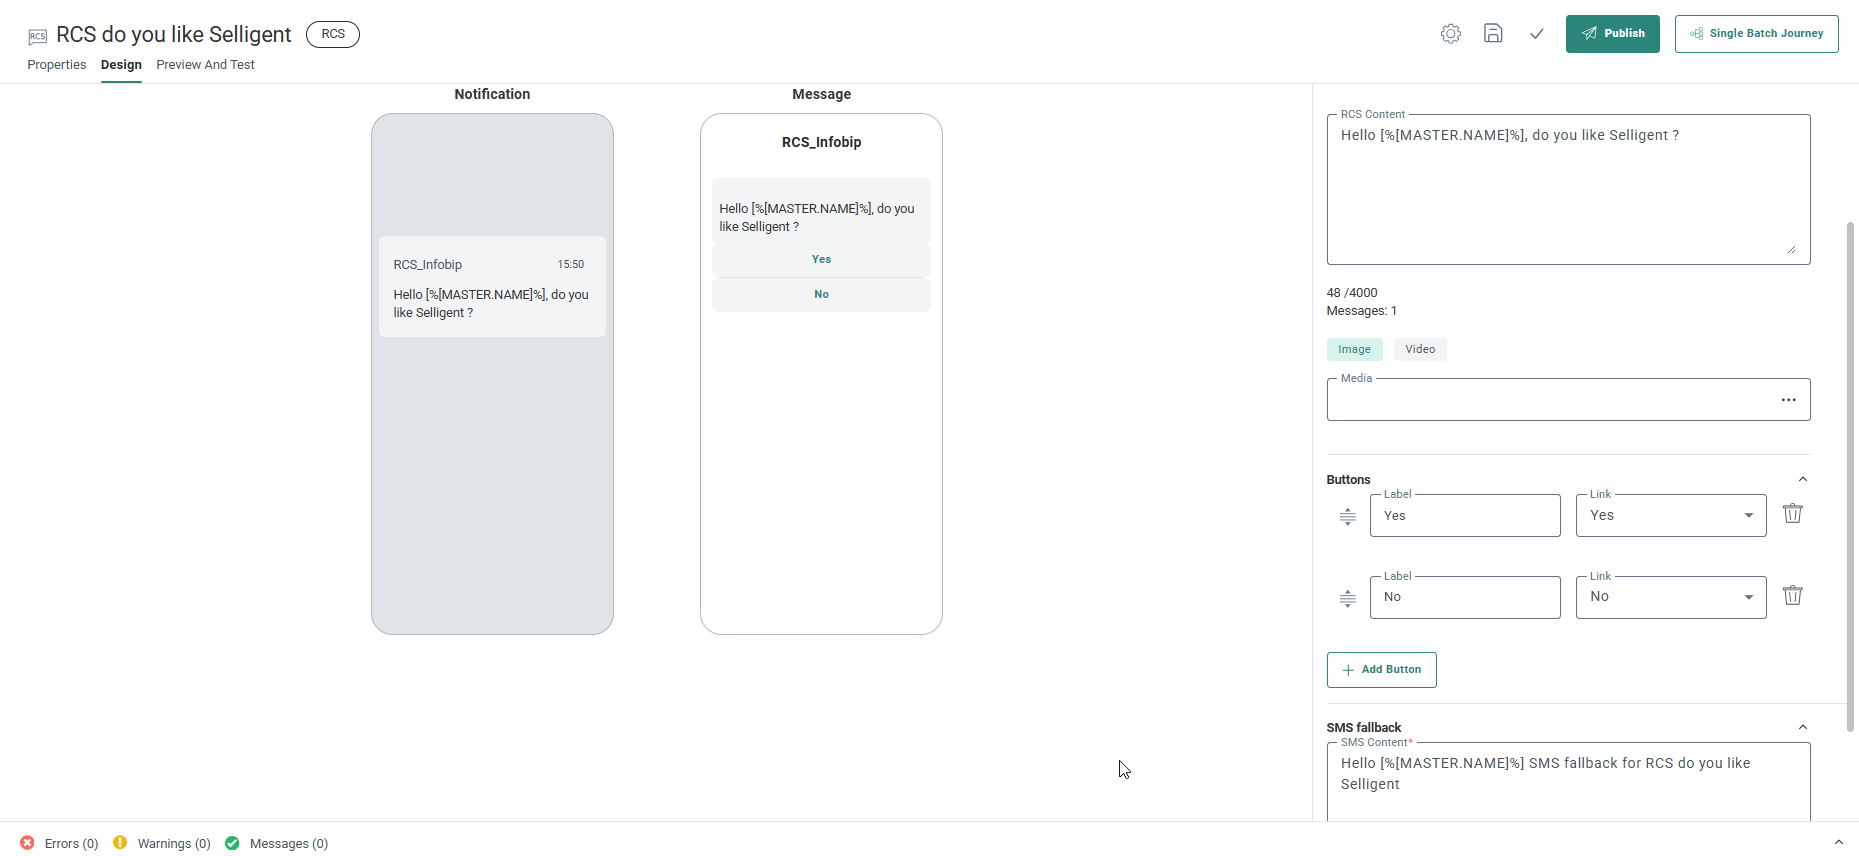
Result: You have an RCS message that prompts the recipient and includes a reply button.
Step 2 — Create the second outbound RCS message
This is the message your platform sends after the user clicks the Yes reply button on the first RCS message.
1. Go to Content and create an RCS message of type text for the same audience as the first message.
2. Create the response message content.
Example: If the user clicked “Yes”: “Great — We will keep you posted with our Monthly newsletter!”
3. Name it clearly. For example: RCS Newsletter confirmation.
4. Save and Publish.
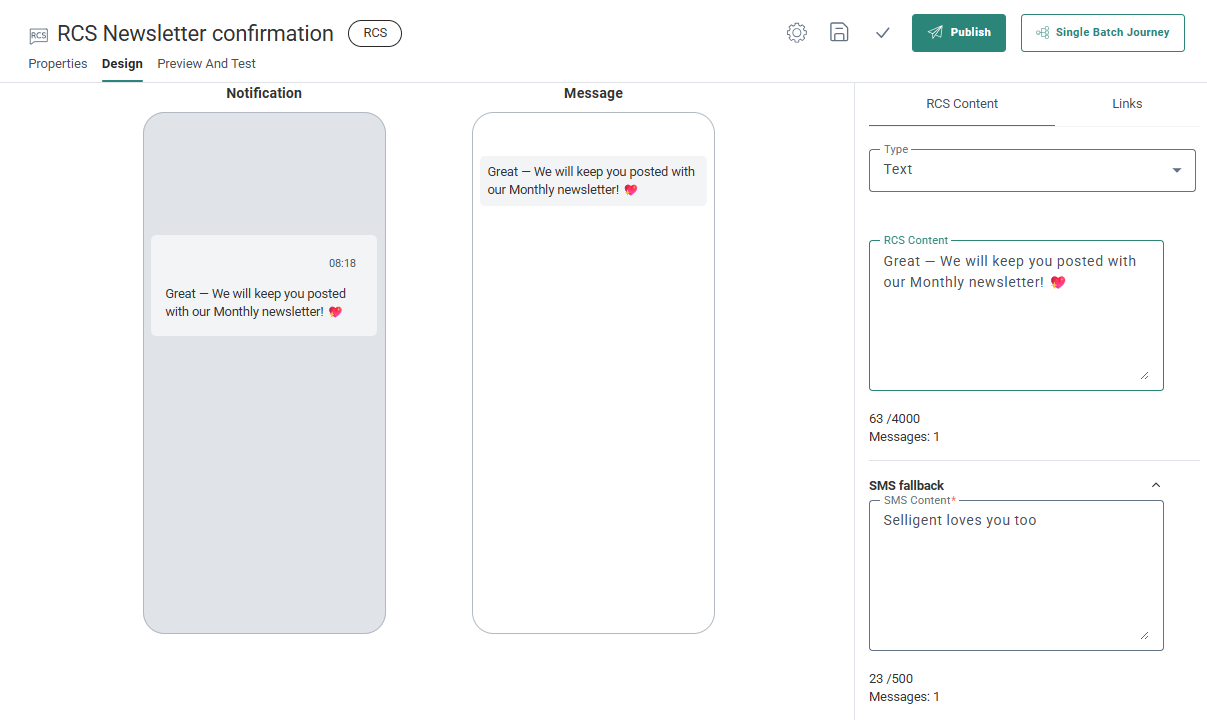
Result: You have an RCS message ready to be sent as a response to the inbound reply.
Step 3 — Configure an Inbound Event in Data Exchange
You need an inbound event so the platform can recognize and route the user’s reply. This Inbound Event will be used to trigger a journey.
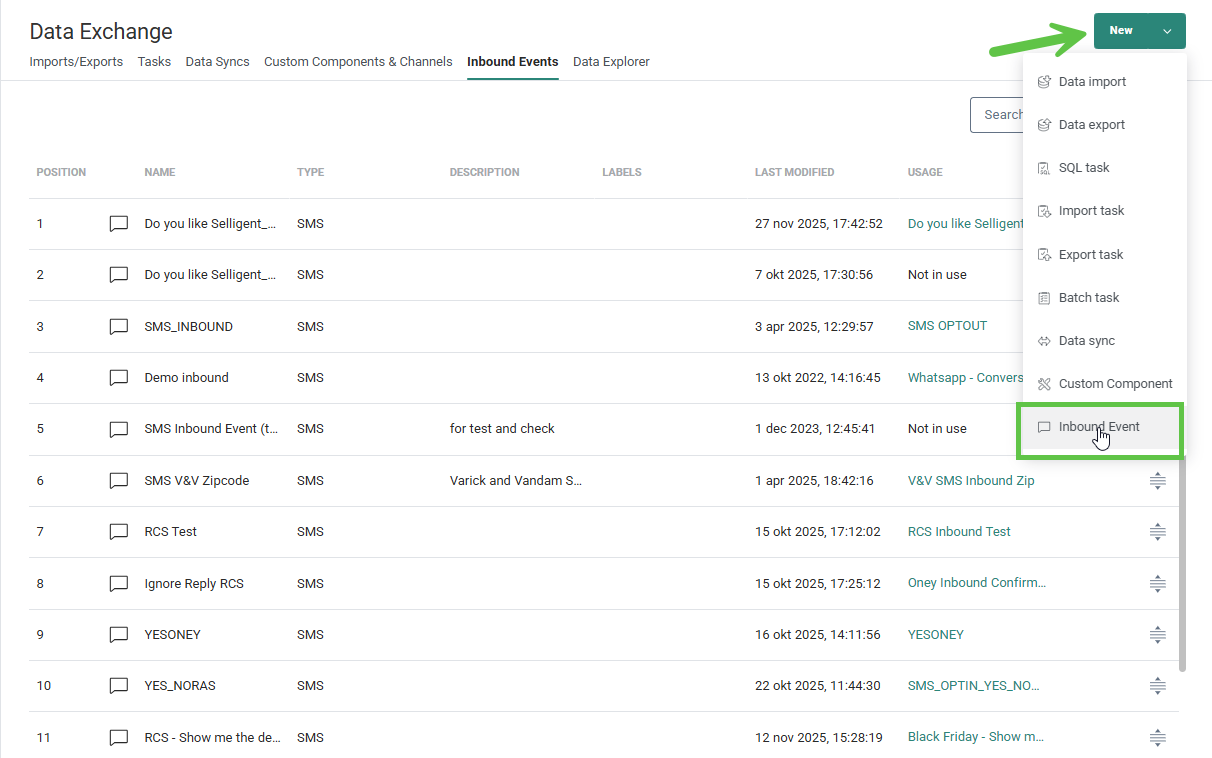
1. Navigate to Data Exchange and create a new Inbound Event.
2. Set Name, description and labels for the Inbound event.
For example: Would you like to hear more from Selligent_YES.
This name will be used in the journey later.
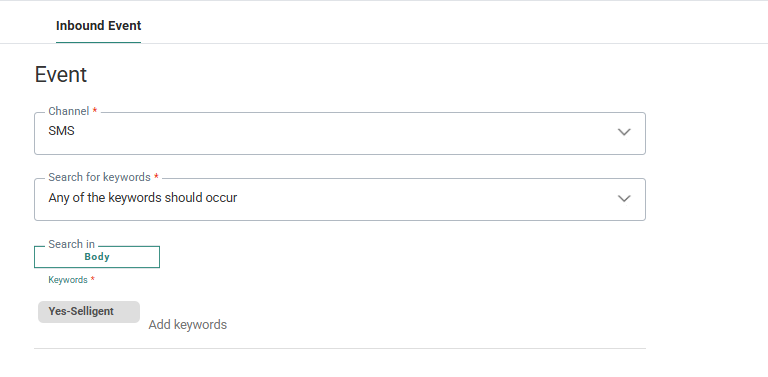
3. On the next tab, set the Channel to SMS.
4. Define how to search for keywords in the incoming message. Choose Any of the keywords should occur.
5. Select Body to indicate where to look for keywords
6. Enter the keywords to look for. In this case we are using the Postback data linked to the Yes reply: Yes-Selligent.
7. Save the Inbound event.
Result: The system can now detect inbound replies and trigger automation.
Step 4 — Build a Journey to send the initial RCS message
This journey initiates the conversation by sending an RCS message to which the recipient can reply. This can be a simple Single Batch journey.
1. Go to Journeys. Create a Custom Journey and add a Single Batch Start Component and the first RCS message.
2. Validate, Save and Publish.
Result: Your first journey sends the initial RCS message with a reply button.
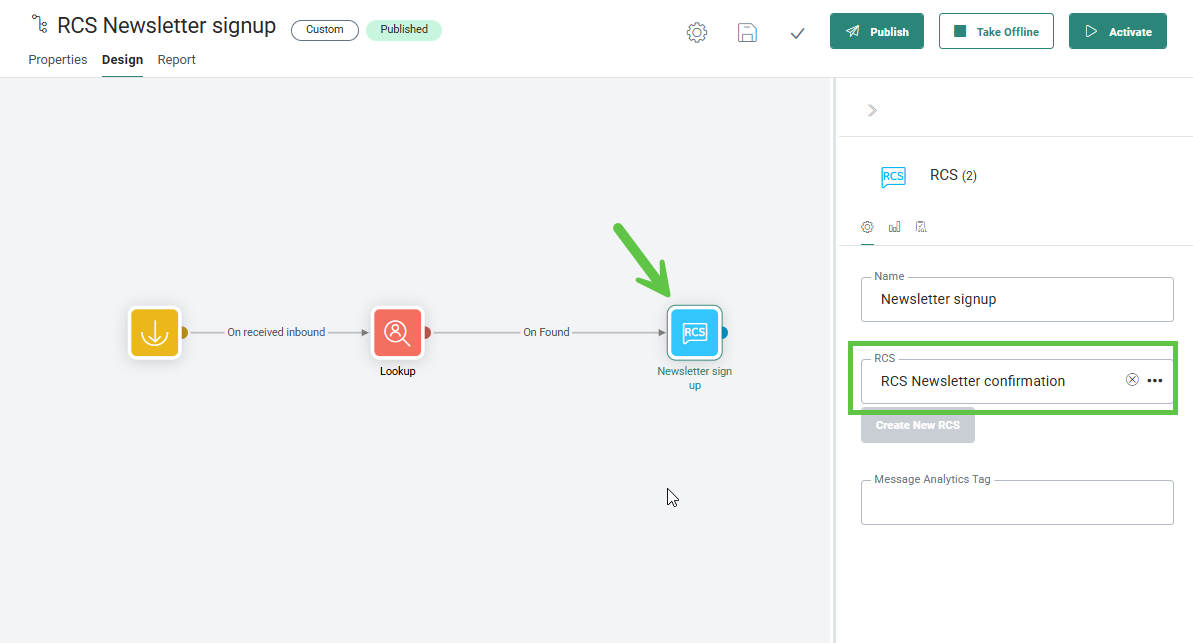
Step 5 — Build a Journey to send the answer message after the RCS reply comes in
This journey captures the replies given to the RCS message and sends an answer back. In this example, a lookup is used to filter the replies to only those coming from a specific audience.
1. Go to Journeys. Create a Custom Journey and add an Inbound event as the start component of the journey.
2. Configure the Inbound Event Component to use the inbound event created earlier. (Example: Would you like to hear more from Selligent_YES)
This means that every incoming SMS message containing the keywords (example: Yes-Selligent) defined in the Inbound Event will trigger this journey:

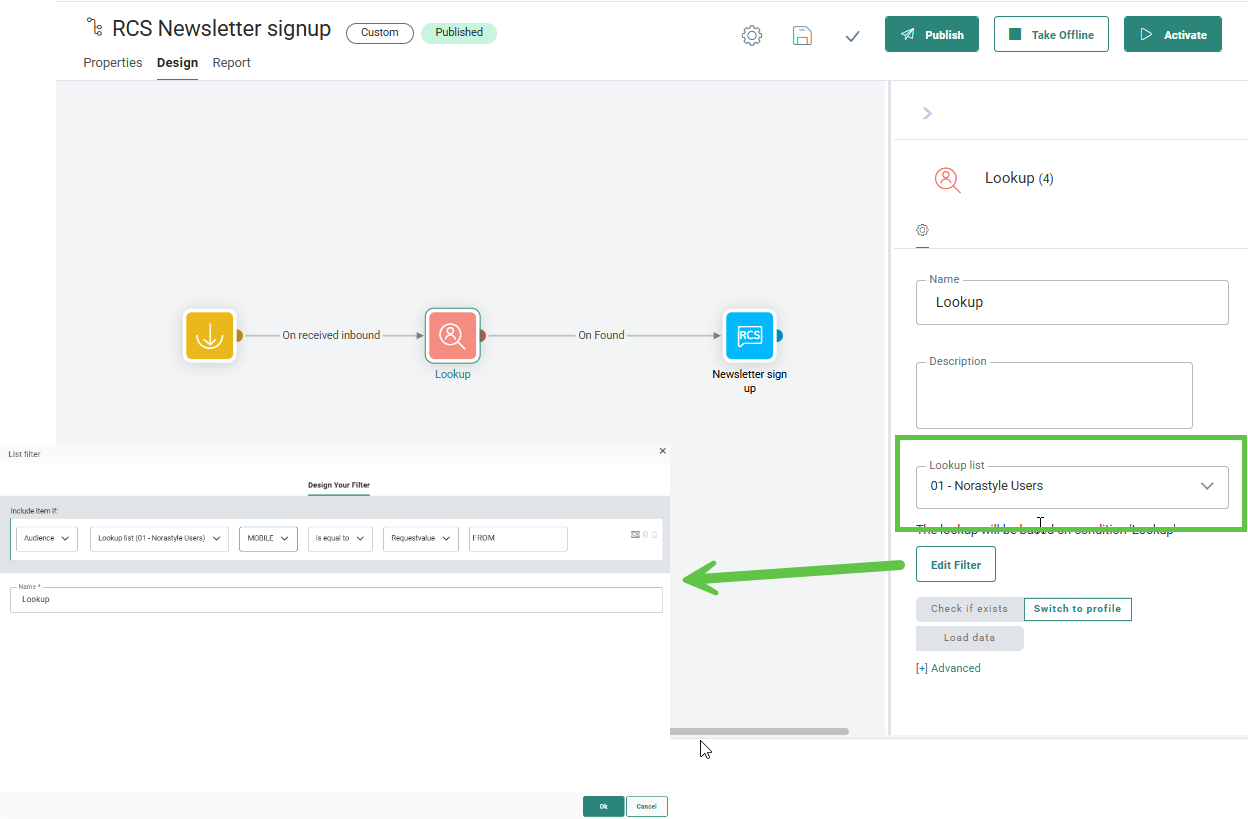
3. Next, add the Lookup Component to filter the Inbound Event to identify the specific contact in that Audience List (chosen by the initial RCS message) that tapped the REPLY button.
4. Last, add the RCS Message Component and select the RCS message created in step 2.