
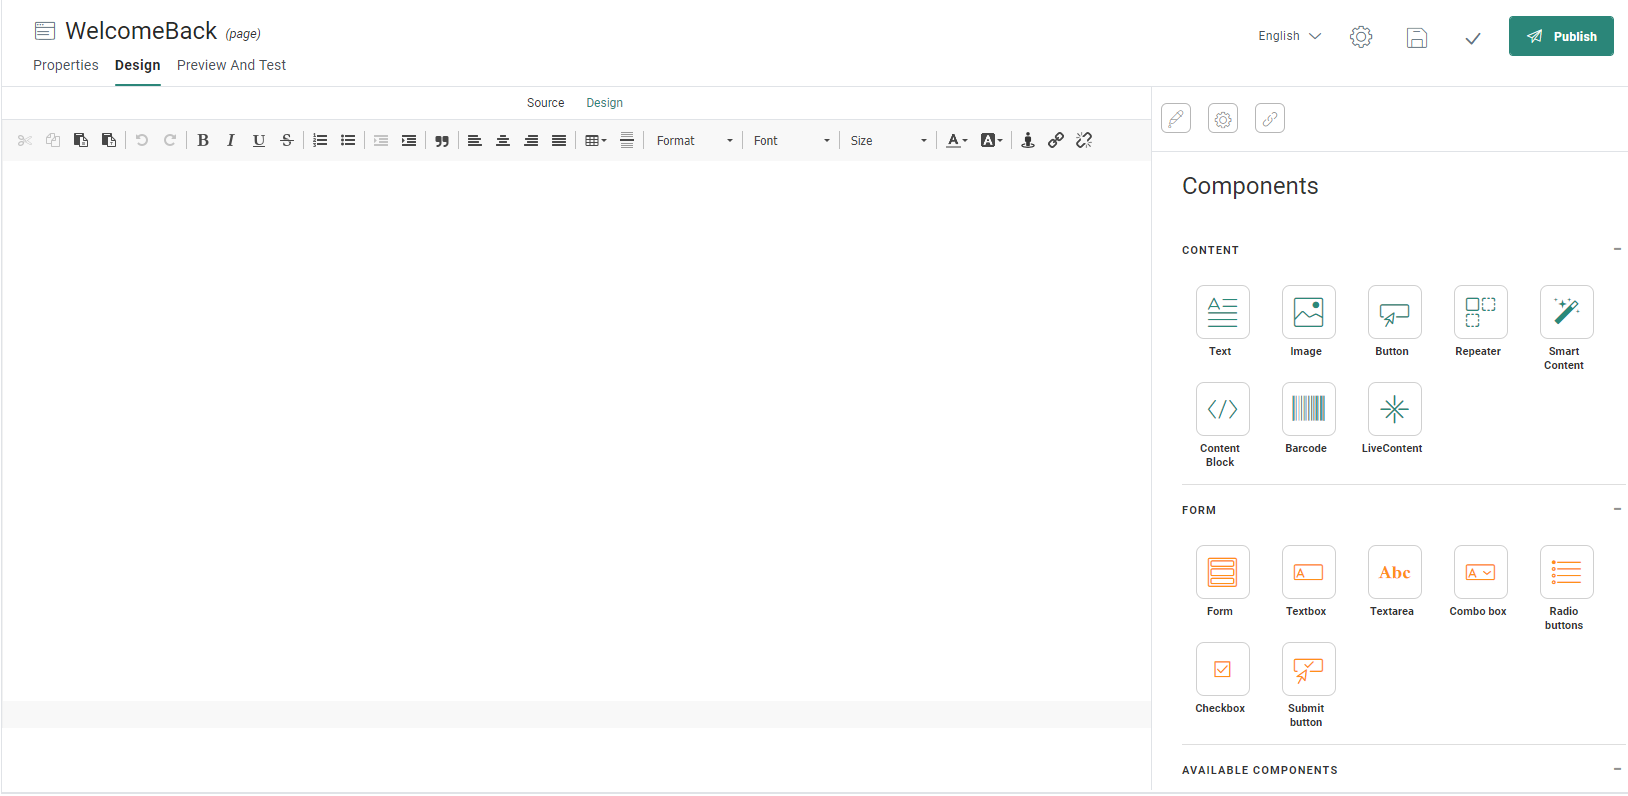
Selligent by Zeta web Pages can be created in HTML Source mode or in Design mode . You can enter the source code manually from scratch, or import an existing HTML file. A WYSIWYG editor lets you modify the page in a visual way.
For more information on the WYSIWYG editor in Source mode, check out this topic.
Pages can be created in several ways:
- From the fly-out menu in the content entry of the left navigation bar.
- From the Content Start page, via the toolbar
- From the global Home page, via the toolbar
1. To create a page, go to the Content entry, and select New from the fly-out menu and then the page type from the wizard:

2. Next, choose between creating a page from scratch in Source mode or importing HTML:

Or, when available, you can choose to create the page using a Quick Start page. By doing so, all properties from the Quick Start are copied to the new page. Note however that changes made to the Quick Start at a later stage do not impact the pages created from these Quick starts.
Only published Quick Starts in folders to which you have access are listed here. When no Quick Starts are available the user is informed.
3. Press Next. A Properties panel is displayed:

The properties are grouped by type of information. By default only the Basic fields are displayed. Switch to the All fields tab to display all other fields. On the left hand side of the properties, on-screen help is provided. This helps the user filling out the form with accurate and comprehensive information.
Basic fields tab:
Basics
- Folder path — This is the folder in which the asset is created. By default it takes the folder that is currently selected on the Start page when the asset is created. You can modify the path if required. Click the folder field to access the dialog and select a different folder
- Name — Enter a Name for the page. Use a unique name to easily recognize the page when using it in a journey. The description can be helpful to describe what the page is used for.
Target
- Audience — Select an Audience List. All fields from the selected audience can be used to personalize the page.
- Languages — Select one or more Languages. The list of available languages depends on the Business unit for which the page is created. The Language field is pre-filled with the default languages defined at Business unit level. For each of the selected languages you will be able to create a version of the page.
All fields tab:
Basics
- API name — Set the API-Name. By default the API name is filled out automatically based on the name of the page. Change it if needed. The API name is used to call the page via the API Explorer.
- Labels — Optionally, add one or more Asset labels (These labels are configured in the Admin configuration.) Users with the proper Access permissions can also create new labels here by typing the new label value in the field.
- Description — Set a clear description of what this content is used for.
4. Click Create Page when done.
You can now create the content of the page.
Note: If you
choose to import HTML, an additional screen is presented letting you define
what should be done with the images used in the content. Check
out this topic on importing an HTML.
To find out more on working in Source
mode, check out this topic.
