
Once your RCS message has been created, you are ready to design the content.
For more info on how to create an RCS message and the RCS properties, check out the corresponding topics.
Designing the RCS
Once an RCS (Rich Communication Services) message is created, the design canvas on the right-hand side allows you to define its content. There are three types of RCS messages you can choose from:

- Text — Contains only a text message.
- Rich card — Can include a title, message content, media (image or video), and/or action buttons.
- Carousel — A collection of up to 10 rich cards.
Note: At any time you can decide to convert to a different type, for example from carousel to a single rich card or even text. When downgrading from rich card to text, the media assets and buttons are hidden but can be restored when switching back to rich card.
Designing a text RCS
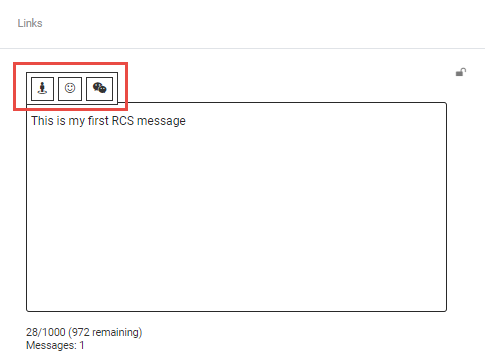
1. Enter your text. Type your message in the RCS content field. As you type, a toolbar appears for personalization.
2. Personalize the message:
- Click the Personalization or Emoticon icon to insert elements at the cursor location.
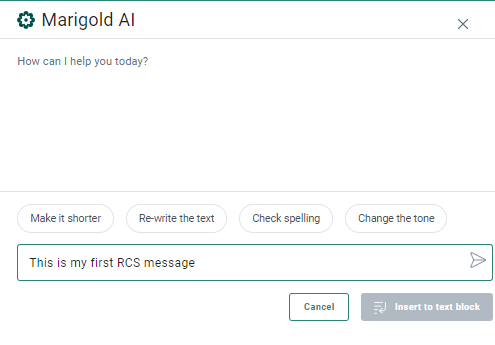
- Use the Generate text with AI icon for assistance with message content.
- Click the Links icon to add tracked links.
3. Character limit:
- A maximum of 3072 characters is allowed for a single message. Basic messages are limited to 160 characters only.
- Below the input box, the used/max character count and remaining characters are displayed.
Note:
RCS content can contain personalization fields, emoticons as well as expressions and tracked shortlinks.
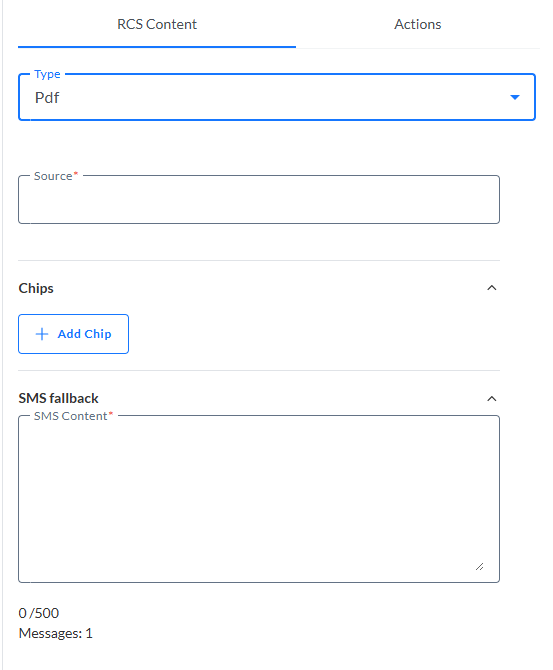
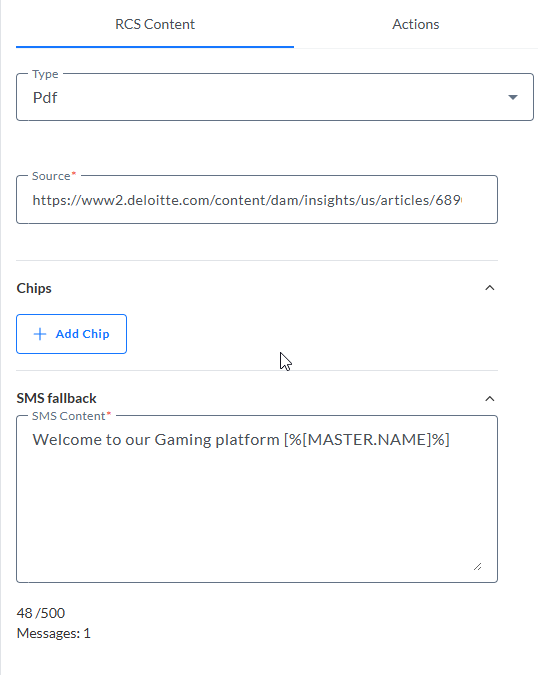
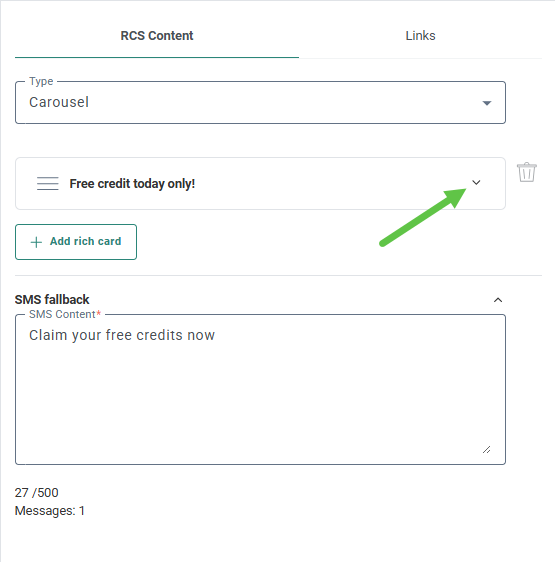
4. Define a fallback SMS. This will be sent when the RCS message cannot be delivered. It uses the same channel endpoint as the RCS message.
Designing a rich card RCS
A rich card RCS can include title, content, media, and buttons.
1. Select rich card from the RCS type drop-down.
2. Set a title. This is displayed above the message content. A maximum of 200 characters is allowed.
3. Define the RCS content. A maximum of 2000 characters is allowed
See Designing a Text RCS for details.
4. Choose from Image or Video as type of media.
Note:
For any file used in the Rich card message, the following applies:
- Maximum file size is 100Mb. This applies to JPG, PNG and GIF images as well a common video formats.
- Videos that exceed 100 Mb will be trimmed to 100 Mb. Any content beyond this limit is removed.
- Maximum length of URL of the file is 2045 characters.
5. Select or enter the Media asset. Click the ... to choose an asset from the library. Alternatively, enter an external URL manually.
Note: RCS does not support alt text for images or videos. Make sure the description of the card is properly filled out!
6. When Video is selected, choose the Media Thumbnail . Click the ... to choose an asset from the library. Alternatively, you can also enter the URL for the thumbnail. Thumbnails are optional.
Note: The behavior of Video media is as follows:
- Video only: Video is shown.
- Video and thumbnail: Thumbnail with play button is shown.
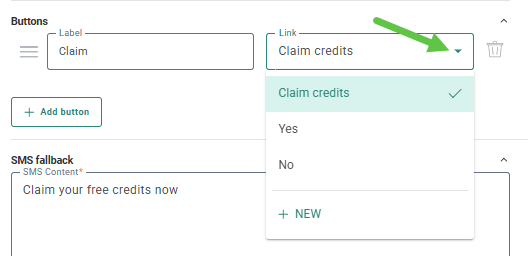
7. Add one or more Buttons. When designing a rich card RCS, you can add up to four buttons to the message, each containing maximum 25 characters. Click Add Button. The following is displayed:

Every button can be assigned a link and a label.
Link — For each button a link can be selected from the drop-down or a new one can be created. This link defines what happens after clicking the button. There are 4 types of links:
- External URL — The recipient is redirected to a specific external webpageURL (HTTP://). Links to open apps, emails or maps will not work for RCS.
- Define in journey — The redirect is defined in the journey itself, after the onclick event.
- Existing journey — The recipient is redirected to an existing journey.
- Reply — When recipients tap a reply button in an RCS message, the suggested response is automatically inserted into the conversation and sent back. To make this work, each button must include postback data, which tells the system what action to take when the reply is received.
This postback data can then be used as a keyword for an inbound event in a journey, allowing you to trigger follow-up actions based on the recipient’s response.
When defining postback data, keep these guidelines in mind:
- Use unique values for each response to prevent confusion with other inbound events
- Use hyphens for multi-word responses (for example: order-confirmed) so the system treats the entire phrase as a single keyword.
-
— Select this option for selecting a link to an external URL, a link to an existing journey, or a link that you will define within a journey after an onclick event.
For all above options, a shortlink must be created first.
Once the links exist, these can be added to the button as explained here.
Read more on managing links in content.
Button label — The text shown on the button.
Note: If multiple languages are used for your message, you must also click on
the Language drop-down menu to
enter the text for the other languages.
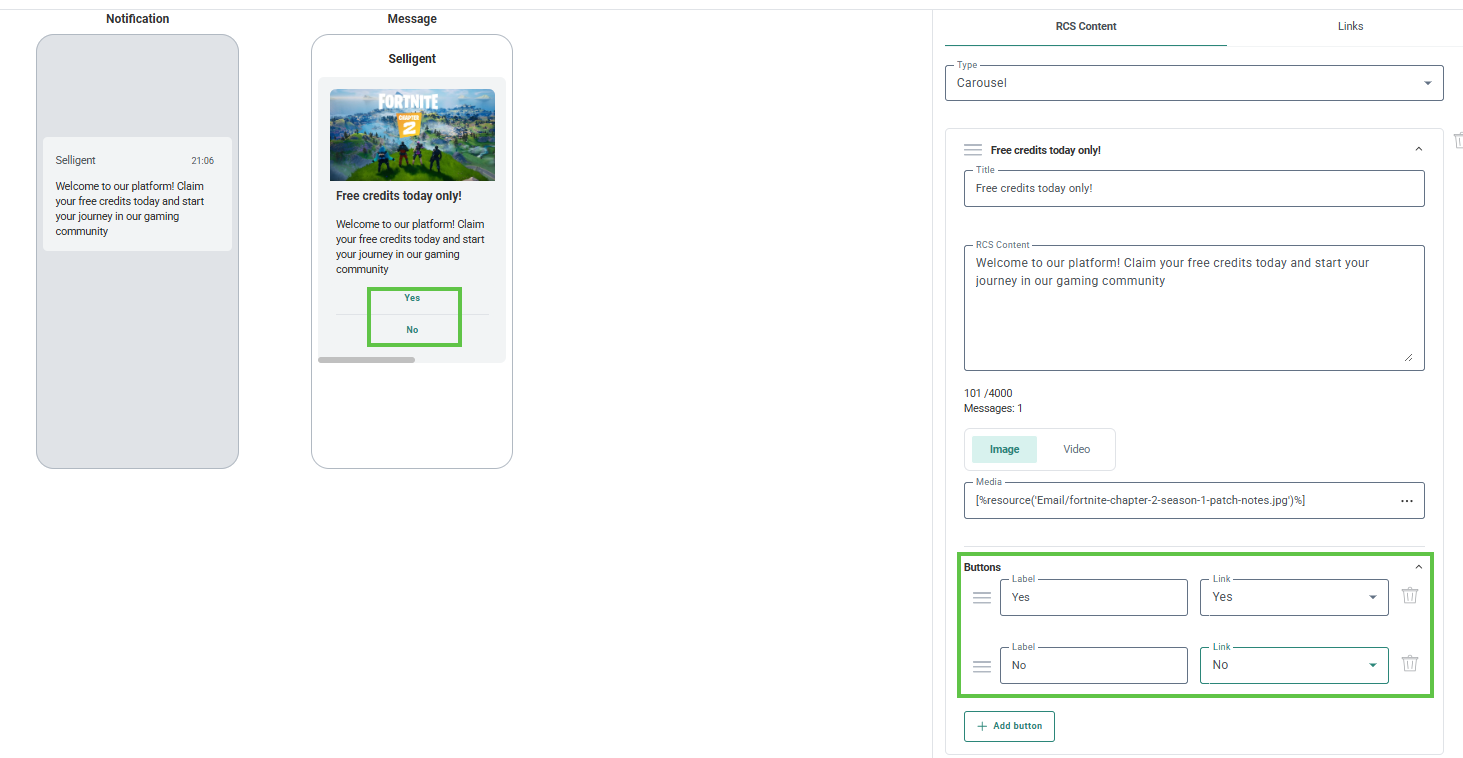
Design a carousel RCS
A carousel RCS includes up to 10 rich cards.
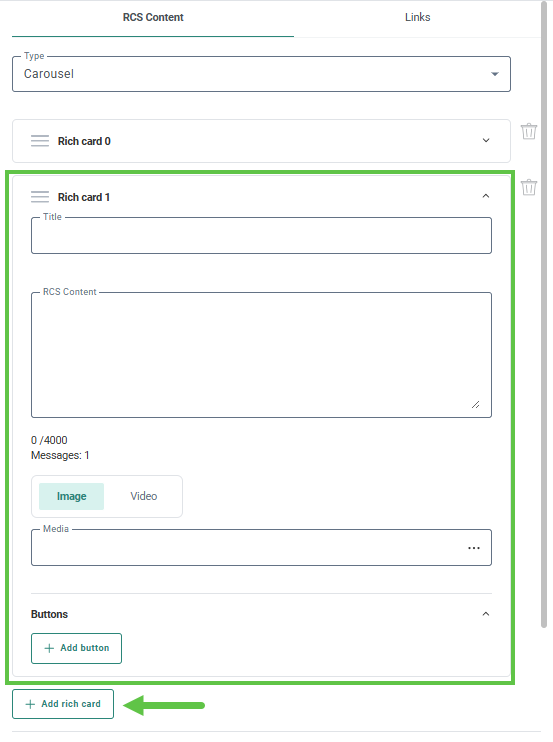
1. Fill out the properties of the first rich card as explained in the section above. You can collapse the properties panel for a rich card by clicking the arrow.
2. For every new rich card, click Add rich card. A new rich card properties panel is added.
Note: It is possible to change the order of the rich cards and hence change their position in the carousel. This is done by hovering the reorder icon and dragging and dropping the rich card to the new position.
If the combined size of all the media in the carousel Rich card exceeds 100Mb, the message is rejected.
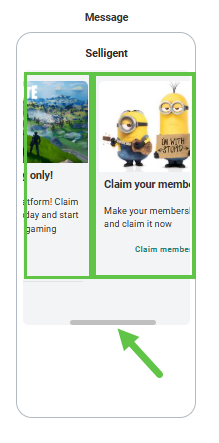
Previewing the message

For RCS of type carousel, you can scroll through the different versions using the scroll bar at the bottom of the preview:
Links in RCS content and buttons
Links can be added in 2 ways to an RCS message:
- Manually, by entering the URL directly into the content of the RCS. These links are not tracked (and so no reporting on it) and not shortened.
- Via the Links section. These links are tracked and are always shortened. Shortlinks can be used in the body of the RCS message as well as in the button of a rich card.
Creating tracked links
Creating a tracked link (shorlink) is done on the Links tab of the RCS properties panel. There are 2 views: List view and grid view:
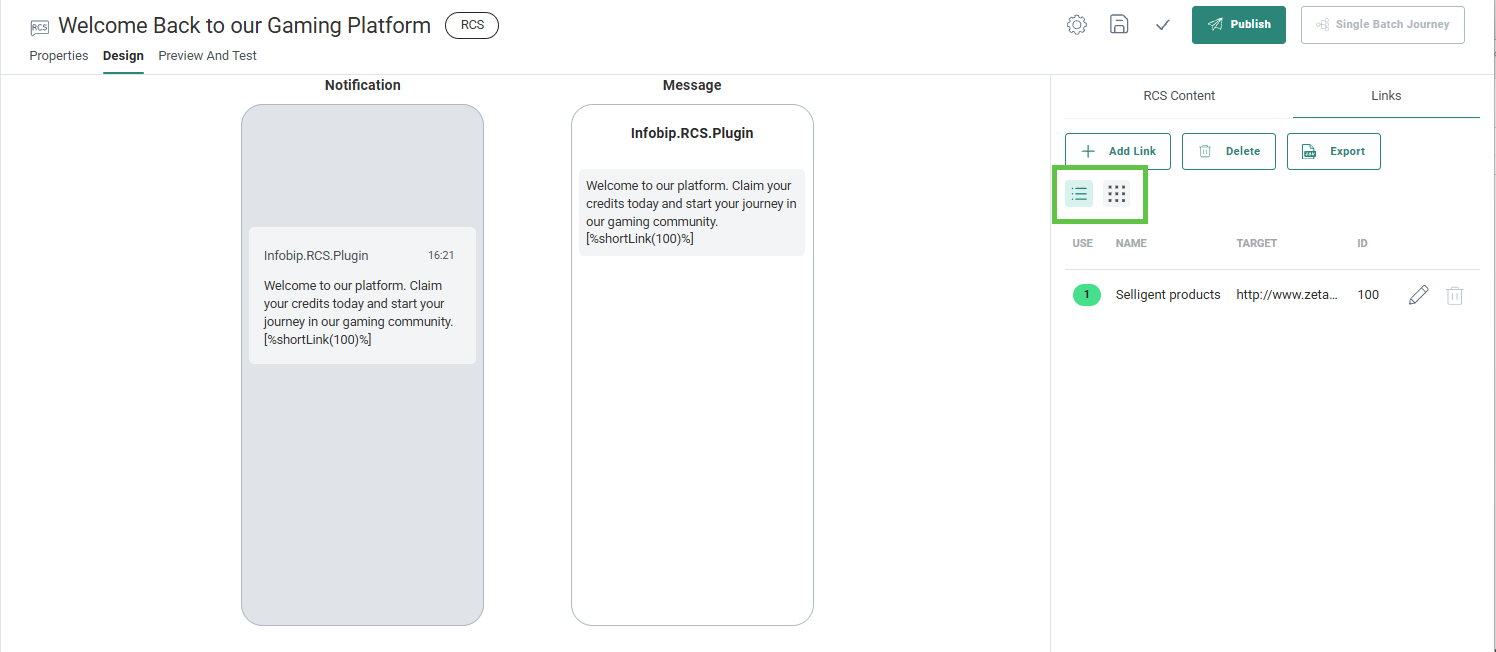
The Grid view provides a cleaner and more complete view on the properties of the Link:
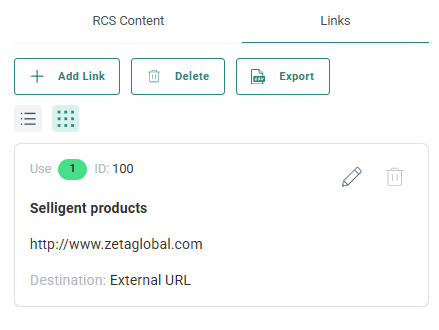
To create a new link, click the Add link button.
For more details on the Link creation and properties, read the Links topic.
Add tracked shortlinks to RCS content
Click on the link icon that appears in the pop-up toolbar while typing in the RCS content field. A drop-down of available link options is shown, together with the option to create a new one.
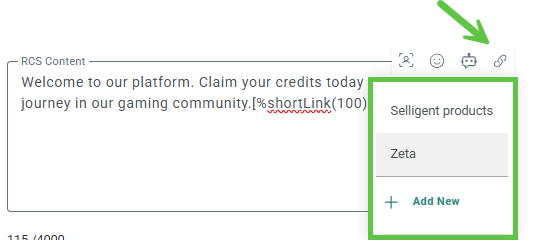
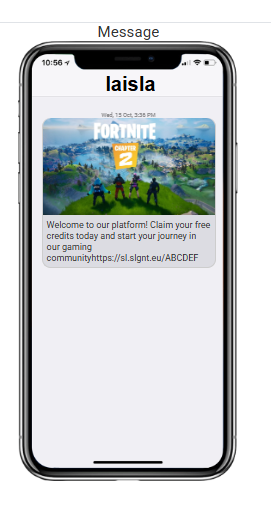
When the link is added, a shortLink expression (eg.[%shortLink(100)%]) is used. The message design on the left shows a dummy short URL (eg. https://short.slgnt.io/ABCDEF).
Note: A dummy URL is used, as the actual URL shortening only happens at Journey execution send time.

The preview of your RCS message, also shows this link as such.
Note: The Short URL expires after 90 days.
Read more about managing links in content.
Add shortlinks to a button
Click the drop-down next to the button link field. A list of available links is shown from where you can select one.
Once the buttons have been designed, they are visible in the message preview, one below the other
Now that the message is ready, you need to publish it to make it available for use in a journey.
