
Admin User Guide for Snowflake Connector
Feature context
What is Snowflake about?
Snowflake is a powerful cloud based data platform that helps businesses unlock the full value of their data. Snowflake makes it easy to store, access, and analyze all your data in one place—without the complexity of traditional systems.
Whether you're delivering real-time insights, driving smarter customer experiences, or streamlining operations, Snowflake empowers your team to make data-driven decisions faster and more efficiently. Built for the cloud and trusted by leading brands, Snowflake turns data into a true competitive advantage.
The Selligent by Zeta Snowflake connector allows our Snowflake-using customers to integrate their platform data in their marketing messaging to be able to send more nuanced and better targeted messages to their contacts. And the other way round, feed data back to the Snowflake data platform.
How the connector works
With the native Snowflake connector, Selligent users can synchronize customer profiles and activity data between Selligent and Snowflake through a bi-directional, batch-based integration. The sync will support scheduled data flows.
Users will be able to:
- Import audience and profile data from Snowflake to Selligent
- Easily export data from Selligent to the Snowflake environment
- Monitor sync status and configure mapping directly in the UI
- Access this integration via the Selligent UI
Activation and configuration
Prerequisites
-
A connection is required between Selligent and the Snowflake platform. (This is done by the Zeta technical services and is a one time set-up)
Setting up the connector (Customer technical)
This is a one -time set up.
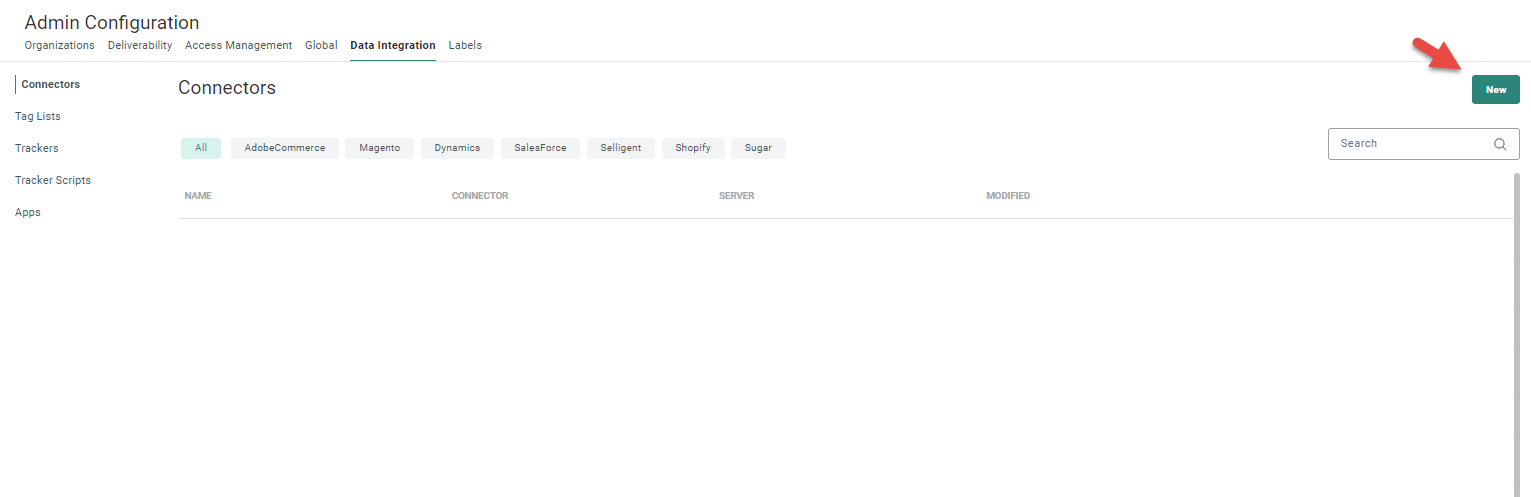
1. Go to the Admin Configuration/Data Integration/Connectors and add a New connector:
A properties panel is displayed on the right:
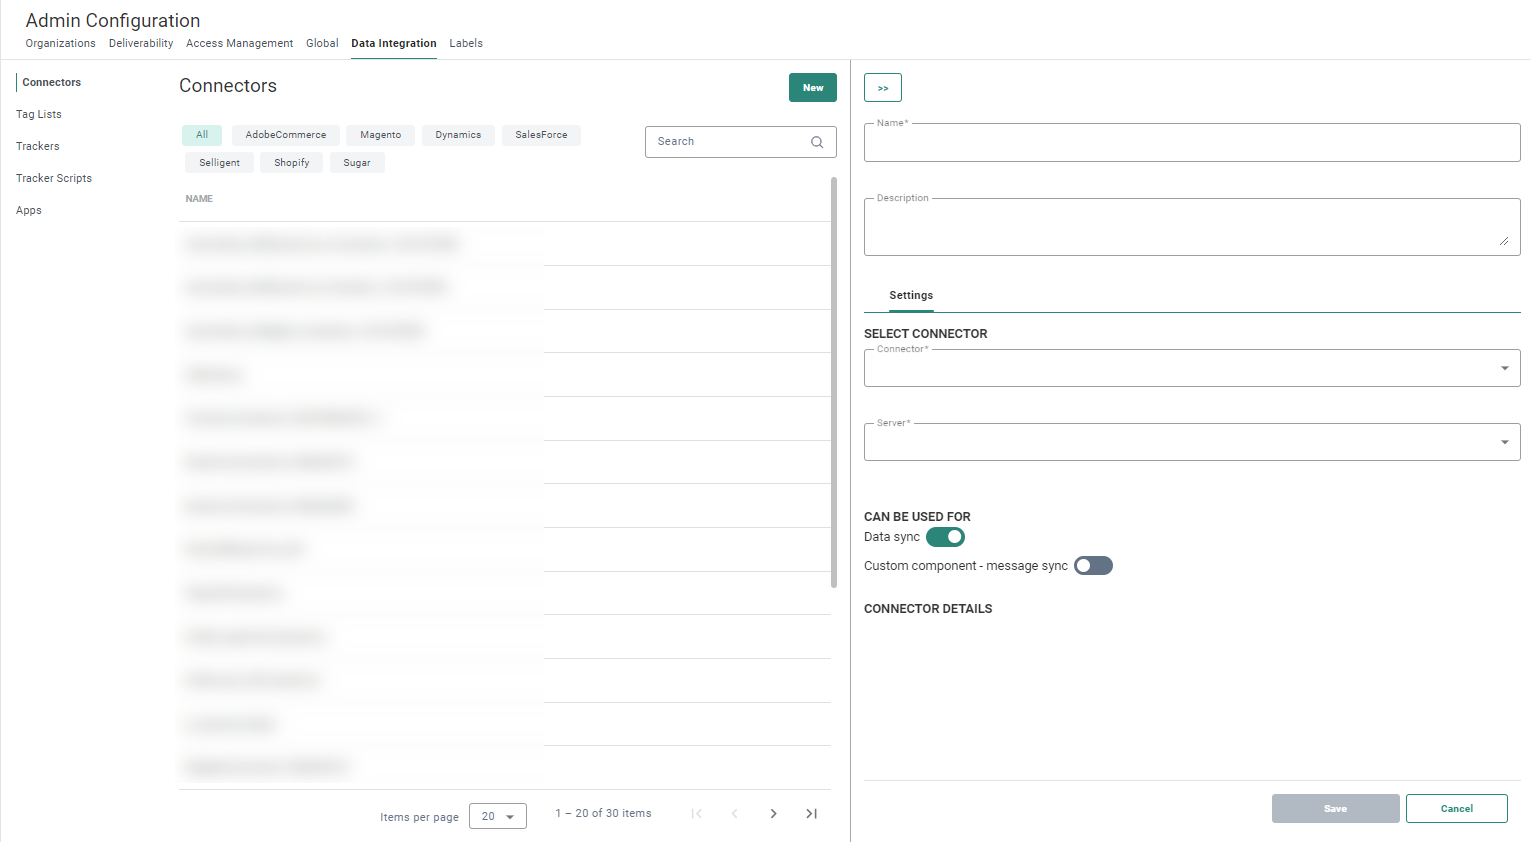
2. Set the following properties:
- Connector* — Select Snowflake as type of connector from the drop-down list.
- Server* — This is the name of the server on which Selligent is installed. Select one from the drop-down list. Only servers on which the connector is installed are listed.
- Account — The Snowflake domain account
- Database —The Snowflake database used
- User — The Snowflake login.
- Private key — Your private key file from Snowflake
- Password of the private key
- Role — The Snowflake role used to take actions (required when working with a private key)
- Schema — The schema in the database
- Warehouse —The virtual warehouse used to run data processing and analytical queries
- Modified fields — Enter a list of ';' separated fields that are used to determine if a record has been updated or not. By default, the 'modified', 'modified_dt', 'updated', 'updated_dt', 'timespan' fields are used to determine if a record has been updated and requires a sync, but if this field is not available in the source, you can select one or more other fields
3. Save the connector.
Important note: Synchronization requires each source table to have a key field (unique ID). If a key isn’t defined, the table won’t show up in the sync flow. Add a key to make it available.
Link the connector to your Business unit(Customer technical)
This is a one -time set up.
Once the connector has been created, it needs to be linked to the Business unit in which you would like to use the connector.
For more information on how to do this, refer to this article.
Configure the data sync (Expert user)
This is by default a one -time set up, unless additional fields that require a sync are added either on Snowflake side or Selligent side.
The Data Synchronization is set up in the Data Exchange chapter of Selligent. More information on this can be found in the following topics:
Important note: Upon defining field matching between Snowflake and Selligent, please be aware that Snowflake is case sensitive and that the following type mapping should be considered.
| Selligent data type | SQL Server type | Snowflake type | Snowflake to selligent | Selligent to Snowflake | Remarks |
|---|---|---|---|---|---|
| BOOLEAN | BIT | BOOLEAN | Works | Works | |
| NUMERIC | INT | None strict | Risk of overflow | Works | No strict type matching exists between Snowflake and Selligent. Snowflake can store values outside Selligent numeric range (-2147483648 to 2147483647). Values in Snowflake must be restricted to this range safe sync from Snowflake -> Selligent |
| LONG | BIGINT | None strict | Risk of overflow | Works | No strict type matching exists between Snowflake and Selligent. Snowflake can store values outside Selligent BIGINT range (-9223372036854775808 to 9223372036854775807). Values in Snowflake must be restricted to this range safe sync from Snowflake -> Selligent |
| FLOAT | FLOAT | FLOAT/DOUBLE | Precision risk | Precision risk | Snowflake and Selligent FLOAT/DOUBLE types are approximate (IEEE 754). Precision may differ |
| DATE | DATE | DATE | Works | Works | |
| DAETIME | DATETIME | None strict, TIMESTAMP_NTZ recommened | Risk of overflow | Works | No strict type matching exists. Snowflake TIMESTAMP_NTZ supports years 0001-01-01 to 9999-12-31. Selligent datetime supports years 1753-01-01 to 9999-12-31. Values in Snowflake must be restricted to this range safe sync from Snowflake -> Selligent |
| TEXT | NVARCHAR | NVARCHAR(4000) | Works | Works | Maximum 4000 characters in Snowflake. Longer text must use LONGTEXT. Safe bidirectional if ≤4000 characters. |
| LONGTEXT | NVARCHAR(MAX) | None strict, VARCHAR/LONGTEXT recommended | Works | Risk of overflow | Snowflake supports up to 16 MB per cell. Selligent supports up to 2 GB per field. Selligent data exceeding 16 MB will fail to load into Snowflake |
| UNIQUEIDENTIFIER | UNIQUEIDENTIFIER | None strict, STRING(36)/CHAR(36) recommended | Works | Works | Must respect 36-character UUID format. Snowflake does not have a native GUID type, use UUID_STRING() for inserts |
Consulting data sync status (All users)
On the History tab of the Data sync step, details are provided on previous runs.
These include:
- the source and destination table of the data sync
- the details per run :
- the run date
- the direction of the data synchronization
- the total number of records included
- the number of records that successfully synchronized, and the ones that failed
- the starting time of the sync
- the duration of the sync
For more details on this, check out the History section in the Data Sync Setup article.
