Use Webhooks in Lifecycle Optimizer
Leverage Lifecycle Optimizer as a decision engine for your entire marketing ecosystem using the Webhooks action.
Create custom callbacks to your internal CRM or other third-party tools when:
- Users do not click a message
- Customers fail to complete a post-purchase series
- Readers complete a welcome series
- And more...
What Makes a Webhook?
Creating a new webhook in Lifecycle Optimizer requires 4 parameters:
| Parameter | Description | Notes | Image |
|---|---|---|---|
| URL | The unique URL which will receive your request | 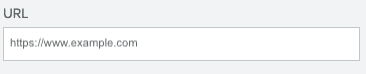
|
|
| Method | The HTTP request method that indicates your desired action | The following methods are supported:
|

|
| Content Type | The format of the content in the payload | All content types are supported. See below for a list of the most commonly used content types. | 
|
| Payload | The data you're sending | 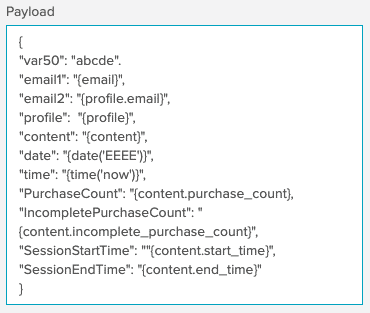
|
Note: Lifecycle Optimizer's webhook action requires that a profile has an email address. Without an email address, the webhook step will be skipped.
Supported Content Types
The system supports the following content types.
Type application
application/json
Type text
text/css
text/csv
text/html
text/plain
text/xml
Creating a Webhook
Create webhooks as part of a Lifecycle Optimizer flow. For information on creating a new Lifecycle Optimizer Flow, see Build a New Flow
- Gather the information you need to create a new webhook: the URL, Method, Content Type, and Payload you'll use.
- Add an Action step to your flow. Select Send Webhook from the Do this... dropdown.
- Add the URL you're using:

- Set the HTTP Method. If using GET, you do not need to set the content type or add a formatted payload.

- Select the type of content you're sending. The options are JSON and Other.

- Add your formatted payload.
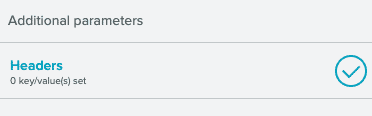
- Click Headers under Additional parameters to add your Header Key/Value pairs:

Note: When using POST or PUT, the Content-Type defaults to JSON and the Header is populated for you. For JSON content, it will resemble the following: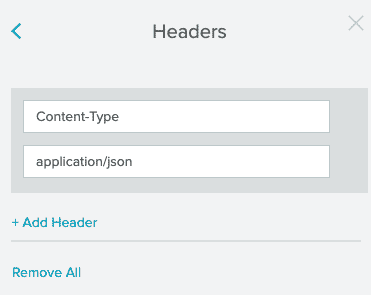
- Add any additional headers you want included in your webhook by clicking Add Header.


Note: Step counts will display the total number of customers who have proceeded through the step, but do not indicate a successfully received webhook.
Access Data in the URL and Payload
Contextual user, purchase, and event var data is accessible for the URL and payload of a webhook.Zephyr can be used in the URL and Payload fields, but not headers. Follow the same syntax used in email templates to access any information in the Profile Object.
Accessing Profile Data in the URL
Add a query parameter to the URL
In this example, the profile email address is appended to the URL:
http://www.example.com?email={profile.email}Add a hashed md5 email to the URL
Add a query parameter to the URL to create an md5 hash of the email:
http://www.example.com?hashed={md5(profile.email)}Accessing Profile Data in the Payload
Send a custom field value in the payload
Payload is JSONYou can include your custom field as a value in one of the key/value pairs. In the following example, birthday_month and loyalty_level are included:
{
"birthday_month": "{profile.vars.birthday_month}",
"loyalty_level": "{profile.vars.loyalty_level}"}
Zephyr is only parsed in top-level values. It will not be parsed in keys or in nested values.
Payload is not JSONYou can include Zephyr in plain text with no quotation marks required. The following example includes birthday_month and loyalty_level as comma separated values:
{profile.var.birthday_month},{profile.vars.loyalty.level}You can also use a comma separated sequence of key/value pairs in a plain text payload:
birthday_month,{profile.var.birthday_month},loyalty_level,{profile.vars.loyalty.level}Access Custom Events Variables in the Payload
Include your variables from custom events in a webhook payload. In this example, the Entry selected was API Post Made for the Custom Eventgreeting.
Payload is not JSON
The custom event vars in a template are replaced with variables passed in the Custom Event Entry
TemplateHello {name},
This is payload from production
Your address is: {address.street1}, {address.zip}
Your hobby is {hobbies[0]}{"id": "test@sailthru.com", "event": "greeting", "vars": { "name": "First name", "address": {"street1": "1234 Sample st", "zip": "78744"}, "hobbies": ["cycling"] }}Result Hello First name, This is payload from production Your address is: 1234 Sample st, 78744 Your hobby is cycling
Examples
Slack & Lifecycle Optimizer Webhooks
Create a webhook that connects Lifecycle Optimizer and Slack. Slack Doc: https://api.slack.com/incoming-webhooksIn Slack
- Designate the channel you want to post webhooks to. If you don't have it created, be sure to create it before you start this process to make it easier to link to your webhooks.
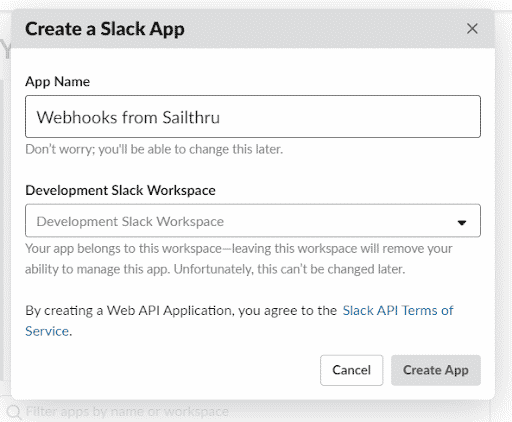
- Go to Slack's site to create a new app: https://api.slack.com/incoming-webhooks.
- Click "Create your Slack app" in Step 1.
- Give your app a name, like "Webhooks from Sailthru by Marigold".
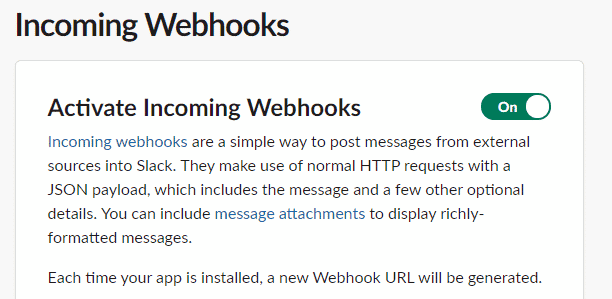
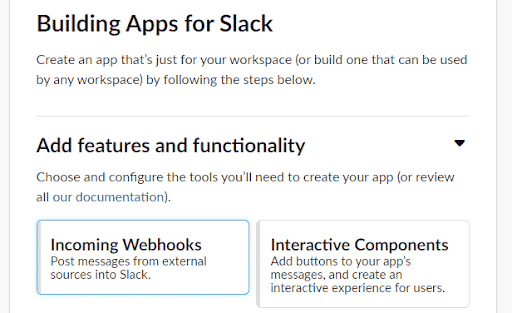
- Select the INCOMING WEBHOOKS option as shown below, and hit SAVE.

- Activate Incoming Webhooks, if not already done
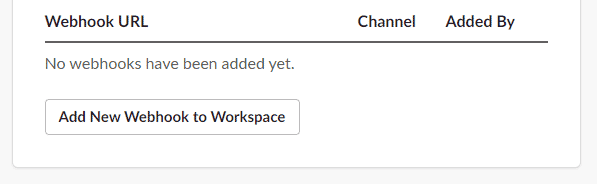
- Add a New Webhook to Workspace using this button
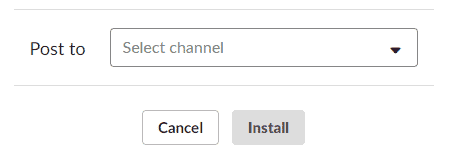
- Authenticate and select the channel you want to post to

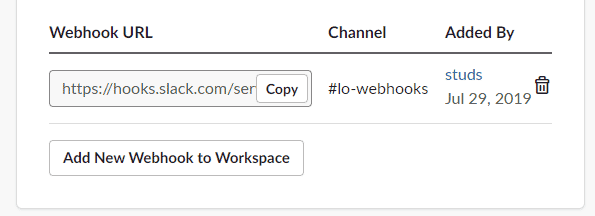
- You should return to the Incoming Webhooks page, look for the webhook URL below and hit COPY


In Lifecycle Optimizer
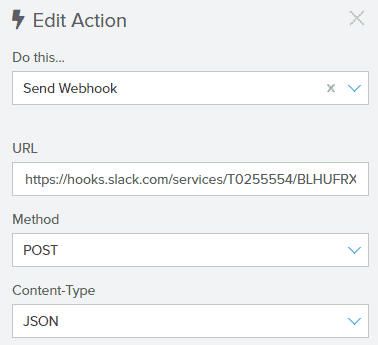
- Create a new LO flow and use the "Send Webhook" action.
- Paste the copied URL from the above screen into the "URL" field in the step panel:

Leave POST and JSON as the selected options. You do not need to alter the "Headers" parameters in LO. - Add your message to the payload. For the sake of this example, you can copy/paste the following:
CopyLearn details about formatting your Slack messages here: https://api.slack.com/messaging/sending You can reference the Sailthru by Marigold profile in each webhook. Learn how in our documentation. For example:
{"text":"This is an LO Webhook"}Copy{"text":"Customer {email} passed through Step 5 in the Welcome Flow"} - Save and Activate your flow. As customers enter the flow, you should see their webhooks appear in the channel you created!