Zeta Grow
Connect with your users through innovative and interactive experiences shared in Email Composer templates. For in-depth documentation on Zeta Grow, check out the Zeta Grow Help Center.
Setup
Setting up your integration requires a specific API key. Work with Support to receive this key.- Begin on the Integrations page (Settings > Setup > Integrations).
- Select Configure Integration from the Zeta Grow row.
- Enter your API Key and Region.
Create an Experience
Before adding anything to your template, you'll need to create it. For more information on creating an experience and the types of experiences, check the Zeta Grow Help Center.- Log in to your Zeta Grow dashboard.
- In the Quick Actions section, select Create.
- Select the type of experience you want to create or go to the experience Library.
- Each experience you create requires you to select a unique Name, the number of Entries allowed, a theme, and which pages you want displayed. Each experience will always have a Landing page and Confirmation page included by default.
- Check your experience summary to make sure everything is correct.
- Select the Previous button to go back and make changes.
- Select Create to create your experience.
- Once your experience is created, you'll be able to preview it and make any changes you wish to make. For example, you can edit or add pages, change the title or theme, or customize the header and footer.
- When your experience is ready to publish, select Publish from the menu. This opens the Publishing screen.
- Select Approve to approve your experience.
- Under Publish To, select Publish to a New Destination. Select a publishing destination.
- In the next step, set a schedule or publish the experience immediately.
- Review the information for your experience and select Launch.
The Zeta Grow Modal
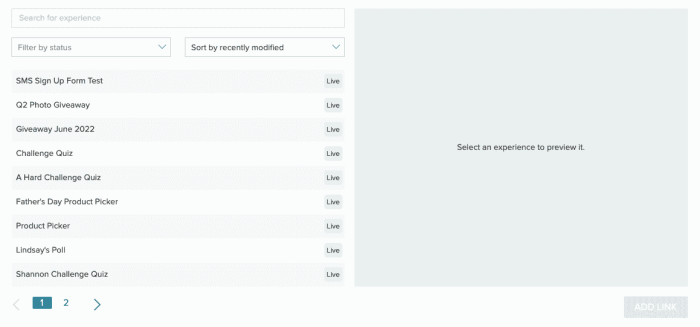
All of your experiences show in a modal window when you add an experience to an Email Composer template.

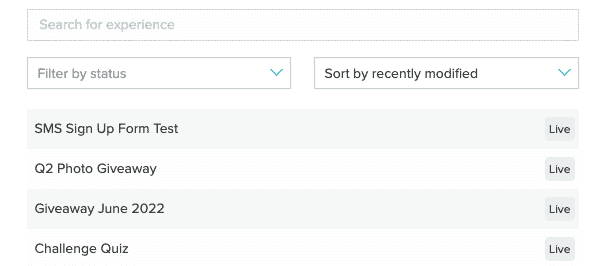
From the Zeta Grow modal, you can search for an experience, filter to view live or scheduled experiences, and sort by different criteria.
- Search - Search for a specific experience by name or to search for experiences containing a specific word or phrase, for example, giveaway or quiz.
- Filter - Limit which experiences you see. You can view only live experiences or only scheduled experiences.
- Sort - Sort experiences alphabetically by name, by the publish date, by the date they were created, or by the date they were modified.
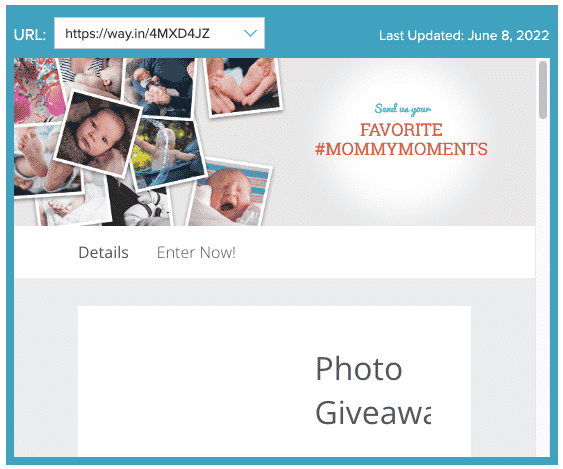
When you select one from the list, you'll see it in the Preview window. The preview also gives you the URL and shows when the experience was last updated.
Add an Experience to a Template
Use Zeta Grow in your messaging through Email Composer templates. Link your experience to the text of your messaging or to a button element. Start with a new template or add an experience to an existing template.Link to Message Text
- Select the text you wish to link to open the floating editor.
- From the More menu, select Link Experience to open the Zeta Grow modal.

- Filter or sort experiences, or search for a specific experience.

- Select an Experience from the list to preview it.
- Select Add Link to add your Experience to your template.
Link to a Button
- Add a button element to your template and select it to open the Content Properties panel.
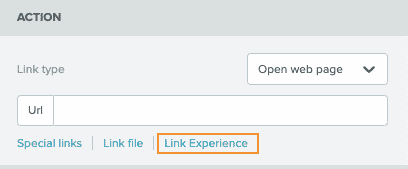
- Select Link Experience in the Action section of the Content Properties panel. This opens the Zeta Grow modal.

- Filter or sort experiences, or search for a specific experience.

- Select an experience from the list to preview it.
- Select Add Link to add your experience to your template.
Click here to get in touch with a member of our team to learn more about incorporating Experiences into your cross channel strategy - or reach out to your CSM for more details!


