
Image Library
Manage your images independently of the Email Composer image tile with the Standalone Image Library.
How the Image Library works
Upload and organize your own images or search for free images you can use in your messaging.
In the early access release, the new Image Library will not be available within any of the template builders. You'll need to use the URL or the new Zephyr function to insert an image into your template.
Create a new folder and upload an image
Decide on a folder structure before you begin uploading images. You can nest folders to create a more complex structure. Images must be uploaded to a specific folder.
Create custom folders to organize your images in the Image Library:
-
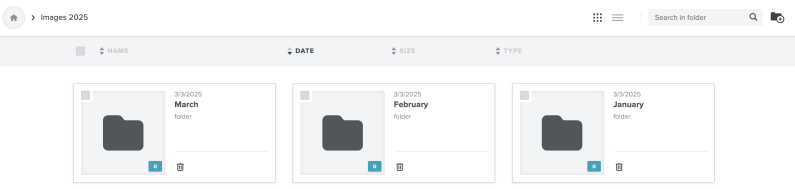
Navigate to your image library from the Messaging menu (Messaging > Image Library)
-
Select the Add Folder button next to the search box.

-
A new folder will show in the gallery. Give the folder a name and select the blue check.

-
To create sub-folders, select a folder to open it and complete steps 3 and 4 again. Folders initially appear in the order in which they're created. The newest folder appears first. Select any of the header options (Name, Date, Size, or Type) to reorganize folders.
-
To upload an image, select a folder and then select the Upload button.
-
Select the image or images to upload from your system's file manager. As your file uploads, you'll see a progress bar before the folder reloads and shows the image.
Note: You may upload up to 4 images at a time. -
View your folders. Each folder shows how many images it contains.
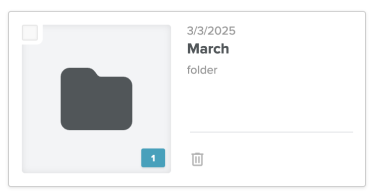

A folder can't be deleted until it's empty. You can mass delete items in a folder. Select the check mark in the top left corner of the image preview for each item you wish to delete, then select Delete All.
Image Library Limits
There are some limits on the Image Library:
-
999 Max items per folder
-
5 Max number of nested directories.
-
4 Max concurrent uploads per user.
-
10MB Max image size.
-
All image file types are allowed.
-
.webp files can be uploaded, but a thumbnail will not be available in the Image Library. The file will be available for use in a template.
Use an image in a template
Since the Standalone Image Library isn't accessible in the template builders, you can insert the image using a Zephyr function. After you upload an image, the image card shows in the folder with a Zephyr button. The button creates the Zephyr statement for you.
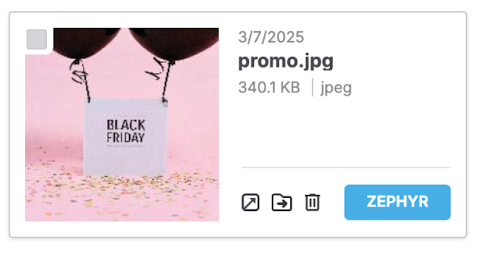
Select the button to copy the statement to your clipboard. For the example image, the Zephyr would resemble the following:
{media("/April/promo.jpg")}Notes:
-
The forward slash must be included even if the image is in the root directory.
-
The Zephyr function is case sensitive. If the image file name is "gold.jpg", then it must be added that way. Using "Gold.jpg" will not work.
Use an image in an HTML template
-
Select the Zephyr button on the image you wish to use in the image library.
-
Open an existing template or create a new one.
-
In the Code tab, use the following to insert an image:
<img src={media("/April/promo.jpg")}> -
Save your work.
Use an image in a Visual template
-
Select the Zephyr button on the image you wish to use in the image library.
-
Open an existing template or create a new one.
-
Add an HTML block to your template and select it to open the properties panel.
-
Add the following to insert an image:
<img src={media("/April/promo.jpg")}> -
Save your work.
Delete an image
To remove an image from your Image Library, select the trash can icon on the image and confirm the deletion. It will be removed from your library, but will still be shown in any templates that were sent including the image. That way your subscribers will not see a broken image.
Uploading a duplicate image after deletion
If you delete an image and then upload another image with the same name, you'll be prompted to either replace the deleted image or keep both.
-
If you choose to replace the image, the latest one will be kept.
-
If you choose to keep both, then the current image will be renamed. For example, instead of promo.jpg, it will be named promo_1.jpg.
Delete a folder
To delete a folder, you must first delete all the items in a folder. If you wish to delete a set of nested folders, you must delete all the items out of each folder, delete each nested folder, and then delete the main folder.
