
Configure a LINE Campaign: Audience
The Audience sub-section is used identify to whom you're sending your Campaign message. The platform offers several different options to both select and restrict your Campaign Audience.
The features and options available from the Audience sub-section are described below.
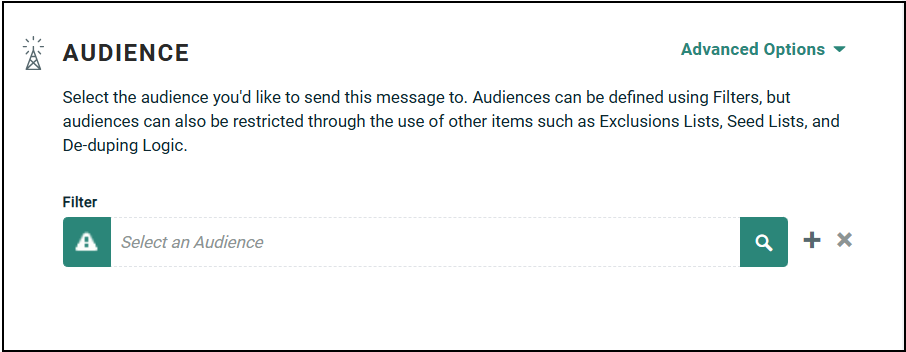
Select the audience
The options for defining the Campaign Audience are described below:
Audiences are defined using a filter, which can often (depending on the channel) be restricted through the use of other items, such as Exclusions Lists, De-duping Logic, etc.
For more information on setting up filters, see the Filters section.
For Regular One-off and Date-triggered Campaigns, the system requires you to select a Filter.
Note: If you assign an empty filter (that is, a filter that doesn't have any logic criteria within it) to a Campaign, the Campaign will deploy to all recipients in the Campaign's source table. In most cases, this isn't desired. The system will display a warning messages if the Filter is empty, but you should also always check that you've assigned the correct filter to the Campaign and check the Filter logic to make sure it's selecting the desired recipients.
For an Event-triggered Campaign, you don't have to select a filter, as the event itself defines who the recipients are; the default audience for an Event-triggered Campaign is all triggered records. Optionally, however, you can select a filter if you need to apply additional restrictions to identify and select only a sub-set of the triggered records.
For an Event-triggered Campaign, in the Advanced Options drop-down list, select Add Audience Filter. The system replaces the default All triggered records filter with a user-defined field. From this point, you can proceed with the steps described below.
For all Campaign types:
-
Select a filter:
-
To select an existing filter, begin typing in the name of the desired filter and select the required filter from the displayed list. Or, click the browse button (magnifying glass icon). A Browse Filter dialog box is displayed, showing all the filters with the same source table as the current Campaign. Click on the required filter.
Note: If you search for and select a filter that has a different source table than the current Campaign, the system will display an error message at the top of the Campaign screen.
-
To create a new filter, click the new button (+). A Create new Filter dialog box is displayed. Enter a name and select a data source for the filter. Click Create. To define the Filter logic, click the Go to filters details button (green up-arrow icon). The system displays the Filter detail screen where you can define the filter logic. When finished click Edit > Save. To return to your Campaign, click the Campaigns tab in the Top Navigation Pane.

-
-
Optionally, to view the details of this filter, click the Go to filters details button (green up-arrow icon) to the left of the Filter field. The system opens the Filter details screen within a new tab.
-
You may be prompted to select the field you want to use to contact the Campaign's recipients. This option is displayed if your source table contains more than one address-type field (such as multiple Email type fields in an Email Campaign, or multiple Phone type fields in an SMS Text Campaign). From the drop-down menu, select the source table field that you want to use.
