
Configure a Mobile Push Notification Campaign: Content
The Content sub-section is used to enter and preview the push notification content. This section is accessible by clicking the Content tab
The features and options available from the Content tab are described below.
When you're finished with the Content section, click next at the bottom of the screen to move to the Review section, or click the Review tab.
Enter Content
Select Push Type
There are two types of messages you can send using the Mobile push notification channel:
Push Notifications are sent to users' mobile devices, even if your app isn't open. A push notification is a simple message directing users to your app when the Push Message is tapped. These messages appear on your Lock or Home Screen, outside of your Mobile App.
In-App Notifications engage your users while they are using your app. In-App notifications are displayed once users open your app.
The Push type section allows you to choose which type of message you’d like to send. There are 3 options displayed, you can choose one of these.
-
The default setting is to create both Push notification and In-App message together.
-
Create a Push notification only
-
Create an In-App message only
Note: If you toggle between the Push types, your settings in Cheetah Digital by Zeta will not be lost. For example, if you first create a Push notification, but then decide to add an In-App message, you can choose Push and In-App notification and all of your settings for Push notifications are saved and available for use.
Configure Push Details
This section allows you to create your message and add additional features to increase engagement with your message not only with a Title and Message, but with notification badges, custom sounds, images and GIFS, Deep links and specific Call to Action buttons.
-
Title: The Title represents the first line of your message and it is typically very short. The title can also be personalized to increase engagement. Enter your Title in Plain Text format.
-
Message: In the message, enter a longer message to give the recipient a bit more information about your notification topic. Enter your message in Plain text Format.
-
Emojis: You can include emojis in the Title and Message fields to grab the attention of your recipients.
Windows users can use the keyboard shortcut Windows logo key and .(period) to launch the emoji keyboard.
Mac users can use the keyboard shortcut Control + Command + Space to open the Character viewer.
-
-
Notifications Settings - Badge and Sound
-
Badge (iOS devices only) appears as a small circle indicator with a number on your app icon and indicates a new message that has been sent from your mobile app.
Android badges are controlled inside your mobile app settings.
-
Sound is the specific alert sound that can be used to indicate your message if your mobile app uses custom sounds. Keep in mind, the recipient may override your custom sound with their own sound notification sounds on their device.
-
Select Sound and enter the exact sound file format that your mobile app uses.
-
-
-
Media: Add media to your message to increase engagement. This can be from an external source or hosted items in Cheetah Digital.
-
Paste your URL into the media field:
-
Choose media either from Cheetah Digital by Zeta Hosted Items (use the copy icon in the File URL) or an external source URL.
-
Accepted formats: JPEG, JPG, PNG, GIF, MP4
-
Image size must be within 50MB, as larger images could impact loading times.
Smaller, high-quality images typically load faster, so we suggest using the smallest asset that meets your desired output. And of course, be sure to test across various device types to ensure those visually rich messages have the impact you are looking for.
As a best practice, use images with an aspect ratio of 2:1 so your images look great across devices.
-
URL should read as: https://myimage.png
-
To use the media from hosted items in Cheetah Digital, Click Hosted Item and select the required file in the pop-up window. Alternatively, you can upload new media file to Cheetah Digital hosted items by clicking Upload New Media and then use this media in your Push message.
-
Click away from the field and the image will be processed, checking for validation of format, URL format and the location.
For more information on Hosted items, see Hosted Items.
-
-
-
On Click Behavior: when your notification is tapped you can either redirect recipients to the Home page of your mobile app or use the Deep link to go to the specific page within your app or to a web page.
-
Select Open App to open the Home page of your mobile app
-
Select Deep Link to open to a specific location within your mobile app or to a Web page. Enter the link in the format "my-app://deep-link-page" for the mobile app or enter the Web URL for the web page.
-
-
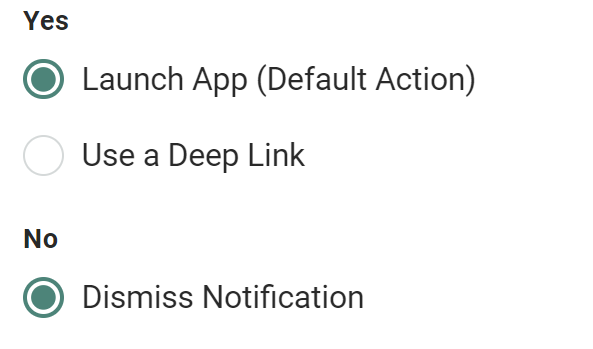
Buttons: Buttons add more engagement to your message by introducing actions which direct recipients directly to specifc deep link URLs within your mobile app. You can add the following buttons or add your own custom button.
Button Name Description Image Yes/No
Displays two buttons on your push notification, aYesbutton and aNobutton. TheYesbutton takes users directly to your app or to a specified link. TheNobutton dismisses the notification.
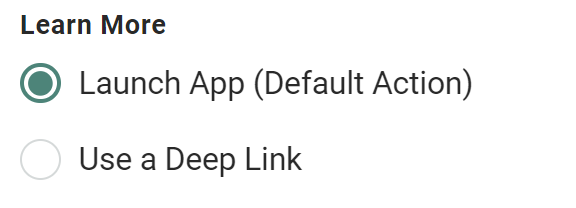
Learn More
Displays a singleLearn Morebutton on your push notification. The button takes users to your app or to a specified link.
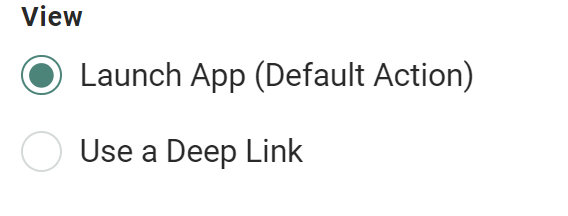
View
Displays a singleViewbutton on your push notifications. The button takes users to your app or to a specified link.
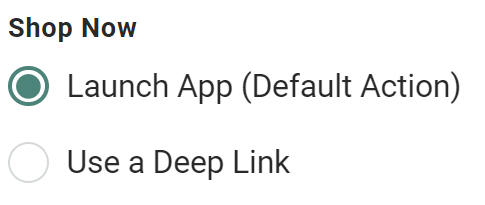
Shop Now
Displays a singleShop Nowbutton on your push notifications. The button takes users to your app or to a specified link.
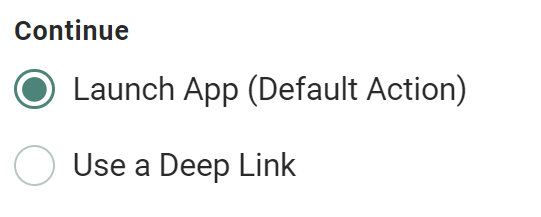
Continue
Displays a singleContinuebutton on your push notifications. The button takes users to your app or to a specified link.
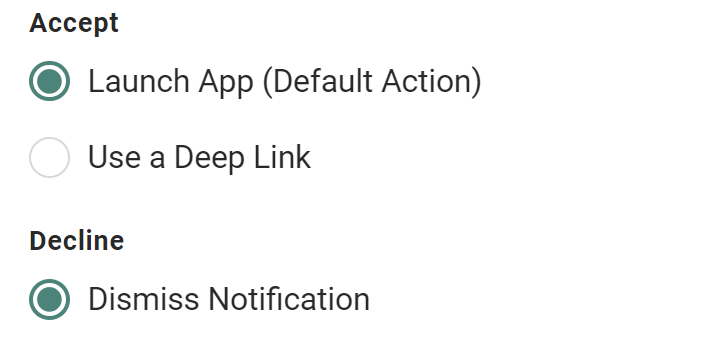
Accept/Decline
Displays two buttons in your push notification, anAcceptbutton and aDecline button. TheAcceptbutton takes users directly to your app or to a specified link. TheDeclinebutton dismisses the notification.
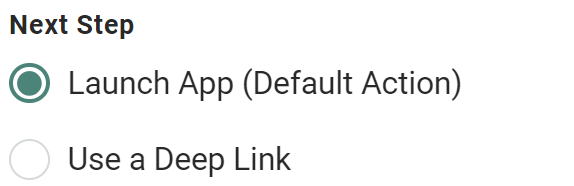
Next Step
Displays a singleNext Stepbutton on your push notifications. The button takes users to your app or to a specified link.
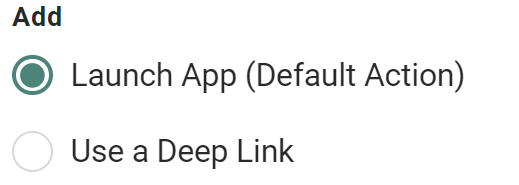
Add
Displays a singleAddbutton on your push notifications. The button takes users to your app or to a specified link.
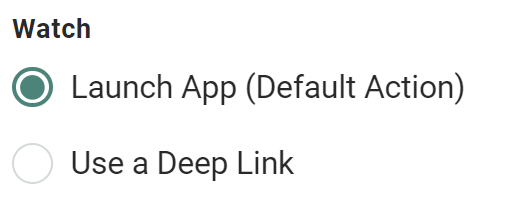
Watch
Displays a singleWatchbutton on your push notifications. The button takes users to your app or to a specified link.
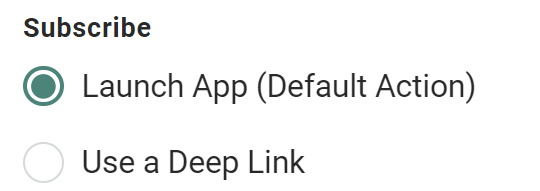
Subscribe
Displays a singleSubscribebutton on your push notifications. The button takes users to your app or to a specified link.
Share
Displays a singleSharebutton on your push notifications. The button takes users to your app or to a specified link.

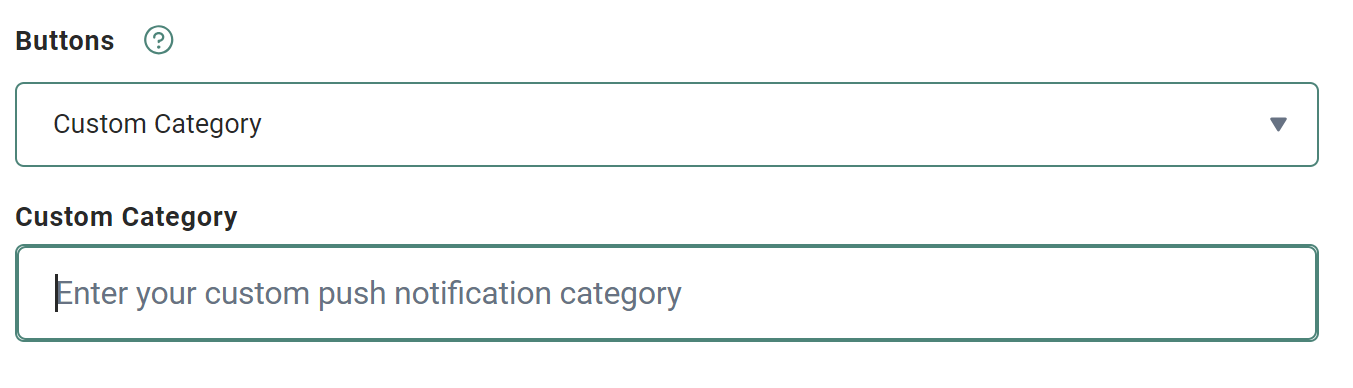
Custom
You can use the custom button that's built into your mobile SDK, by selecting this option.
Once selected, enter a name for your custom category that matches with the name registered in the Mobile SDK.
- In the In-App Details section, set the message expiration by specifying how many days it remains available in your app after being sent.
Add Personalization Fields
Personalization fields are used to populate your message with customer specific values from the database. For example, in the "Dear Customer" greeting, you could replace the word "Customer" with the customer's actual first name.
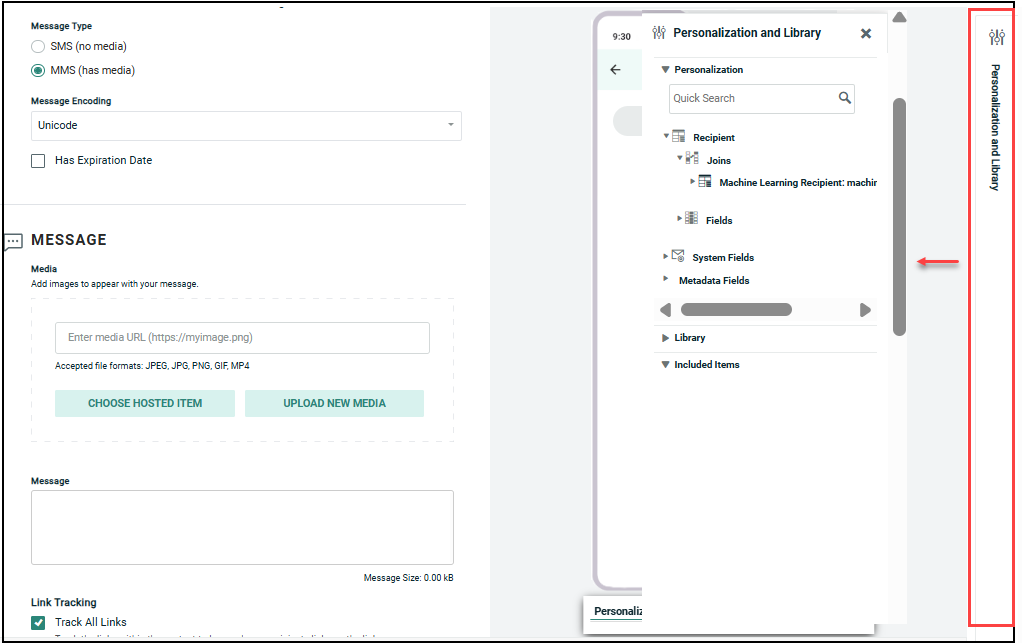
The available personalization fields are displayed within the Personalization and Library Pane on the right-hand side of the screen.
The Personalization Pane appears collapsed on the right-hand side of the screen. Within this panel, the available fields are organized into different expandable / collapsible groups. For example, you'll see a section for your Campaign source table. You may see another section called Joins if your source table is joined to another table, or a section called System Fields that contains system-generated fields, or a section called Metadata Fields that contains the Metadata fields defined in your account.
You can include various Dynamic content such as Dynamic Block, Looping Block, Content Block etc., in the message from the Library folder.
To add personalization to your message:
-
Place your cursor in the field where you want to add personalization.
-
Within the Personalization Pane, expand the desired group.
-
Double-click on the Personalization field name. Or drag the desired personalization field from the Personalization Pane, and drop it into the text field. An Insert Field Value popup dialog is displayed.
-
Optionally, enter a default value for this personalization field in the Default text box. The default value is used if their is no recorded value to personalize the message.
-
Optionally select a formatting mask from the Formatter drop-down menu. The formatting mask is used to control the appearance of the text in the personalization field. For example, you can format date fields as mm/dd/yyyy. The system includes formatting masks for currency, dates, numbers, and URLs. You can also use a formatting mask to truncate or encode the personalization field.
-
Click Ok. The system creates a new Merge Symbol for this personalization field.
Preview
While creating your message Cheetah Digital by Zeta dynamically creates your message in the mobile device Preview, allowing you to see how your message might appear.
Preview Message Content
Device Preview includes iOS and Android mobile devices.
View options are Collapsed, Expanded and In-App Full Screen.
-
Collapsed displays what the message may look like when it is first delivered in collapsed view.
-
Expanded displays the message if the recipient chooses to expand the display.
-
In-App Full Screen displays the entire message since In-App messages are not delivered collapsed but rather always expanded in full.
Note the following when looking at Device Preview Options: Preview is a close rendition of how your message should appear and may not be exactly how it appears on your recipients mobile devices. For iOS, buttons appear once the message is interacted with and aren’t available for Preview.
