
Add a Filter
Filters are used to segment your audience, and to select the intended recipients of a Mailing. The Filter must first be created in Cheetah Digital (see Filters for more information), then added to your Distributed Marketing account, to make it available for selection.
To add a Filter to Distributed Marketing:
-
From the User Details drop-down menu in the top-right corner of the screen, select Admin. The Administration window is displayed.
-
From the tool bar at the top of the Administration window, click Settings. The Settings screen is displayed, with the Folder tab selected by default.
-
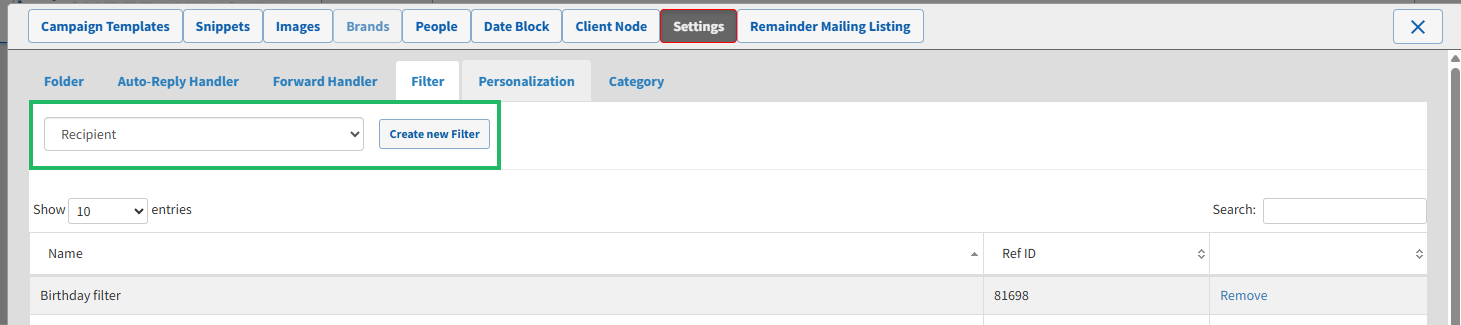
Select the Filter tab.
-
From the Table drop-down menu, select the table on which the Filter was built.
-
Click Create New Filter. The Add Filter pop-up window is displayed and populated with all Filters in your Cheetah Digital account that were built on the selected table.
-
Optionally, search for a Filter by entering a text string in the Search field.
-
Click the name of a Filter to select it. Repeat this process as needed to select additional Filters. Or, optionally, click Select All Visible Options to automatically select all Filters on the current page.
-
Click Save.
