Remove a Filter
When you remove a Filter, you are simply removing it from Distributed Marketing, so that it is no longer available for selection when creating Mailings. You are not actually deleting the Filter.
To remove a Filter:
-
From the User Details drop-down menu in the top-right corner of the screen, select Admin. The Administration window is displayed.
-
From the tool bar at the top of the Administration window, click Settings. The Settings screen is displayed, with the Folder tab selected by default.
-
Select the Filter tab.
-
From the Table drop-down menu, select the table on which the Filter was built. The screen displays all Filters built on the selected table that were previously added to Distributed Marketing. The screen shows the Filter name and internal reference ID.
-
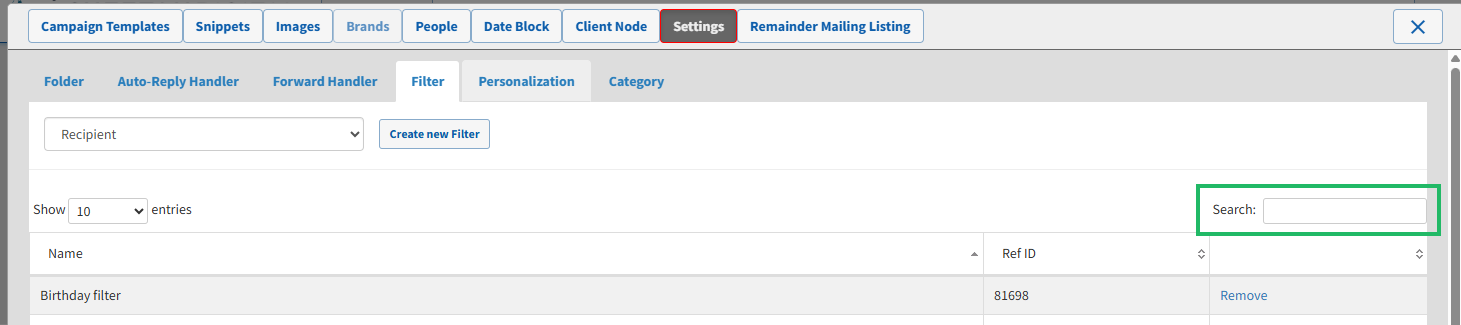
Optionally, to search for a specific text string, enter the desired value in the Search field. The system displays only the Filters that have this text string anywhere within their Name or Reference ID.
-
By default, the items are sorted alphabetically by Name. Optionally, to sort the list by some other column, click the desired column header. The list is resorted by that column in ascending order. Click the same column header again to toggle the sort order to descending.
-
By default, the screen displays ten items. To change the page size, select a different option (10, 25, 50, or 100) from the Show Entries drop-down menu. If the number of items is greater than the page size, links to additional pages are displayed beneath the list.
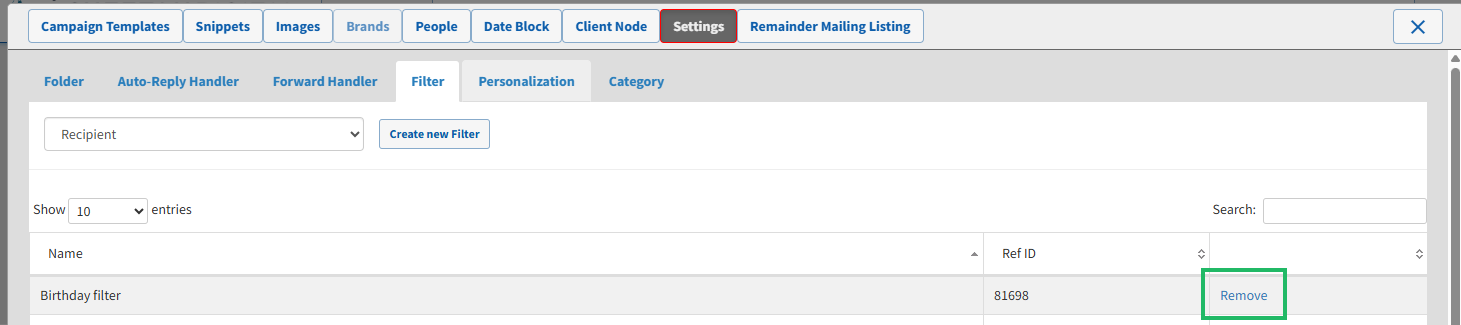
-
Next to the desired Filter, click Remove.