
Create Push Notification Campaigns
When customers install your app on a mobile device and agree to receive Push Notifications, you can alert them to new, timely information. If the recipient is not on the device at the time the Push Notification Campaign is deployed, the message is displayed on the lock screen, and can later be accessed through the device's notifications screen.
Note: This document focuses on using the Enhanced Workflow screen in Cheetah Messaging. Please note that not all Push-related features are currently supported in the Enhanced Workflow, including the use of Date-triggered and Event-triggered Campaigns. If you need access to a feature that's not available in the Enhanced Workflow, you'll need to use the "legacy" Campaign screen instead.
Identify your Campaign source table
Since individual users can download and install your app on different devices, Cheetah Messaging utilizes a single, system-generated identifier that combines the device ID and customer ID. This identifier is called the Push Registration ID (PRID), and it serves as the main contact field for the Push Notification channel.
The PRID is typically stored in a dedicated table, separate from your other sending tables used for other marketing channels. Please speak to your Campaign Services Representative if you have any questions about what table you should use as the source table for Push Notification marketing.
Campaign Creation
Create a new Campaign
Once reusable items (such as the Filter, Application Group, Push Notification Template, etc.) have been created, the Push Notification Campaign is ready to be created.
1. From the System Tray, select Campaigns > Campaigns.
2. In the Tool Ribbon, click New.
3. Fill out the Campaign details:
-
Folder: Select the folder for the Campaign.
-
Name: Enter a unique descriptive name for the Campaign.
-
Data Source: Select the Campaign's source table.
-
Campaign Type: Select Regular (one-time)
-
Channel: Select Push Notification
4. Click Save New Item.
Campaign Setup
The Campaign screen is split into multiple sections accessible via a series of chevrons across the top of the screen. The first chevron, Setup, is where you configure high-level information about the Campaign.
Identify the Campaign audience
The Audience section is used to identify the Campaign's intended audience of recipients. Click the Setup chevron.
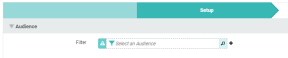
1. Use the Search tool on the Filter field to browse for an existing Filter; or use the New tool to create a new Filter.
Select Application Group and Configuration
The Application Group identifies the apps that will receive the notification, and it also controls the recipient's eligibility to be contacted. The Configuration controls the Push Notification Template that will be used for this Campaign.
1. In the Sender Profile section, select the desired Application Group from the drop-down menu.
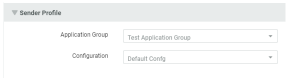
2. The Configuration drop-down menu is populated based on the selected Application Group. From this menu, select a Configuration.
Create the message
The Message section of the screen is populated with the Push Notification Template associated with the selected Configuration.
1. Using the toggle switch, select an operating system: All, iOS, or Android.
2. Fill out the Push Notification Template.
3. To use Personalization, click the Personalization & Library panel on the right-hand side of the screen to expand it.

4. An item from the Personalization Panel can be added, either by:
-
Drag-and-drop
Drag-and-drop the item from the Personalization & Library panel directly into the desired attribute in the Template.
-
Double-click:
Position the cursor in the desired position within the Template, then double-click the item in the Personalization & Library Panel.
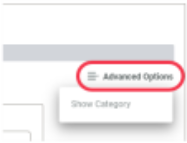
5. If an attribute in the Template has been designated as "Advanced," select it from the Advanced Options menu to make it viewable within the Template.
6. On the Tool Ribbon, click Save.
Preview the message
You can preview the Push Notification and check the creative is correct.
1. In the Tool Ribbon, click Preview.
2. Using the toggle button, select an operating system: iOS or Android.
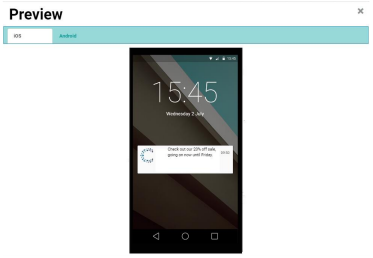
3. When finished, click theX icon in the top-right corner of the Preview window.
