
Execute an Import Definition
Import Definitions can be scheduled to run on a one-time or recurring basis. You can also manually upload a file and execute an Import Definition from the Imports screen as follows. When executed in this manner, the platform will utilize many of the settings contained in the Import Definition (you can optionally override the file delimiter and the delimiter count validation).
-
Select Admin from the top navigation bar, then select Integrations > Imports from the side navigation menu. The Imports screen is displayed.
-
Optionally, search for the desired Import Definition (see
-
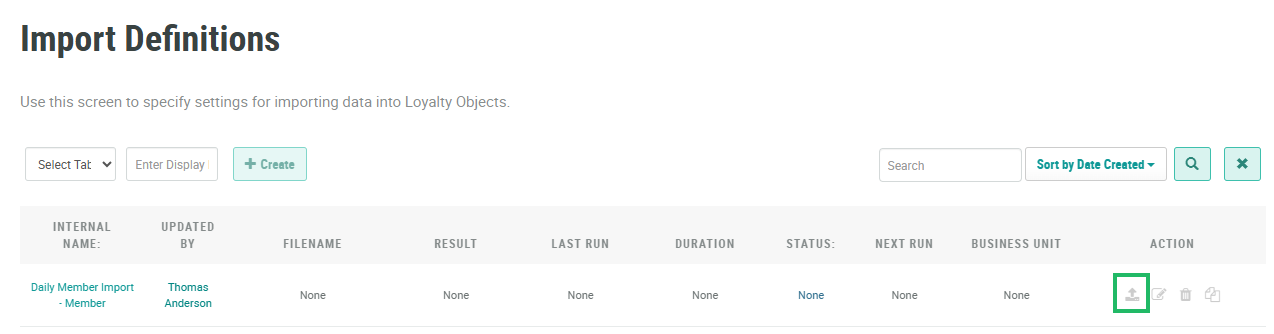
In the Action column next to the desired Import Definition, click the Upload icon. The Upload and Import File pop-up window is displayed.
-
Click Choose File. Browse to and select the desired file, then click Open.
-
From the File Delimiter drop-down menu, select a standard delimiter character (Tab or Comma), or select Custom Delimiter and enter the custom character.
-
Optionally, the platform can validate that the import file contains the expected number of delimiter characters per row. To run this validation, select Yes from the Validate Delimiter Count drop-down menu.
-
Click Save and Import.
You can also manually execute an Import Definition from the Import Definition Details screen. When executed in this manner, the platform will utilize all the settings contained in the Import Definition.
-
Select Admin from the top navigation bar, then select Integrations > Imports from the side navigation menu. The Imports screen is displayed.
-
Optionally, search for the desired Import Definition (see
-
Select the desired Import Definition, either by clicking its name, or by clicking the Edit icon within the Actions column. The Import Definition Details screen is displayed.
-
In the top-right corner of the screen, click Run. A confirmation dialog box is displayed; click Confirm.

