

From the Issue Offers tab, you can import a file of Member identifiers, and the platform will automatically generate Offer Responses assigned to all the Members in the file. For more information, please see
When you initiate the Batch Offer assignment process, the new file will appear within the History section of the Issue Offers tab, with a status of Processing. When the file is finished processing, the status changes to Complete. The platformS also displays the results of the Offer assignment process, including total Members in the file, total Members successfully assigned an Offer Response, and total Members that failed. Members can fail this process for several reasons, such as an unknown or malformed Member identifier, or the Member's account is deactivated.
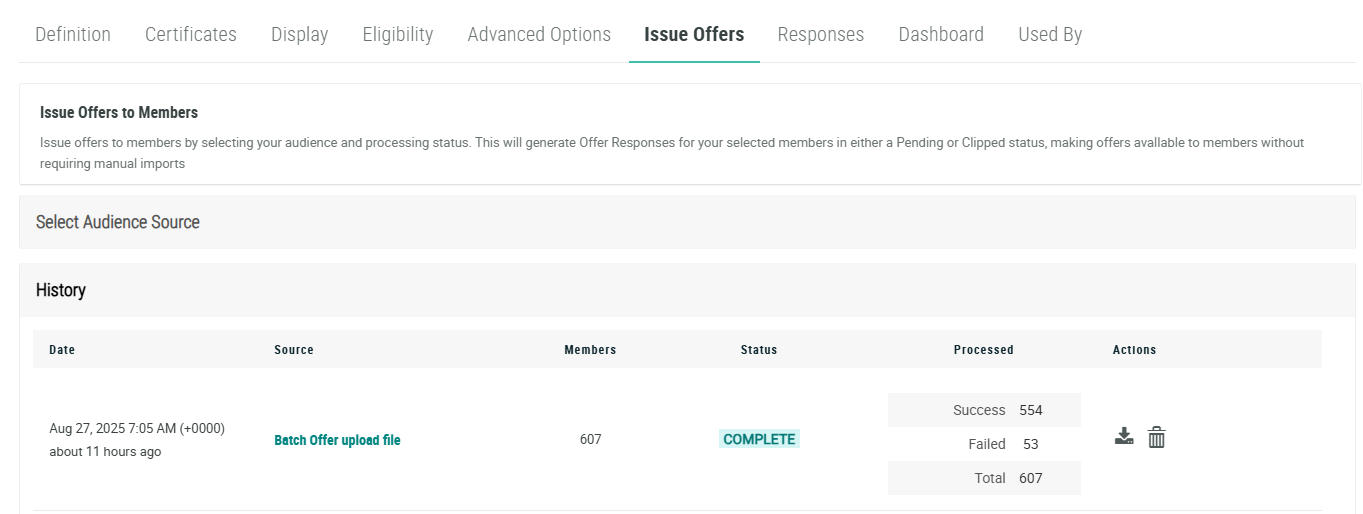
From the History section of the Issue Offers tab, you can download a results file, download a copy of an original import file, or delete an import file.
Download Results File
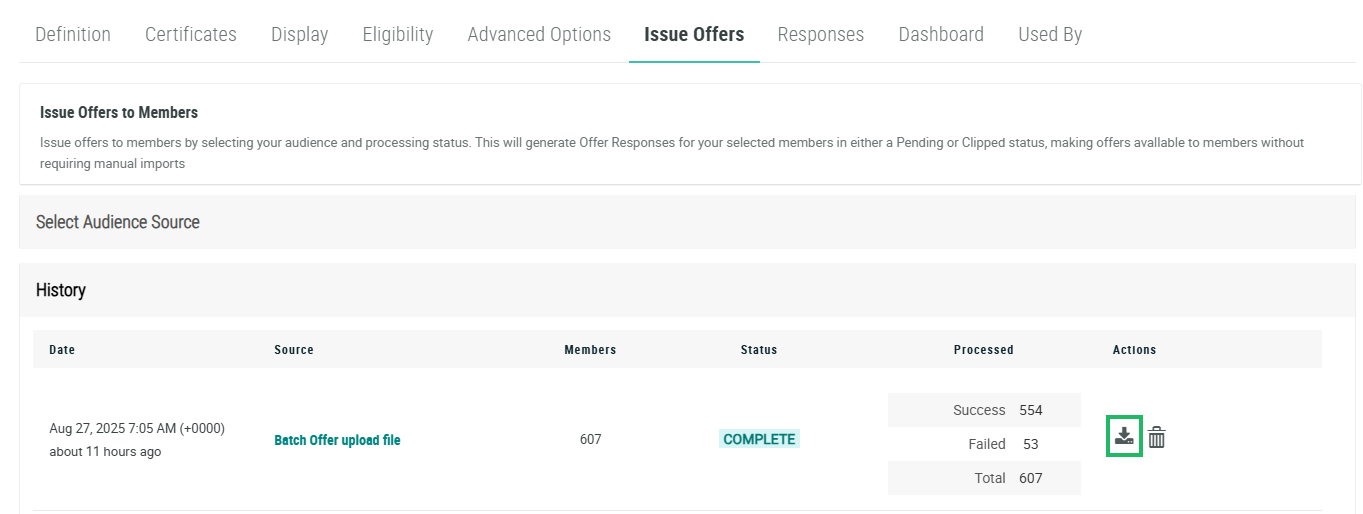
After each upload process completes, the platform generates a results file that lists every Member in the original import file, along with a SUCCESS / FAIL indicator. For records that failed, the file includes an error message indicating why the record failed.
To download the results file:
-
Select Campaigns from the top navigation bar, then select Offers > Offers from the side navigation menu. The Offers screen is displayed.
-
Search for and select the desired Offer (see Search for an Offer for more information on the available search options). The Offer Details screen is displayed, with the Definition tab selected by default.
-
Select the Issue Offers tab.
-
Click the History section to expand it.
-
Next to the desired file, in the Actions column, click the Download icon. The platform downloads the results file to your local PC.
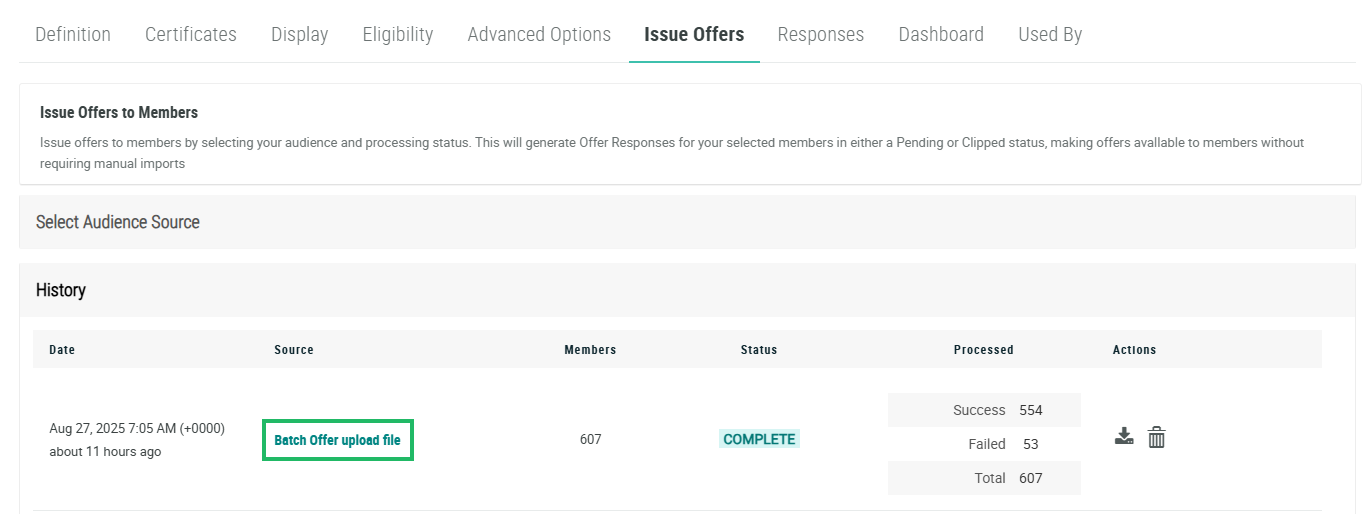
Download an Original Import File
For auditing purposes, the platform keeps a copy of each file that gets used in the Batch Offer assignment process. To download a copy of one of these files:
-
Select Campaigns from the top navigation bar, then select Offers > Offers from the side navigation menu. The Offers screen is displayed.
-
Search for and select the desired Offer (see Search for an Offer for more information on the available search options). The Offer Details screen is displayed, with the Definition tab selected by default.
-
Select the Issue Offers tab.
-
Click the History section to expand it.
-
Within the Source column, click the file name. The platform downloads the original import file to your local PC.
Delete an Import File
The platform allows you to delete an import file from the History section. Please note that deleting an import file does not delete the Offer Responses that were generated when that file was imported.
To delete an import file:
-
Select Campaigns from the top navigation bar, then select Offers > Offers from the side navigation menu. The Offers screen is displayed.
-
Search for and select the desired Offer (see Search for an Offer for more information on the available search options). The Offer Details screen is displayed, with the Definition tab selected by default.
-
Select the Issue Offers tab.
-
Click the History section to expand it.
-
Next to the desired file, in the Actions column, click the Delete icon.

