
Video Learning
Here's a brief video to get you started.
Edit a Segment
To edit a Segment:
-
Select Members from the top navigation bar, then select Segments from the side navigation menu. The Segments screen is displayed.
-
Search for and select the desired Segment (see Search for a Segment for more information on the available search options). The Segment Details screen is displayed, with the Rules tab selected by default.
-
The sections and tabs on this screen allow you to edit various configuration details. See below for details on how to edit different aspects of the Segment.
Segment Properties
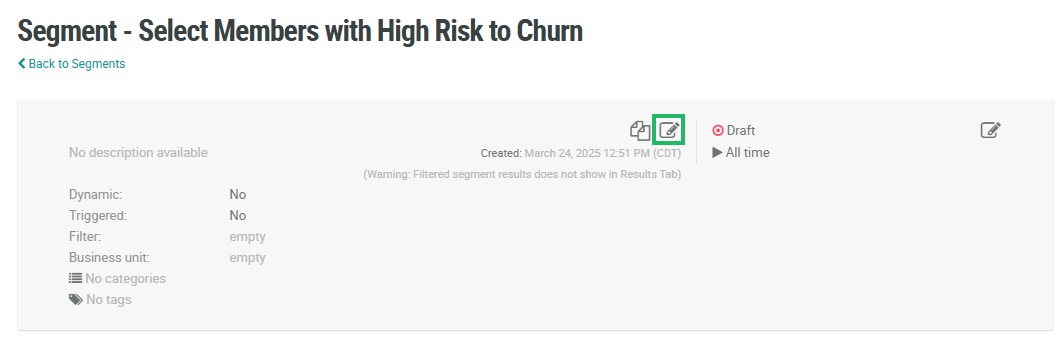
Many of the high-level properties of the Segment (such as the name, description, tag, category, etc.) are accessible from the Edit Segment pop-up window. To change the high-level properties of this Segment:
-
Click the Edit icon within the header. The Edit Segment pop-up window is displayed.
-
In the Display Name field, optionally change the name of the Segment.
-
In the Description field, optionally change the description of the Segment.
-
Optionally, check Triggered. Setting a Segment as Triggered means that the platform will automatically refresh the Segment when any Member Activity of any type is recorded. For performance reasons, if you set a Segment to Triggered, the best practice recommendation is to also enter a filter within the Filter text field. A filter allows you to refresh the Segment only when a specific Activity type occurs, rather than any Activity type. Filters must be written as an expression; please speak to your Support team for assistance writing expressions.
Note: The Dynamic feature for Segments instructs the platform to refresh this Segment when any API activity is recorded in your loyalty program. This feature is resource-heavy, and having multiple Dynamic Segments could impact the overall performance of your program. Please speak with your Support team to discuss possible alternative solutions to using Dynamic Segments.
-
In the Categories field, optionally assign one or more Segment Categories. Categories are used to organize items into groups.
-
In the Tags field, optionally assign one or more Tags to this Segment. Tags are used to help search, filter, and organize items within the platform. To pick an existing Tag that was previously assigned to other Segments, type in all or part of the Tag name, then select it. Optionally, you can also type in a new Tag value.
-
Click Save.
Rules Tab
The Rules tab of the Segment Details screen allows you to define the logical conditions that specify the inclusion criteria for the Segment. Loyalty Essentials provides a set of standard Segment templates, designed to support common marketing use cases. You can also manually adjust the conditions in a standard template to meet your specific requirements.
To modify the logical conditions of a Segment template, you can optionally change the template itself. Or, if you want to keep the template intact, you can clone it (see Create a Segment from a Template for more information), then proceed to make the desired changes to the Segment logic, as described below
For example, the logic for the “High Value Customer” Segment template is to select Members who: “made at least 1 purchase in the last 6 months.” But let’s say your organization defines a High Value Customer as: “made at least 3 purchases in the last year.” After cloning the Segment template, you can easily modify the selection criteria to fit your needs.
-
On the Segment Details screen of the copied Segment, select the Rules tab. The platform displays the logical conditions used to select Members.
-
To change the parameters of a Rule, click into the appropriate drop-down menu or text field, and select or enter the desired new value.
Continuing the above example, let’s say you want to change the logic for how you define a High Value Customer. You would change the “1” to a “3” so that the logical condition now reads: “count of Purchases is greater than or equal to 3.” Likewise, you would change the In Period filter so that it reads, “Is In Last 1 Year.”
-
Click Save.
Before publishing your Segment, you must deploy Segment metadata. See Deploy Segment Metadata for more information.
Once you are satisfied with the changes and have deployed metadata, you can publish the Segment. See Publish a Segment for more information.
