The Export is typically called from within the test or source environment.
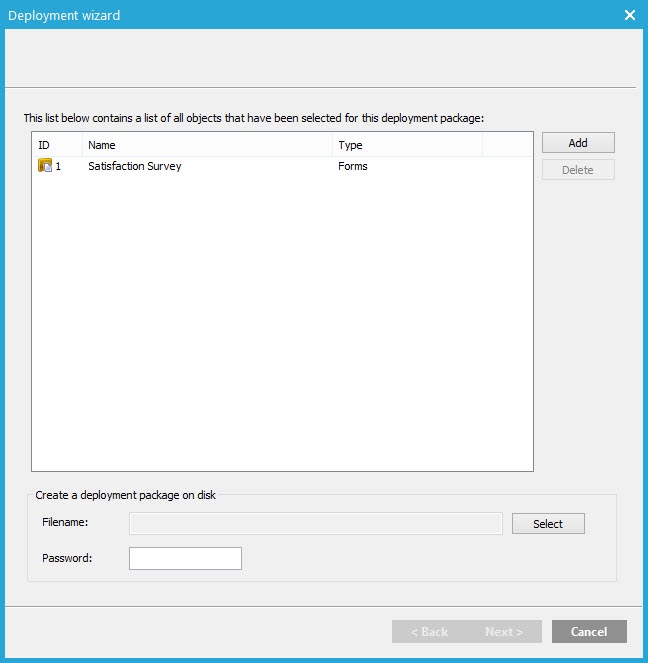
When selecting the'Export'option from the'Actions'menu, the following export wizard is displayed:
Below is an example of the export of a form:
A first step is the selection of what to include in the package.
Note: When the'Export'option is called from a specific journey, message or form it is already listed.
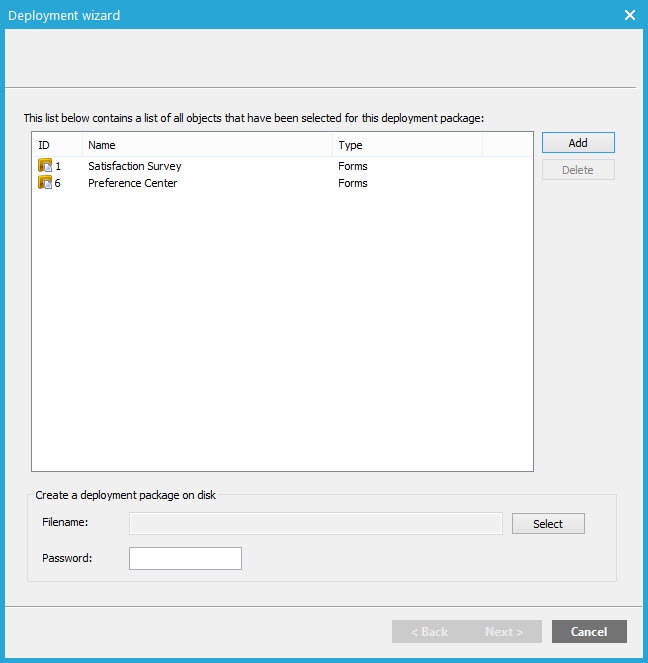
Use the'Add'button to add additional elements to the package. Depending on the tool from which the export is called, the content of the dialog is different:
Example: When exporting forms, a list of all forms is provided.
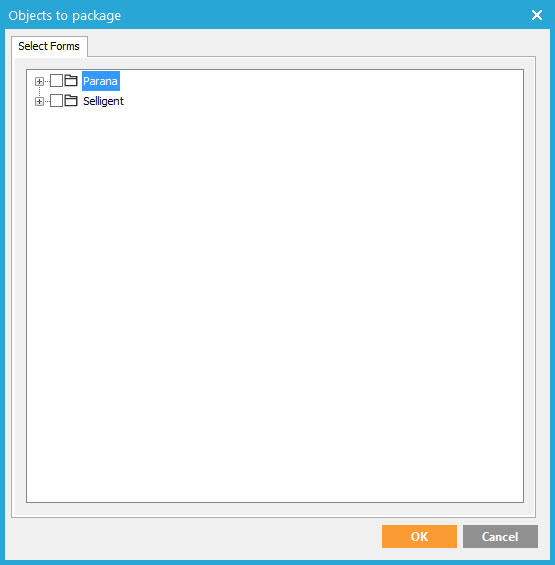
Make a selection of the elements to include in the package by ticking the boxes.
Press the'OK'button. They are now listed.
Every element included in the package is listed, with its type (journey, folder, document, list, option list, etc).
When the export is called from the Editor or Journeys, additional options are provided:

Include resources: this allows packaging also all resources within a message. A choice can be made between internal (stored on the Selligent environment) resources only or also external resources (example: image stored on an external URL). If the option is not checked, all links remain as they are and will not be converted. Example: if an image is used and stored on the Selligent staging environment emsecurestaging.net the link is converted to emsecureproduction.net if the option was set to include internal resources.
Don’t resolve links to other journeys: ticking the box will not include all linked journeys in the package. If the option is not selected all linked journeys, whether that is through the Redirect component in a journey or in messages, are included in the package and all links are correctly converted between both environments. Checking the option does not include the linked elements, but converts the links correctly, at the condition that these linked elements already exist on the target environment and mapping can be found.
Include articles:when message templates are packed it is possible to include or exclude the articles as well by using the corresponding option.
Further on in the Export window, it’s possible to define the name of the exported file and the password (optional) used to encrypt it.
Once this first configuration is done, click the'Next'button.
The next step when creating a package is checking the exported data. All warning messages are displayed at the bottom of the window.
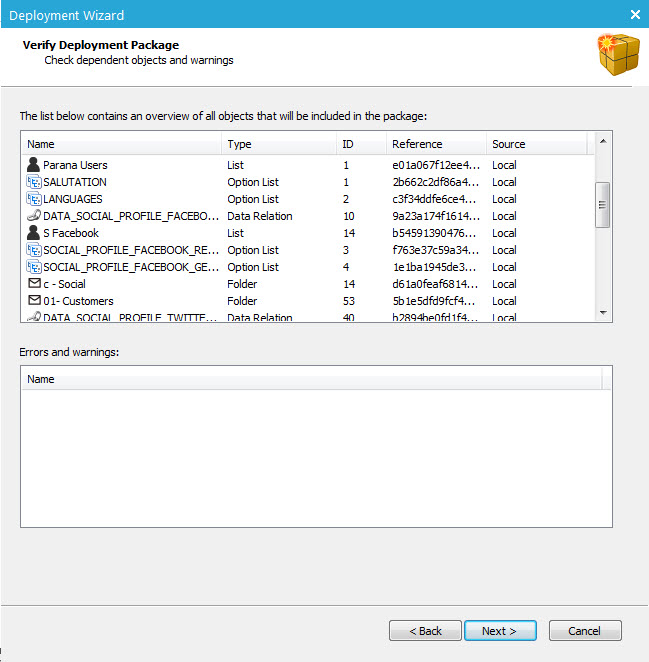
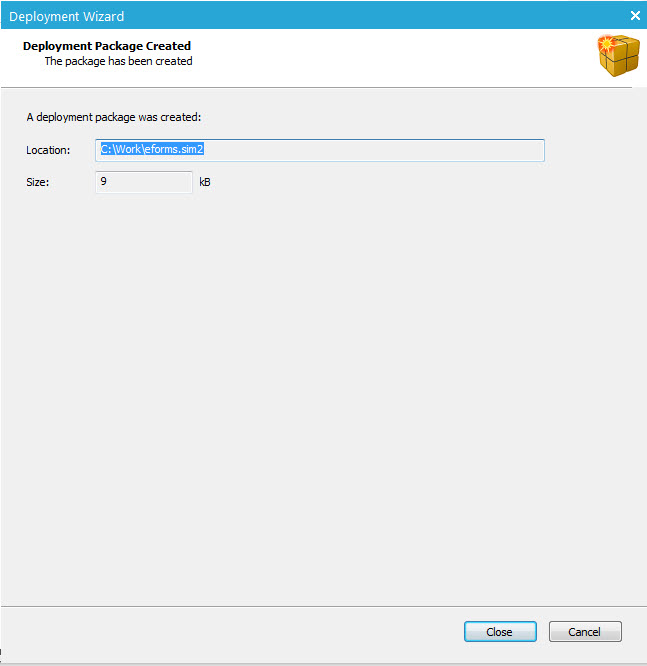
When all checks are done, click the'Next'button to display the export process summary:
