
To create an Experience, a toolset is at hand, not only to allow you to start from a series of predefined templates, but also to allow modular sections to be added or removed from your own Experience.
Note: For in-depth documentation on the Grow toolset, check out the Grow Help Center.
Prerequisite
A permission is used that is set up in the Admin Configuration section of Selligent by Zeta, to allow users to access the Grow module.
Create an Experience
-
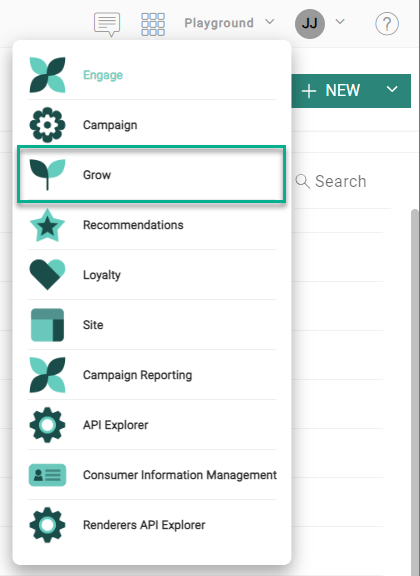
Launch the Grow module.
-
You'll be logged in automatically through single-sign on.
Note: The user account also needs to exist in Grow, with the same email address as the Selligent user, for the single-sign on process to work.
Consult this page on how to add a new SSO account in Grow. -
The Grow dashboard is shown.
In the Quick Actions section, select Create.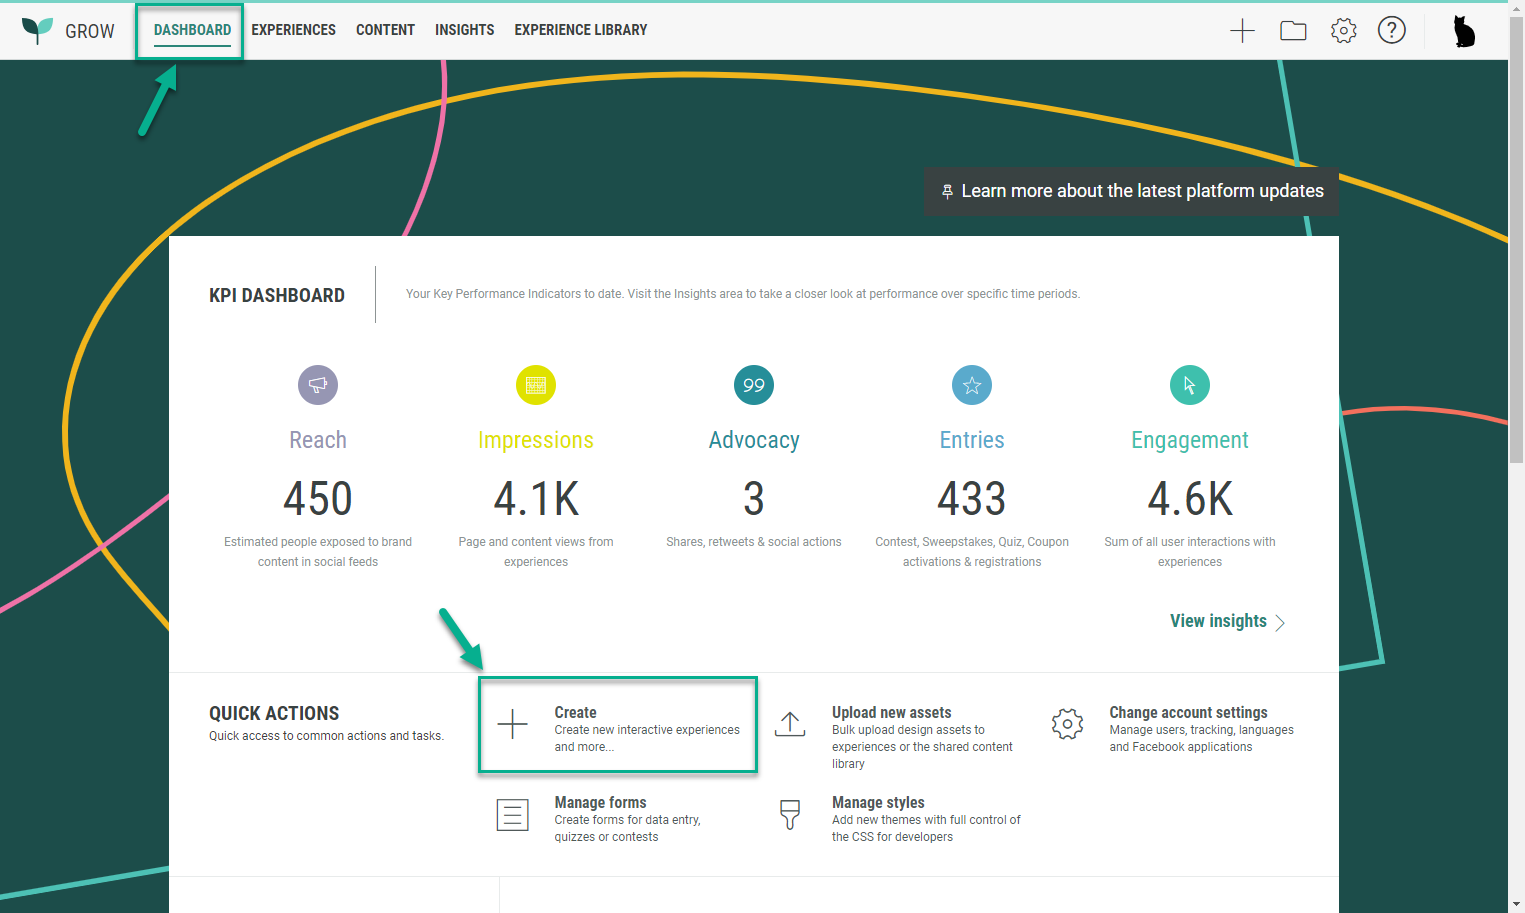
-
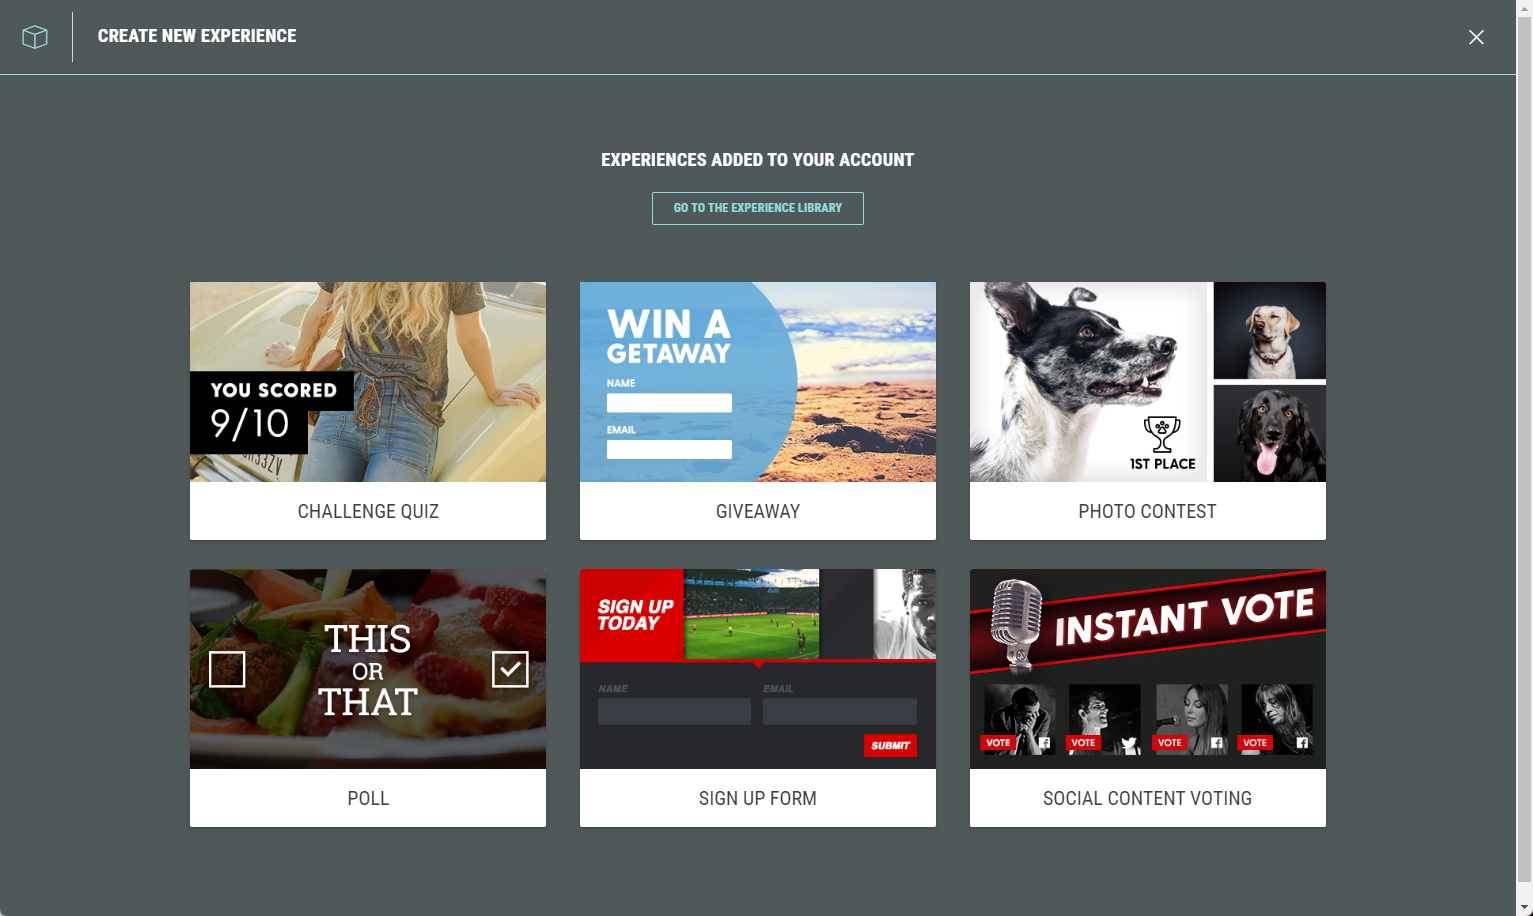
Select the type of Experience you want to create or go to the Experience Library.
-
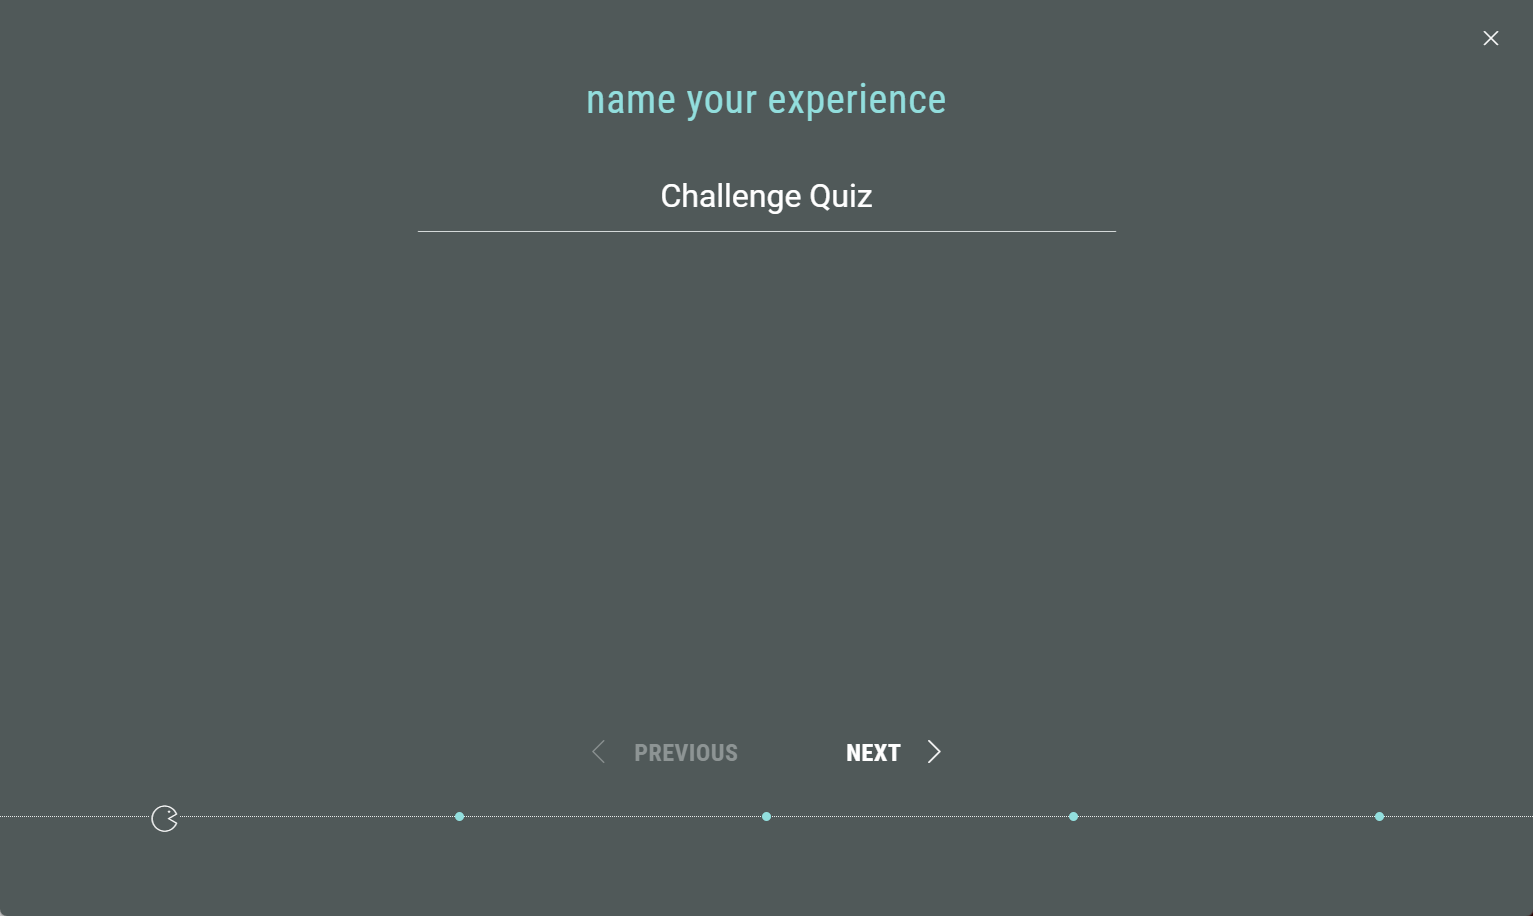
Each Experience requires:
-
a unique Name
-
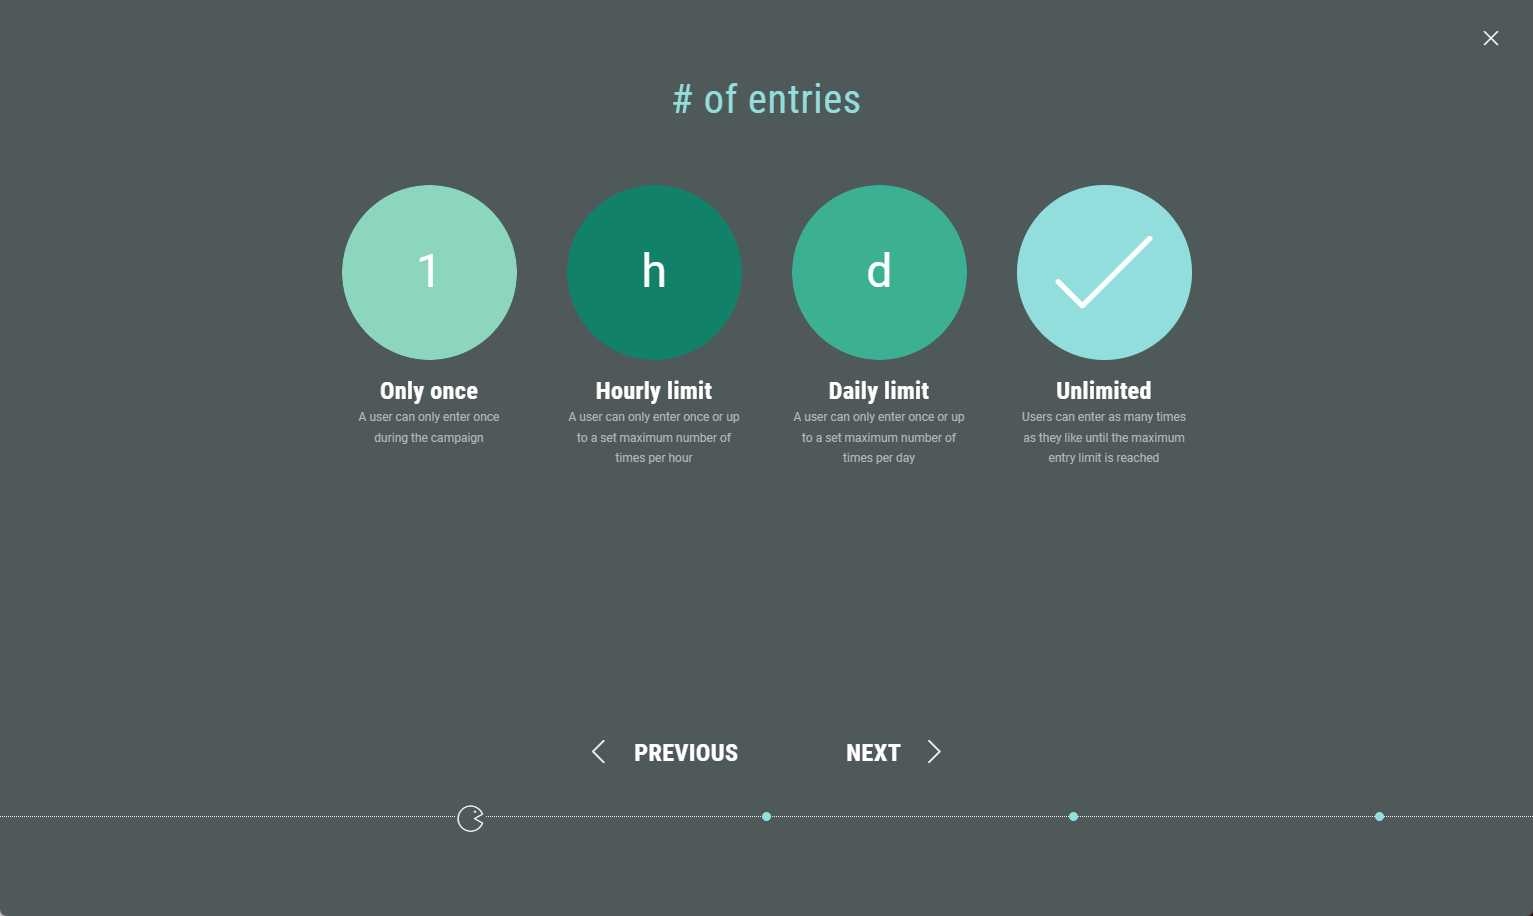
the number of Entries allowed
-
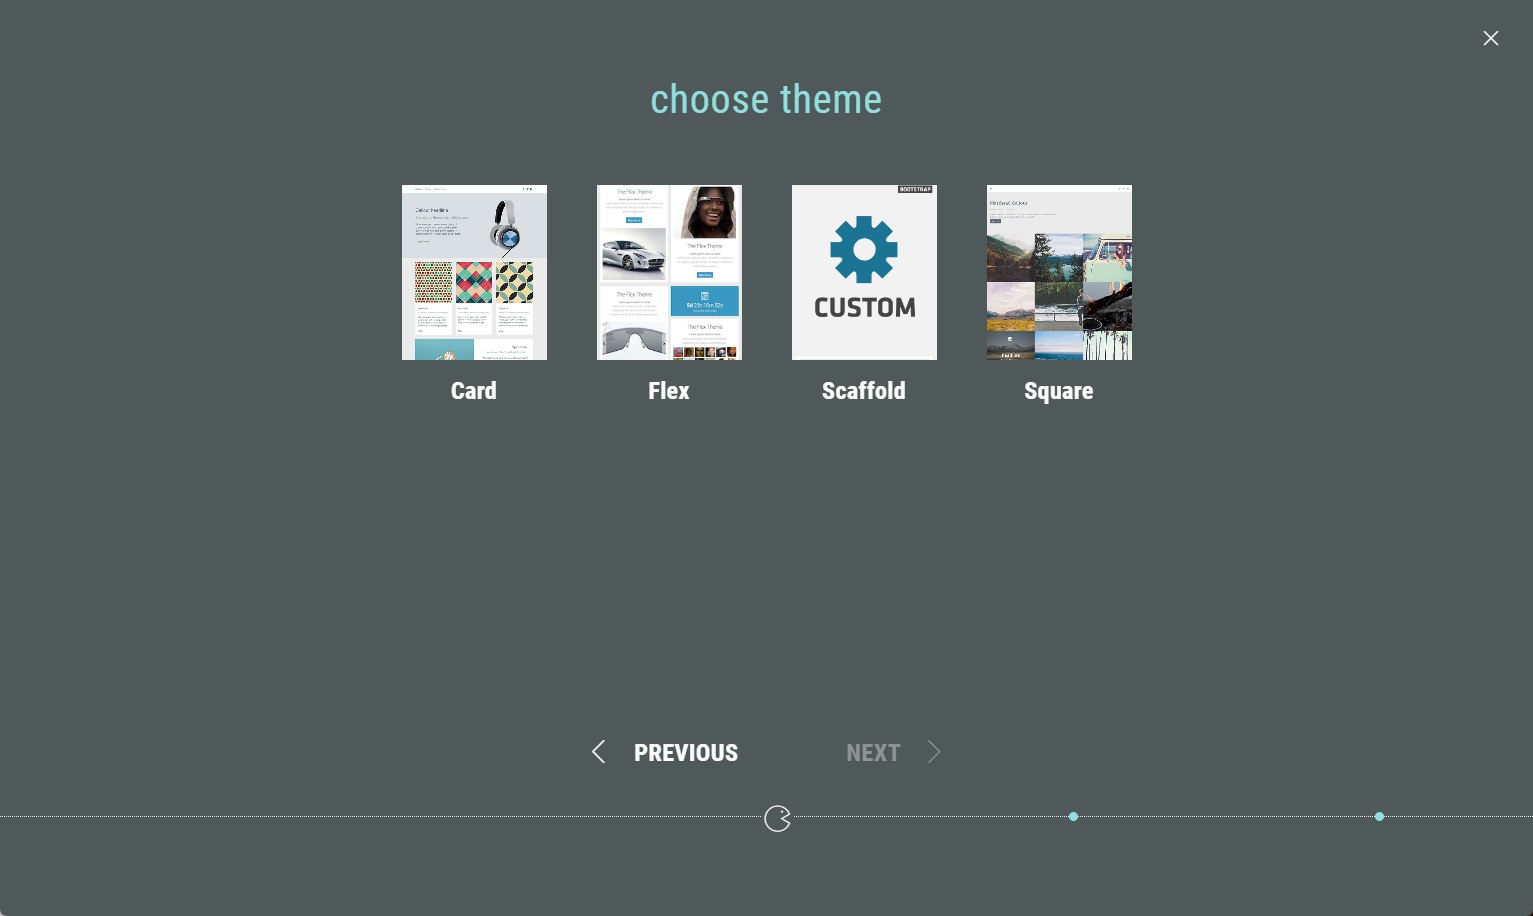
a theme
-
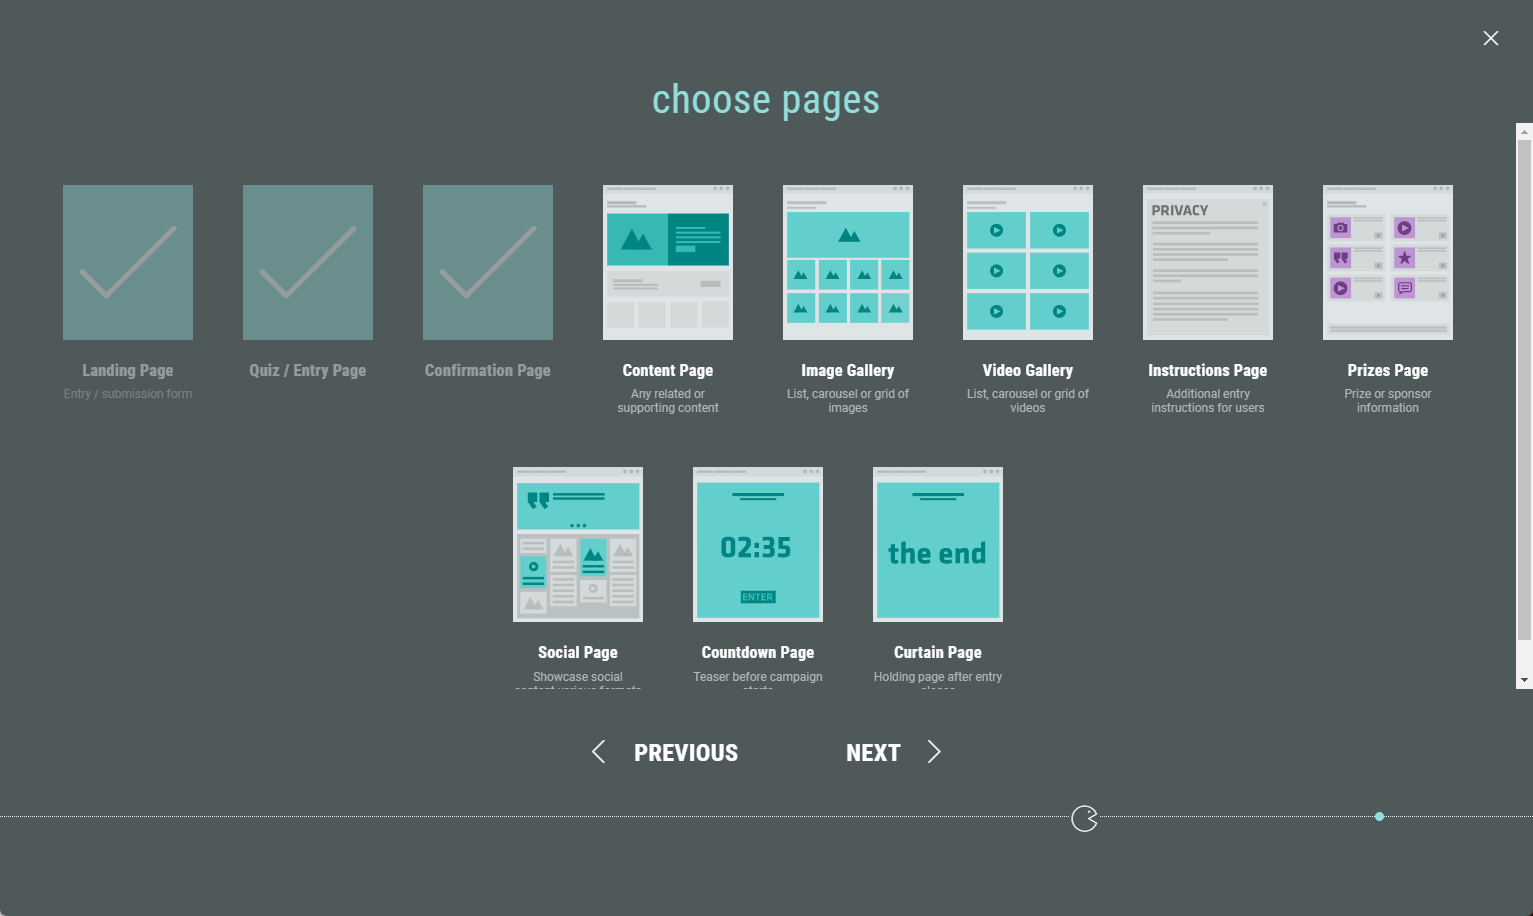
the pages you want to be displayed (each Experience will always have a Landing page and Confirmation page included by default — depending on the type, other default pages may apply)
-
-
Check your Experience summary to make sure everything is correct.
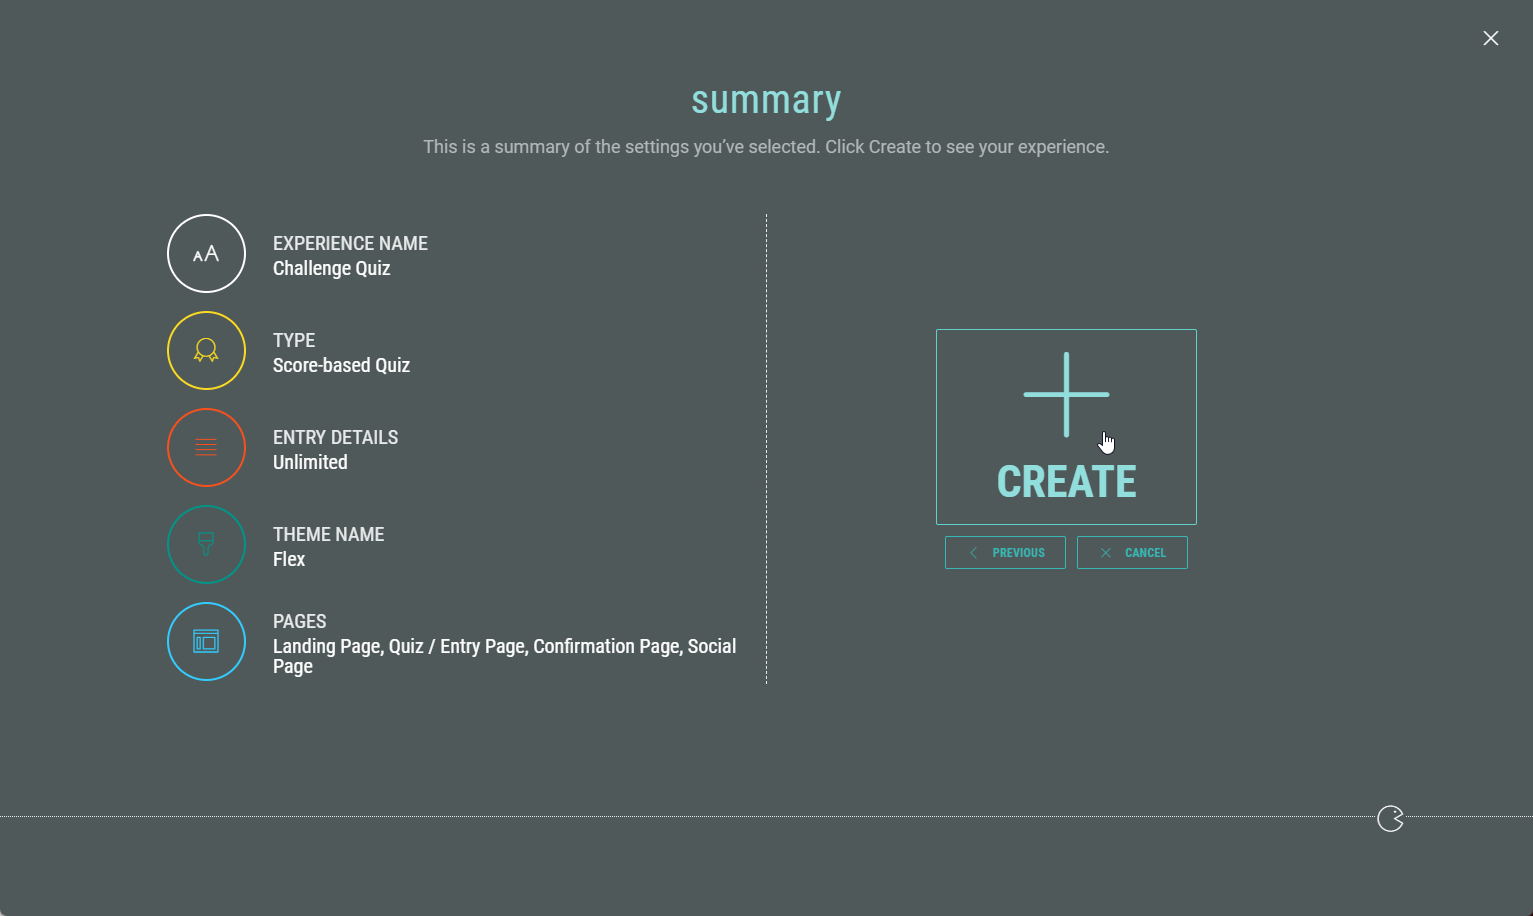
- Select Previous to go back and make changes.
- Select Cancel to completely discard the Experience.
- Click Create to create your Experience.
-
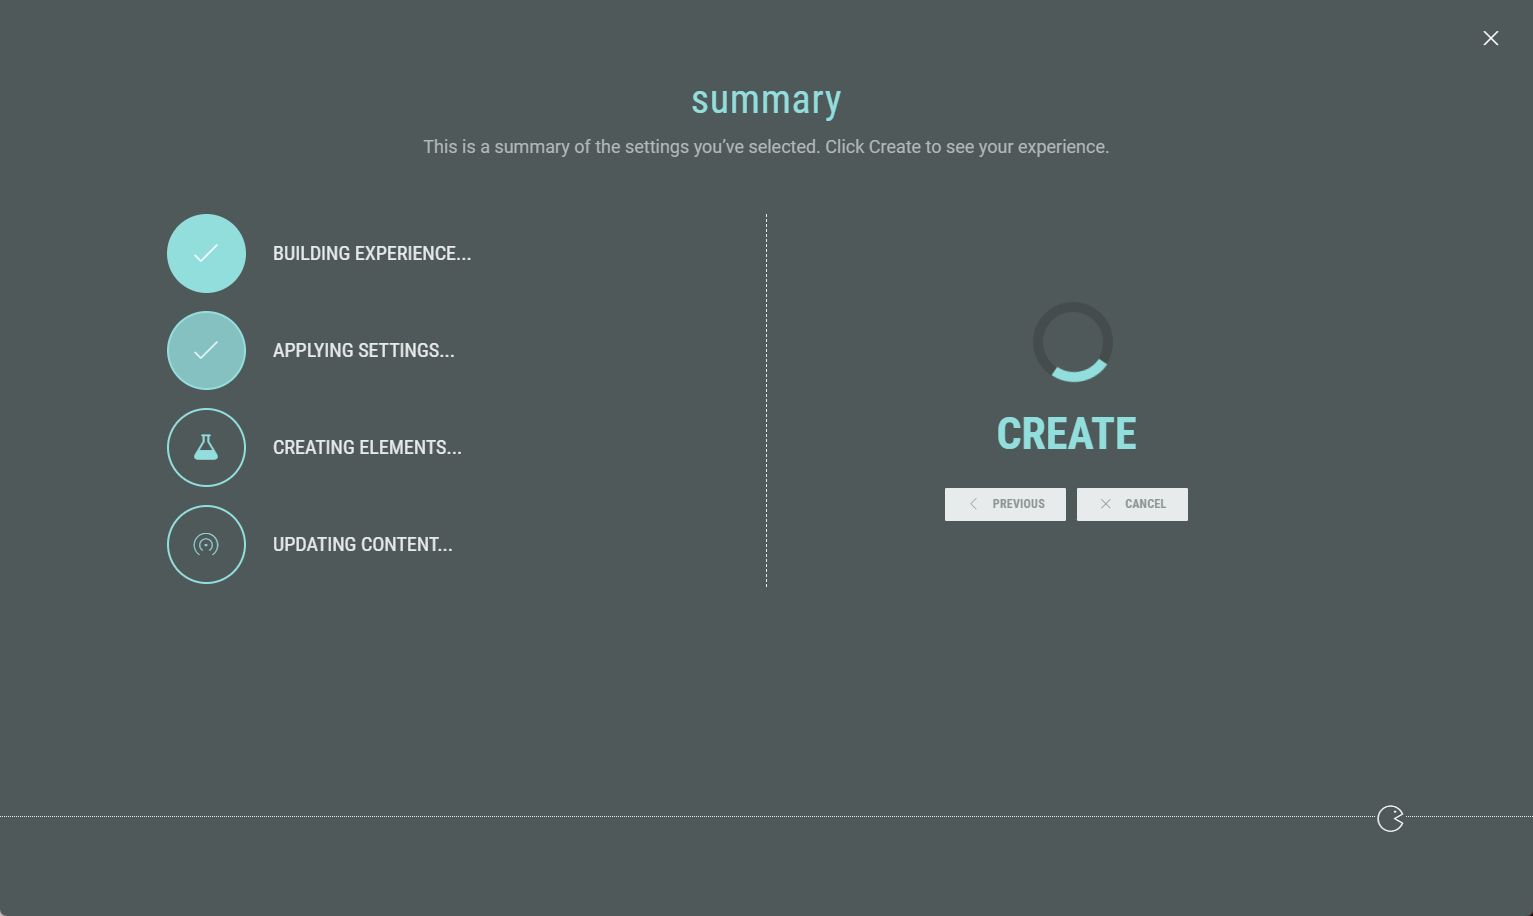
After clicking Create, you'll notice that the Experience is being created. A dynamic loading screen is shown, containing the steps done and the ones still to be completed on the left, and a spinner icon on the right:
-
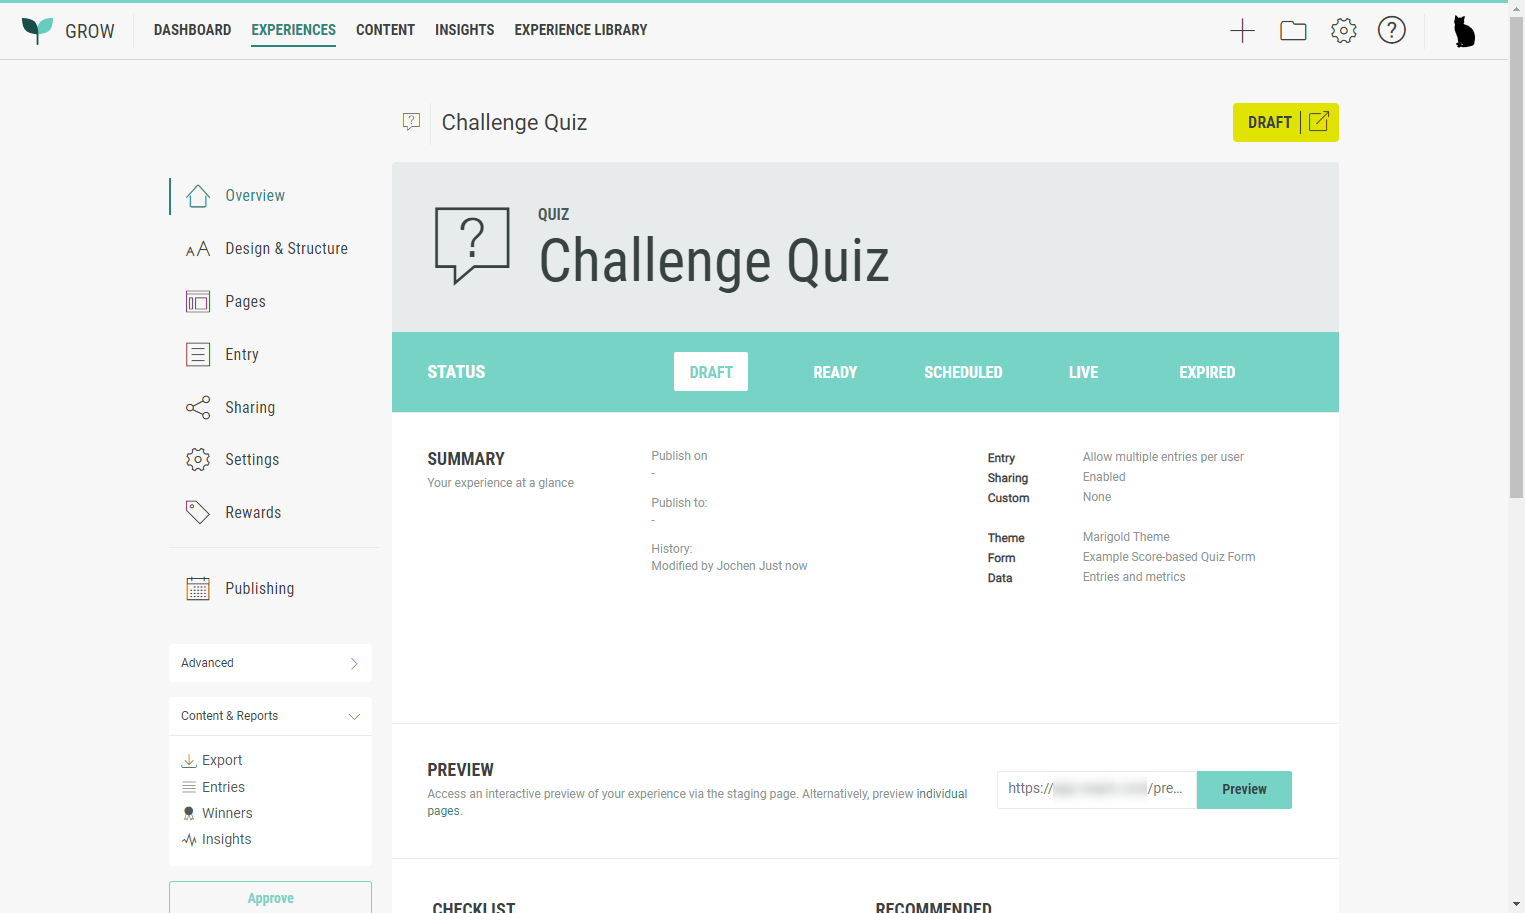
Once your Experience is created, you’ll be able to preview it and make any changes you wish to make. For example, you can edit or add pages, change the title and theme, and customize the header and footer.
-
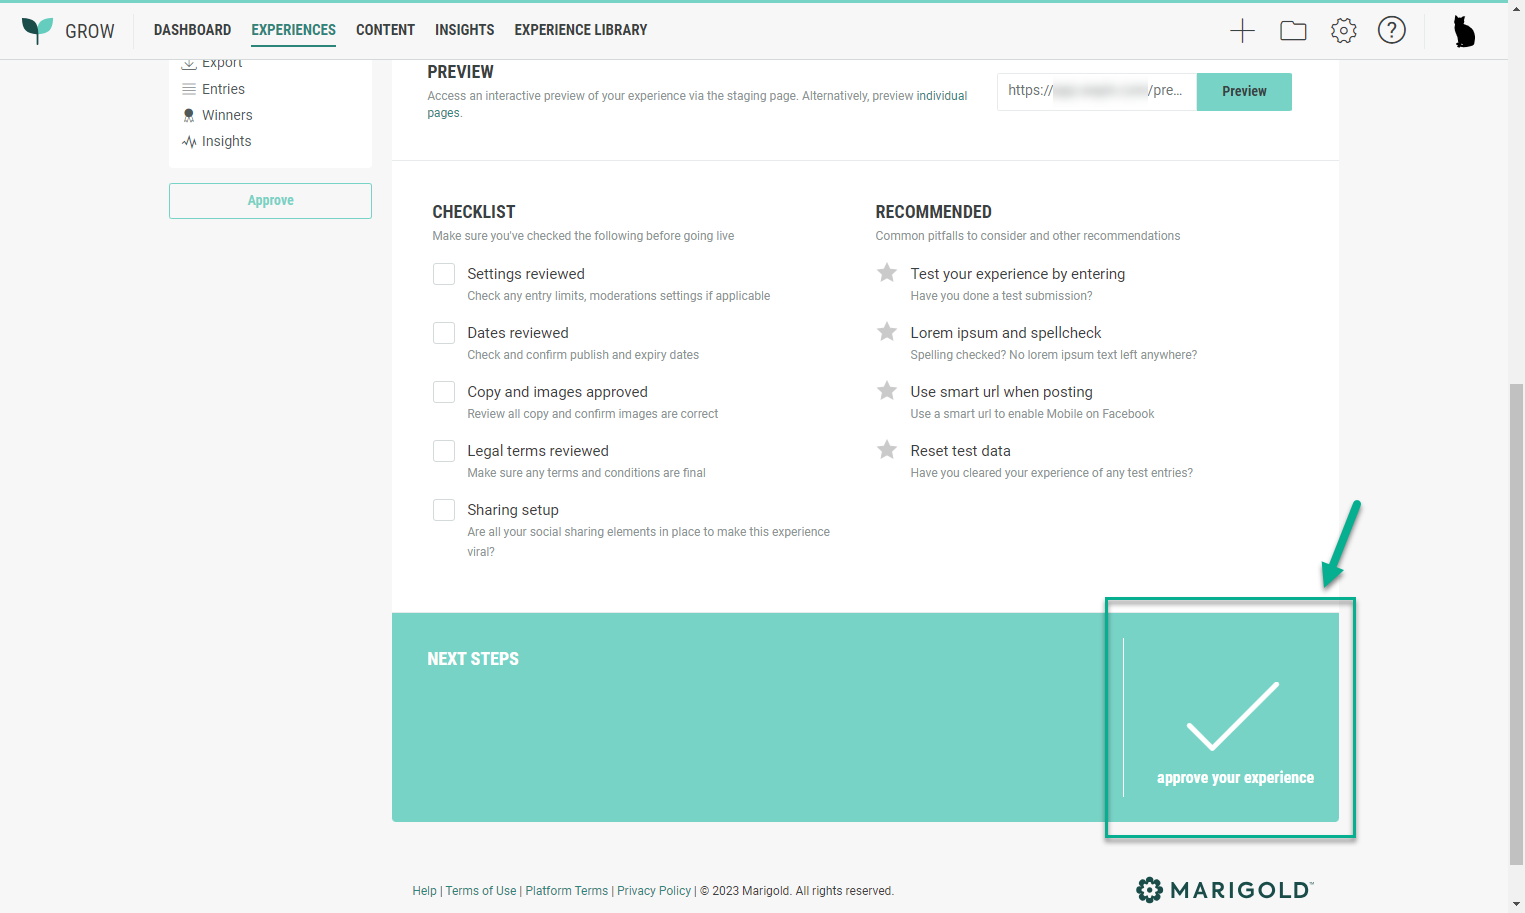
When your Experience is ready to be published, select Approve your Experience.
-
Then perform the following steps:
-
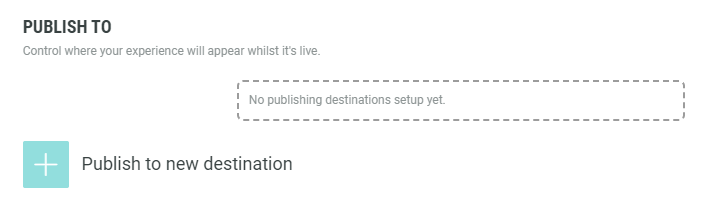
Under Publish To, select Publish to a New Destination.
-
Select a publishing format.
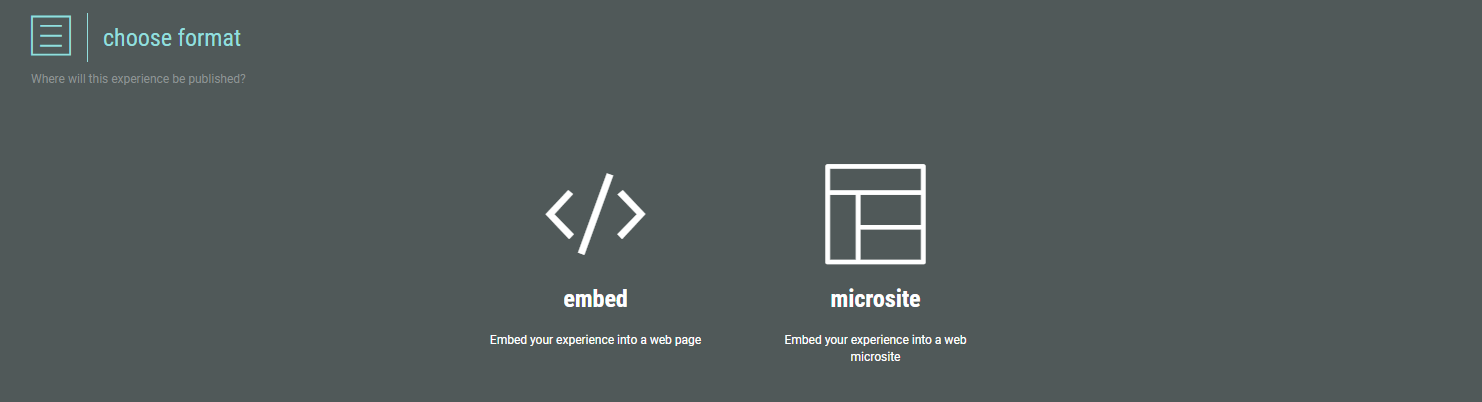
Depending on your choice, embed or microsite, the way of using it in Selligent later on is different. Check out this topic that explains how to integrate and use Grow Experiences in Selligent.
-
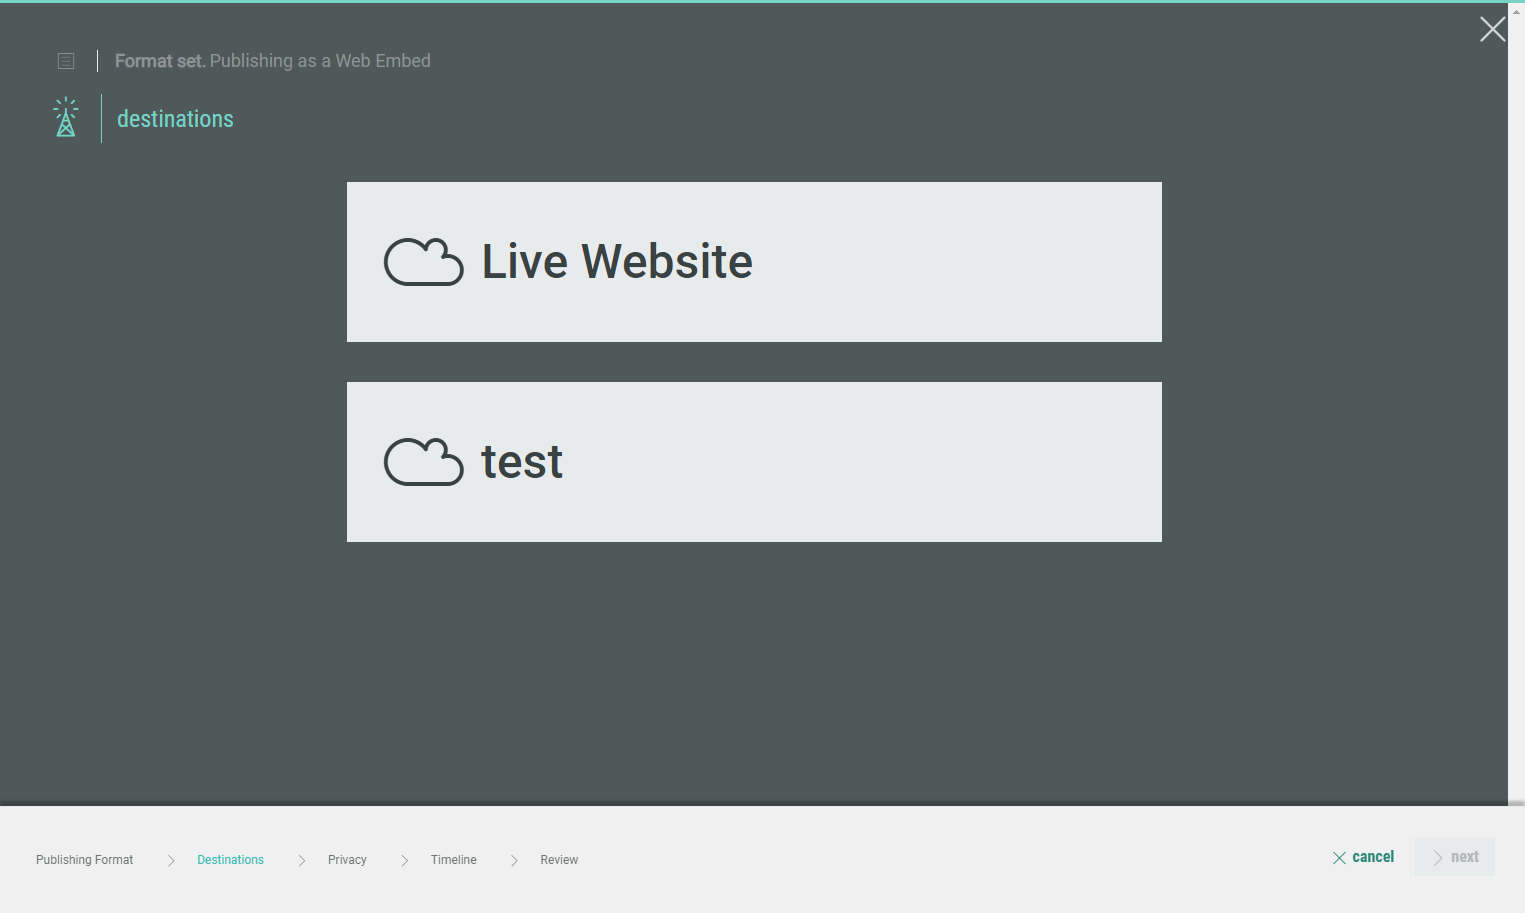
As a destination, choose live website or test.
-
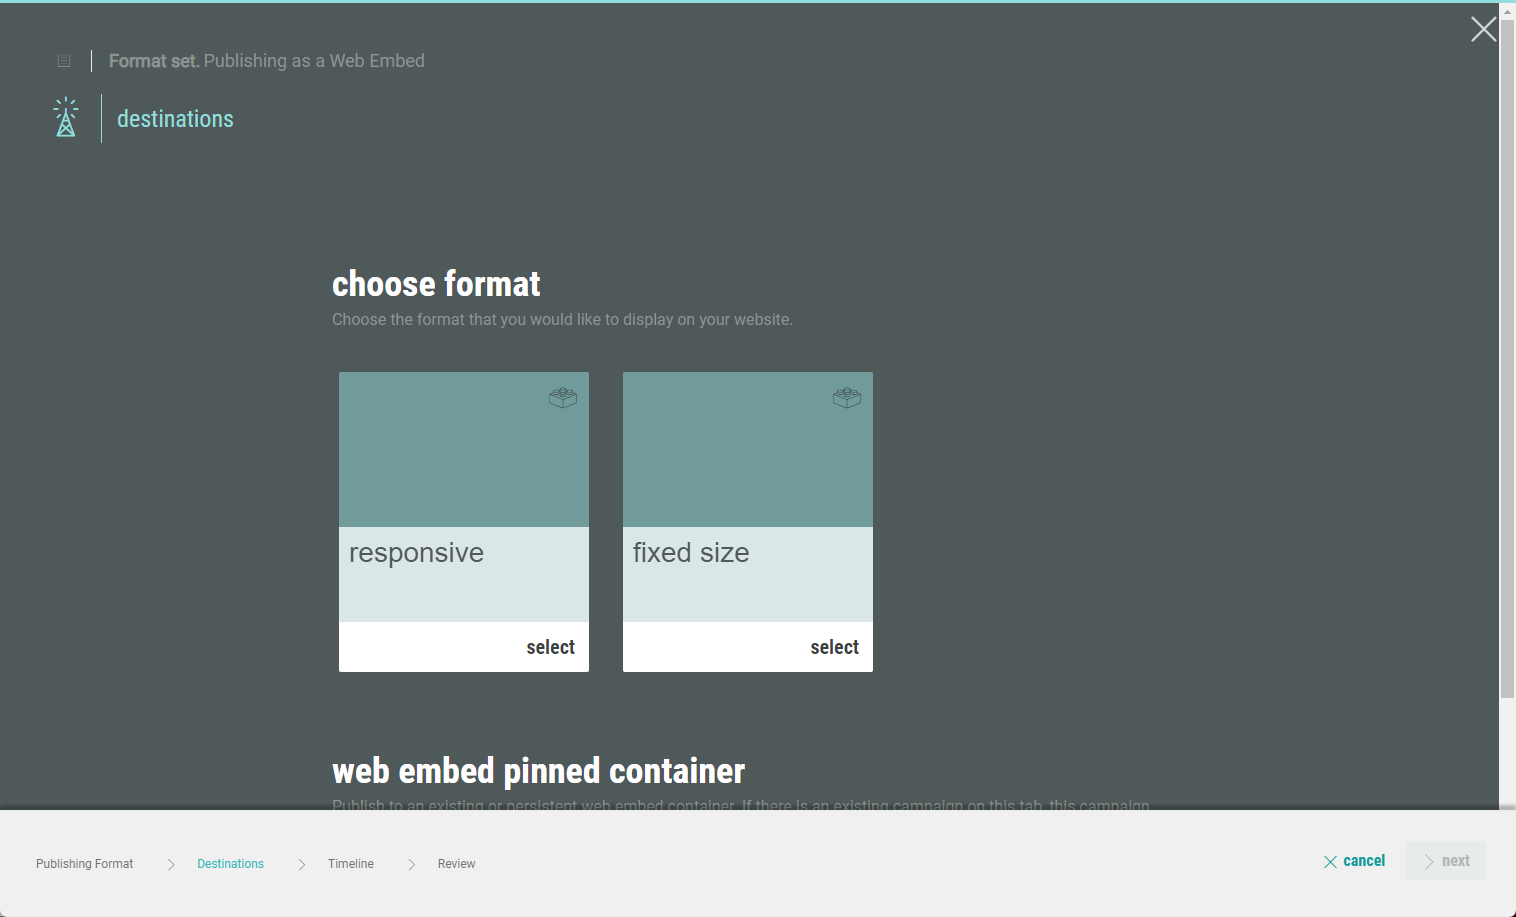
Depending on your format choice (embed or microsite), set the layout format and dimensions, and click Next.
-
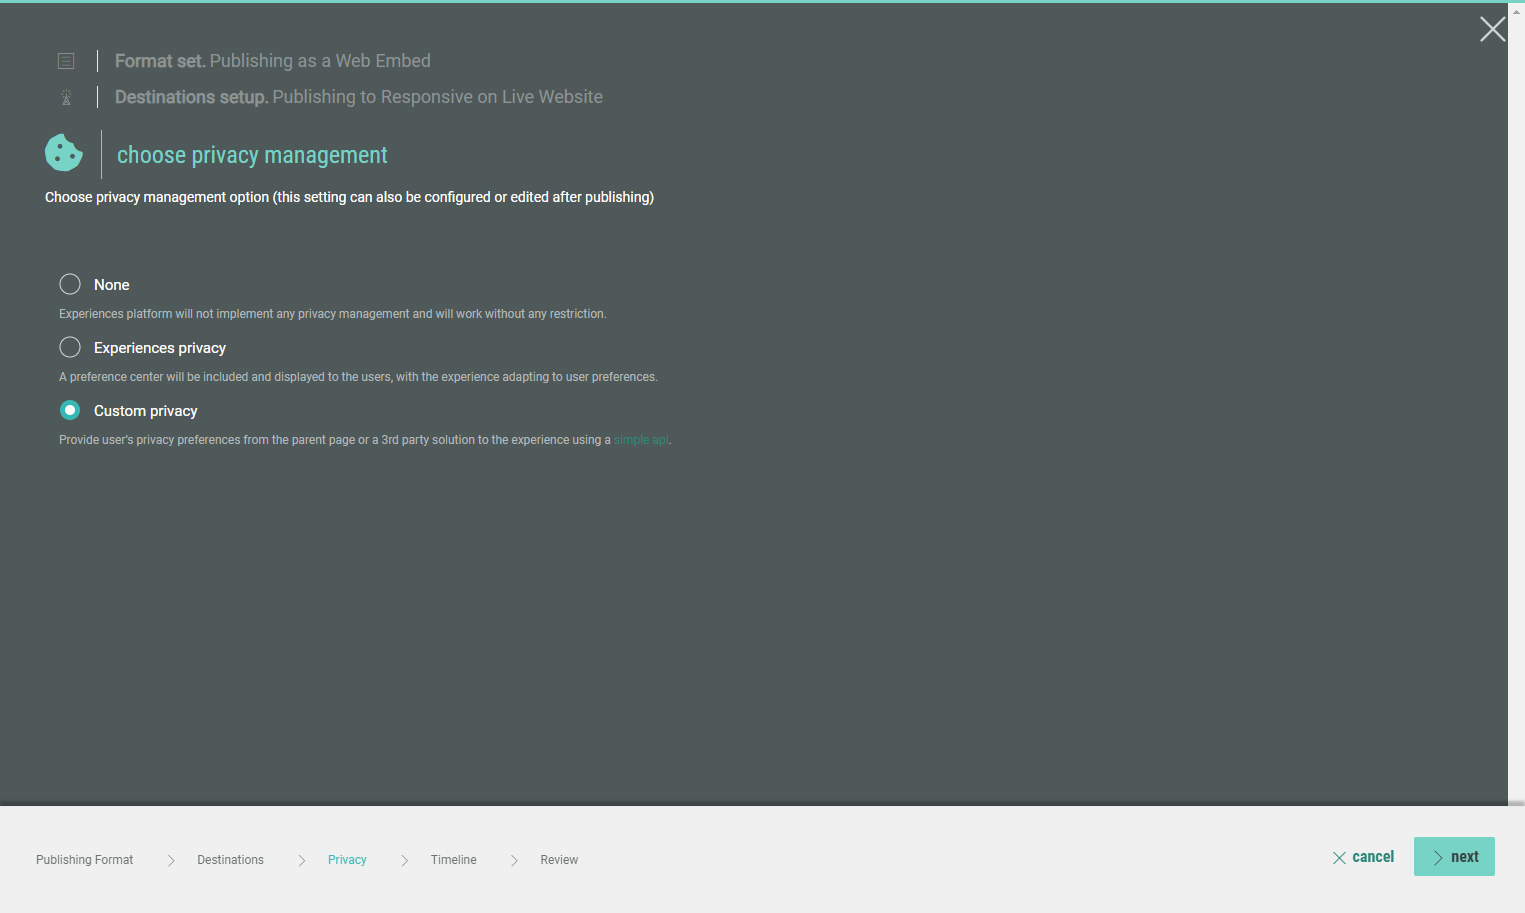
Choose a Privacy Management option.
-
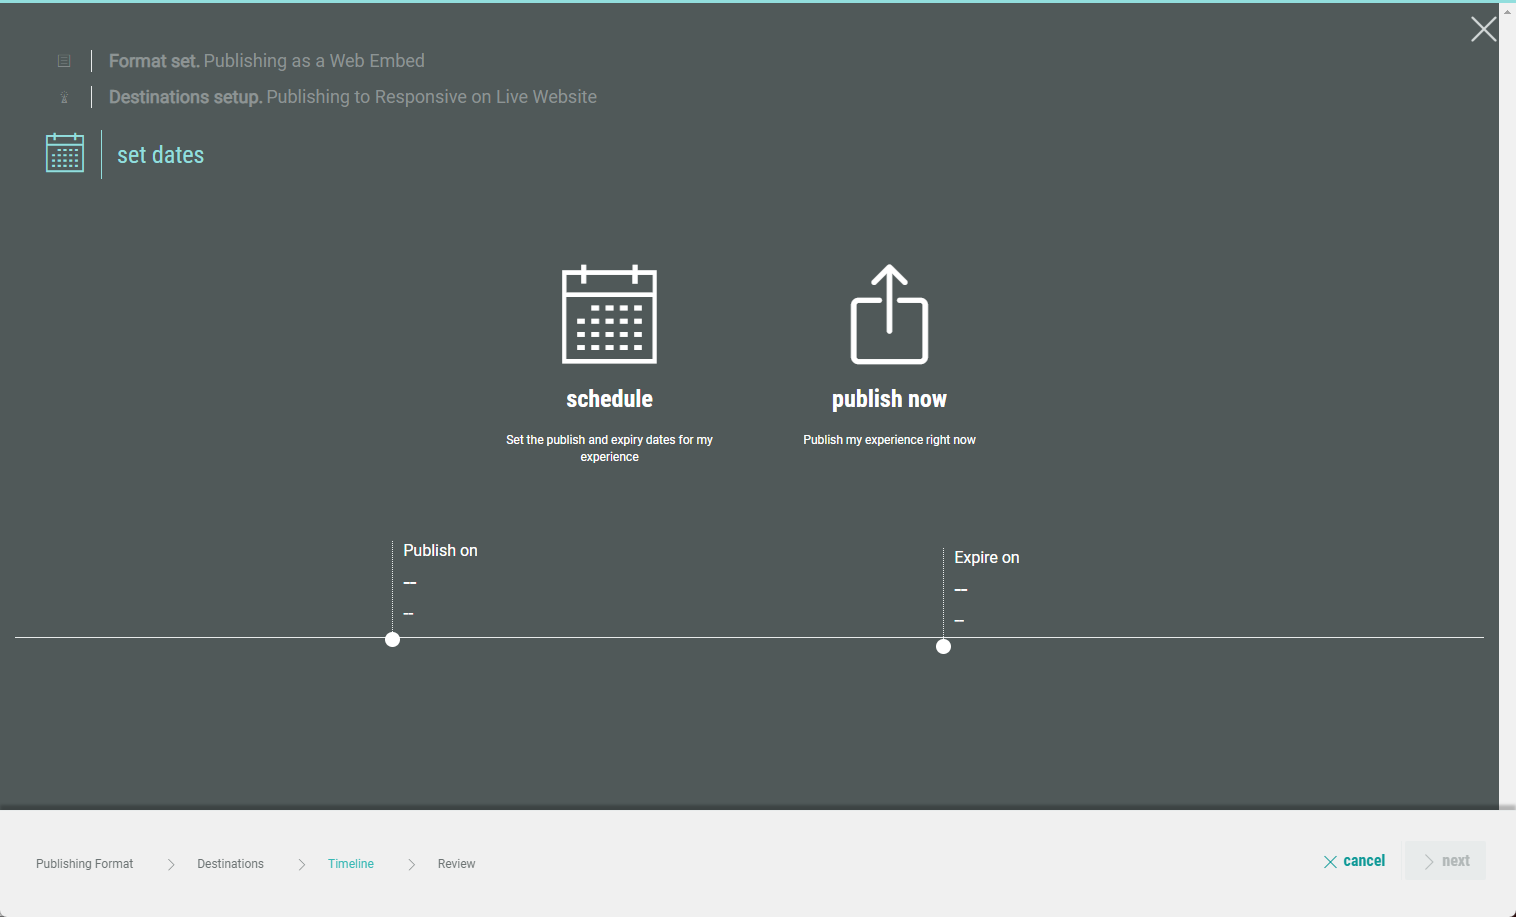
Set a schedule or publish the Experience immediately, and define when it expires.
-
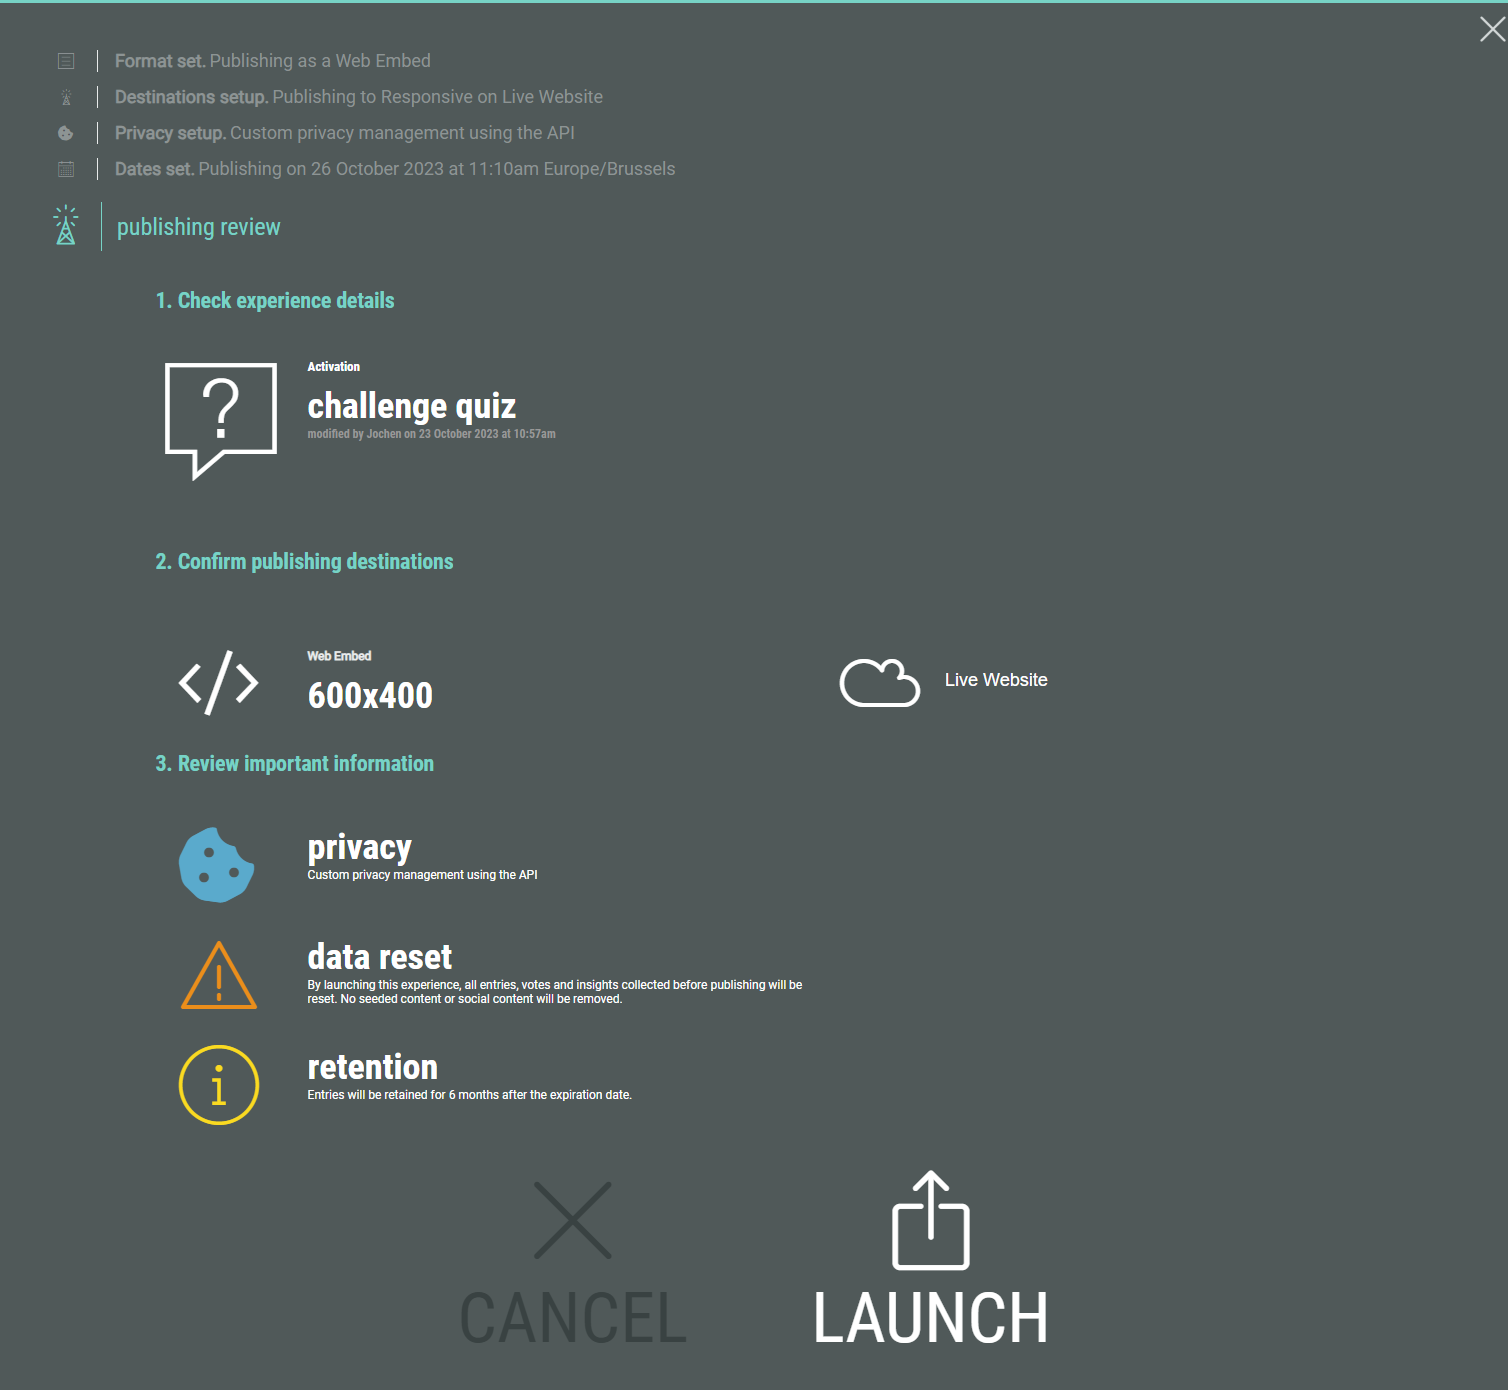
In the last step, review the information for your Experience and select Launch.
You will now see that your Experience is live/scheduled, with the settings you defined.
Example of a live Experience: 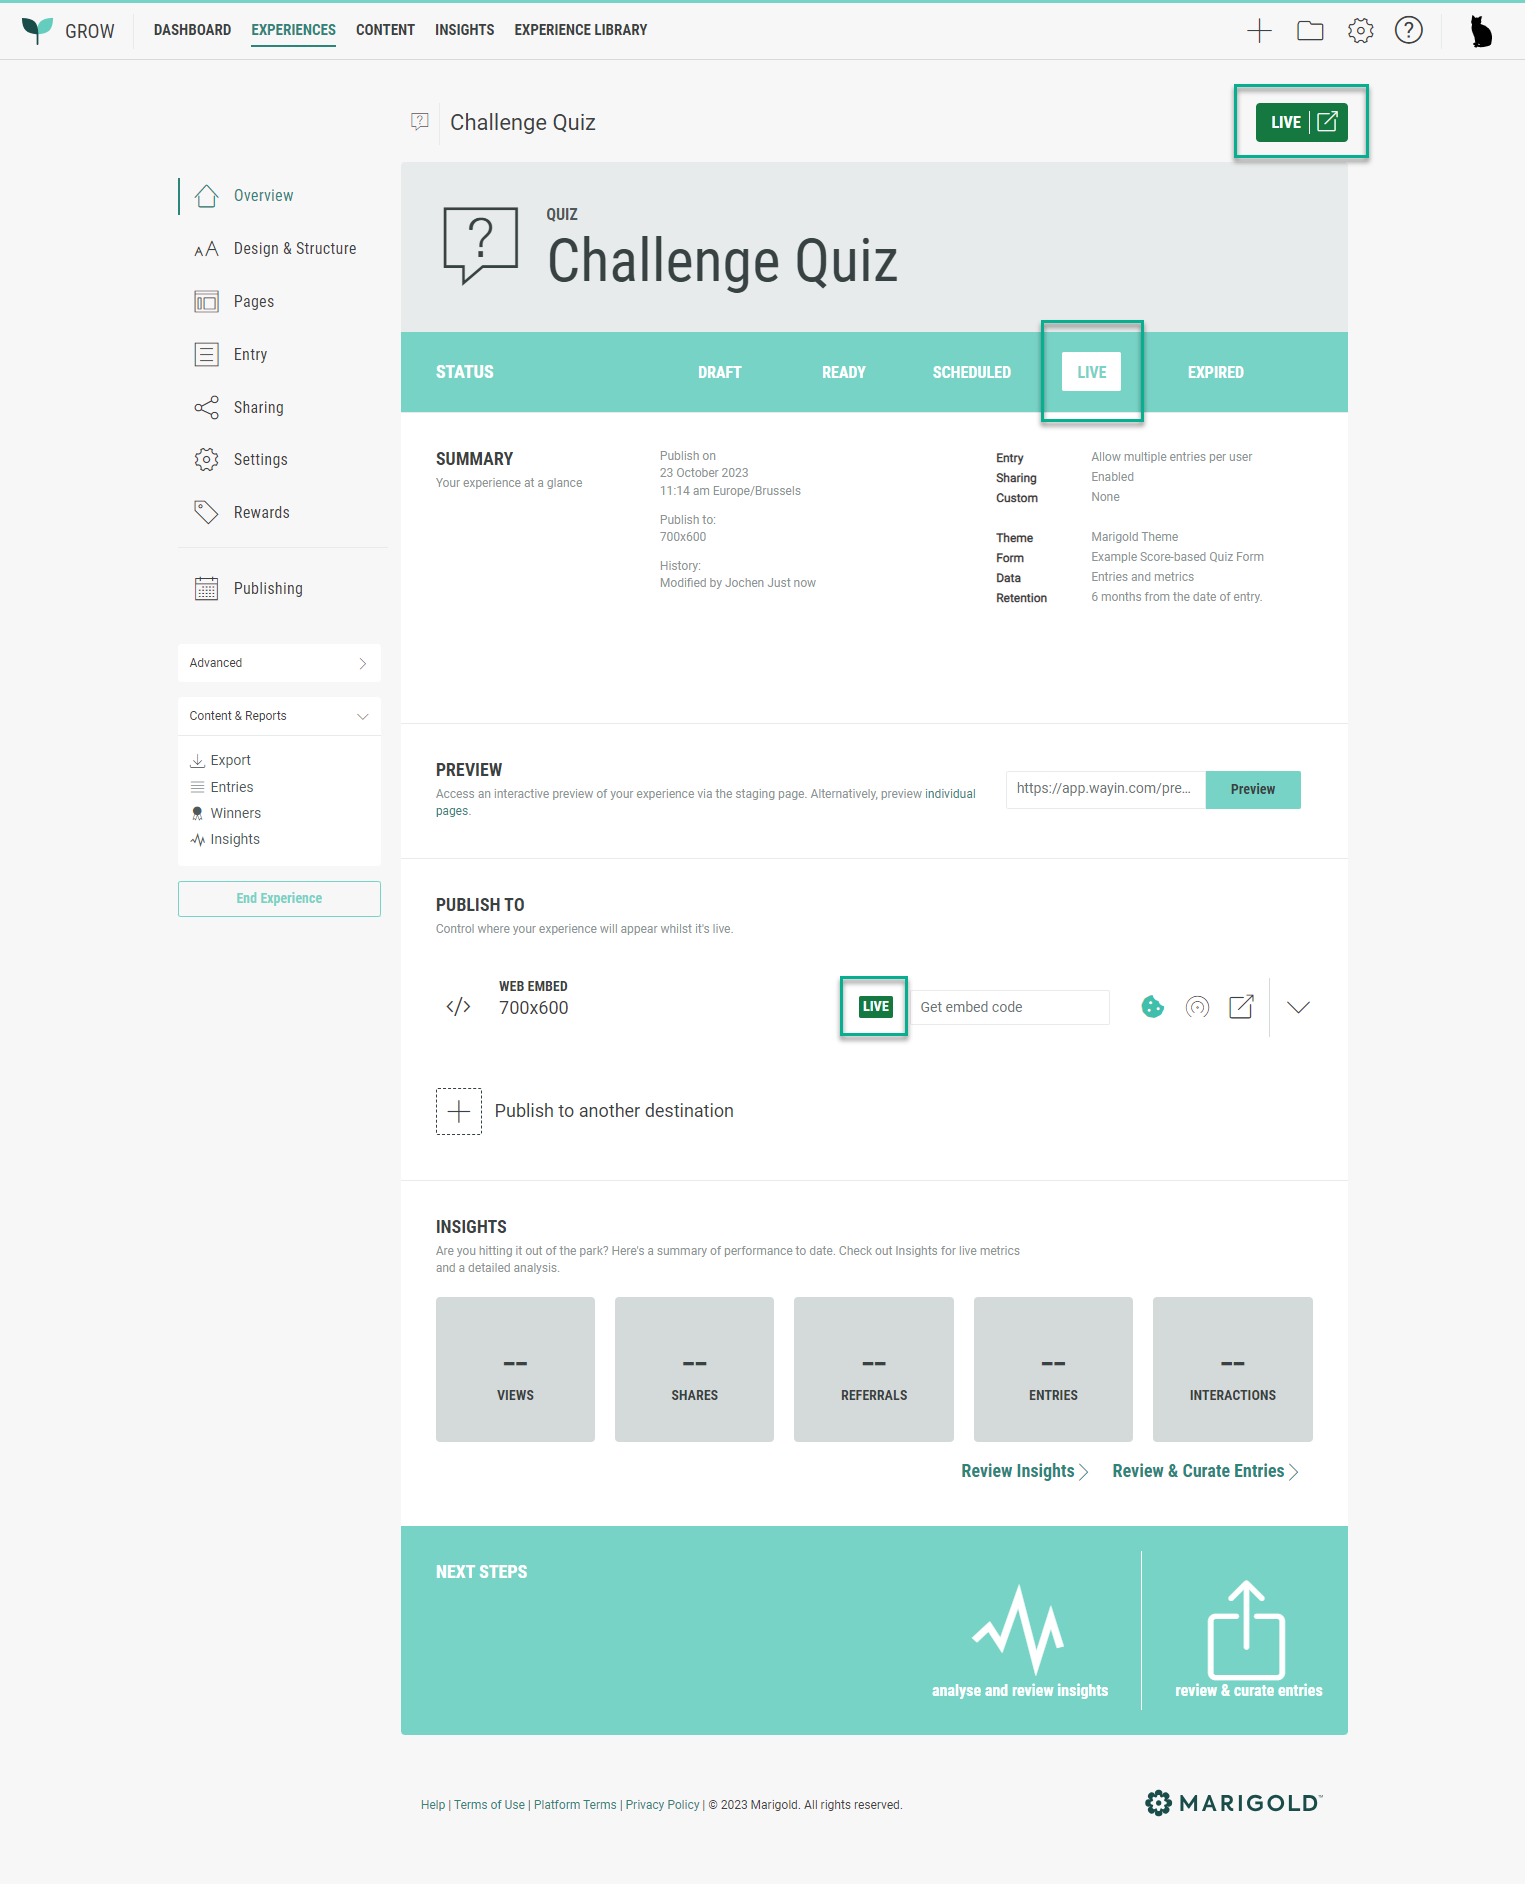
Example of a scheduled Experience: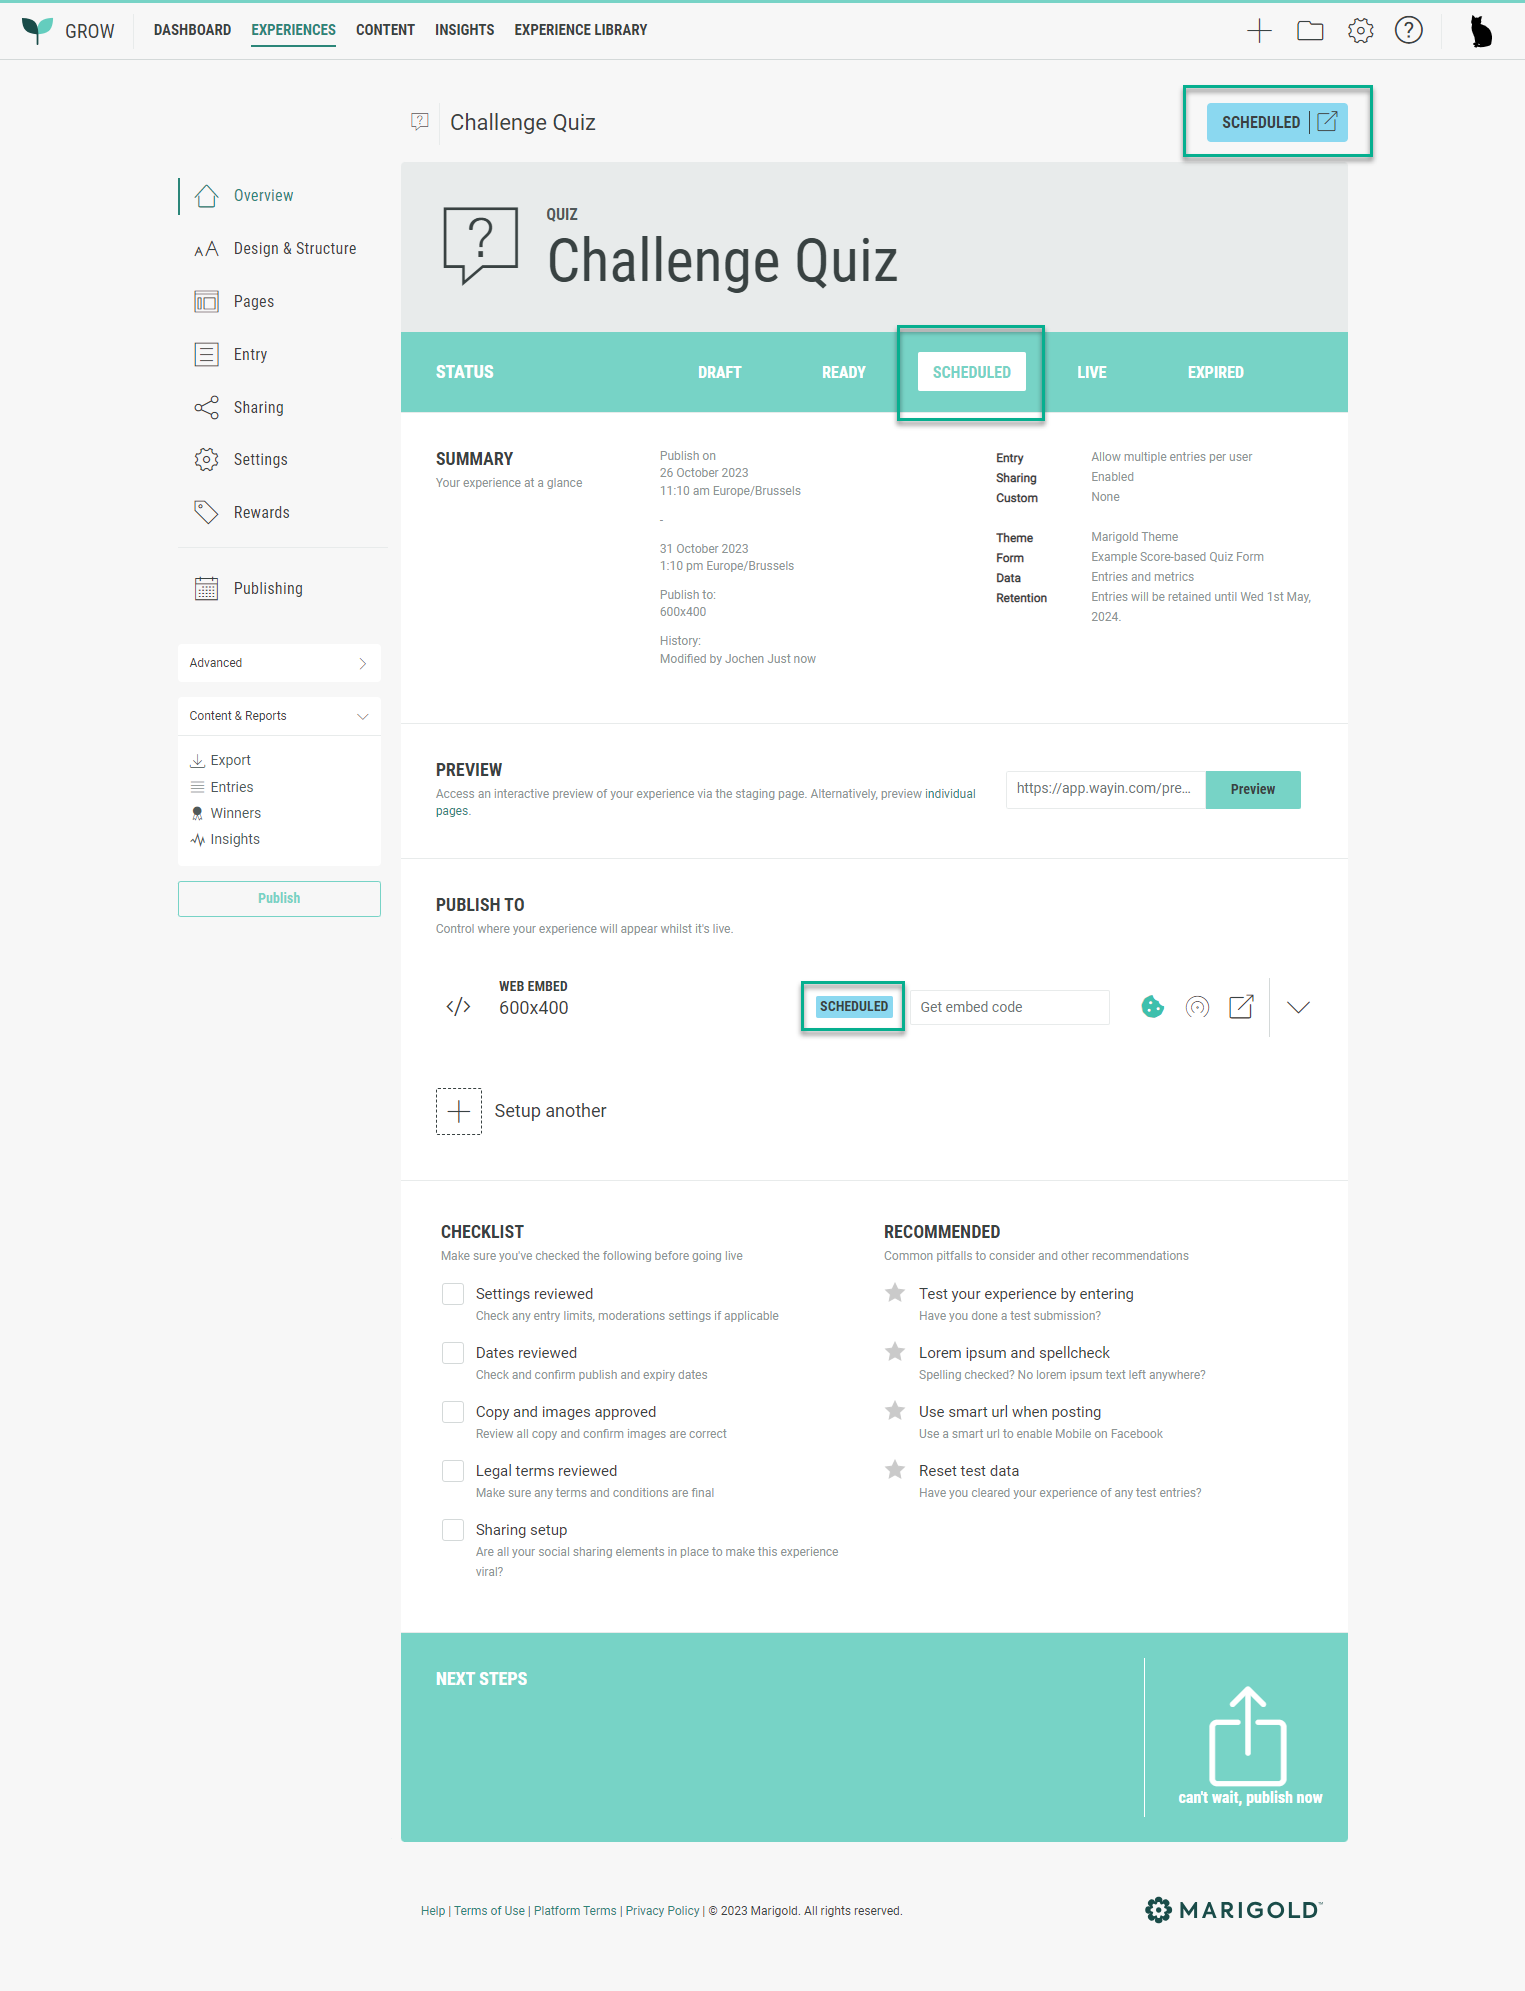
Use the Experience in Selligent
Once the Experience is ready, it can be used in your Selligent email communications and pages, so contacts can receive and fill out the Experience, and you can start collecting zero-party data.
Consult this topic for the Experience usage within Selligent.
