Test messages enable marketers to thoroughly test their messages prior to the journey execution. Test messages can be sent for emails, templates, SMS and mobile messages and be personalized with contact data.
This option is available from the toolbar when Preview and Test is selected:
Emails and templates
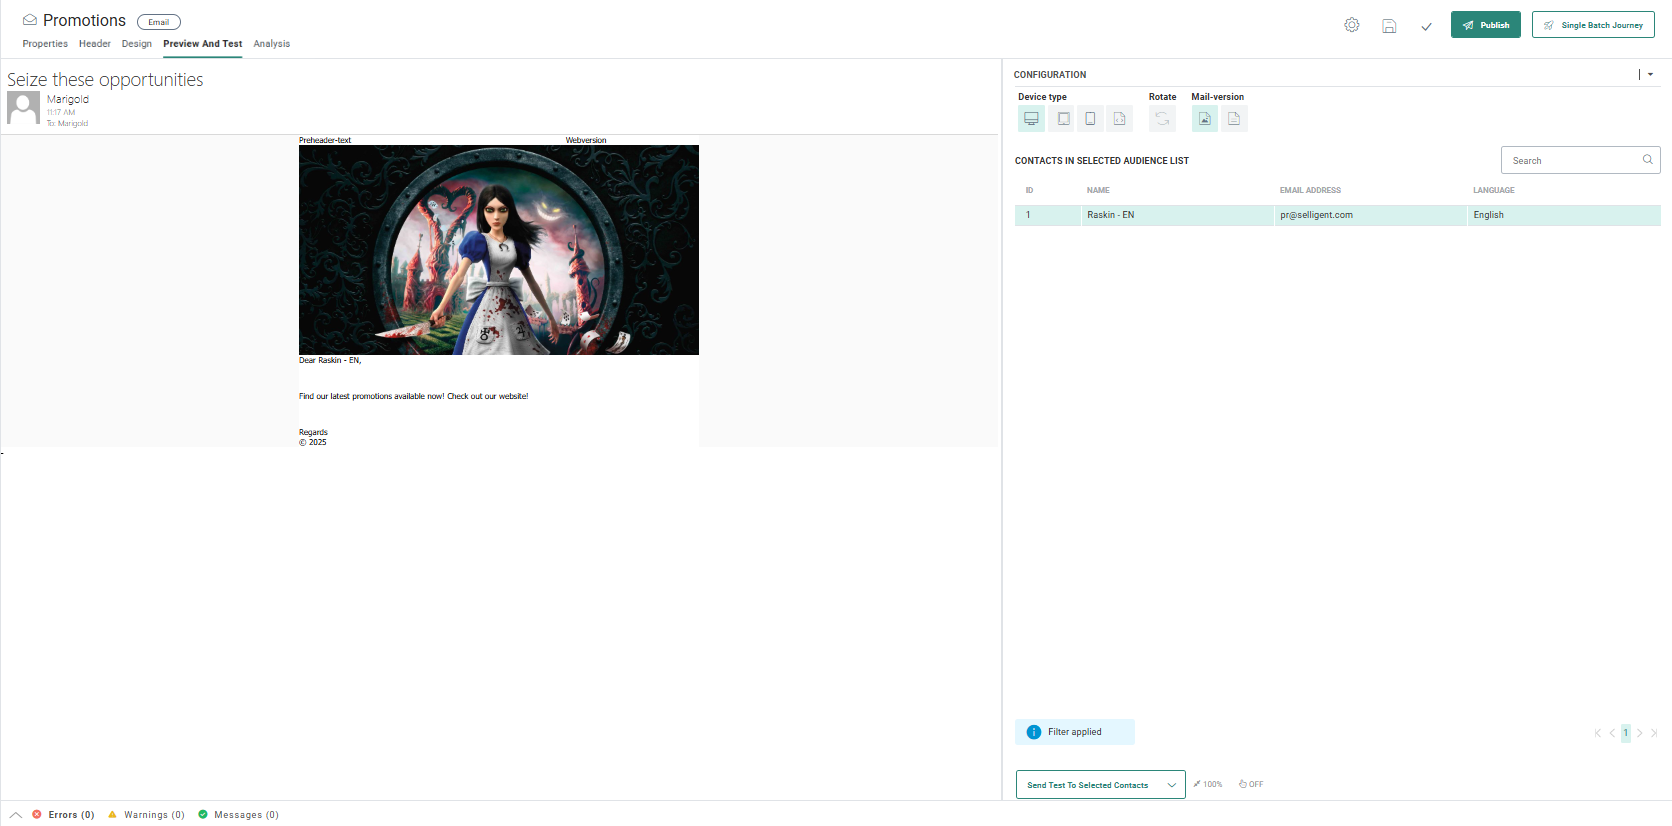
Test emails are used to thoroughly test an email for personalization, content, constraints, language, and other features in line with the contact’s profile once it arrives in an inbox. These test emails can be personalized with data from any of the test contacts in the Audience List, or with data from a real contact.
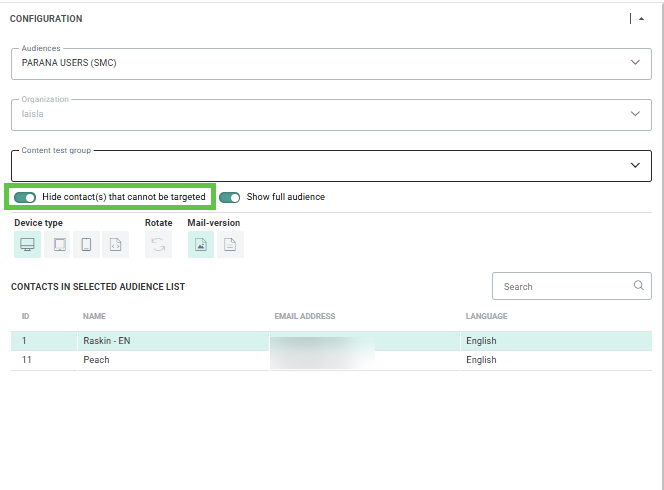
On the right, under Configuration, you can select an Audience List and Business unit. The Audience List provides you with a list of contacts to whom you can send a test message. The selected Business unit filters the contacts to only display the ones that are shared with that Business unit.

When available for the selected Audience List, you can also select a Test Group. This is a static segment linked to the Audience list that contains a specific set of contacts that are a representation of your target audience and that allows you to thoroughly test the content of the message. Selecting a Test Group limits the contacts listed to the ones belonging to that Test Group and hides all other contacts.
By default, only test contacts are listed. Toggle the option Show full audience on to also display the real contact records in the audience. A maximum of 1000 contact records are loaded.
All contacts in the selected Audience List , Business unit and Test Group are available to send the test email to.
Note: Only users with the correct permissions to access personal data will be able to use this toggle option.
Note2: When Show Full audience is selected and the Audience List is a shared Audience List, only contacts for the current Business unit are displayed and as a result it is not possible to select a different Business unit than the current one and the Business unit field is greyed out.
To use the data of a test user or real contact, you need to select these contacts in the overview of all contacts in the Audience List. There are two possible scenarios: one where you select a test-user and one where you select a real contact:
Using the data from a test-user in the Audience List
-
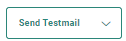
When selecting a test-user and then clicking the Send test to selected contacts button, the email is by default sent to the email address of the selected test-user and is personalized with the data for that test-user. When multiple test-users are selected, the email is sent to each of the selected test-users.
-
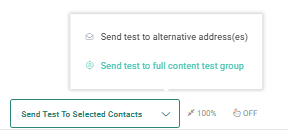
When clicking the arrow in the Send test to selected contacts button, an option pops up to send a test email to alternative email addresses. A custom email address can be filled out, and the emails personalized with the selected test-user's data is sent to these email addresses.
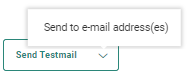
When multiple email addresses need to be filled out, use the semicolon as a separator.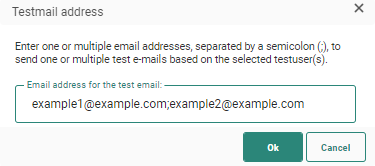
-
When a Test Group has been selected in the Configuration section, an additional option is available to send a test to the full content test Group. Select this option to send a test email to all the contacts in the Test Group. Each contact will by default receive the message in their configured language.
A dialog pops up to inform you that if you want to send the message in a different language, you can choose this option and choose from the available languages. Each contact in the Test Group will receive the message in each of the selected languages. (Example: if English and French is selected, every contact will receive the message twice, in both languages).
Additionally, when the Show full audience option is disabled not all contacts in the selected Test Group are shown in the overview. In this case, extra information will be displayed indicating how many contacts in the selected Test Group are real contacts (i.e., not configured as test users). This helps users clearly understand how many contacts will actually receive the test email.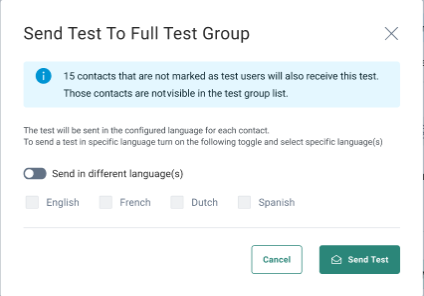
-
The language of the selected contact is used to define the language of the email.
Using the data from a real contact in the Audience List
-
Test emails with real contact's data can only be sent to custom email addresses and never to the email of the real contact. Click the arrow in the Send test to selected contacts button to enter this custom email address to which an email, personalized with the selected real contact's data, is sent.
When multiple email addresses need to be filled out, use the semicolon as a separator. -
The links in the email are all de-activated and no interaction is possible. This is to avoid the contact's profile being polluted with test data.
-
The language of the selected real contact is used to define the language of the email
To select several contacts in the Audience List, either:
- hold down the CTRL button on your keyboard and left-click with the mouse on each desired contact
- hold down the SHIFT button on your keyboard and left-click with the mouse to select a range of contacts
Note: It is not possible to select multiple contacts when using event data or journey data.
The option Hide contacts that cannot be targeted lets you filter the list of contacts to only display those with an email address.
When Custom Events are available for the selected contact, the user has the option to select a Custom Events record for the selected contact and send a test message personalized with this Custom Events data.
Tip: You can also multi-select different contacts (by using CTRL or SHIFT and left-click, as mentioned above) and send them to one or more email addresses that you enter manually.
This can be a handy tool to send different versions of a message to your own inbox.
Example :
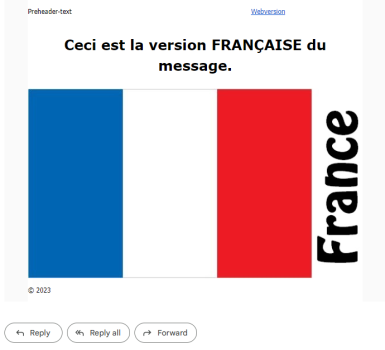
I have an Selligent message in two languages, for which the designed content looks like this :
- English :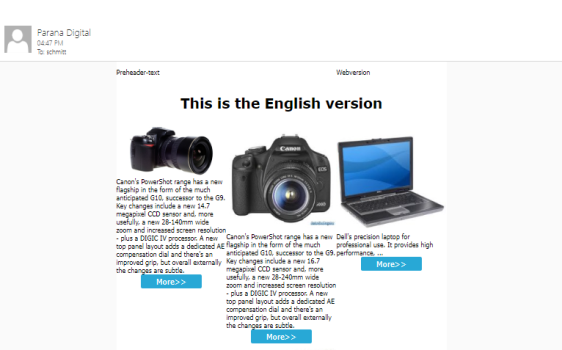
- French :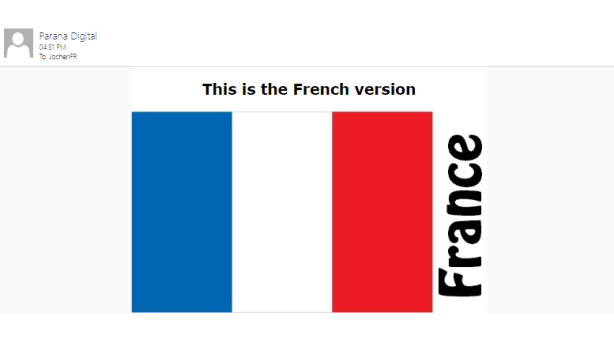
I'd like to see how both versions of the message look like, once they're delivered to an inbox.
So I select two test-users, one with language EN and another one with language FR.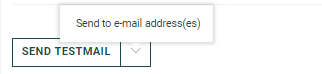
I then click on the arrow next to Send testmail and select Send to e-mail address(es).
In the pop-up, I enter a single email address, which is my own.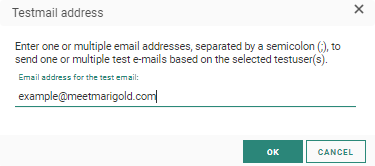
After clicking Ok, a confirmation is shown one or more testmails are scheduled to be sent out.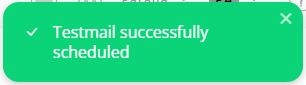
The two versions of the same message (EN and FR) are then delivered to my inbox as if they were sent to the selected EN and FR contacts.
I can validate if they both look fine or if additional message design is needed.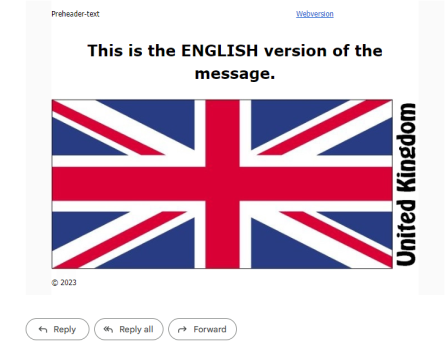
Note: A preview of the content is displayed if the language of the selected contact corresponds to the language of the content.
Preview and test Journey data
When your message contains personalized content coming from a 1:N linked list, which is only loaded in the Single Batch or Recurring Batch entry component inside a Custom Journey (more info about the use of 1:N data for personalization can be found here), personalized content becomes available when the Custom Journey is launched and the message is sent out.
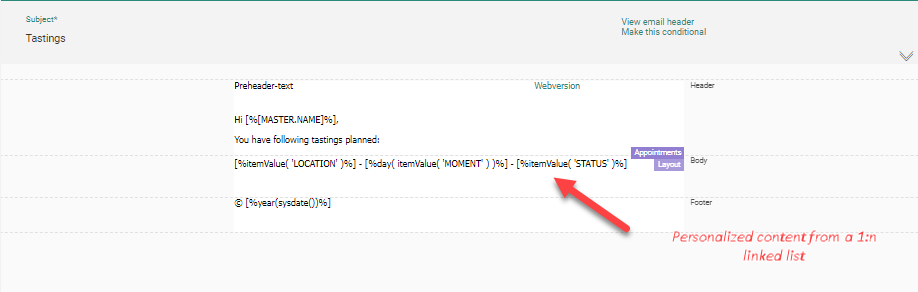
When you preview your message, containing that personalized content, you can see and select a Journey bulk data record on the right, which loads the corresponding journey data, and shows it in the preview on the left.
You can also send out test mails with the personalized content.
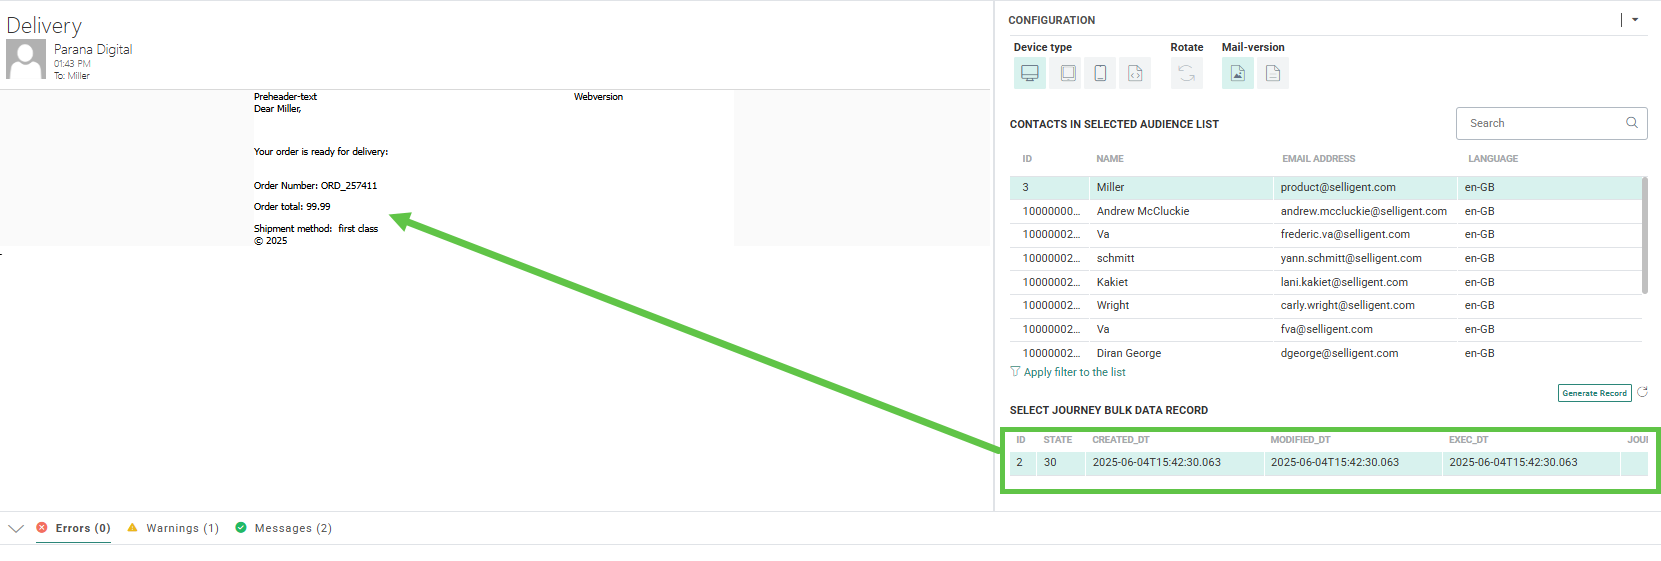
Additionally, you can click on the Generate record button.
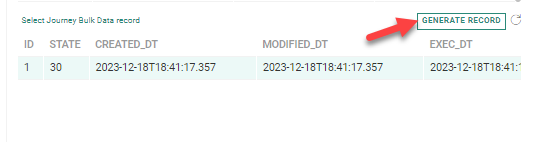
With this button, you can have the system generate such a Journey data record without needing to launch the journey (for each applicable test-user).
The newly created record can then be used to test the personalized content by previewing and sending test mails.
Note: The journey needs to published though, to generate Journey bulk data records.
Also, if the journey has a filter defined on the Journey data, this filter is also applied when generating records. When the 1:N record does not match this filter, no data will be available.
While this feature is intended to help you preview the content you're creating, it's also a great tool to validate if your data configuration itself is giving you the expected output.
Note:
When your journey, that loads 1:N data for personalization, has never been launched before, the list containing the bulk data records on the right will initially be empty.
Clicking the 'Generate record' button will then create a first record (per applicable test-user) which can be used for previewing and sending test mails.
When your journey, that loads 1:N data for personalization, has already been launched before, the list is already pre-filled with all bulk data records from the start.
You can always click on the refresh icon to check if the records have been changed (because of journey execution with changed data, while your message preview screen remained open).
If no journey data can be loaded (because it doesn't exist), no bulk data list is shown on the right in the message preview screen.
Technical note: All Journey data records coming from the 1:N linked list, are shown as a single bulk data record (per test user) in the preview screen.
For example :
Test user with ID 1, has the following 3 linked data records.
The preview shows this data as a single record.
The data is in JSON format, containing the 3 data records:
{
                "APPOINTMENTS": [{
                "MOMENT": "20/12/2023",
                "LOCATION": "Brussels",
                "STATUS": "Confirmed"
                }, {
                "MOMENT": "06/01/2024",
                "LOCATION": "London",
                "STATUS": "Pending"
                }, {
                "MOMENT": "27/01/2024",
                "LOCATION": "New York",
                "STATUS": "Confirmed"
                }]
            }
Mobile messages
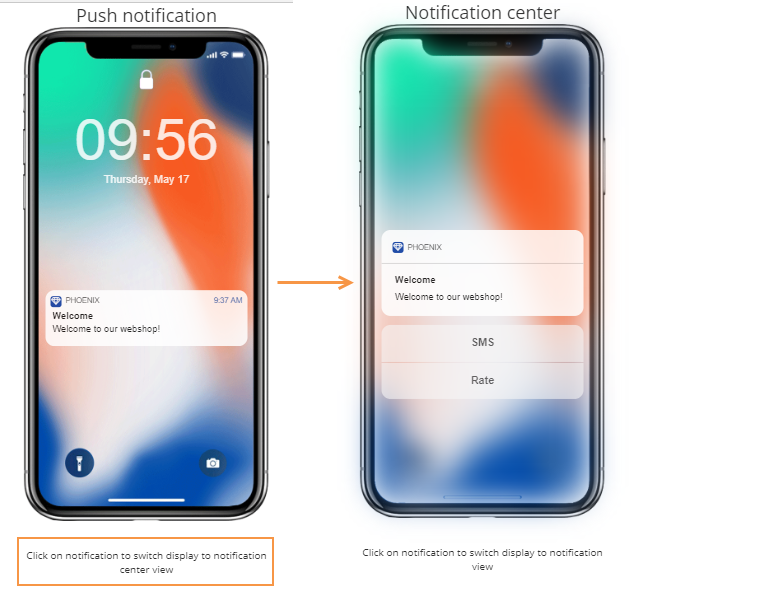
A preview of the mobile message is displayed. For push notification, you can toggle between the push notification and the notification center by clicking the preview.
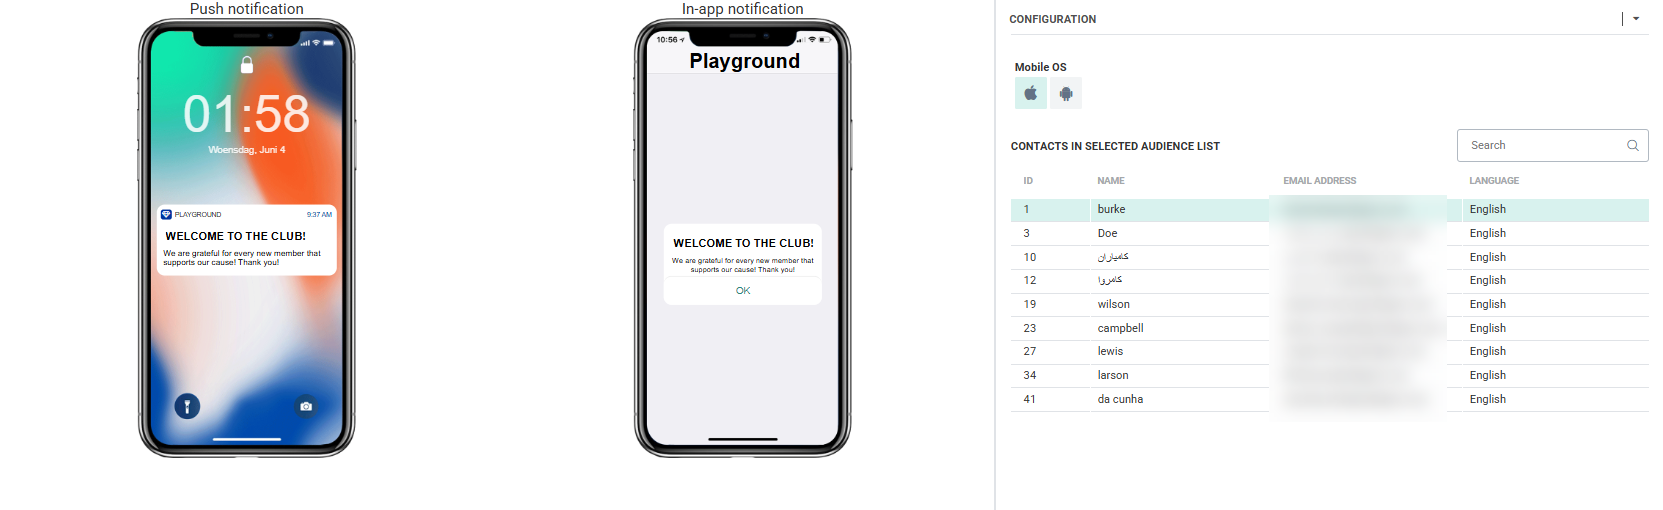
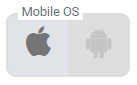
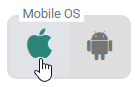
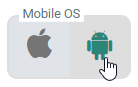
Use the Android/IOS icons at the top to preview the message on the corresponding devices.
-
When Android only is set as device type filter in the mobile message properties, only the Android icon is enabled as mobile OS on the Preview And Test screen.

-
When iOS only is set as device type filter in the mobile message properties, only the iOS icon is enabled as mobile OS on the Preview And Test screen.

-
When All devices is set as device type filter,both Android and iOS are enabled as mobile OS and can be toggled on the Preview And Test screen.
Mobile push test messages can be sent to one or more users. The option Hide contacts that cannot be targeted lets you filter the list of test users to display only those with a linked device. Select the test-users in the Audience List by holding down the CTRL button.
Click Send test push to send the push message to the selected devices.
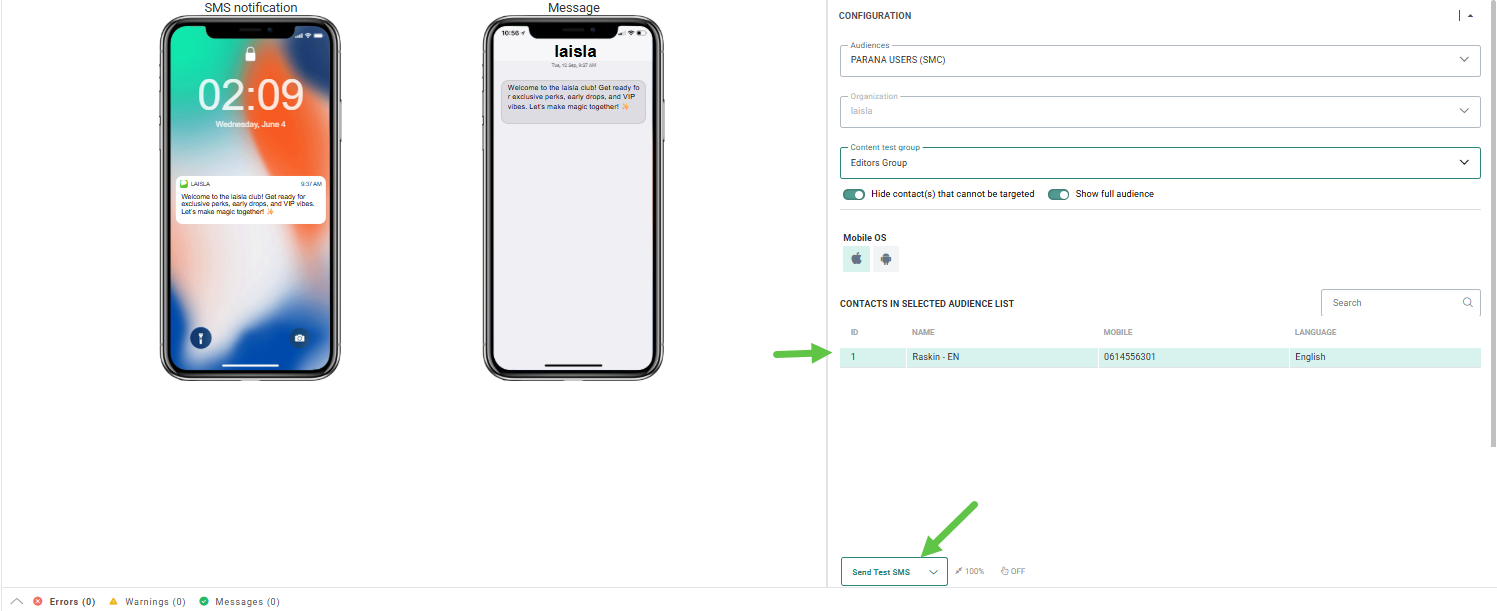
SMS messages
SMS messages can be sent to users in the test audience. The field that is currently used to send the SMS to is the MOBILE field in an Audience List.
A preview of the SMS message is displayed:
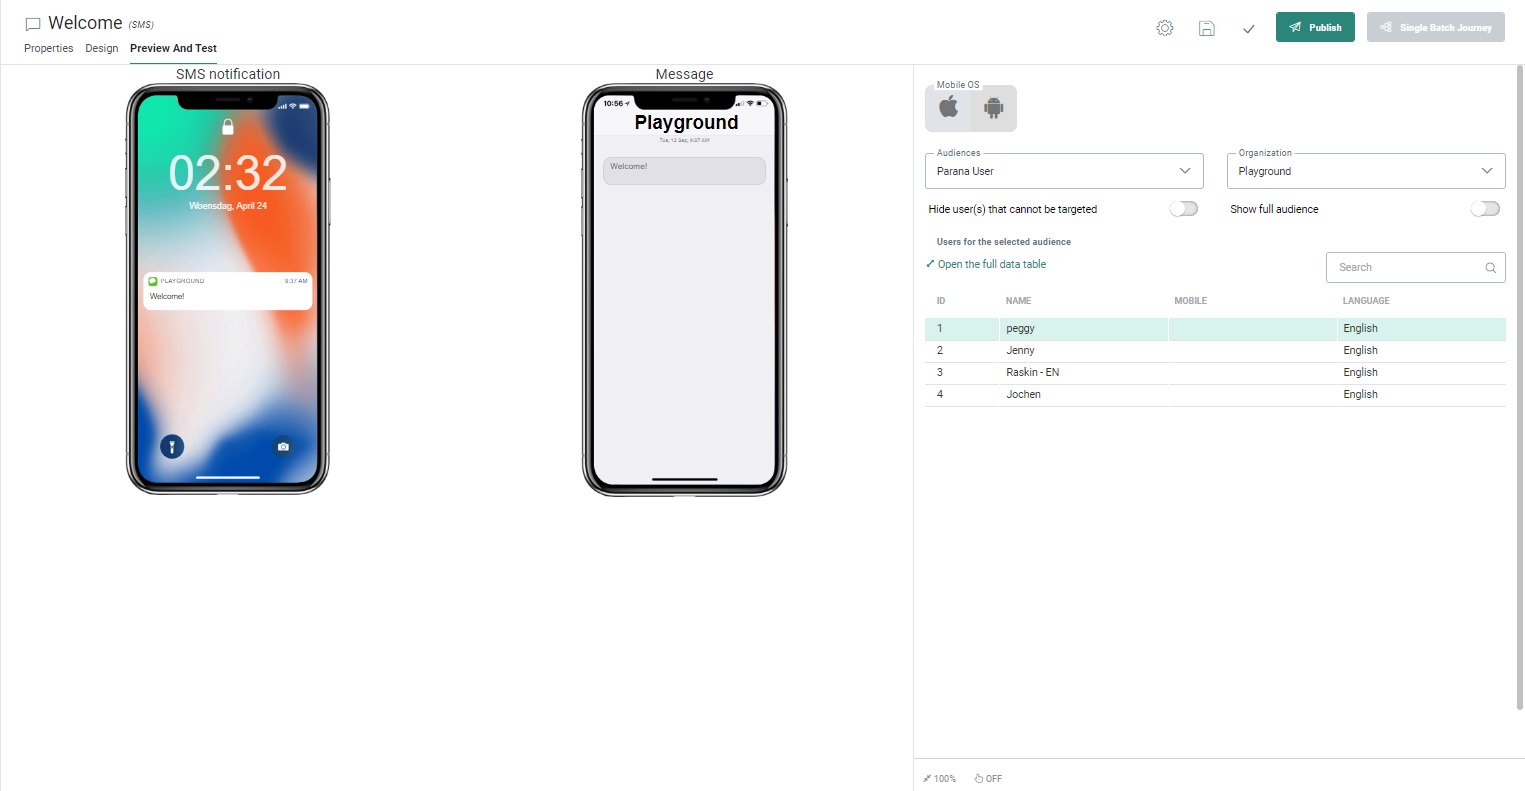
You can preview the SMS on an iPhone or Android device.
The option Hide contacts that cannot be targeted lets you filter the list of test users to include only those with a linked mobile phone number.
Select one or more users to send the SMS to and click Send test SMS.