
Build custom templates in the Push / In-App Template Editor to deliver curated messaging.
Watch the video below for a step-by-step walkthrough of how to create In-App Messages and Push Notifications and use them in your Lifecycle Optimizer flows.
The Template Editor
Create Push Notification and In-App Messages in the template editor. From the Messaging menu, select Templates. On the Templates List Page, hover over the New Template button and select PUSH / IN-APP.
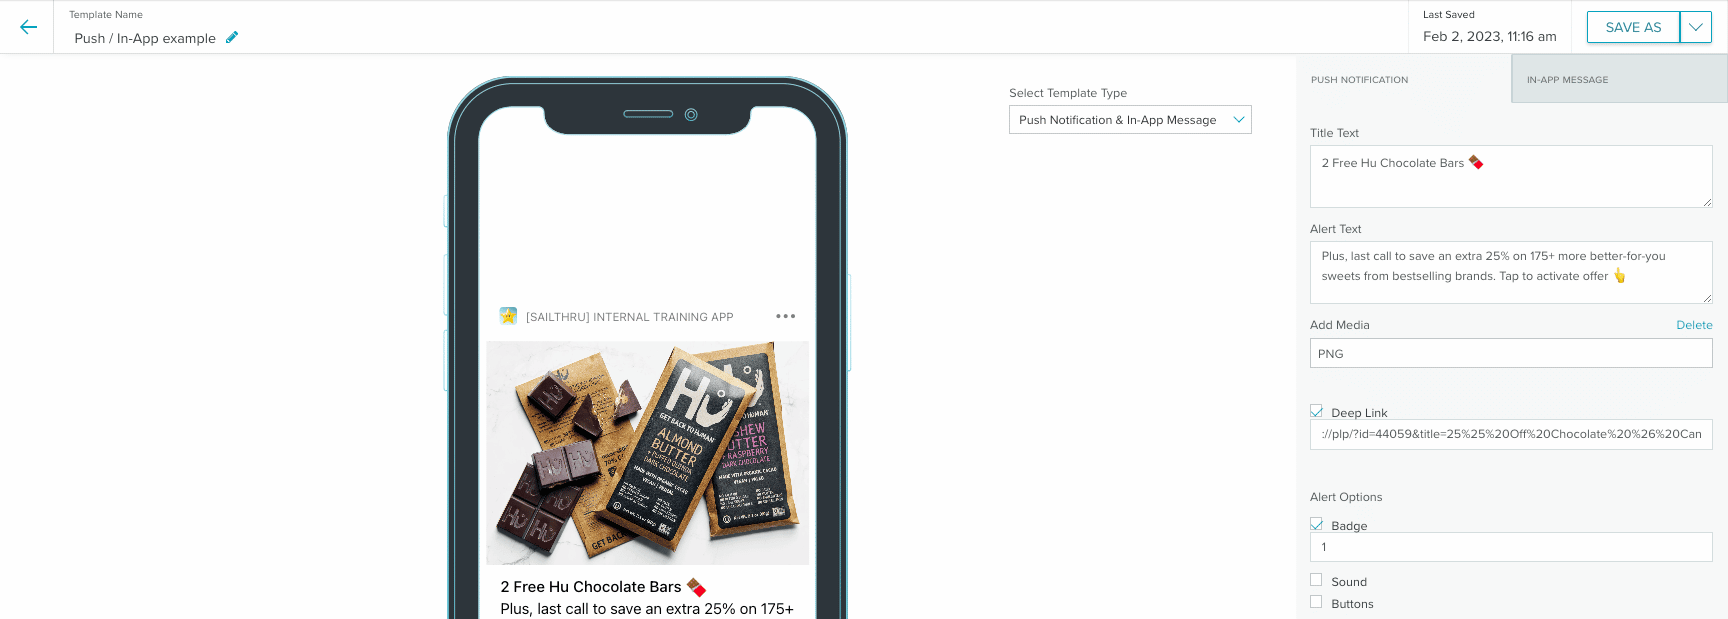
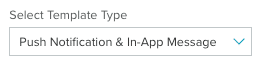
By default, the editor loads both the Push Notification and the In-App template editor. Toggle between them using the drop down menu in the Preview screen.
Note: Toggling between the template types clears anything you have added to the unselected template type. For example, if you add text to both template types and then switch to Push Notification only, the In-App template is cleared. Both Push Notifications and In-App messages allow for added media and deep linking. You can create a template that uses both message types at the same time or just one type at a time. For both types of messages, the editor shows a preview of the message on your selected device and in your selected location.
Preview your message in the following locations:
- Lock (collapsed)
- Lock (expanded)
- In-App Fullscreen
Push Notifications
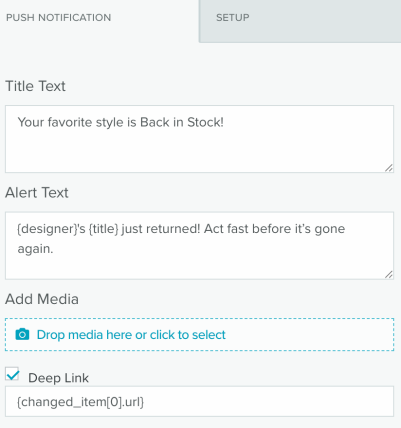
The Push Notification template editor includes two text boxes, one for the Title Text and one for the Alert Text, an Add Media option, Deep Linking, custom Alert Options, and Custom Key/Value pairs.
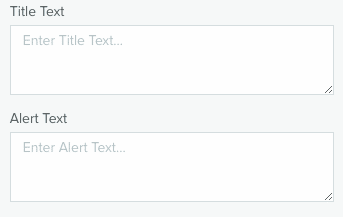
Add message text in the Title and Alert text boxes.
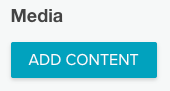
Media
Select the Add Media button to open the Add Media modal window.

Select the Upload button from the Add Content modal. This opens your file explorer so you can select the image from it.
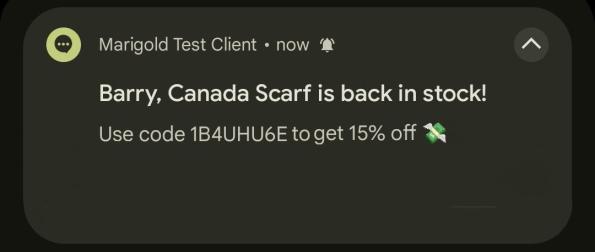
A preview shows in the Device Preview screen.
Deep Linking
Launch your app and open to a specific page when your user taps a link.
- Select the Deep Link checkbox to open the URL textbox.
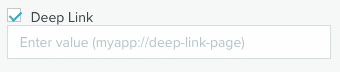
- Paste the link value for a specific page in your app into the textbox.
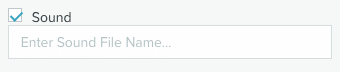
Alert Options
Add custom badge numbers and alert sounds. Badge Select the Badge option and enter the custom badge number in the textbox. The badge shows as a small number on the app icon, indicating a message.

Sound Select the Sound option and enter the sound file name in the textbox, if your app contains custom sound files.
Custom Key/Value Pairs
Send custom data to your application inside a push notification.
- Select Add to open the Key and Value textboxes.
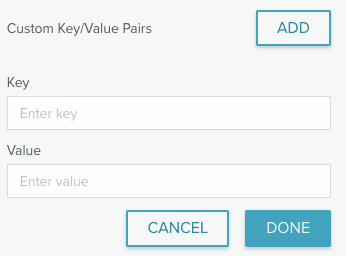
- Enter your values and select Done.
Setup tab
Add Zephyr within the Setup Tab to prepare data to be used within the template. Setup runs once for each subscriber.
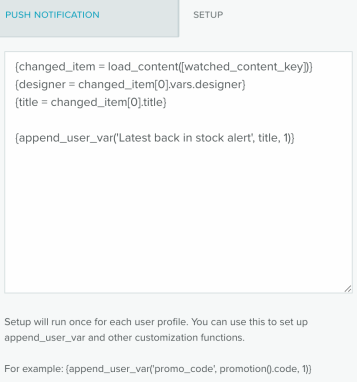
Setup running for each subscriber allows the Zephyr to personalize template variables. The Zephyr in the Setup Tab may be used for assigning vars, setting up append user var, loading content for back in stock notifications, or running the personalize() function to obtain user-specific content recommendations where a data feed is not required.
-
Learn more in the Zephyr documentation and examples library.
-
For information on conditional Zephyr in your template, see Zephyr Display Rules and Conditions.
In-App Messages
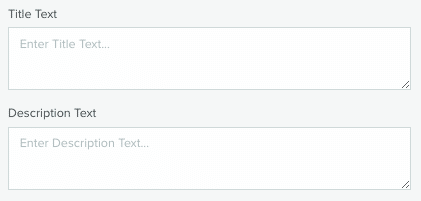
The In-App Message template editor includes two text boxes, one for the Title Text and one for the Description Text, an Add Media option, and Deep Linking.
Expiry Time Frame
By default, an in-app message will disappear as soon as a user reads it. Enter your expiry time frame, from 1 to 365 days and the specific time at which the message should expire on the final day.
![]()
If you're using a Message Stream to act as a personalized inbox for In-App messages, when the message expires it disappears from a user's Message Stream.
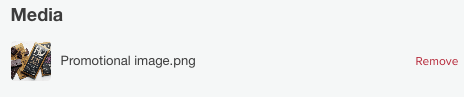
Media
Select the Add Media button to open the Add Media modal window.
Select the Upload button from the Add Content modal. This opens your file explorer so you can select the image from it.
A preview shows in the Device Preview screen.
When the image is successfully added, it should resemble the following:
Deep Linking
Launch your app and open to a specific page when your user taps a link.- Select the Deep Link checkbox to open the URL textbox.
- Paste the link value for a specific page in your app into the textbox.
Custom Key/Value Pairs
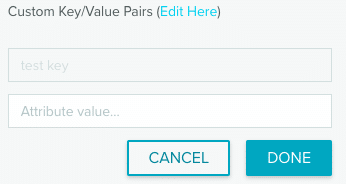
Add custom key/value pairs to In-App messages.- From the In-App Message tab, select Edit Here from the Custom Key/Value Pairs section.

The link opens the Mobile Message Setup page in a new tab.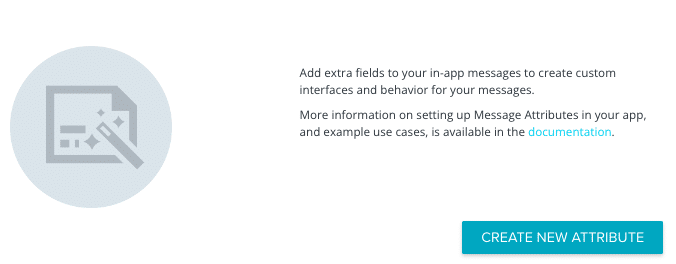
- Under Message Attributes, select Create New Attribute to open the Create Custom Attributes modal.
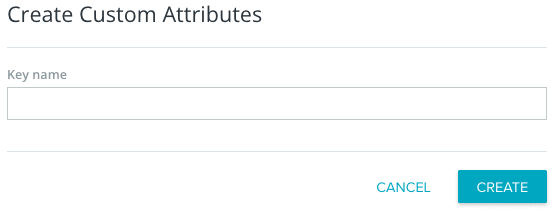
- Enter a key name in the textbox and select Create.
- Return to the template editor and save your work if you've entered text for the Title or Description.
- Refresh the template editor page.
- Under the Custom Key/Value section, select the key you wish to use, enter a value in the textbox, and select Done.
- Save the template.
Use a Template in a Lifecycle Optimizer Flow
- Open an existing Lifecycle Optimizer flow or create a new one.
- Select the entry criteria.
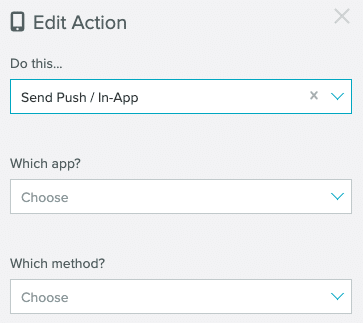
- Add an Action. Select Send Push / In-App from the list of actions.
- From the Edit Action panel, select the App and the Mobile Template method.
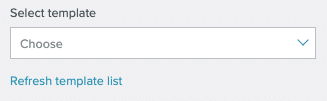
- Select your template from the Select template drop down menu.
- The selected template's Title and Alert/Description text displays, in addition to the Expiry time frame if the template contains an In-App message.
Preview the template by selecting Edit/view template. This opens the template composer in a new tab.
If you make any changes to the template, re-select it to see the updates reflected in the text preview and Expiry time frame.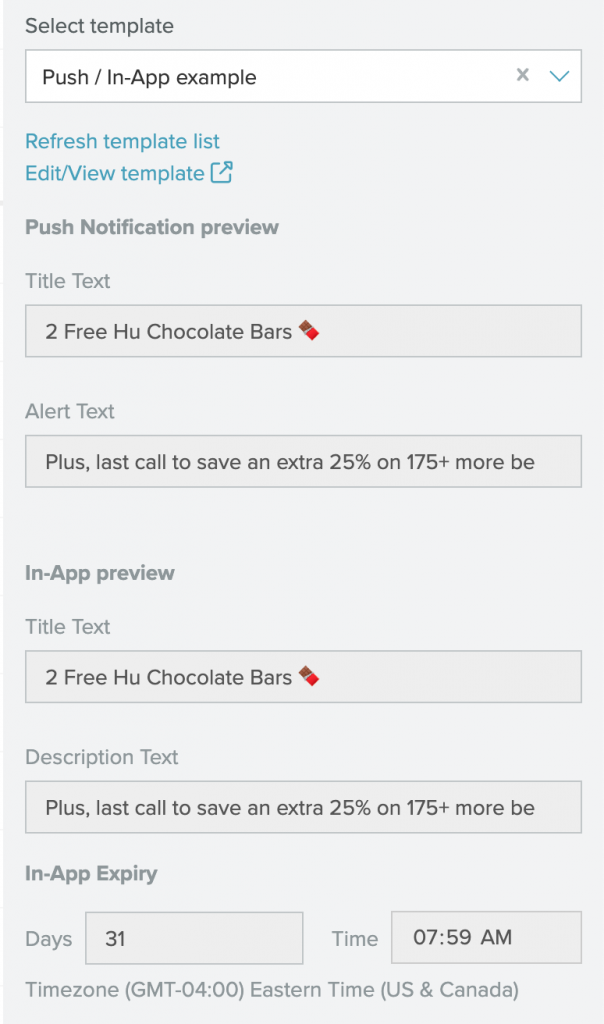
- Save the flow.
Zephyr
Add Zephyr variables to personalize your messaging.
Zephyr variables can be used in Title Text, Alert/Description Text, deeplink, or custom key/value pairs.

Zephyr variables can be populated by User profile fields, custom fields (vars) including custom event vars in Lifecycle Optimizer, and promotion codes.
To preview the Zephyr variables, “Save & send test” to a test audience.
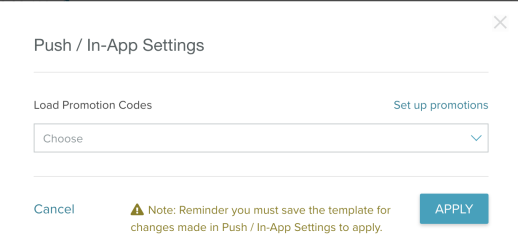
Add a promotion code
To add a promotion code to your push/in-app templates:
-
Create a new template or open an existing one.
-
Select the gear icon to open the Settings modal.
-
Select a promotion and then select Apply. Save the template to associate the promotion you selected with the template..
-
To use the promotion code in your messaging, use the following in your Title Text, Alert Text, deeplink, or custom key/value pairs:
Copy{promotion().code}
For information on adding a promotion code that can be copied by tapping the Push notification, see the promotion documentation.
Liveclicker in Push/In-App messages
Add dynamic content to your In-App messages and personalized content to your Push messages with Liveclicker.
While you can select any Liveclicker element to use in your messaging, there are three that are officially supported in a Push/In-App environment:
- LiveImage
- LiveTimer
- LiveFeed
If you wish to use an element that is not officially supported, you must test it thoroughly before your full send to ensure the experience works as intended.
Notes:
- Liveclicker is supported in full-screen messages. Messages in the message stream or banner messages will appear using the title and description text and any images you add.
- You can have separate Liveclicker Campaigns for Push notifications and In-App messages.
- Personalized Liveclicker elements will load in Push notifications, but dynamic images will not load as dynamic content.
- iOS devices require iOS SDK 18.2.0 to support LiveClicker messaging.
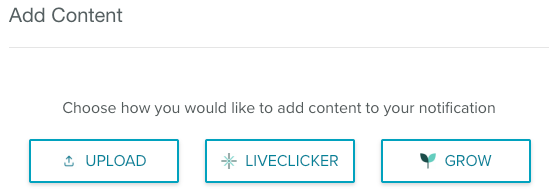
- Create a new Push/In-App template or open an existing one.
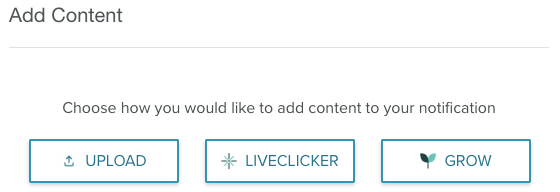
- Select Add Content from the setting tab for Push or In-App.
- Select Import from Liveclicker from the Add Content modal. This will open the Liveclicker window.
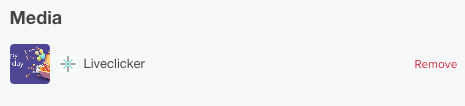
- Select a campaign from the Liveclicker window and then an element. Once selected, you can add the element to your template.
- The Liveclicker element should resemble the following when inserted successfully.
- Edit an element by selecting the Edit icon in the Liveclicker window. This will open a new tab and redirect you to the Liveclicker platform.
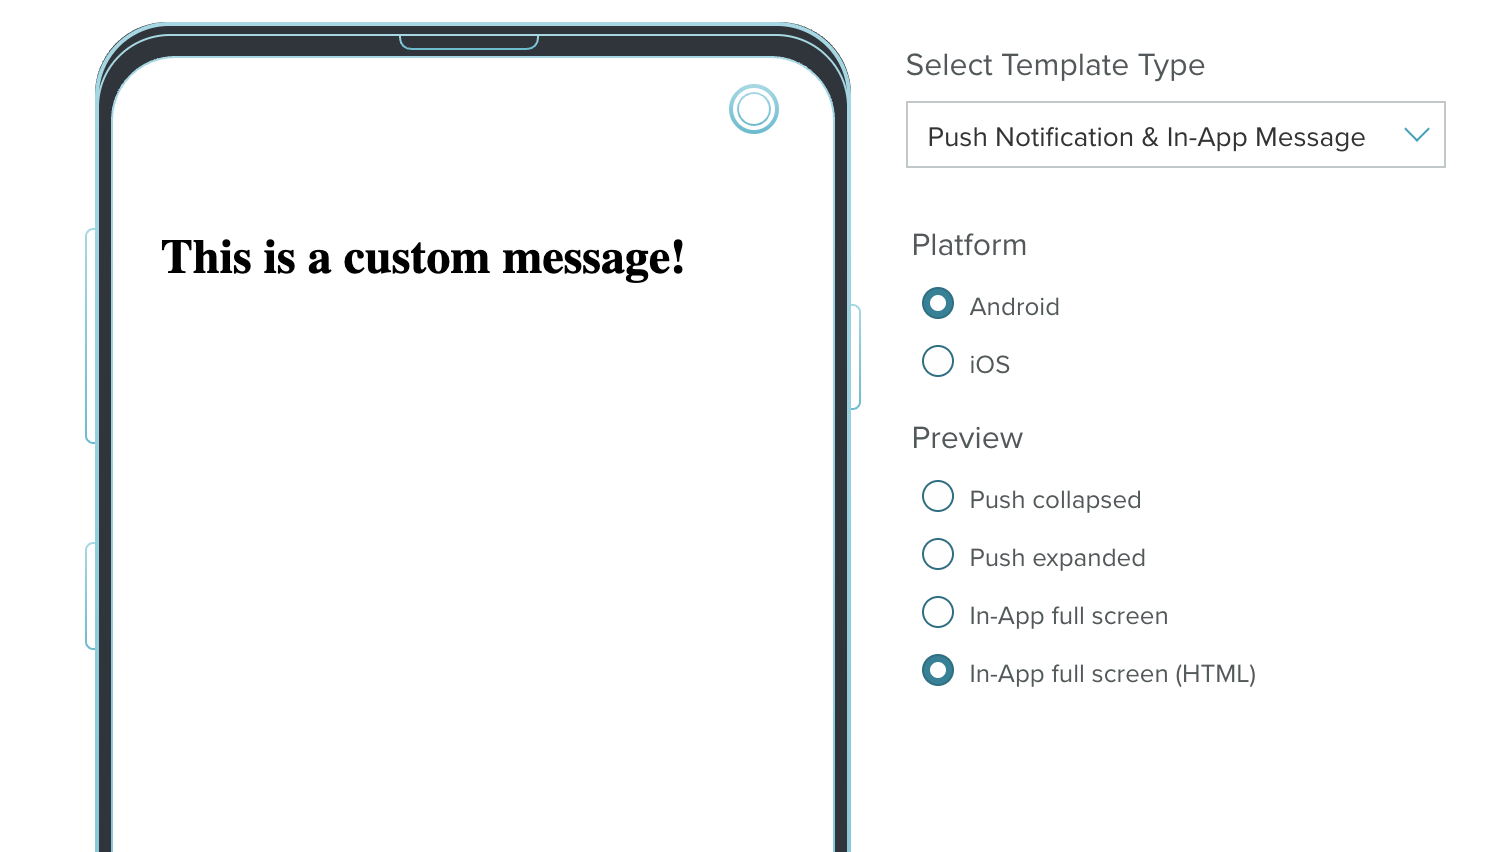
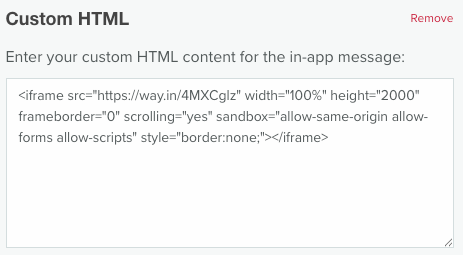
Custom HTML for In-App messages
Keep every In-App messaging on-brand with custom HTML, CSS, and Zephyr in the template editor.
Note: Custom HTML is supported in full-screen messages. Messages in the message stream or banner messages will appear using the title and description text and any images you add.
Enter your custom HTML and inline CSS in the text box:

While you can enter any custom HTML into the text box, there are best practices and limitations to keep in mind for creating In-App messaging. See the Best Practices for HTML in Mobile Messaging documentation for more information.
Preview custom HTML
When you enter and edit HTML for the first time, you'll see a new preview type called In-App full screen (HTML) in the list. It is automatically selected for you. As you make edits, the preview in the pane will change. If you add Zephyr to personalize your messaging, you'll see the script in the preview. This will render properly when you test your send
If you change your preview type, the custom HTML you've entered will no longer be displayed. The In-App full screen preview shows the Basic and Media content of your template.
Grow in In-App messages
Bring Grow experiences to the palm of your customer's hands.
Grow is supported in full-screen messages. Messages in the message stream or banner messages will appear using the title and description text and any images you add.
Notes:
- Grow experiences are seamlessly displayed within an iframe on your customer's device.
- Selecting a Grow experience will override any existing value already entered into the Custom HTML field.
Add an Experience to an In-App message
- Create a new Push/In-App template or open an existing one.
- Select Add Content from the setting tab for Push or In-App.
- Select Grow from the Add Content modal. This will open the Grow window.
- Select an experience from the Grow window. Once selected, you can add the experience to your template.
- The Grow experience should resemble the following when inserted successfully.
As you select a Grow experience the preview in the preview pane will change.
For in-depth information on Zeta Grow, see the Zeta Grow Help Center.

