
How to: Set up a Shopify Product Quiz
A Shopify Product Quiz is an outcome quiz that gathers data from entrants through Quiz Single Choice and Quiz Multiple Choice modules (and others), and has an integration with a Shopify account.
Once entrants submit their quiz answers, tailored product recommendations (from the linked Shopify store) will be shown to them based on their answers.
Prerequisites
Install the Headless app by Shopify
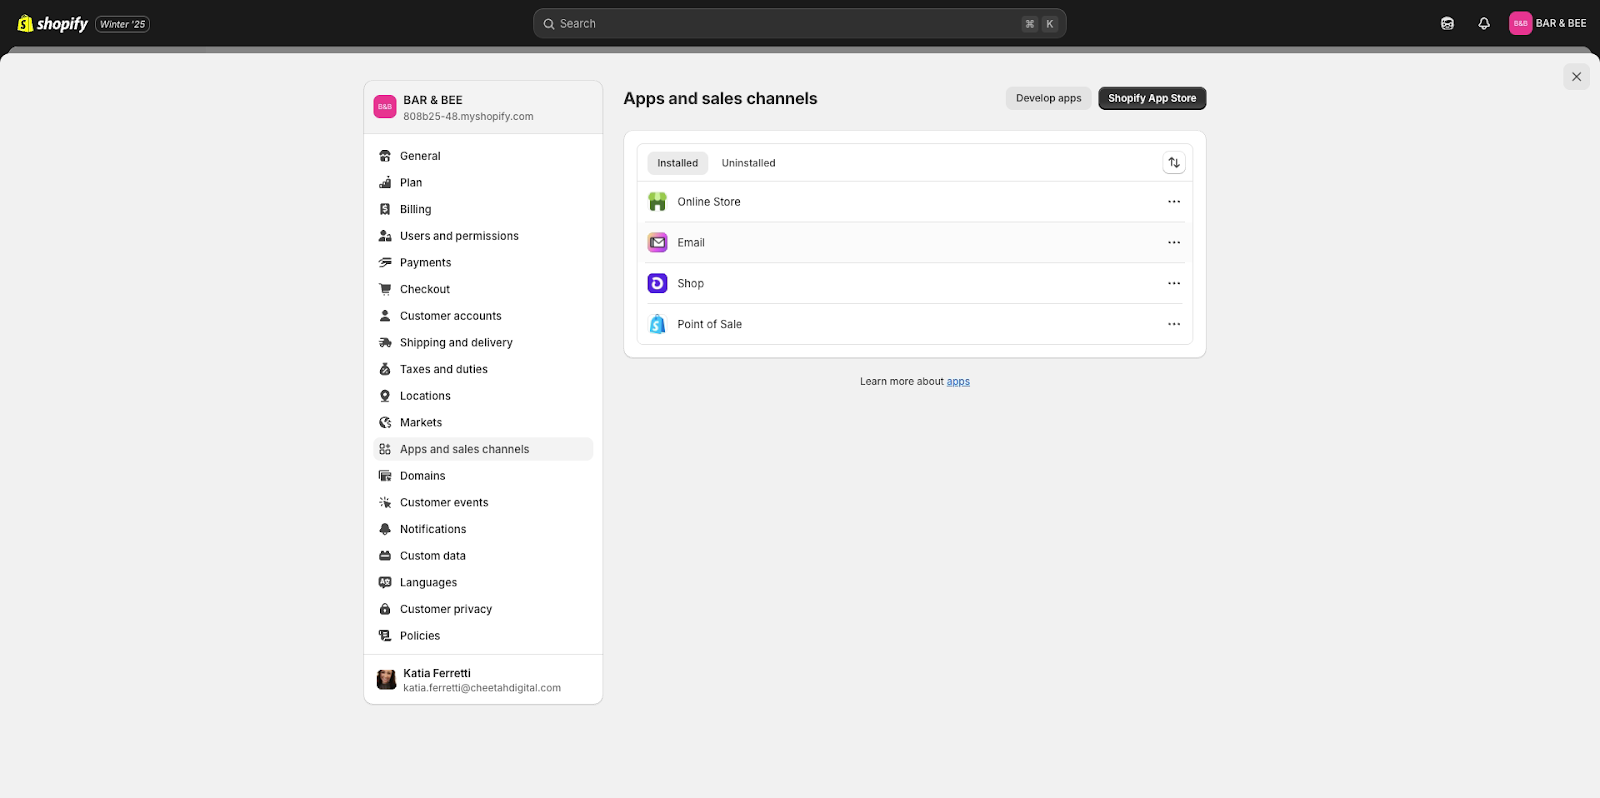
In the Settings area of your Shopify account, go to Apps and sales channels > Shopify App Store and search for and install the Headless App by Shopify.
Click on Create storefront and under Manage API access click the Manage button next to the Storefront API option.
Copy your Private access token and keep it safe as you’ll need this in the next step.
Understand how your Shopify product data is organized
When building your Shopify Product Quiz, think about what product information you have available and what type of questions you might ask as a result to determine what products to show at the end of the Experience.
When you add products to Shopify as well as basic product details, you can group your products into collections.
Examples of collections: Mens, Womens, Seasonal Products.
You can also set up product categories and variants for a product that comes in more than one option.
Example of product categories: Apparel & Accessories > Clothing > Clothing Tops > T-Shirts
Examples of variants: Size or color.
Grow allows you to filter by the following categories:
- Collections
- Product type
- Vendor (= brand)
- Tags
- Price

Note: The Shopify API doesn't support filtering by product category or category meta fields—use product type and tags instead. Product type (formerly custom product type) lets you define custom categories like Colorful linens beyond Shopify’s standard set.
Set up a Shopify API key
Set up a Shopify API key first, before creating a Shopify Product Quiz Experience.
Execute the following steps:
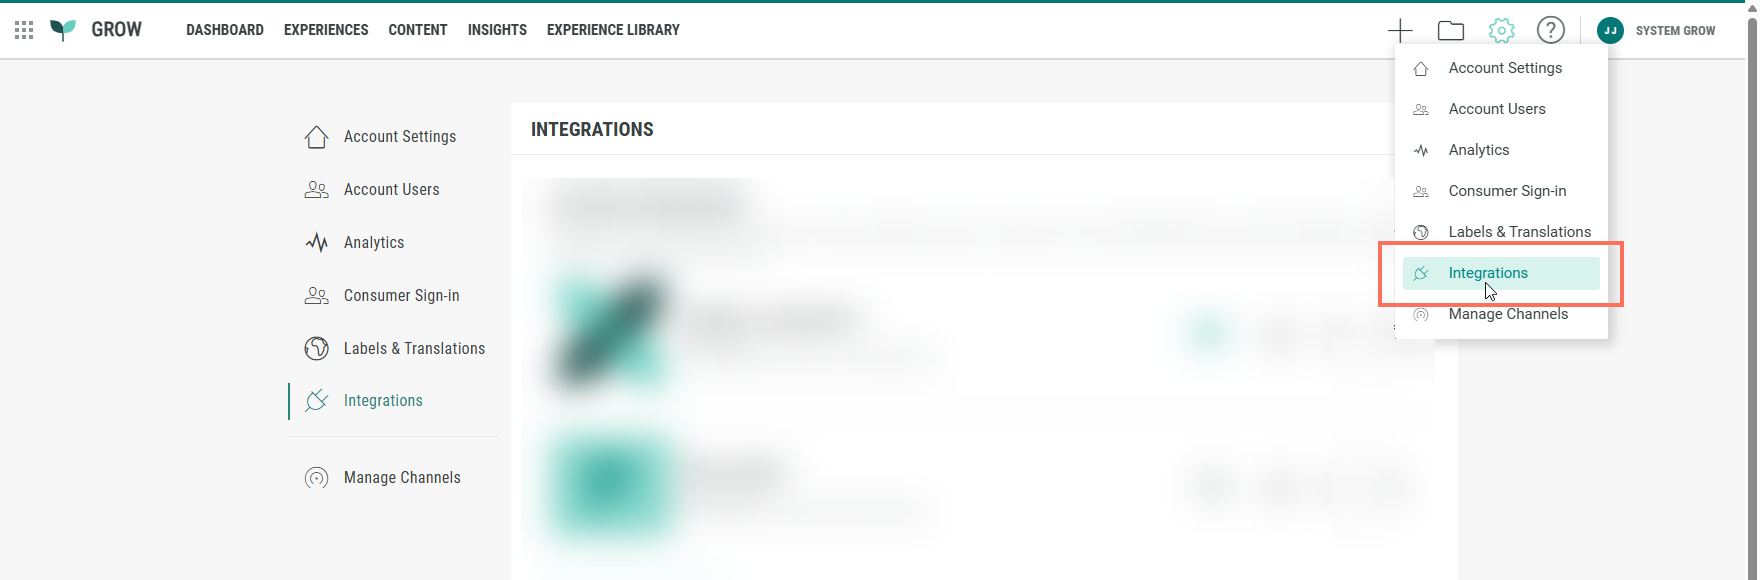
- At the top-right of Grow, click on the Gear icon and select Integrations from the drop-down.
-
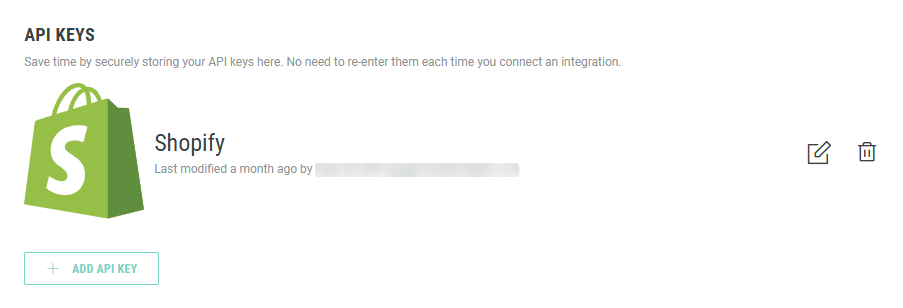
Scroll down to the API Keys section, and click on the + Add API key button.

-
Select Shopify.
-
Enter the Shopify credentials: Name, Shopify store ID and Private access token.

-
Name — Enter a clear name to identify this key later on. Especially when multiple Shopify API keys are being set up, it's important to know which one you need.
-
Shopify store ID — Enter your Shopify store ID here.
This is the unique identifier assigned to your Shopify store. It's typically found in your Shopify admin URL (e.g., https://your-store-id.myshopify.com). It's used to establish a connection between your GrowExperience and the correct Shopify storefront. -
Private access token — Enter your Shopify private access token.
This is a confidential credential used for authenticating API requests from your integration to the Shopify store. It is generated when you create a private app (or custom app) in the Shopify admin. This token grants access to the store's data, such as products, orders, and collections—so it should be stored securely.
Note: Log into your Shopify admin console to retrieve the store ID and private access token.
Consult the Shopify help center for more info.
-
Once completed, click Save to store the API key configuration.
You return to the Integrations screen, where the Shopify API Key is now visible.
Note: You can click on the Pencil icon to edit the API Key configuration.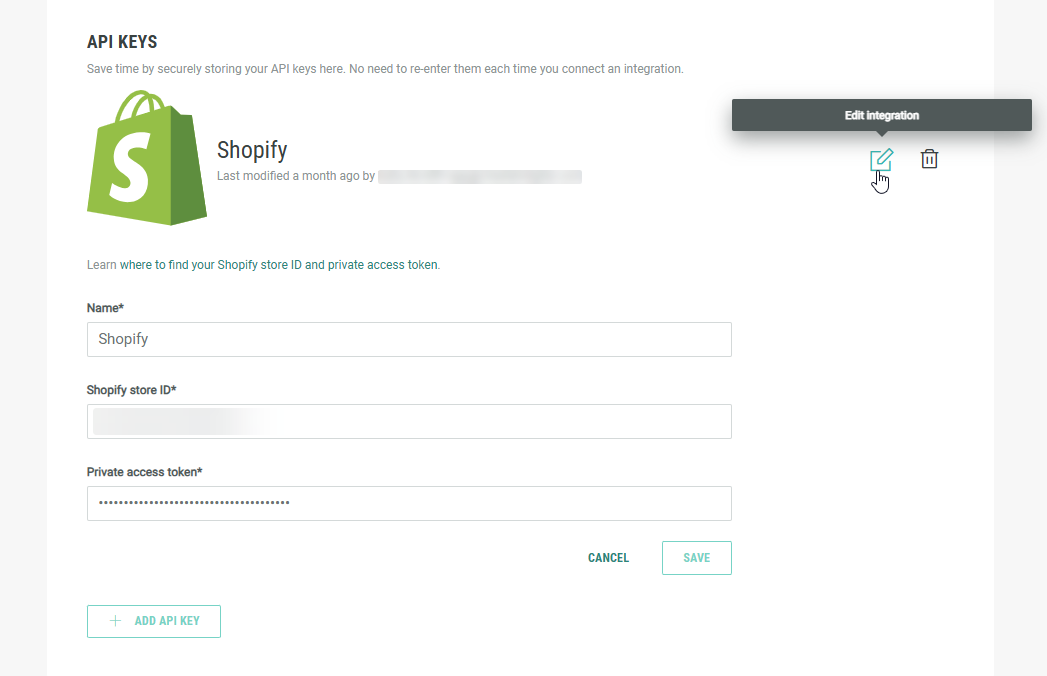
Getting Started
- Navigate to the Experience Library in the Grow platform.

- Select Browse by Experience Type and choose Quizzes.

- Pick Shopify Product Quiz.
- On the next screen, click Create +.
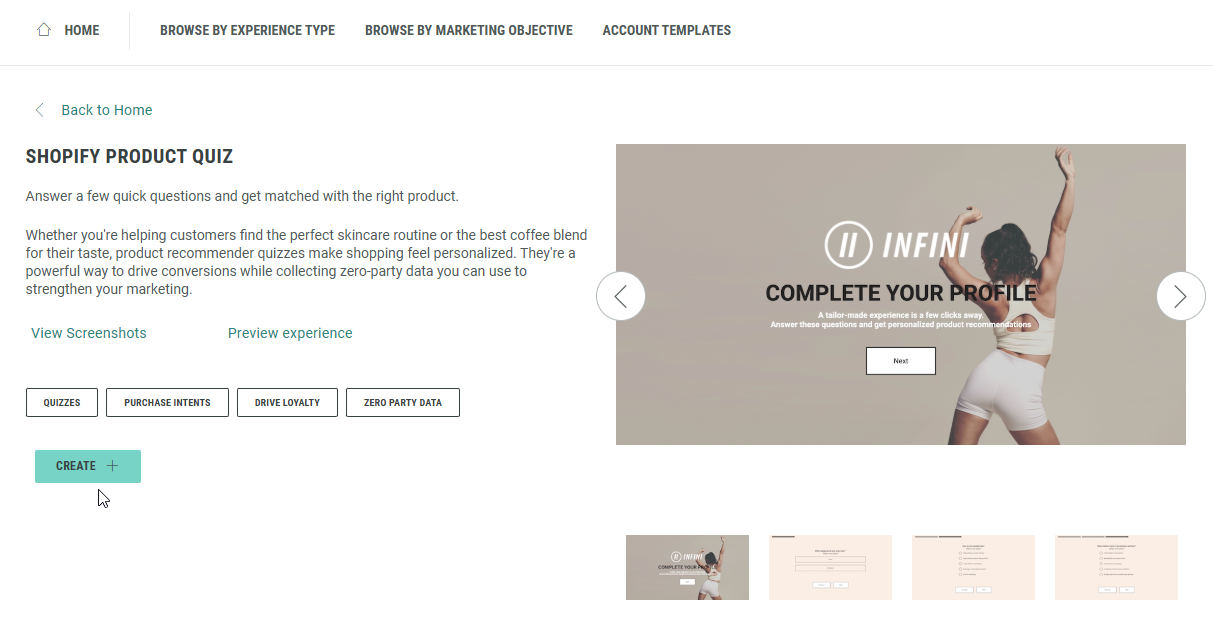
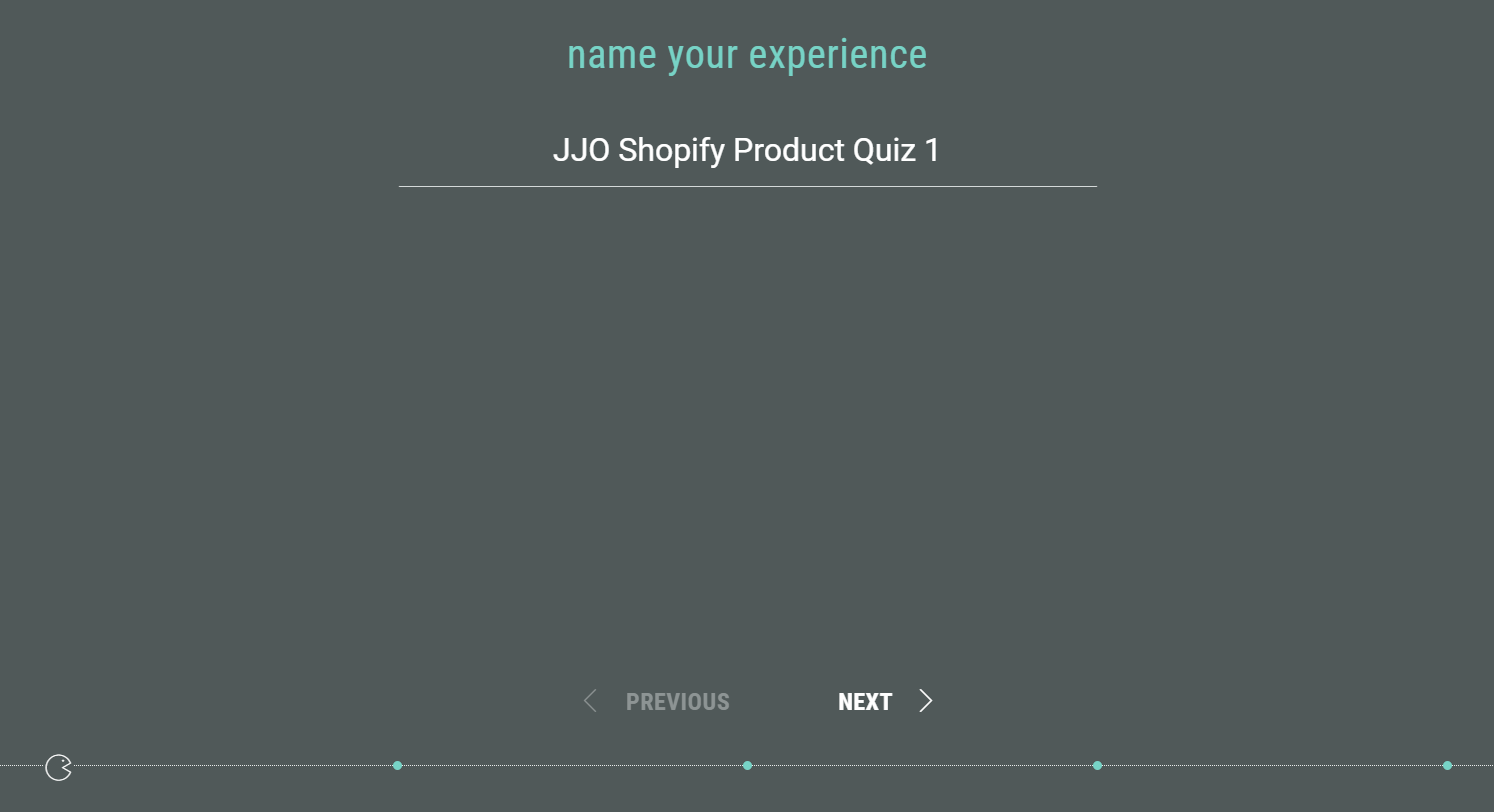
- A wizard takes you through the Experience creation process.
First of all, name your Experience, then click Next.
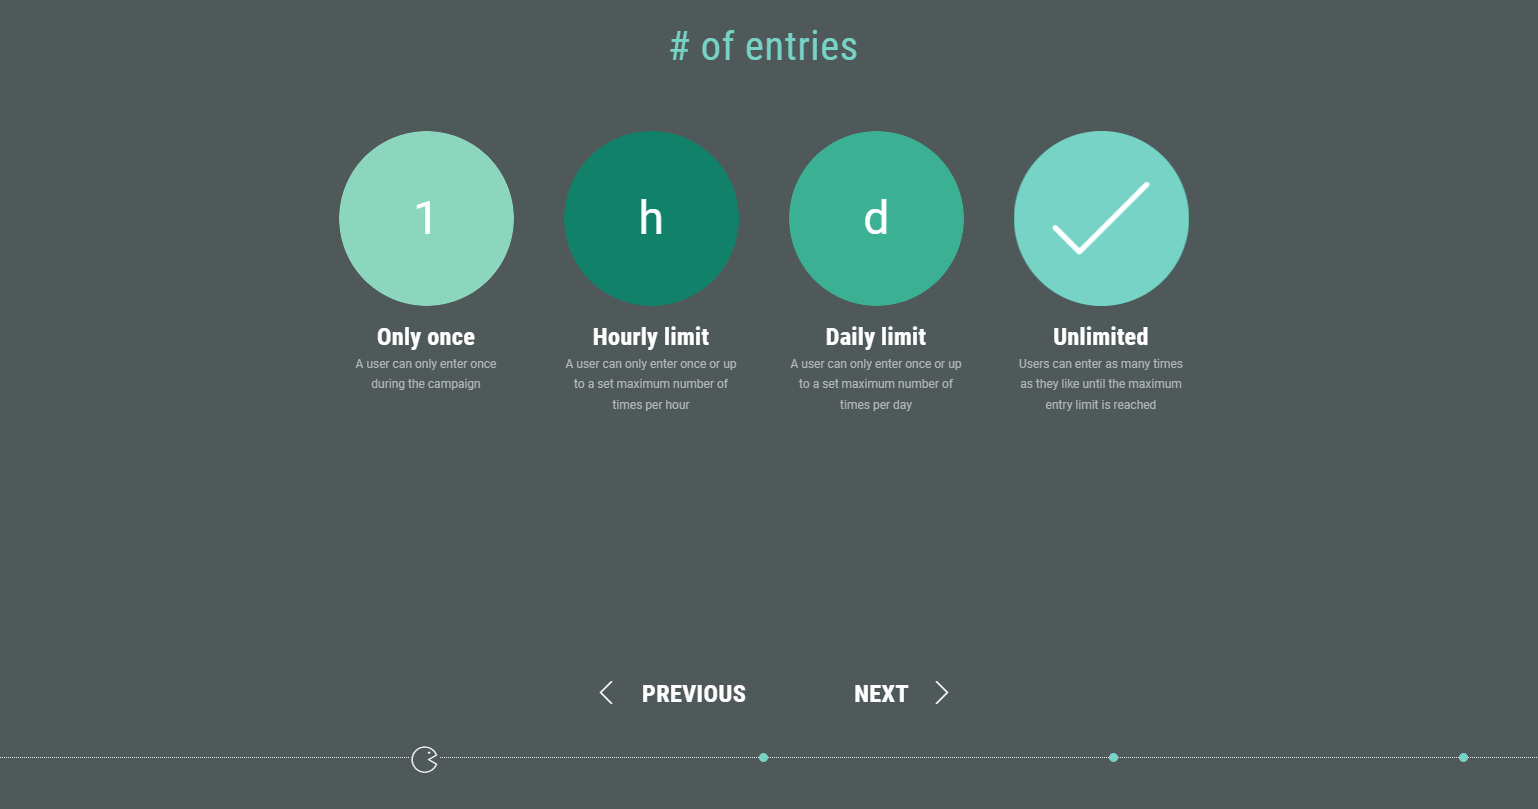
- Select the allowed number of entries per user.
This can be: Only once, a maximum number of times per hour or per day, up to a maximum number of times in total, or an unlimited number of entries. (For our example, we use Unlimited.)
Then click Next.
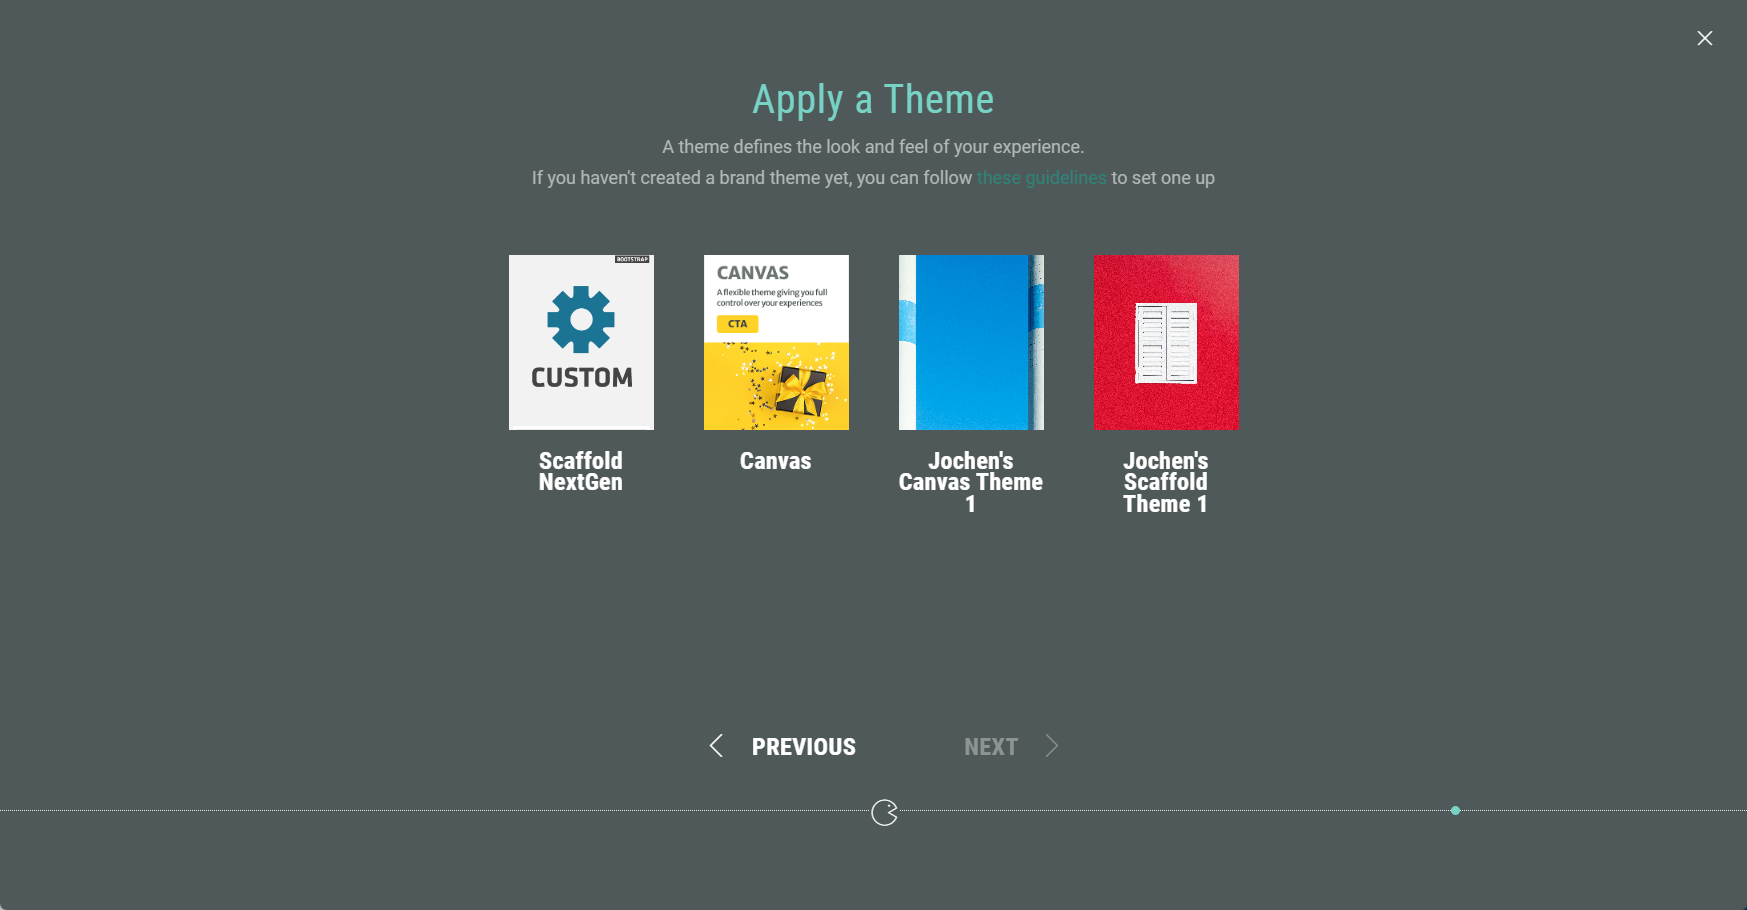
- Apply a theme. You can select one of your available themes. The theme determines the look and feel of your Experience. Then click Next.
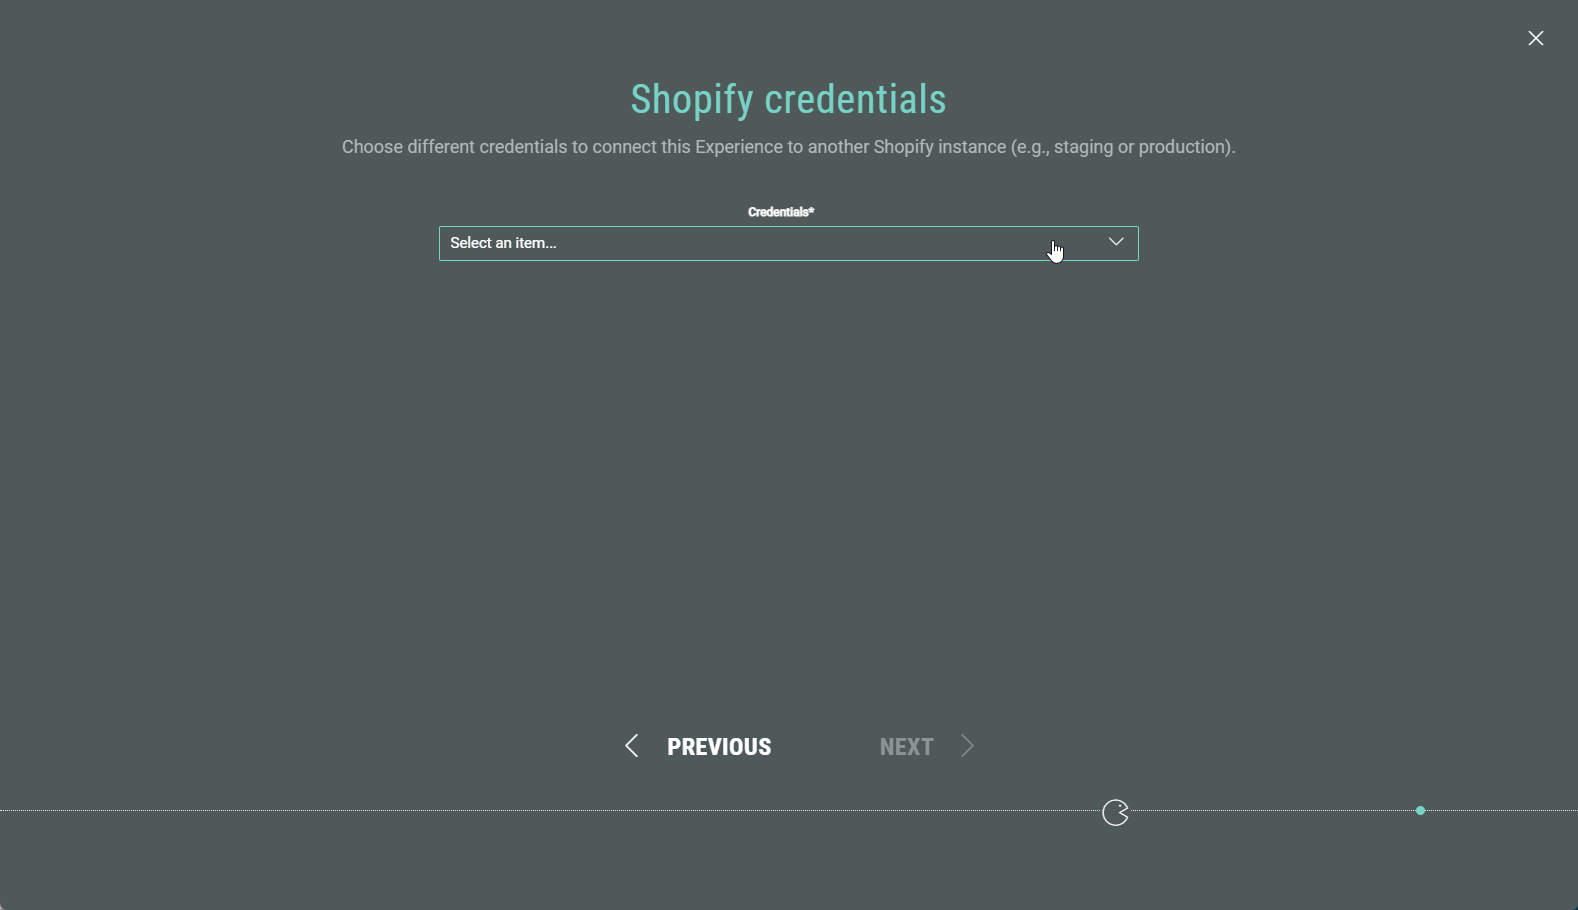
- When multiple Shopify API keys exist, you can select the desired one in this step. Then click Next.
Otherwise, this step is skipped and the single Shopify API key is applied automatically.
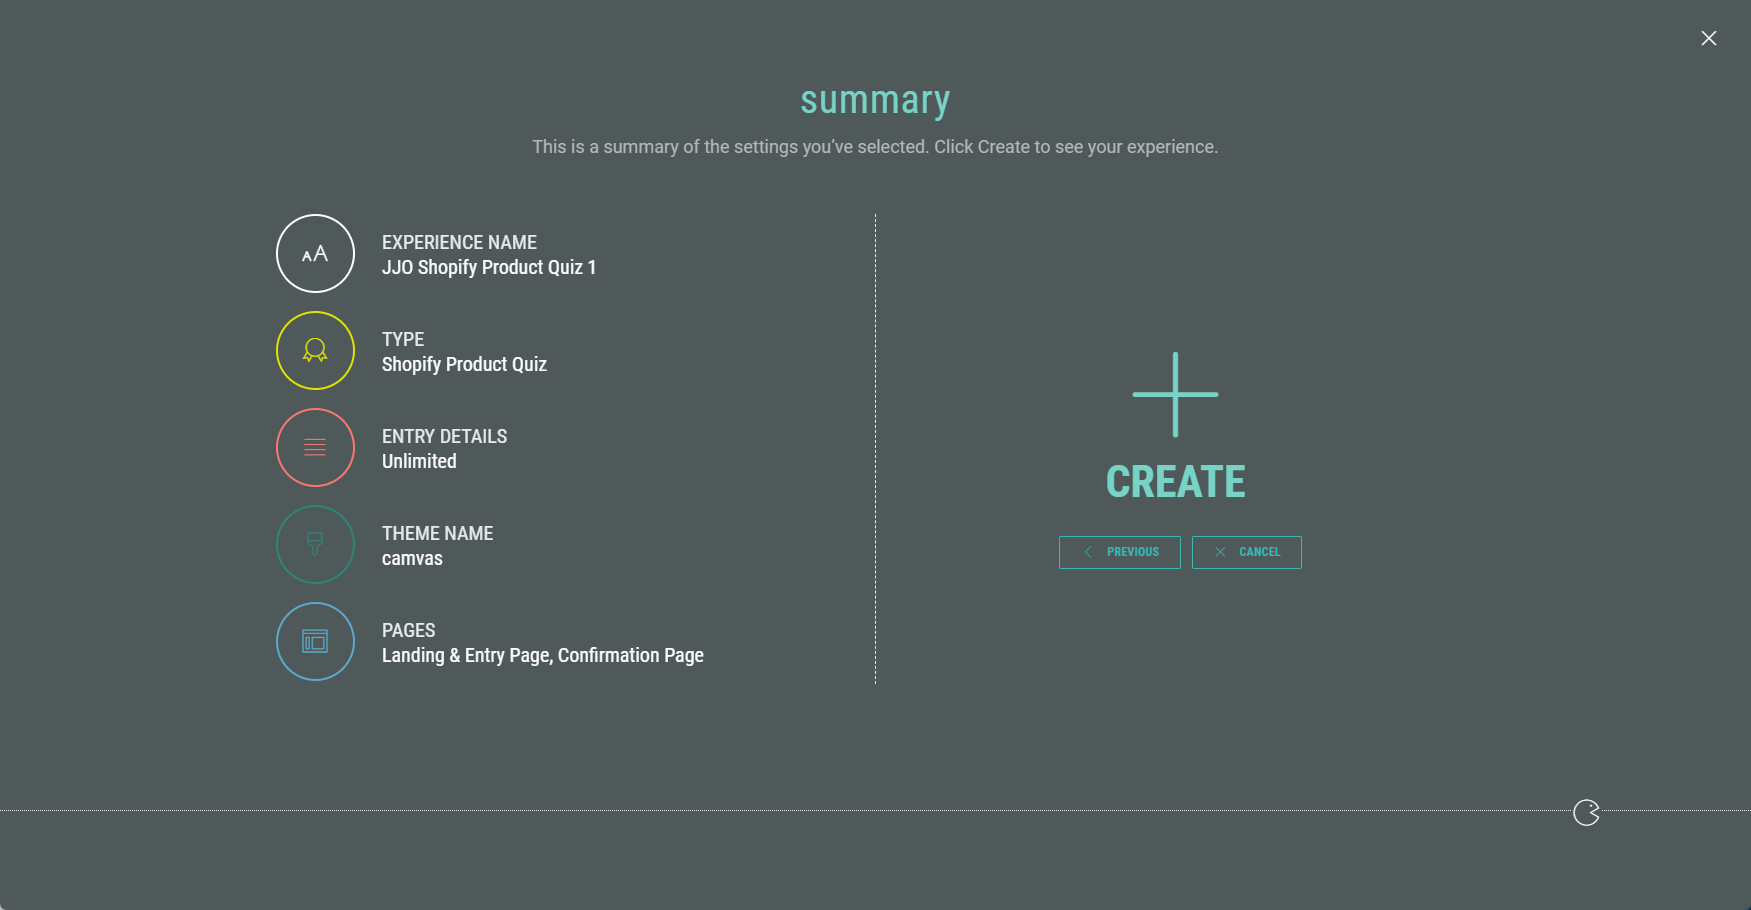
- Finally, you're presented with an overview of your Experience setup. If you’re happy, click Create to finalize your settings and create the Experience.
Customizing your Experience
Once you have completed all the steps in the wizard, you land in your Experience area. Here you find several tabs to work through in order to build your Experience, configure the Shopify integration, define the Experience design, and publish your Experience.
Build tab
Landing & Entry Page
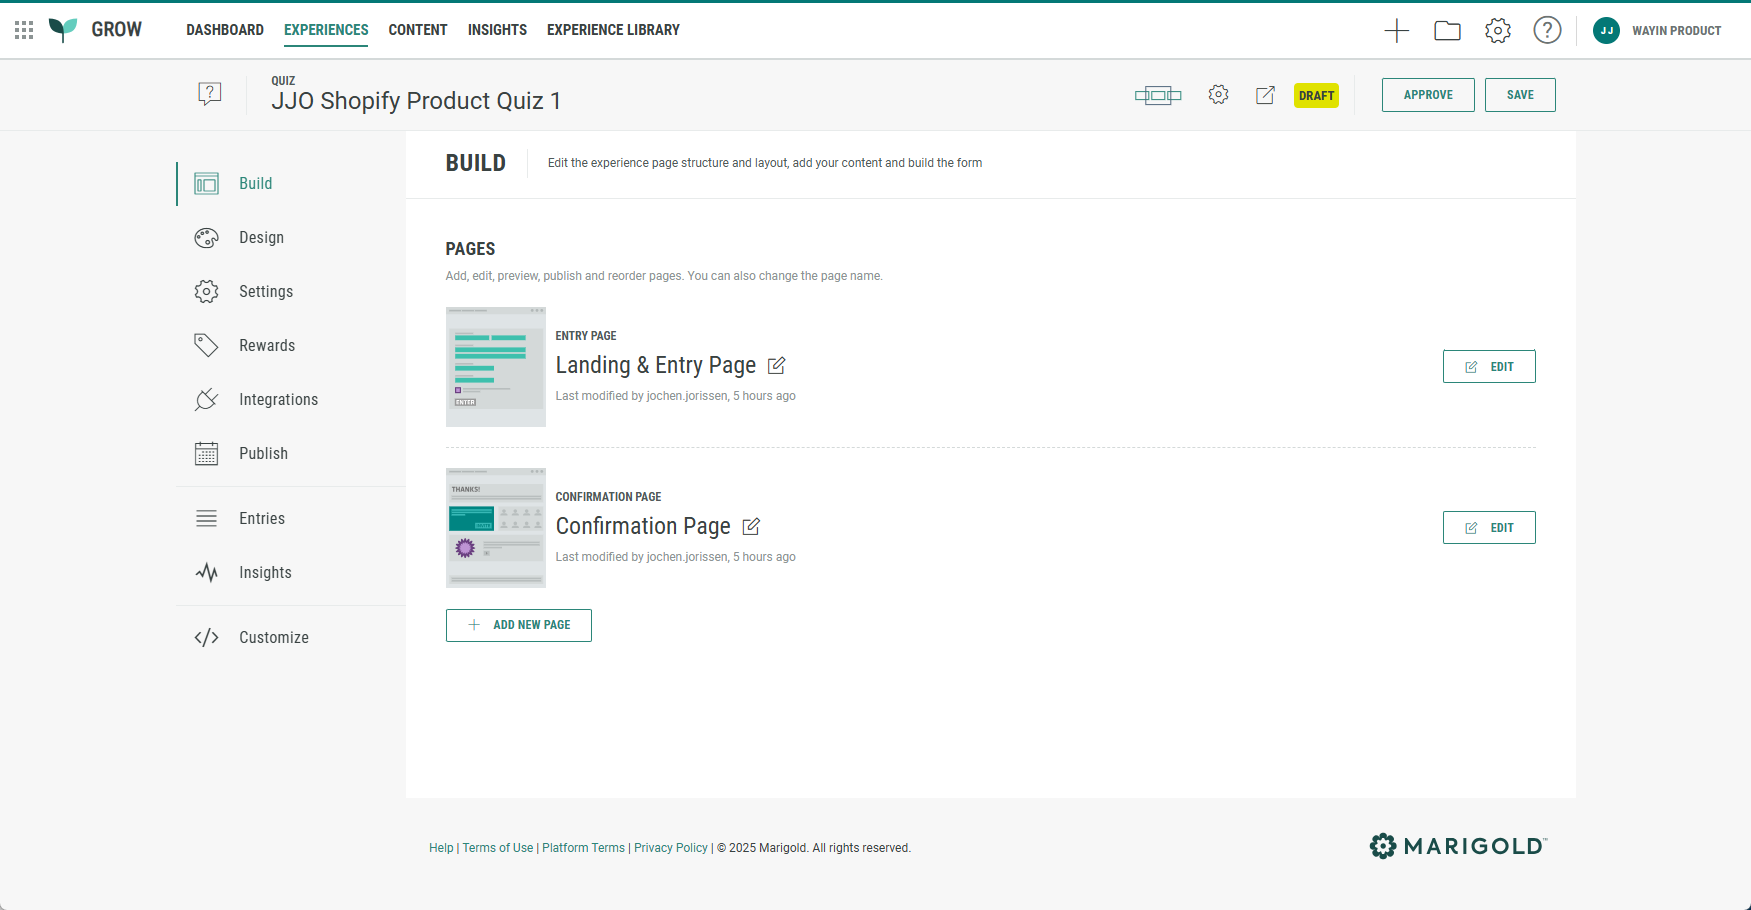
The Build tab offers an overview of the pages included in your Experience. Our Shopify Product Quiz comes with a Landing & Entry Page and a Confirmation Page.
The Landing & Entry Page is the first page Experience entrants will see, where data capture takes place.
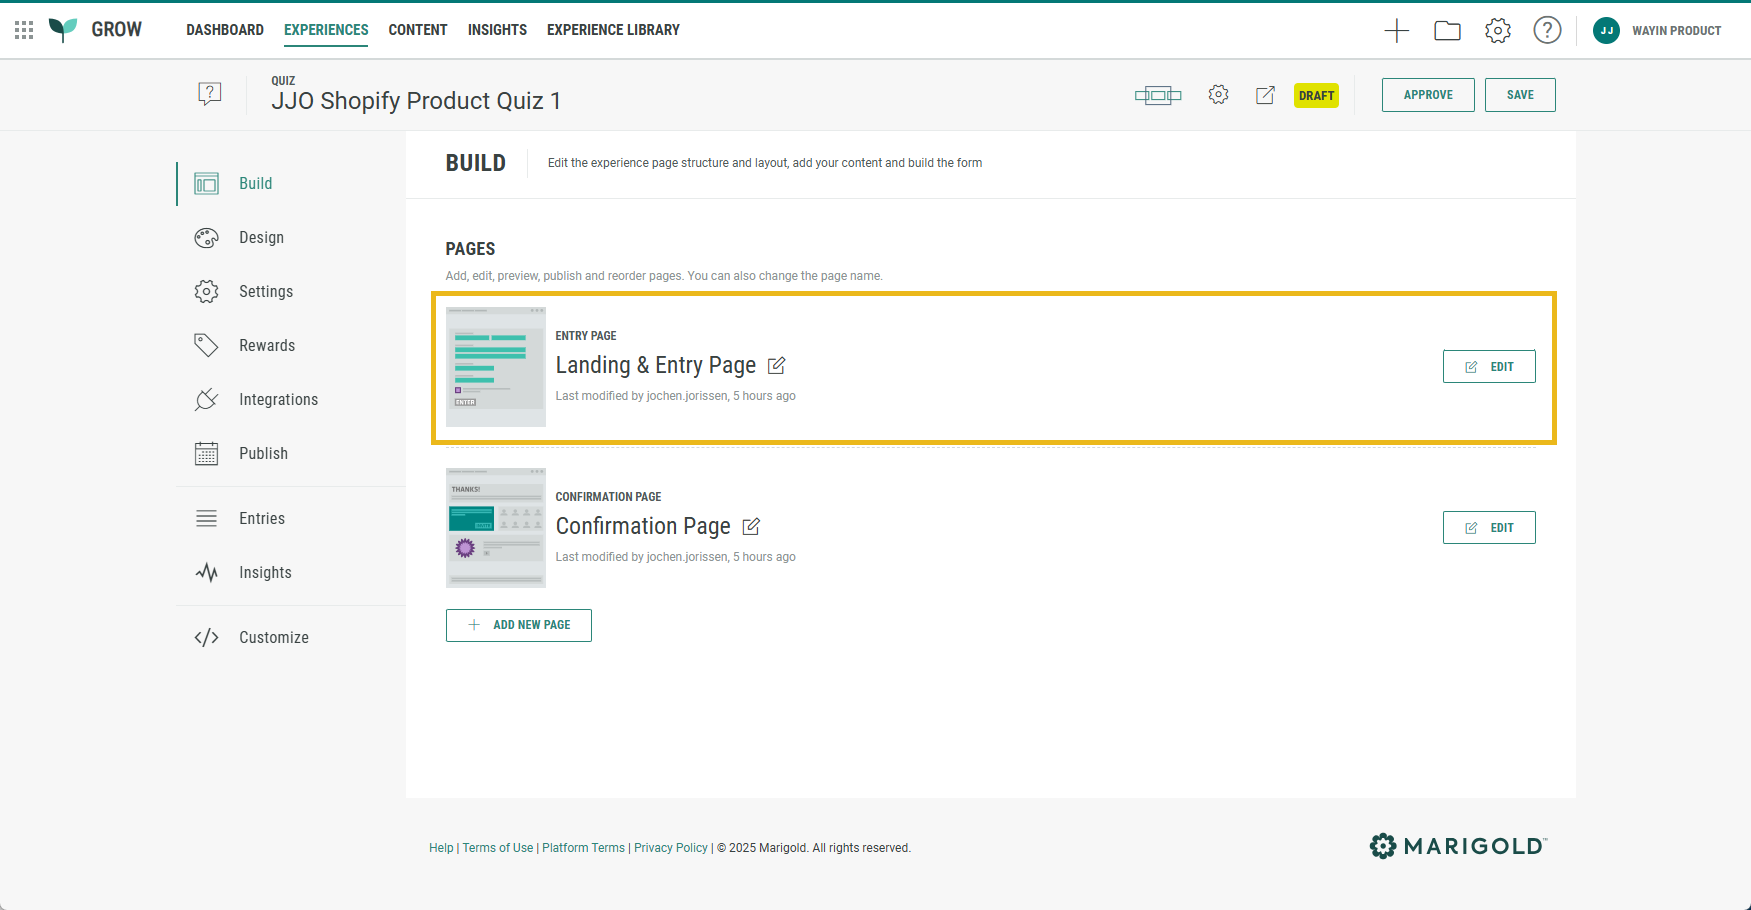
Editing the Landing & Entry Page
- Click on the Edit button at the right of the Landing & Entry Page.

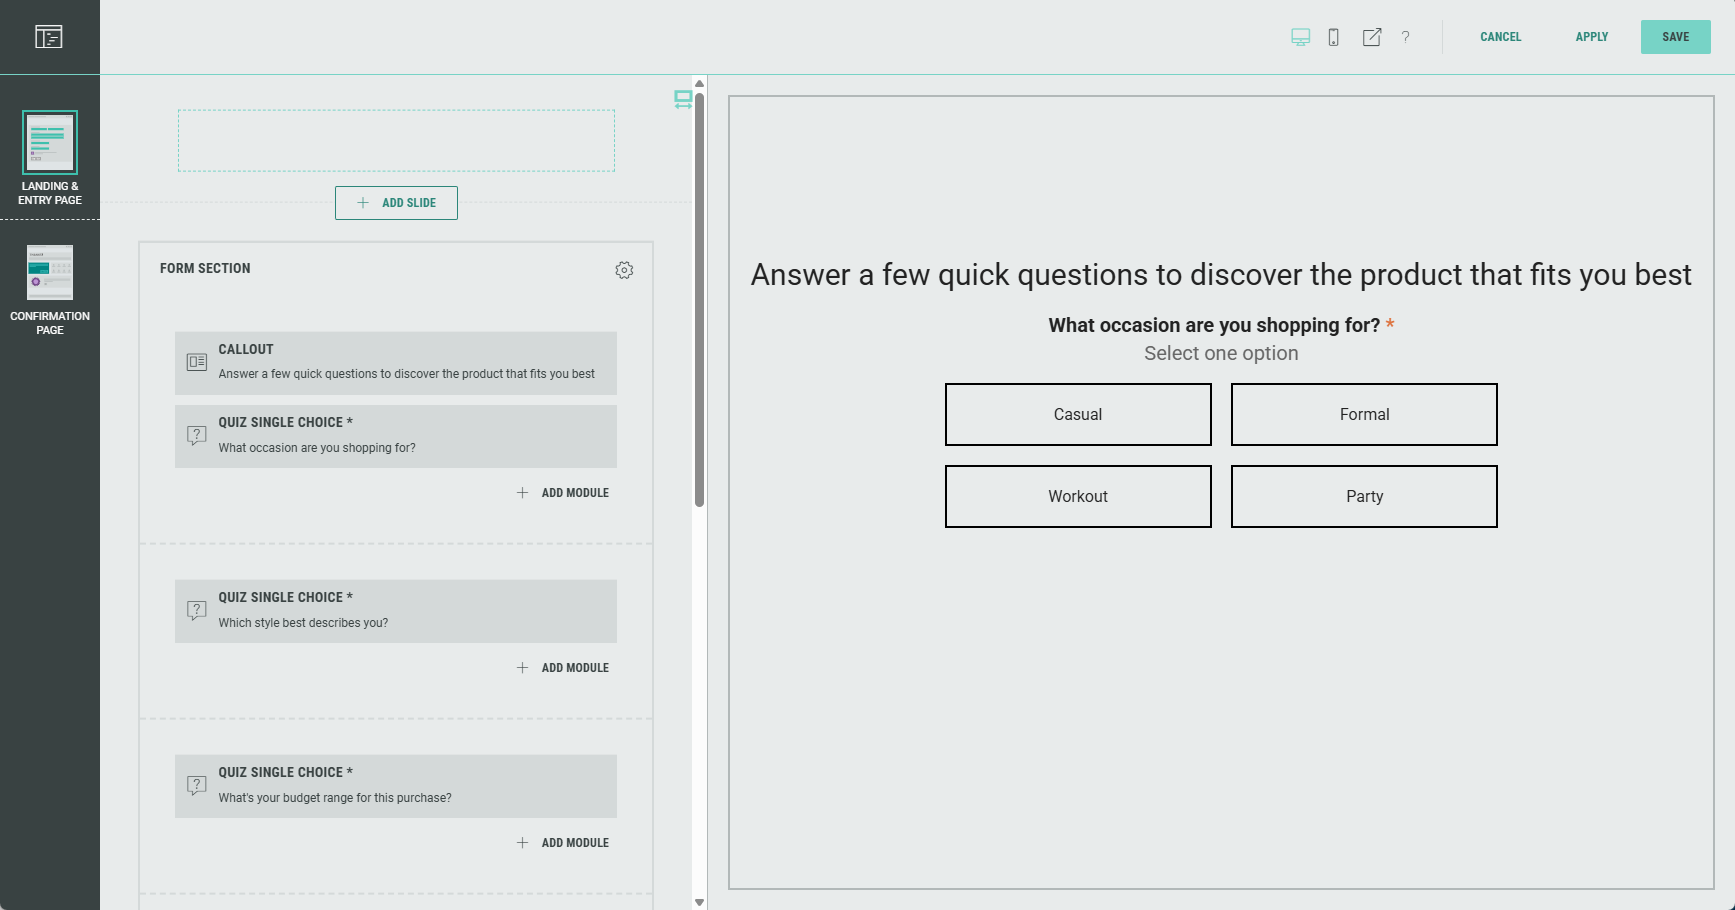
- The Page Builder is shown.
The Landing & Entry Page in the Shopify Product Quiz by default contains a Form section with four slides.
-
Slide 1 contains a Callout module and a Quiz Single Choice module.
-
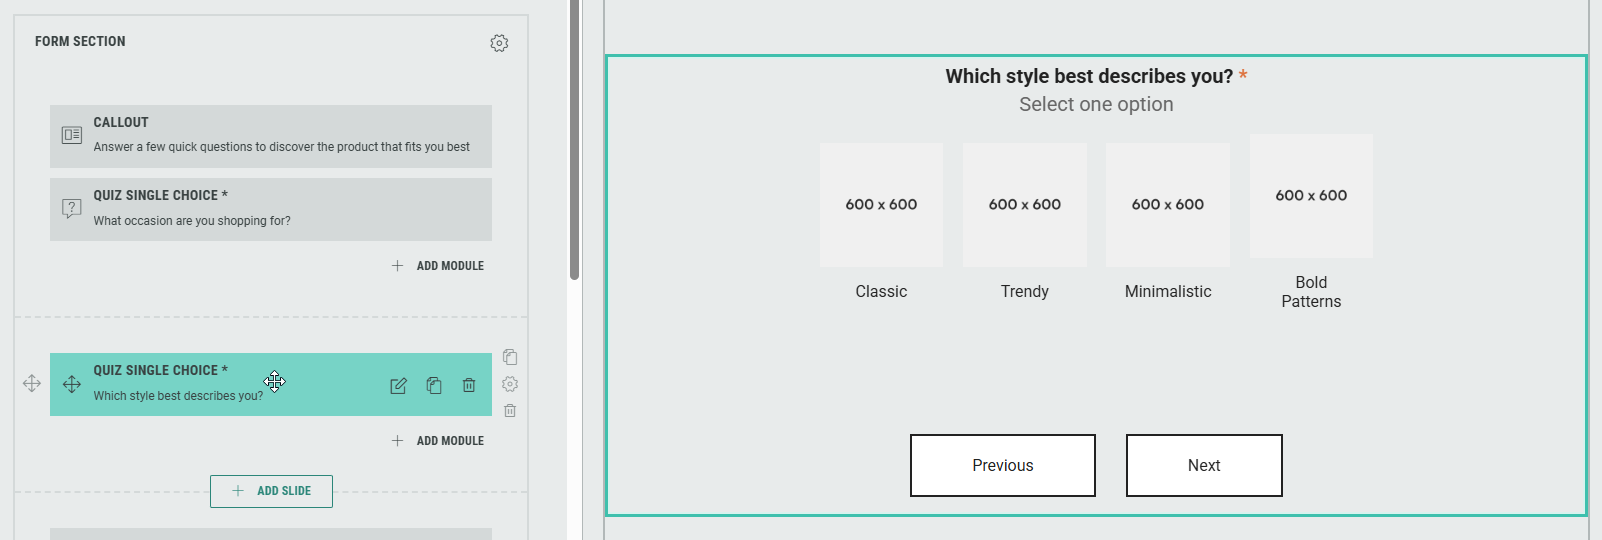
Slide 2 and slide 3 contain Quiz Single Choice modules.
Note: You can use Quiz Single Choice and Quiz Multiple Choice modules.
Check out these detailed topics for more info on those:
- Quiz Single Choice Module for outcome-based quiz Experiences
- Quiz Multiple Choice Module for outcome-based quiz Experiences
-
Slide 4 contains Content and Form-type modules — A Headline to show a title and description, an input field to request the participant's Email address, a checkbox to Opt-in to email offers and updates, and a Submit button.
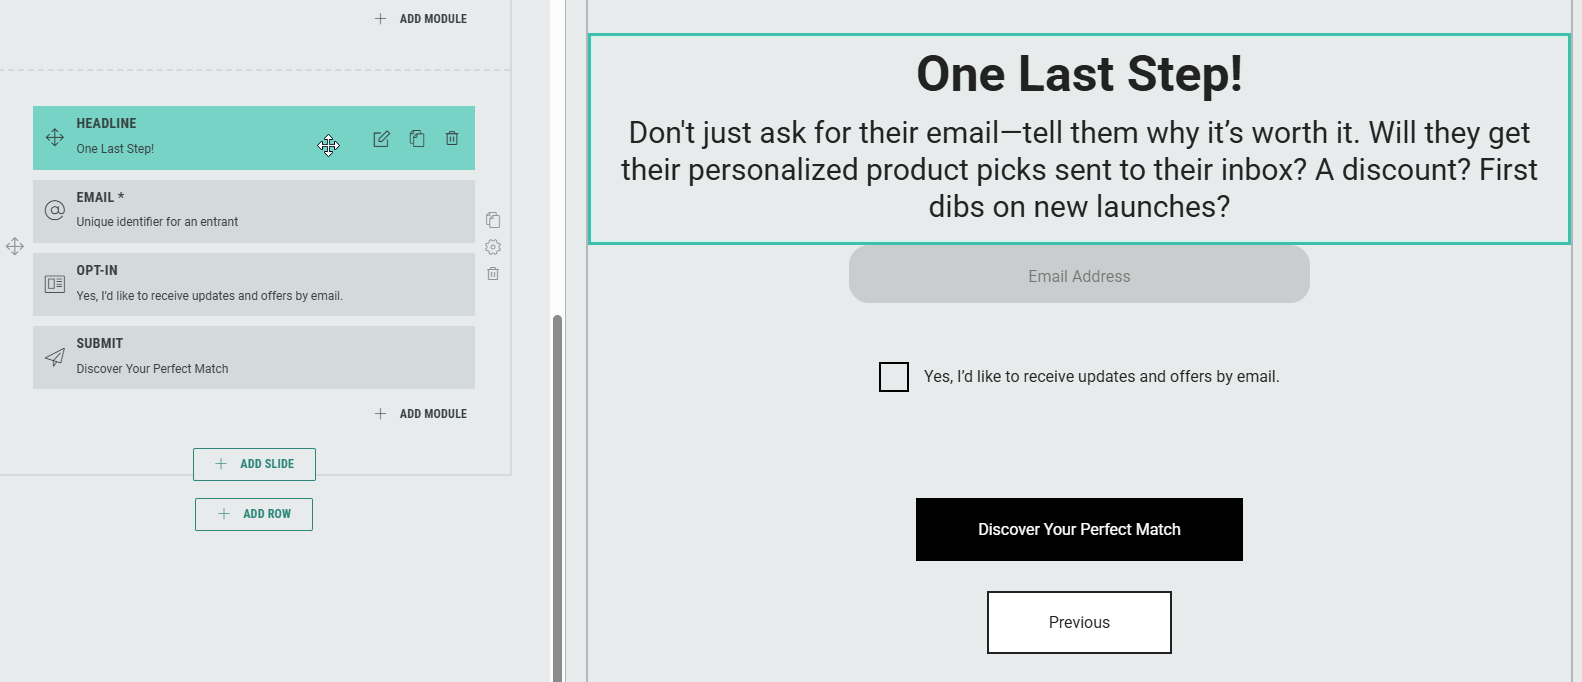
- Optionally, you can add rows to the Landing & Entry Page.
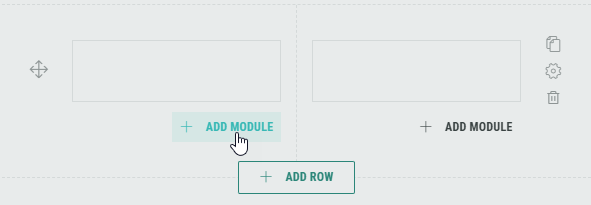
- If desired, you can add additional modules too.
Note: You can add, edit and delete modules, and customize each module for your Experience.
Form modules can only be added in the Form Section.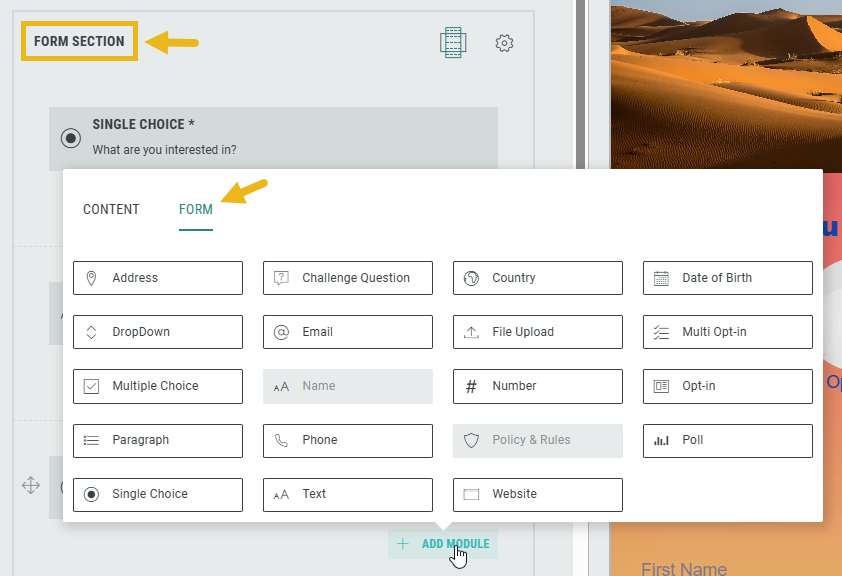
- Within the Form Section you can click on the Gear icon to access the Form Settings.
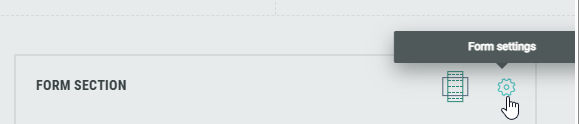
In the Form Settings, you have the ability to customize the form such as adding a background image and color, and changing the field style. Consult this topic for more info on the Form Section.
Note: On the Advanced tab in the Form Settings, you can define a Customer ID for linking data collection to the correct user profile. More info on this subject can be found here.
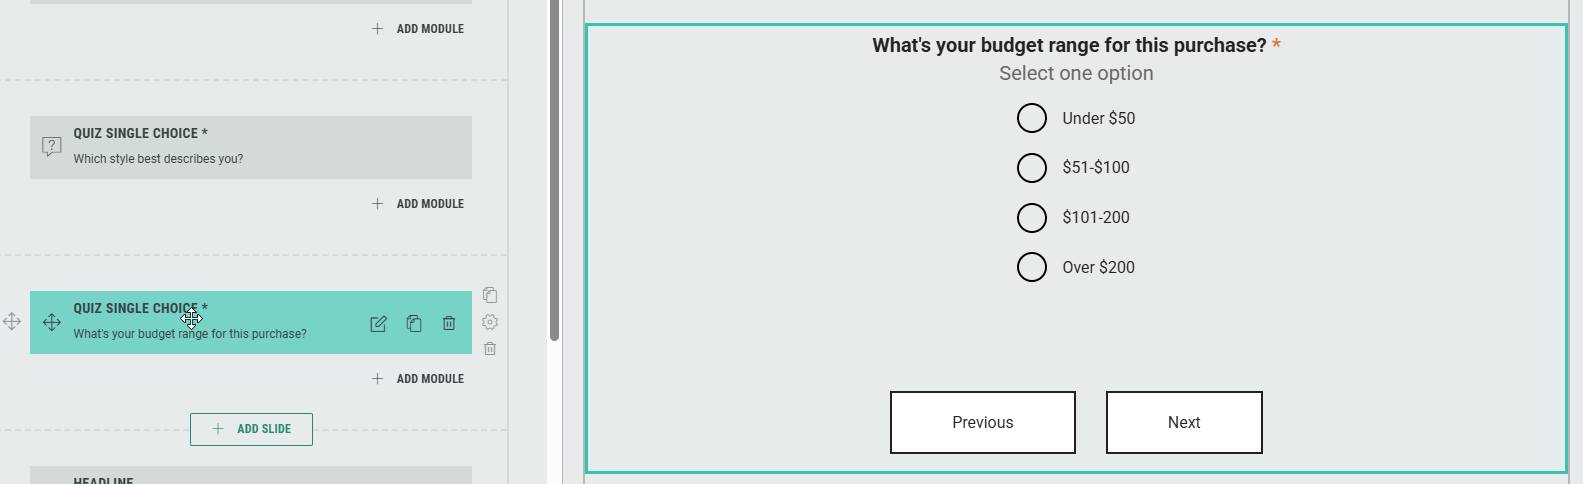
- Edit the Quiz Single Choice and Quiz Multiple Choice modules, and define options to choose from.
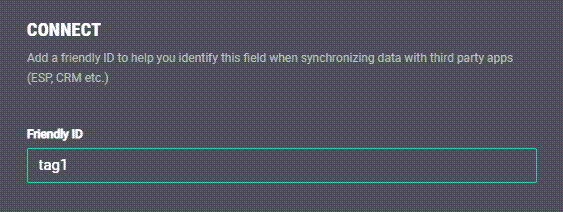
- Make sure that you set a Friendly ID in the Connect section.
This Friendly ID will be used later on in the Integrations step to make sure that it's linked to the correct Shopify field (product type, vendor, tags, collection or price range).
Note: For each quiz question, it's advised to use a clear Friendly ID, to ease the mapping of the Grow Friendly ID to the relevant Shopify categories in the Integrations step later on.
For example, if you're using product tags for your quiz question, call the Friendly ID tag or product tag.
Or when using multiple quiz questions that are all related to product tags, call the Friendly IDs tag1, tag2, etc.
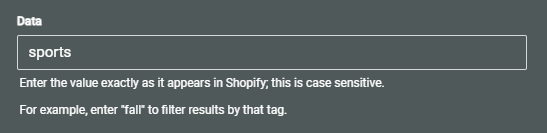
- Then, for each option in the Quiz Single Choice and Quiz Multiple Choice modules, set the label and data value. The data value is used to match the Grow option with the Shopify field value.
Example: We're asking a quiz question about clothing style.
Possible options are: Casual, Formal, Workout, Party.
These correspond to product tags in our Shopify store, which have the same values, but in lower case: casual, formal, workout, party.
In our Grow Experience we're using tag1 as Friendly ID for the quiz question.
We add the following option labels as answers for that question: Casual, Formal, Workout, Party.
To match each of these options to our Shopify product tag values, we add the following data values for each of these labels: casual, formal, workout, party.
Note that the data value is case-sensitive and needs to have an exact match with the product data in Shopify.
See the integration section to see which filters can be used for product type, vendor, tag, price range and collection.
Example:
Click the Edit icon in the Quiz Single Choice module.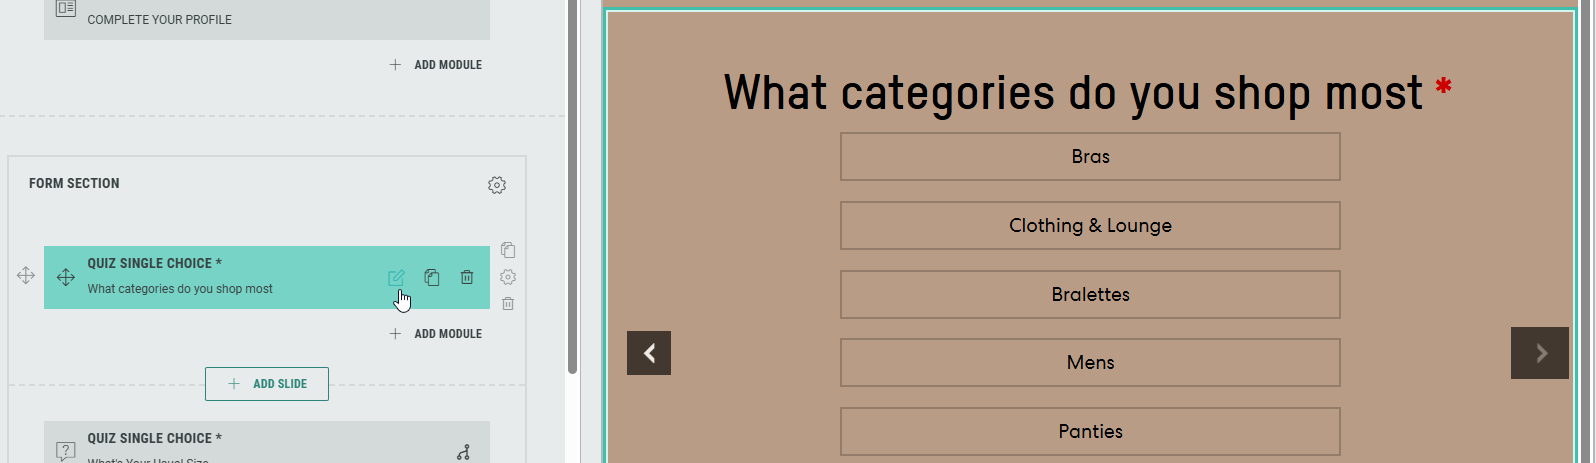
Define the option values.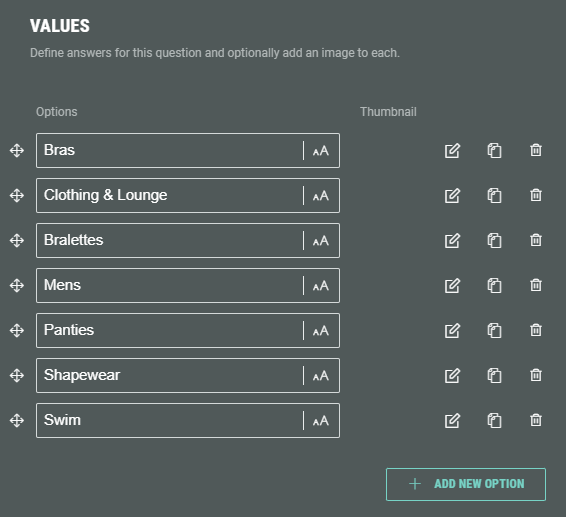
Then click the Edit icon next to each option to see its details.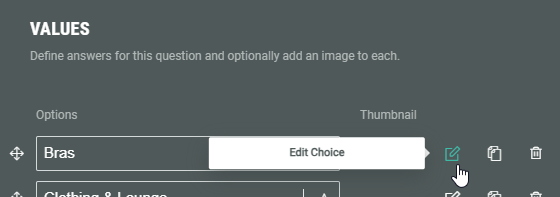
The data value for the Bras option matches the bras value in Shopify.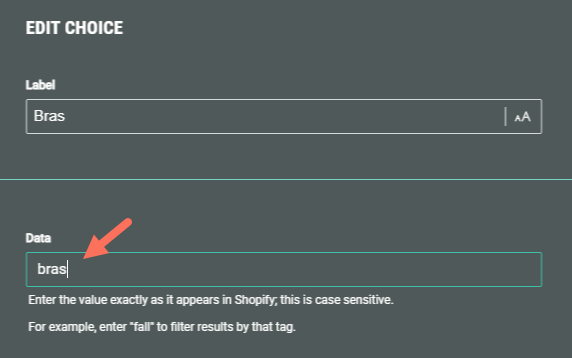
Confirmation Page
Below the Landing & Entry Page, you can see the Confirmation Page.
The Confirmation Page is the final page of the Experience. It's displayed as soon as the participant hits the form submit button.
Editing the Confirmation Page
- From the Experience Build tab, click on the Edit button at the right of the Confirmation Page to enter the Page Builder.

Note: When you're already inside the Page Builder, you can switch between pages on the left.
Click on the Confirmation Page to edit it.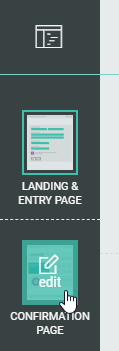
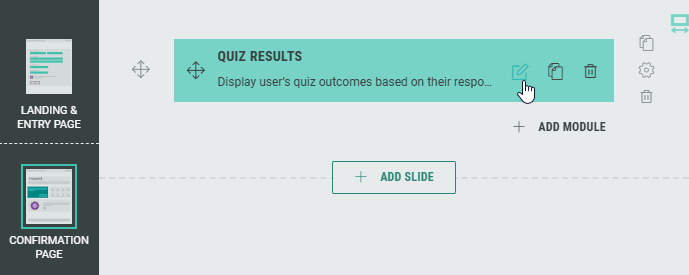
- The Confirmation Page contains a Quiz Results module.
This is a participation-type module, used to display results from a Quiz-type Experience such as the Shopify Product Quiz.
Click on the Pencil icon to edit the Quiz Results module.
The following screen will be shown:
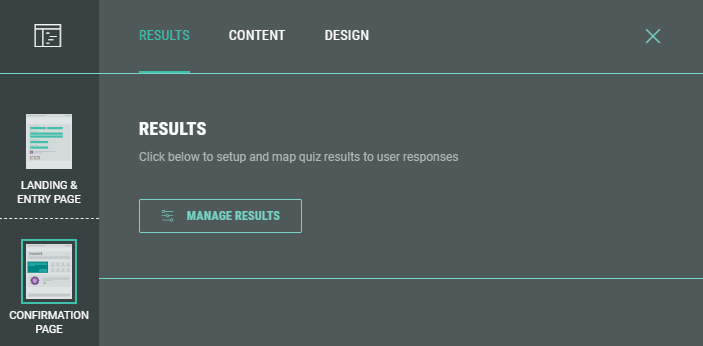
Note: Check out this topic to see how to manage the quiz results, content and design.
- As with the Landing Page, you can add, edit, and delete rows and modules to customize your Experience.
Note: Don't forget to save your changes (see Page Builder actions).
Integrations tab
When selecting Integrations from the left-hand side menu, you'll see that a Shopify integration has been added automatically to your Experience.
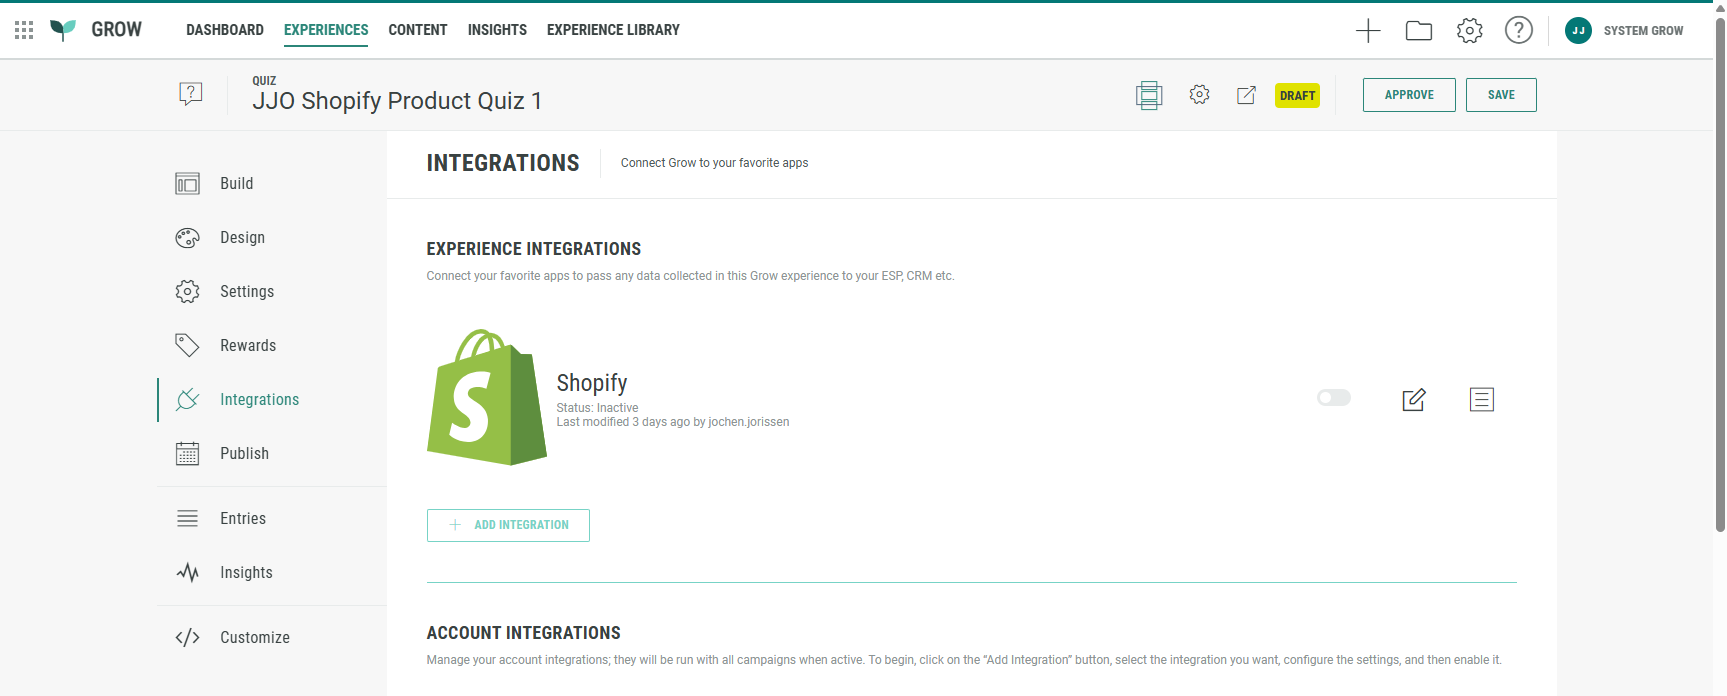
Click on the pencil icon on the right to edit the Shopify integration.
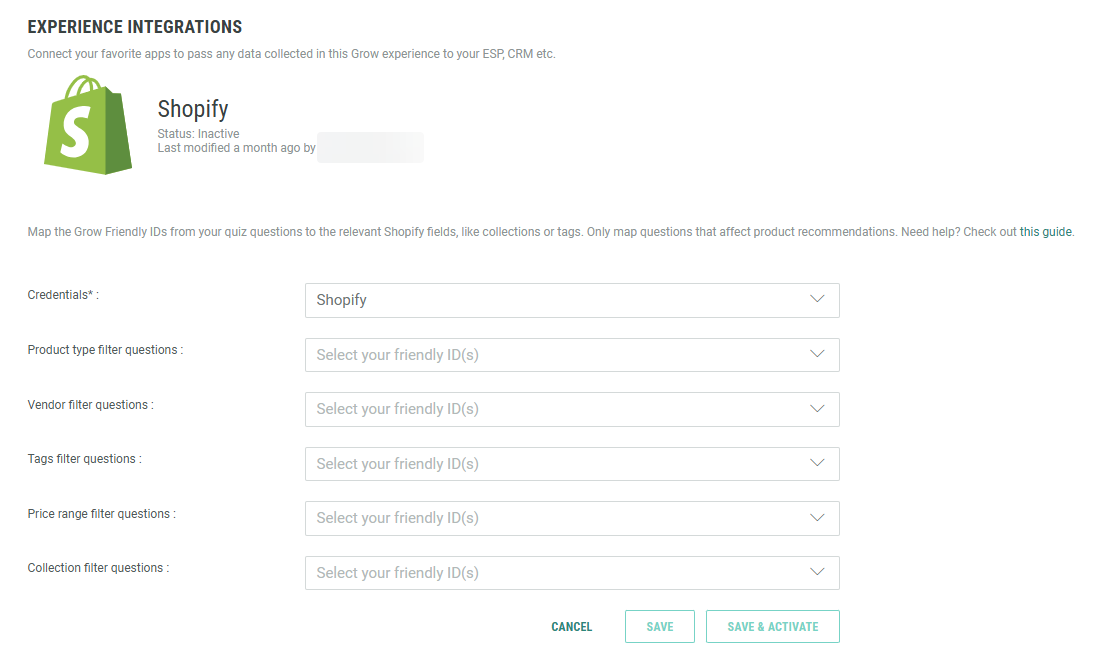
The credentials field at the top is the API key you set up earlier on and used for the integration between your Grow Experience and the Shopify store.
You can map the Grow Friendly IDs from your quiz questions to the relevant Shopify categories:
-
Product type filter questions — Field for configuring questions that filter products by their Product type field in Shopify. Product types are custom categories (e.g., Shoes, Skincare, Electronics) set by merchants to group similar items. This filter allows users to refine search results or product listings based on these categories.
-
Vendor filter questions — Field for specifying questions that filter products based on the vendor—the brand or manufacturer listed for a product. This allows end users to browse or search for products by brand, which is useful in multi-brand stores.
-
Tags filter questions — Field that defines how to filter products by tags. Tags in Shopify are keywords added to products to help with organization and filtering (e.g., eco-friendly, bestseller, limited edition). You can configure specific questions that help surface products based on these tags.
-
Price range filter questions — Field for setting up questions that let users filter products based on their price range. This typically involves allowing users to define minimum and maximum price thresholds (e.g., Show me products between $20 and $50).
-
Collection filter questions — Field to filter products by Shopify collections, which are curated groups of products defined by the merchant (e.g., New Arrivals, Winter Sale, Top Picks for You). These filters help direct users to specific themed product groupings.
Example:
In the quiz question in our Experience, we used tag1 as Friendly ID, with data values matching product tags in the Shopify store.
Therefore, in the Integrations section, we choose tag1 for Tags filter questions.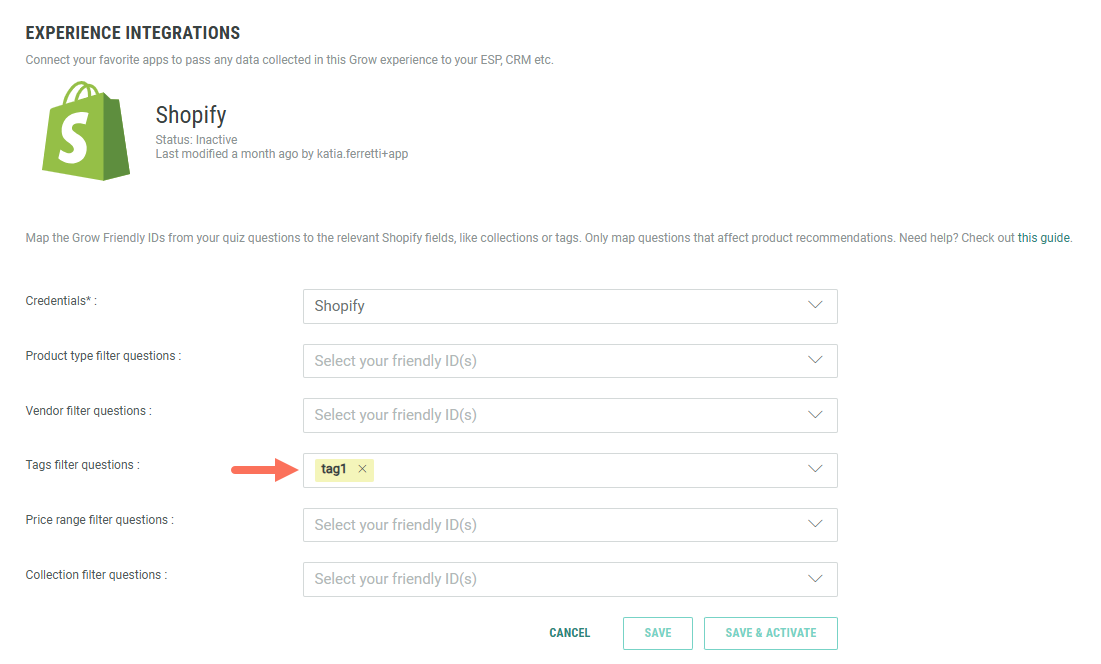
That way, the link can be made with the Tags category in Shopify.
The data values used in the quiz question options should match the tag values used in Shopify.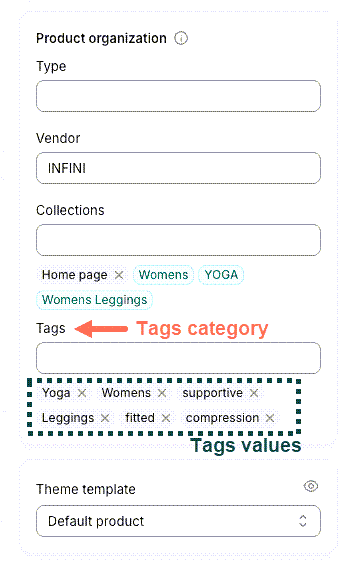
Note: Consult the Shopify help center for more info.
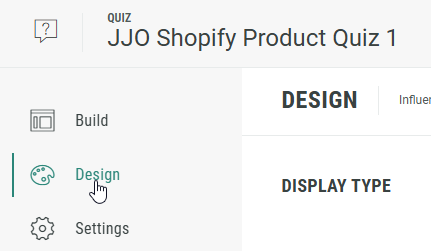
Design tab
The Design tab can be found directly below the Build tab. Here, you can customize your Experience with the Display Type (Page- or Slide-based), change or edit the Theme, and add a footer and background in the Page Structure and Design section.
Note: More info on the Design tab can be found here.
Settings tab
On the Settings tab, you define and edit the key settings for your Experience.
Note: Here you can find more info on the Settings tab.
Rewards tab
A Reward is an incentive offered to customers for participating in a Grow Experience, with the ultimate goal of learning something new about that customer or driving engagement with your brand. Rewards, like prizes, offers, or coupons, can be provided in real-time and have been shown to boost overall engagement. They can be structured as everyone wins or with set odds with consolation rewards as an option. Inclusion of a reward in your experience will boost participation.
Note: More details on Rewards can be found here.
Publish tab
Once you're happy with the setup of your Experience, you can move on to the Publish step.
We offer 3 ways to publish your Experience.
You can either embed it on your website, host it within a pop-up, or publish as a landing page.
Note: Here you can read more about the publish options to make sure you pick the right one for your business needs.
