How to: Publish your Experience — Microsite
Before you begin
Start the wizard to publish an Experience (explained in this topic).
Publish to Microsite destination
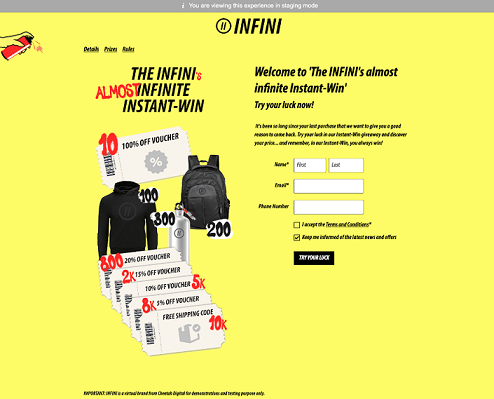
A Microsite displays the Experience as a standalone web page.
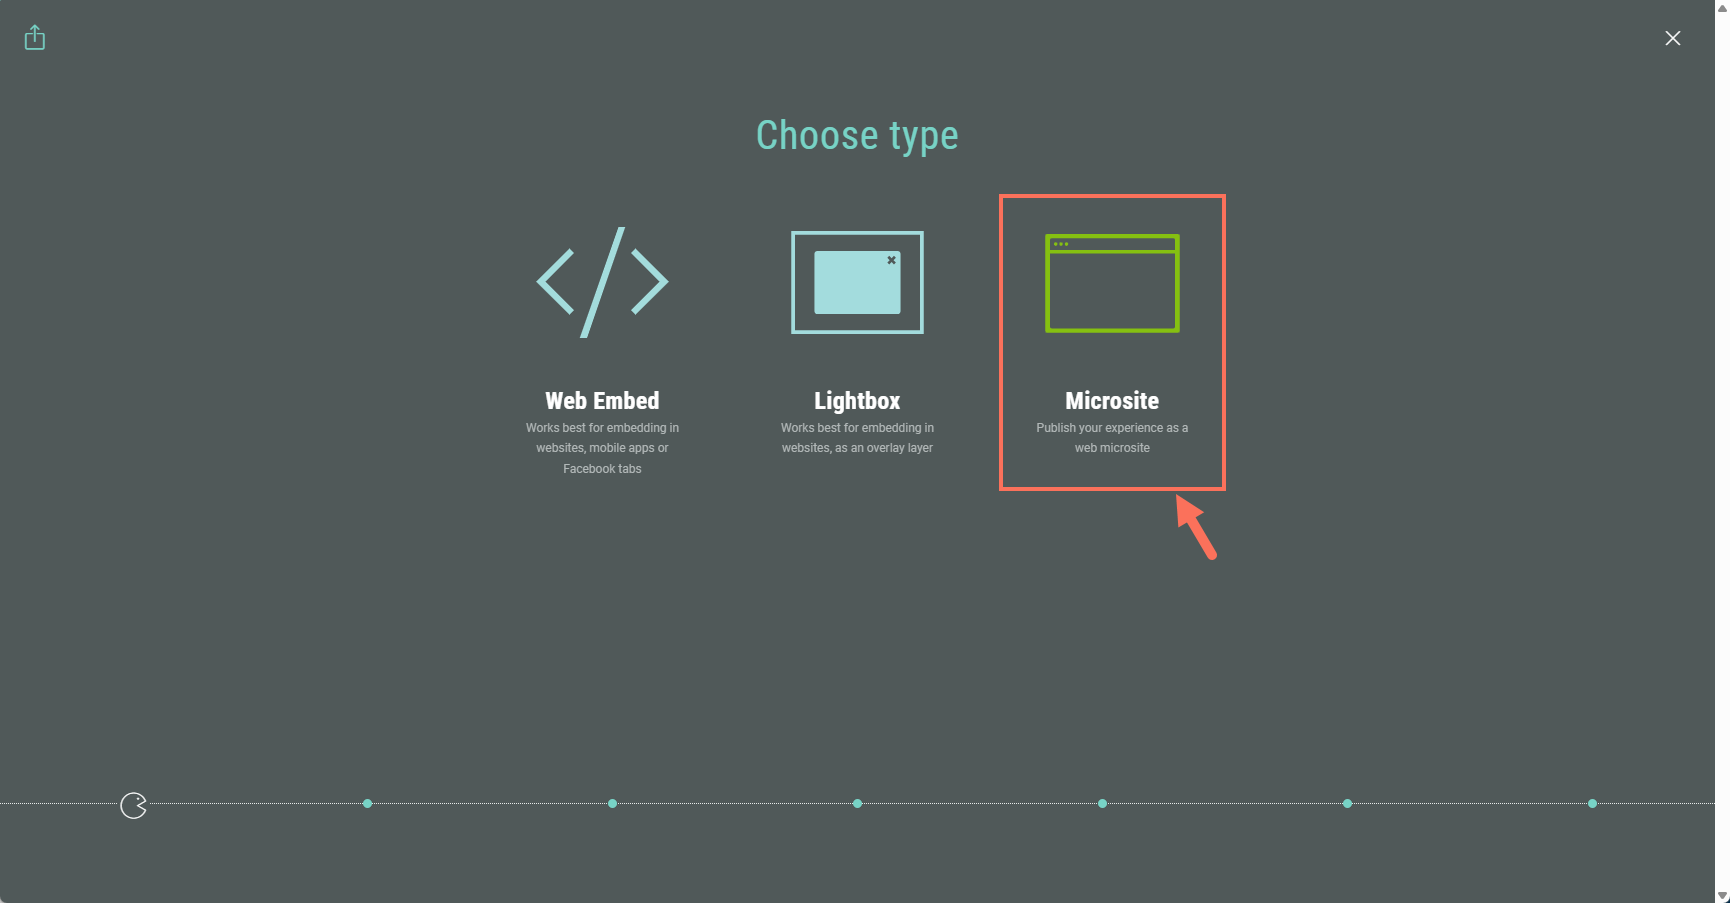
Select Microsite type
In the Publishing wizard, select Microsite.
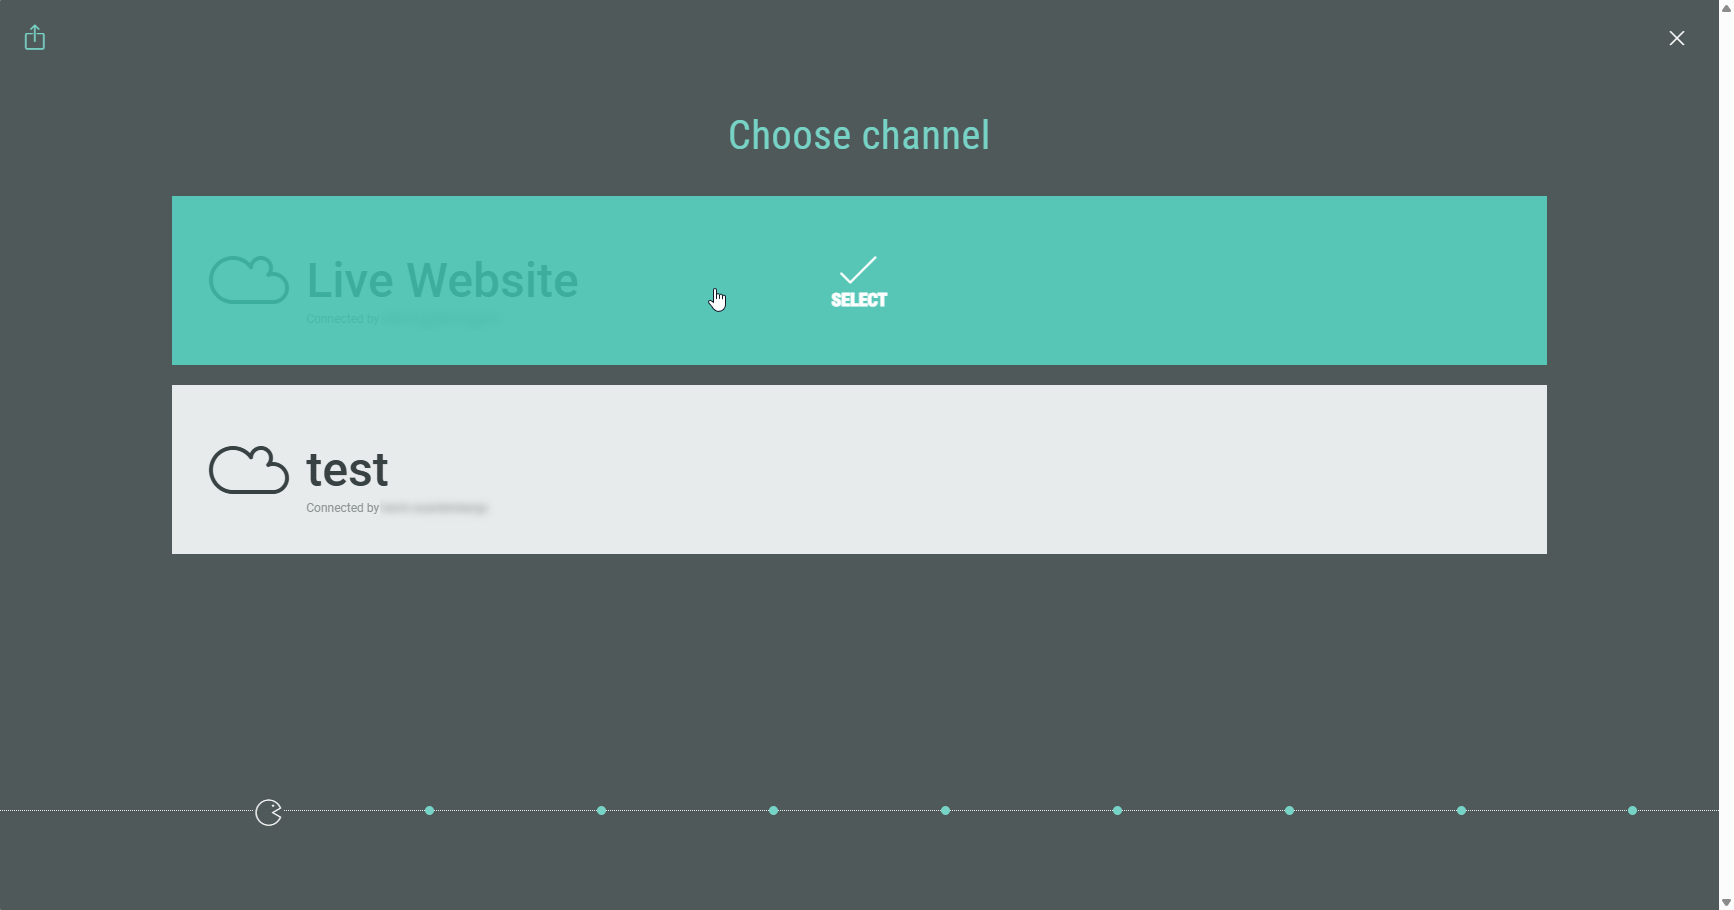
Channel selection (optional)
Choose a channel.
Note: This step only shows up if you are using a custom domain.
Publication time
Note: This step only appears the first time you schedule/publish the Experience.
Once the Experience is in scheduled/live state, adding more publishing destinations will automatically take on the Experience state for that destination.
On the Publish step, you can decide to schedule the publishing action (making it available online for Experience participants on a later date and time), or to publish now (making it available immediately).
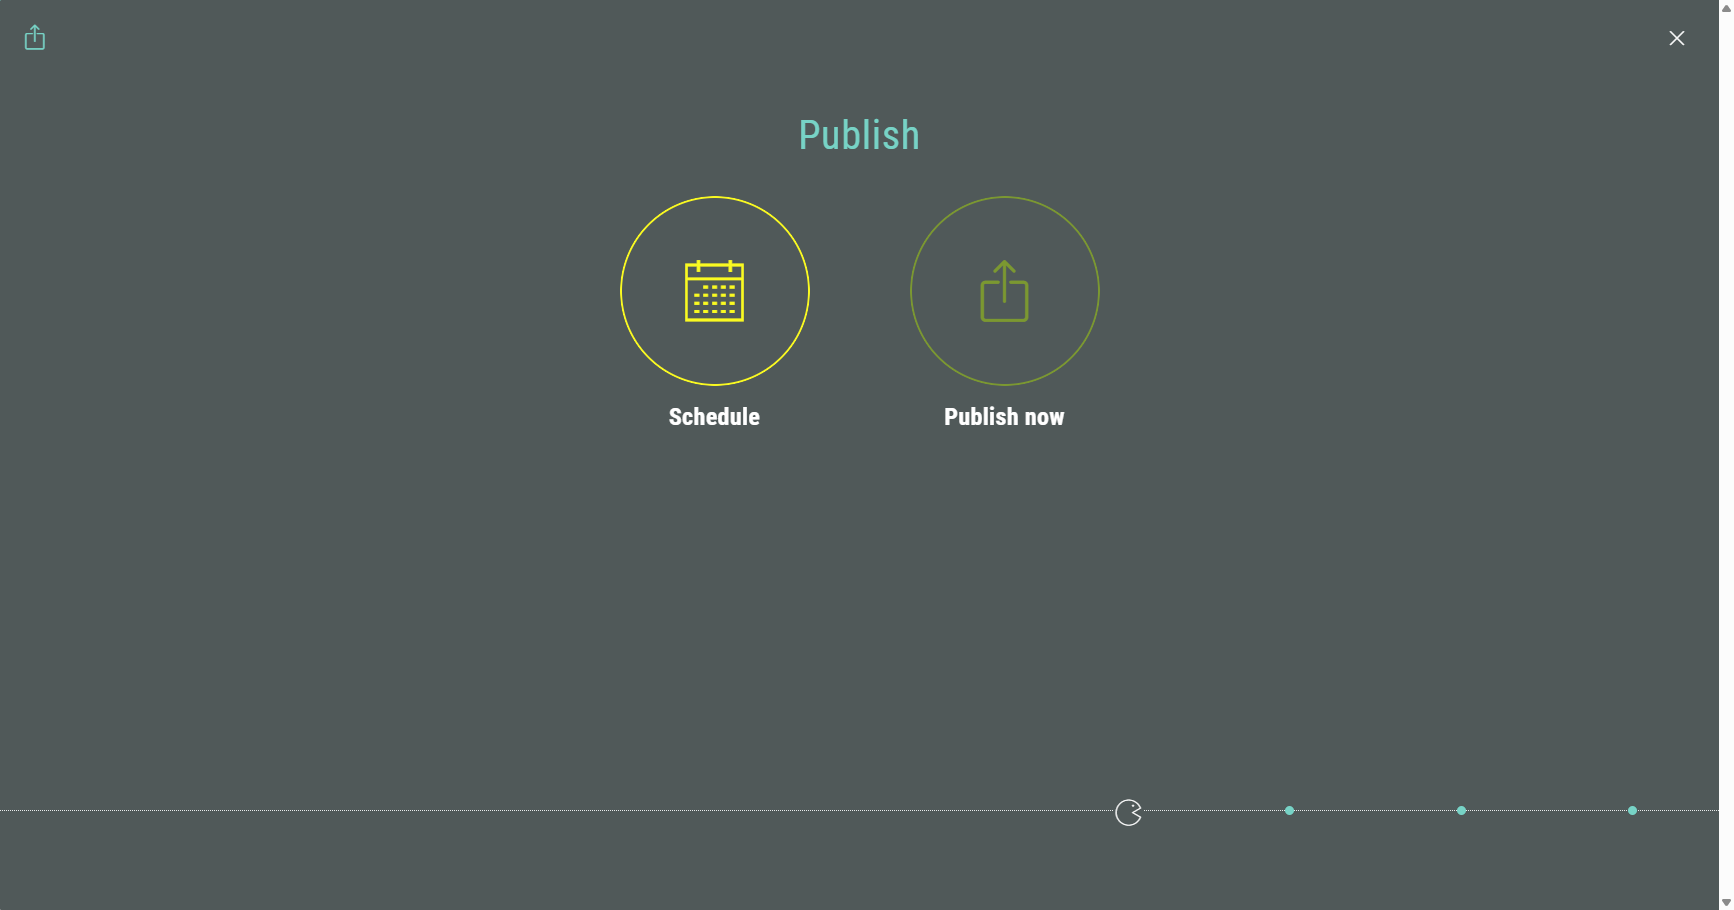
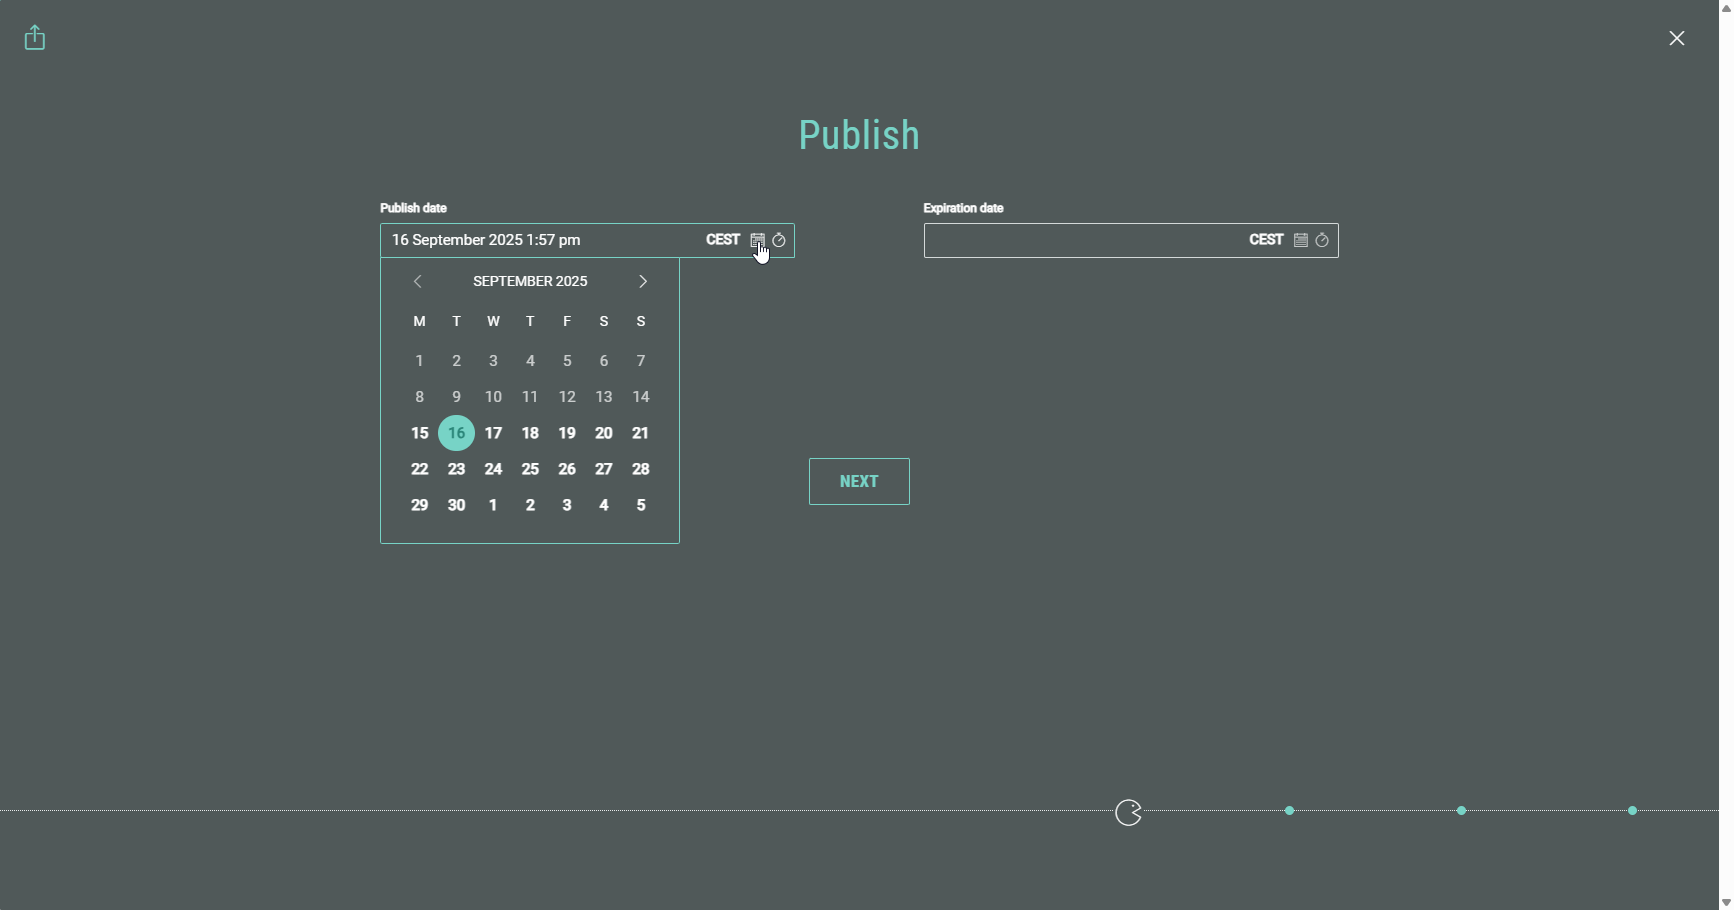
- When selecting Schedule, you can set:
- Publish date — You can choose the date and time on which the Experience becomes available for participants.
- Expiration date — Setting a date and time will take the Experience offline at that given date and time. When you leave this field empty, the Experience won't expire and remains available.
- When selecting Publish now, you can set:
- Expiration date — Setting a date and time will take the Experience offline at that given date and time. When you leave this field empty, the Experience won't expire and remains available.
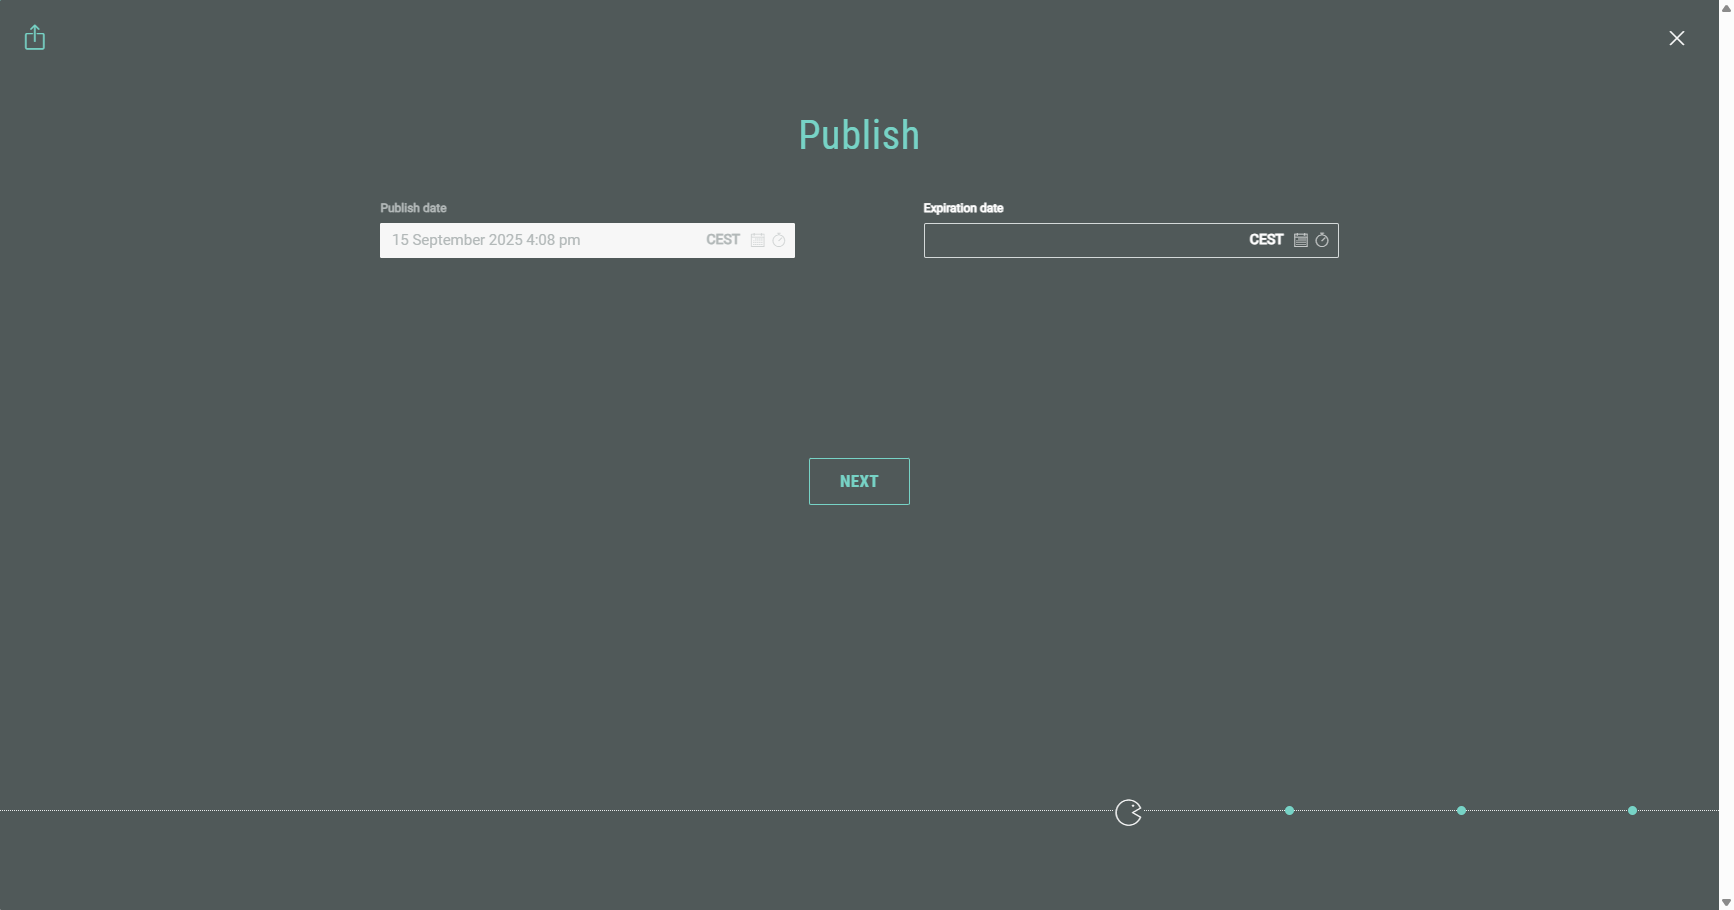
Note: The Publish date is a read-only field when selecting Publish now, as it's available immediately after completing all the publication steps.
After setting the desired date(s), click Next to go to the next step.
Publication summary
A summary screen is shown with all your settings.
Example: An Experience to be immediately published as Microsite to a Live Website channel.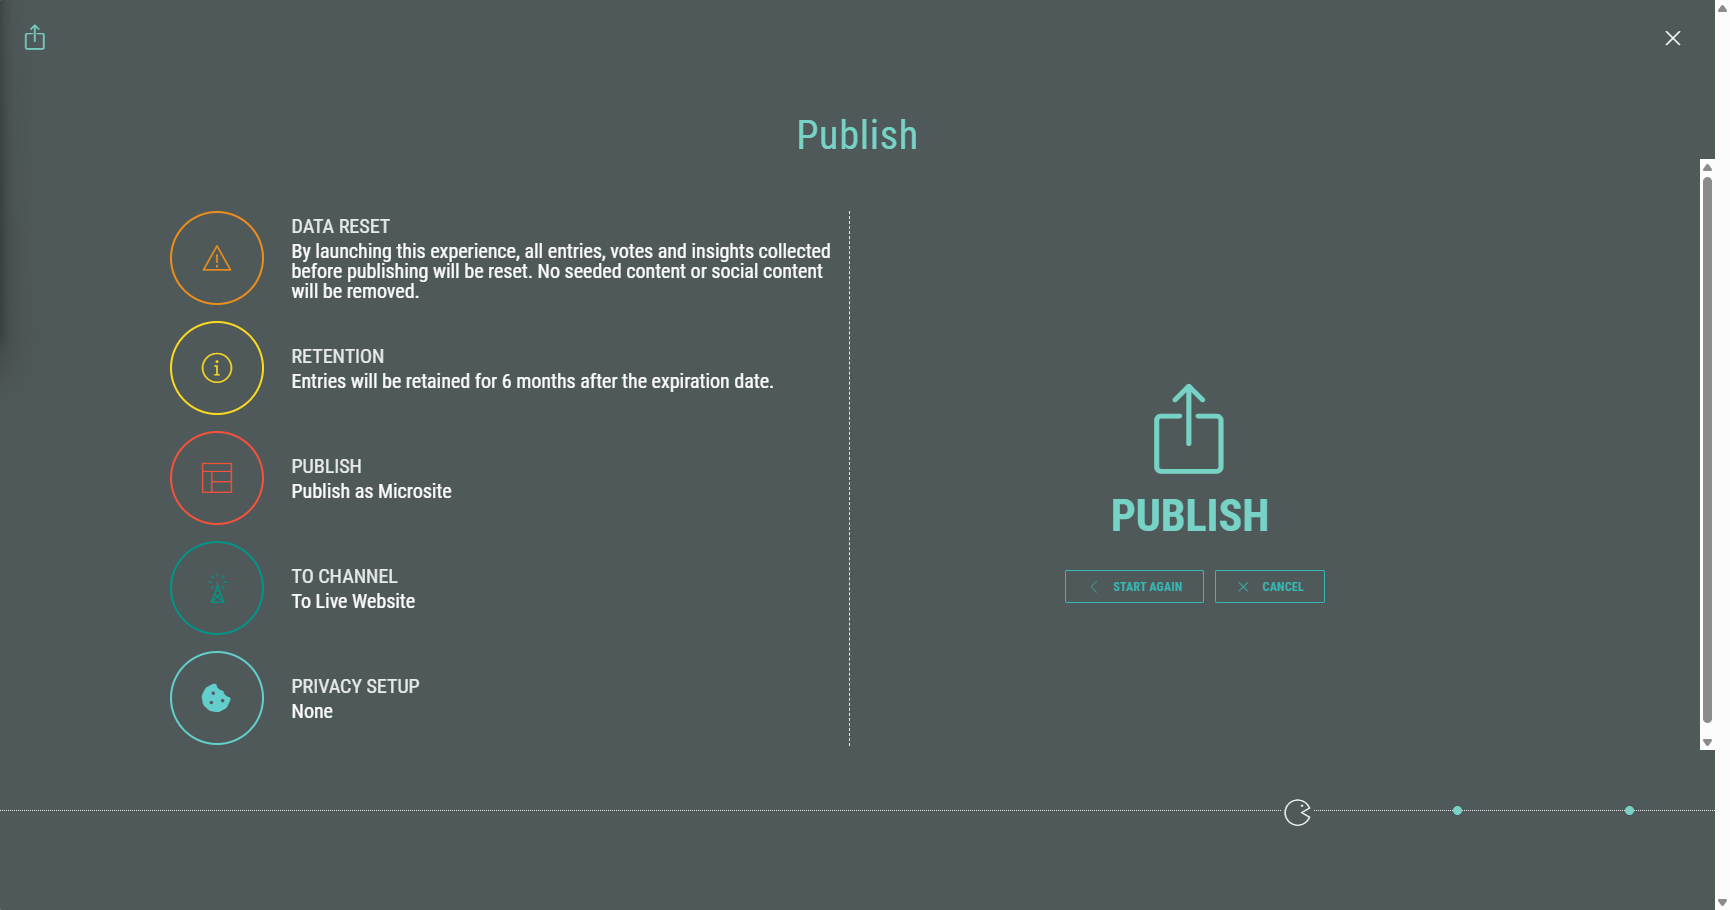
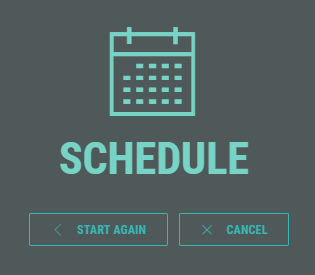
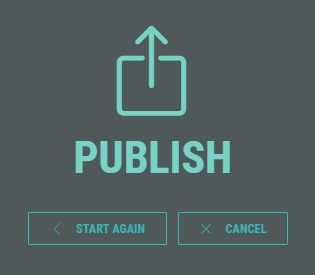
On the summary screen, at the right, you can click:
- Start Again — To run through the Publishing wizard from the start.
- Cancel — To discard your publishing settings and go back to your main Experience screen.
- Schedule or Publish your Experience — Depending on your publication time selection earlier on.
Manage the publish configurations
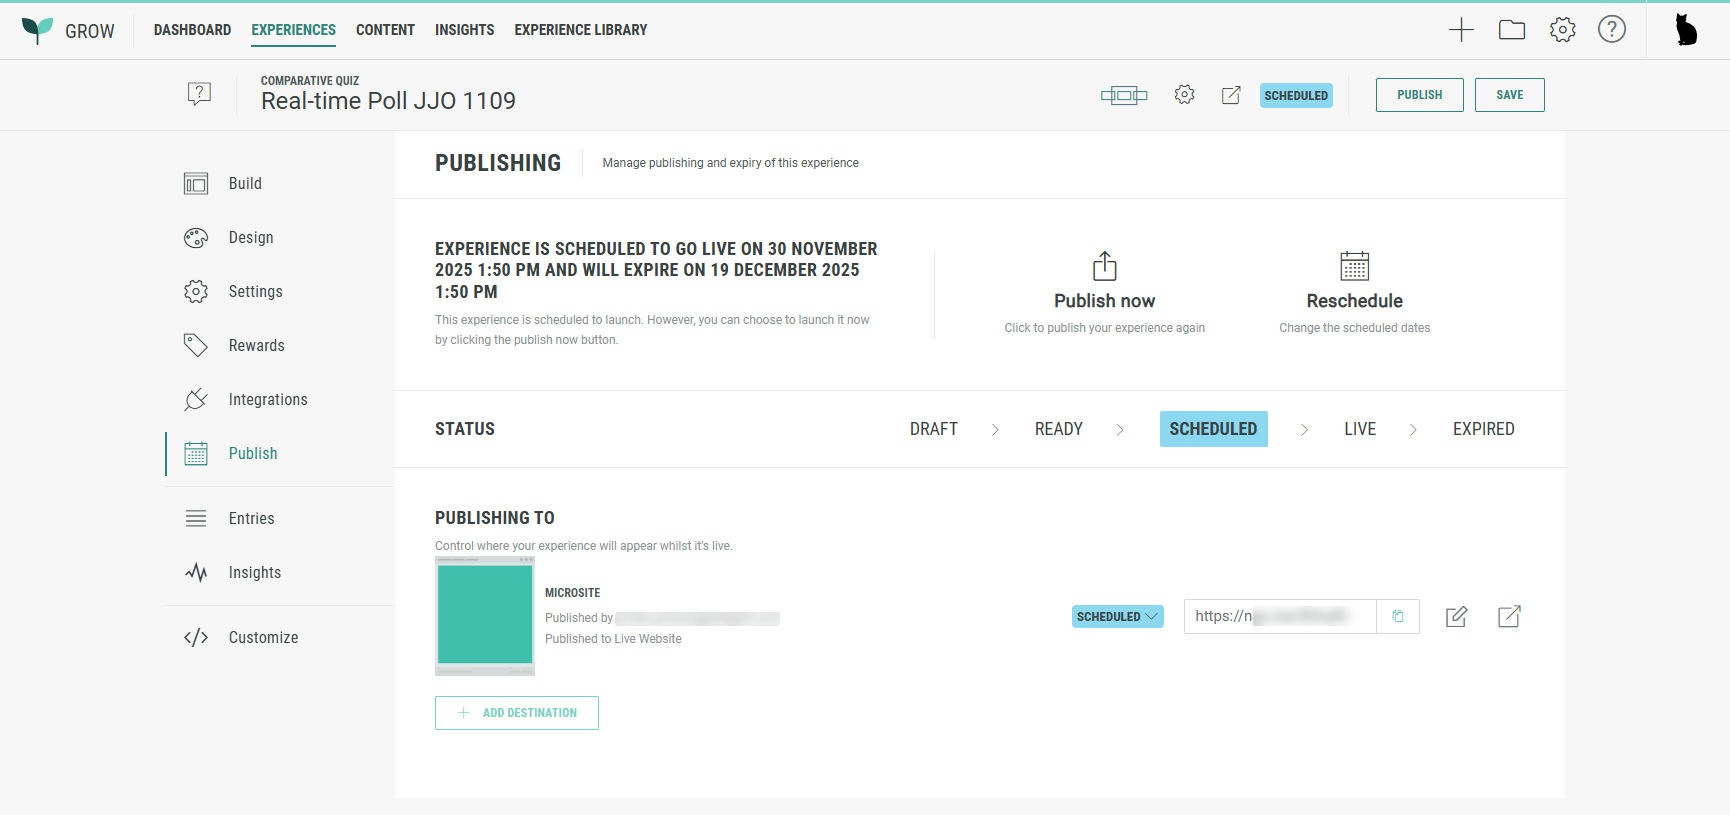
After clicking Schedule or Publish, you return to the Publish section within your Experience, where you can see the details below.
General Microsite Experience settings
MicrositeExperiences that are either published or scheduled, both display the following options in the publishing destinations section at the bottom:
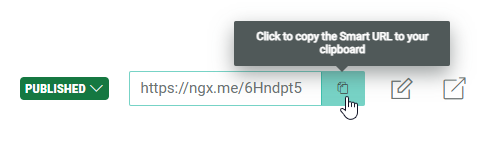
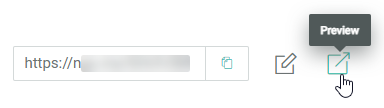
- Copy button — To copy the ExperienceURL to your clipboard.
This is the URL that should be used to display the Experience as Microsite on your website.
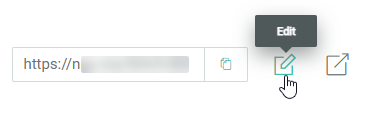
- Pencil icon — To Edit a Publishing Destination.
- Preview icon — You can click it to open and run through the Experience in your browser for testing purposes.
Scheduled Experience settings
Scheduled Experiences show the following details:
- The text: Experience is scheduled to go live on [publish date and time].
- Status: Scheduled
- A Publish now option is available to publish the Experience immediately. When clicked, the Experience and all of its scheduled destinations below get published immediately.
- A Reschedule option is available to change the schedule dates.
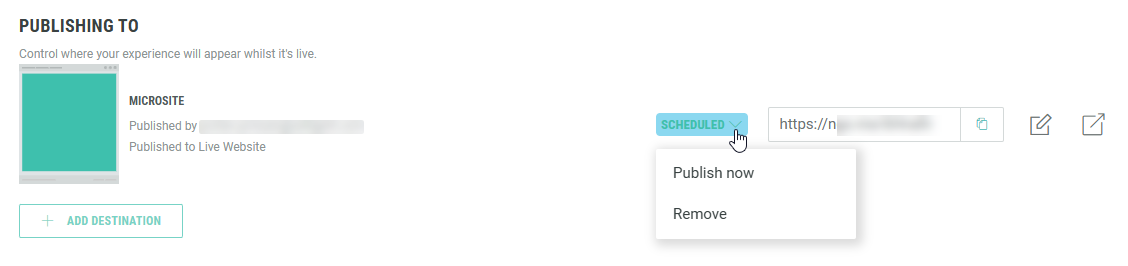
At the bottom, each publishing destination has a drop-down with two options:
- Publish now — To immediately publish the Experience. When clicked, the specific destination gets published immediately. The first time you publish a destination, it also publishes the Experience.
- Remove — To delete the scheduled publishing destination configuration.
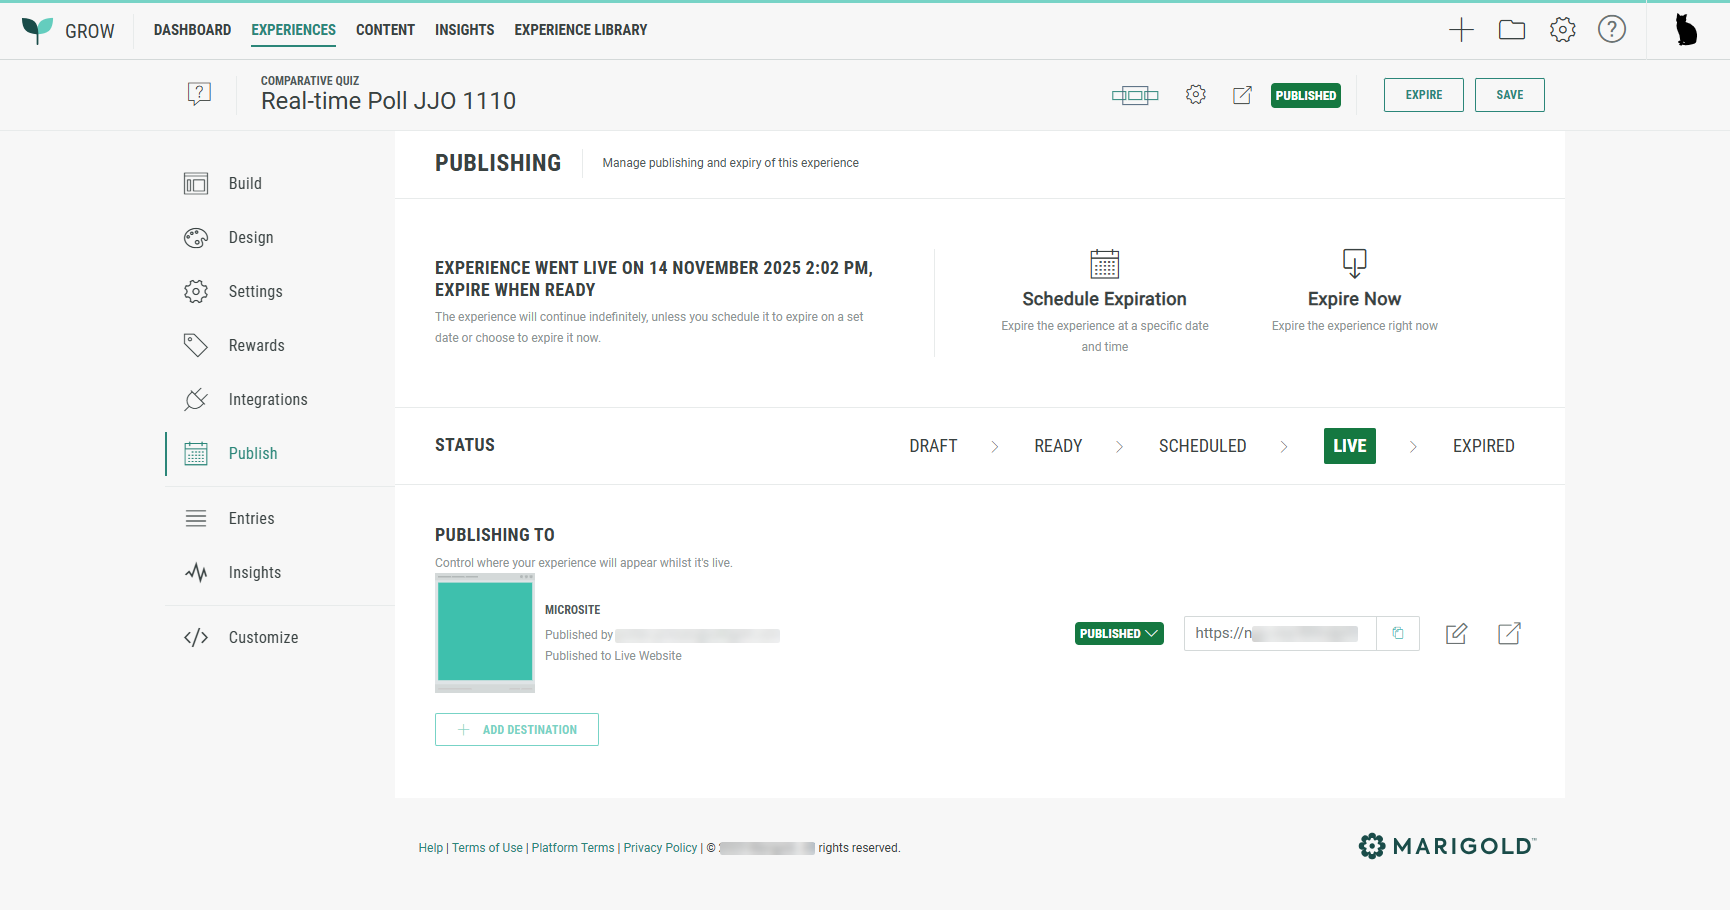
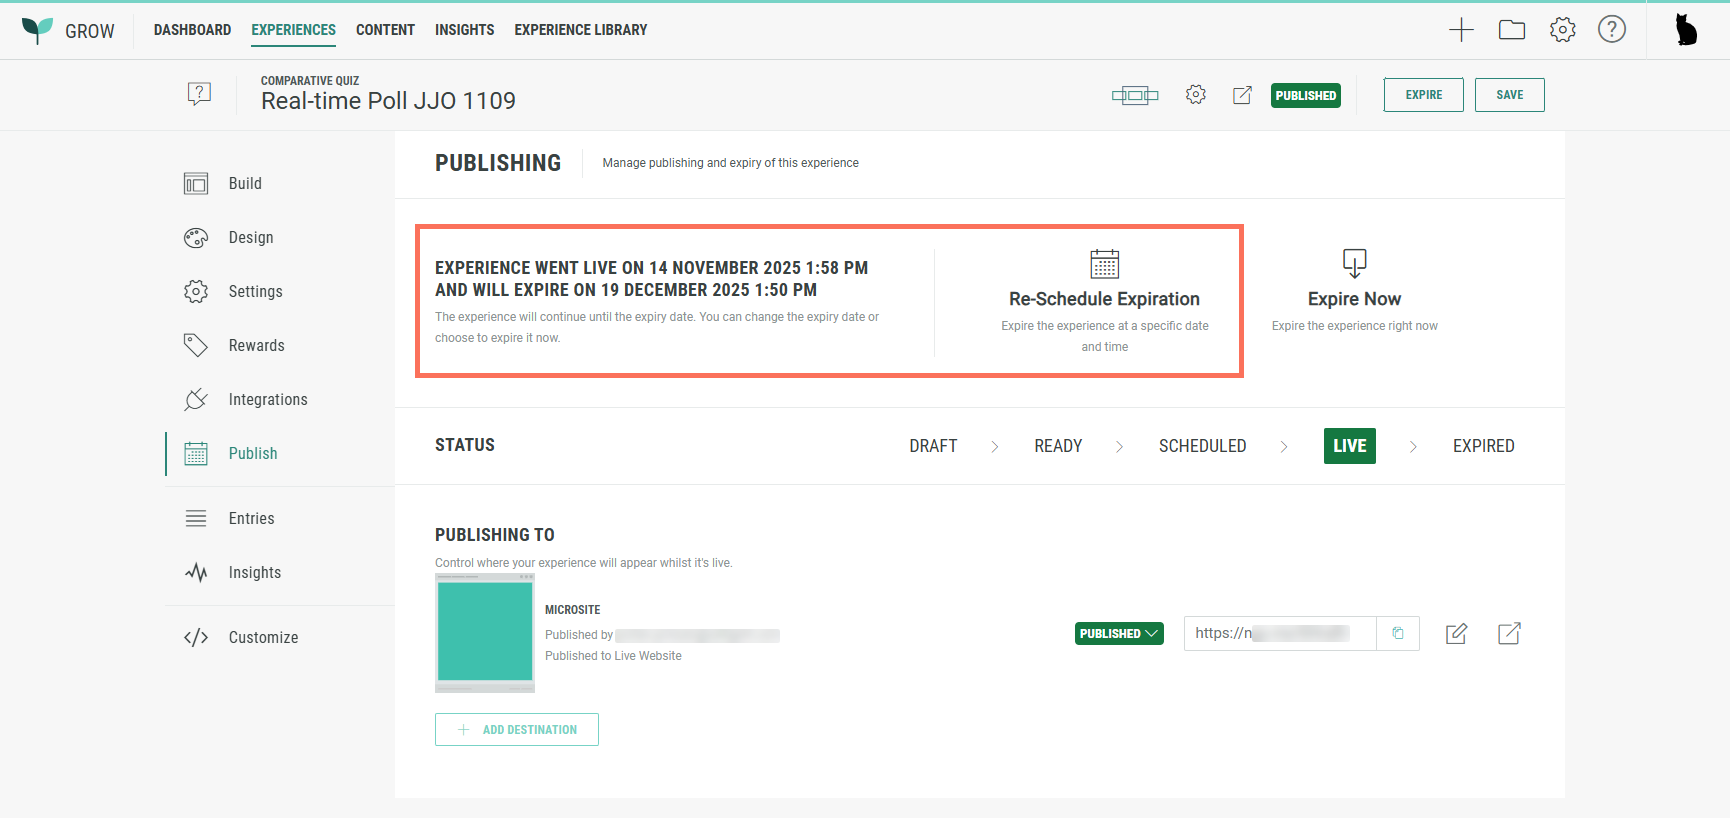
Published Experience settings
Published Experiences show the following details:
- The text: Experience went live on [launch date and time], expire when ready.
- Status: Live
- A Schedule Expiration option is available to take the Experience offline at a specific date and time.
- An Expire Now option is available to take the Experience offline immediately.
- When an expiration date has been set, the published Experience shows the text: Experience went live on [launch date/time], and will expire on [expiration date/time].
Also, a Re-Schedule Expiration option is available.
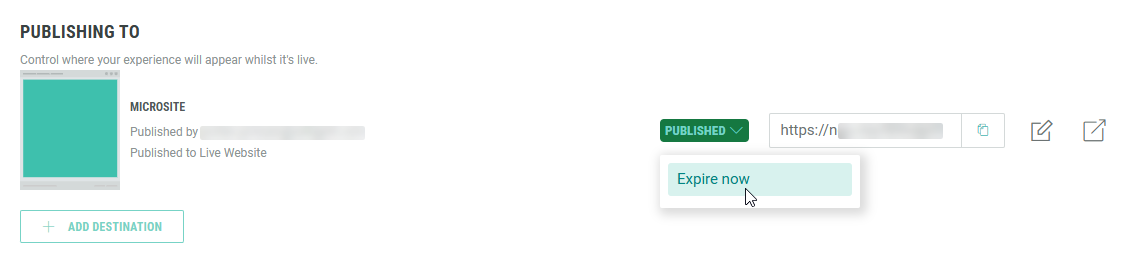
At the bottom, each publishing destination has the option:
- Expire now — To immediately take the Experience offline.
Note: For a single Experience, you can add multiple publishing destinations.
Once the Experience has been scheduled or published, adding a new destination automatically receives the same state as the Experience state. (No schedule/publish choice is offered in the wizard.)
Edit publishing destinations
To edit a publishing destination, click on the pencil icon at the right of that destination.
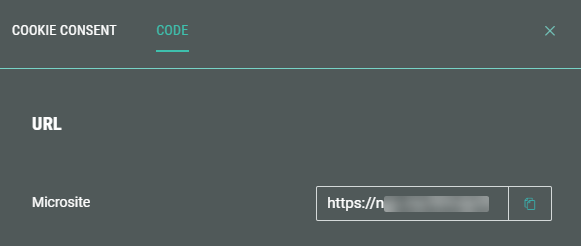
When editing a Microsite publishing destination, the following screen is shown:
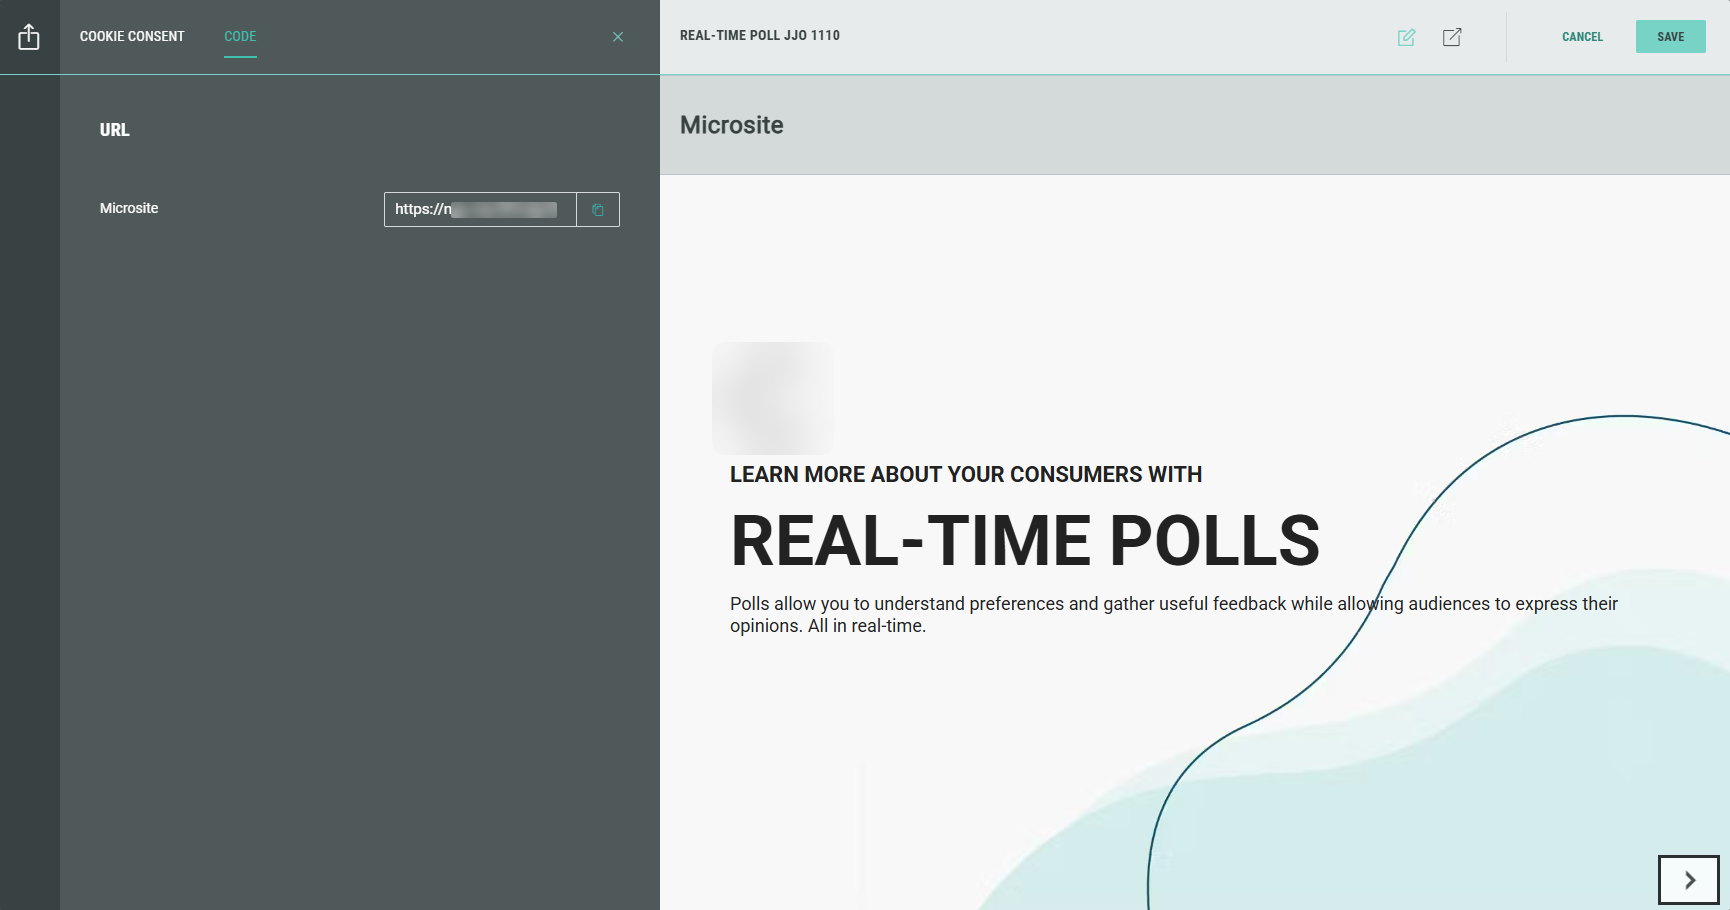
It contains the tabs: Cookie Consent and Code.
Cookie Consent
On the Cookie Consent tab, you can define how cookie consent management is handled by Grow.
Find more info on cookie consent here.
Code
On the Code tab, you can see the Microsite URL that should be used to display the Experience as a standalone web page on your website. You can copy the URL to your clipboard. It can't be edited.