
How to: Display Rewards to Entrants
Once you have set up your reward(s), the next step is to display the reward information to the entrants who complete the Experience, and who are entitled to one or more of the configured rewards.
-
Find your Experience under the Experiences tab then click edit.

-
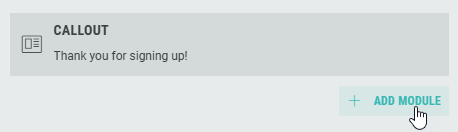
Click the Edit button next to the Confirmation Page.

-
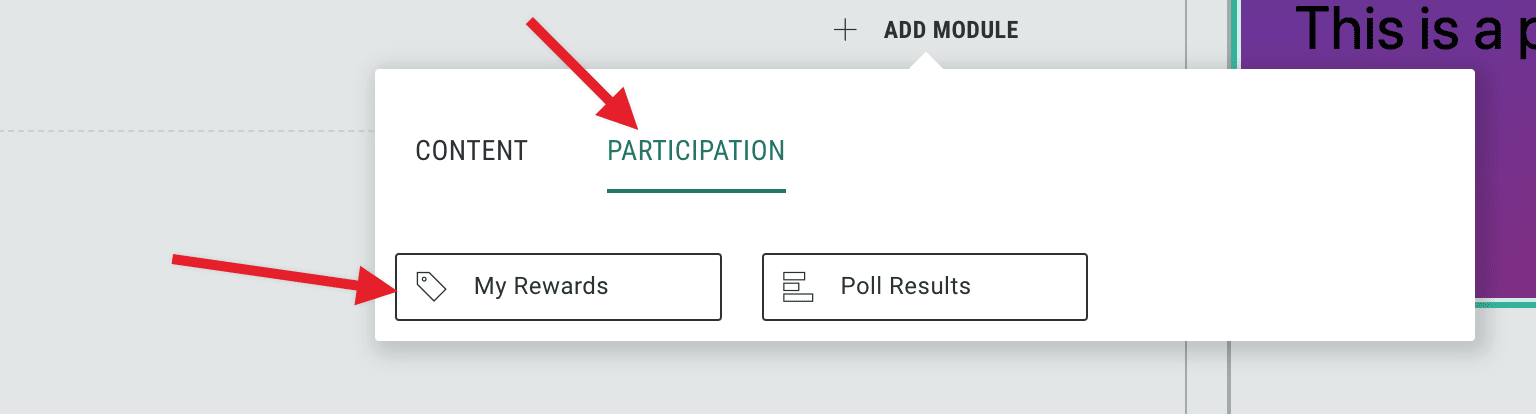
Click + Add Module to add the rewards module to the confirmation page.
-
Select Participation in the modal and then click My Rewards.
-
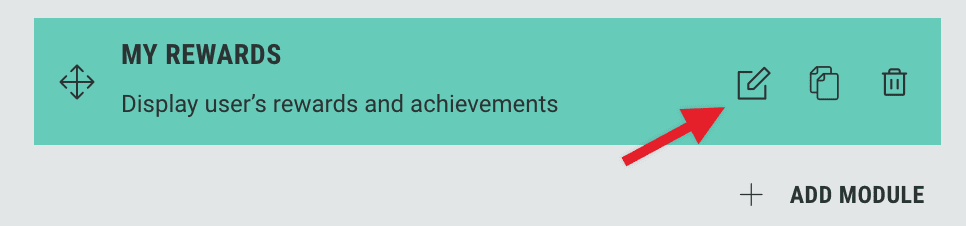
Click the Edit icon on My Rewards to configure the rewards module.
-
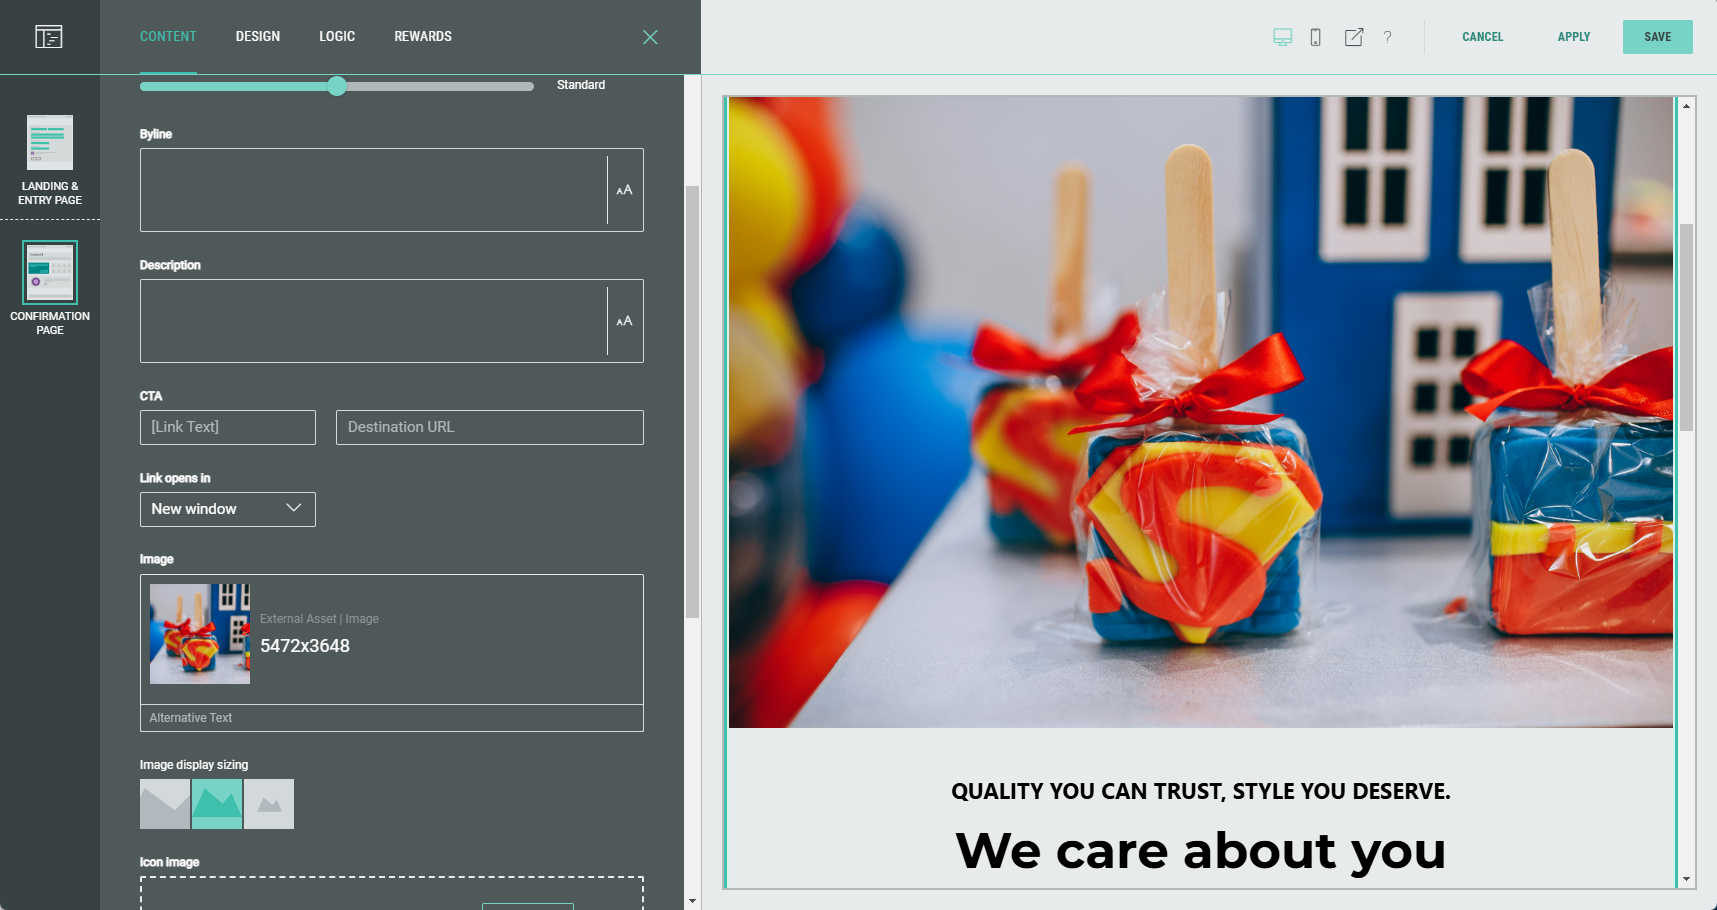
The Content tab is shown.
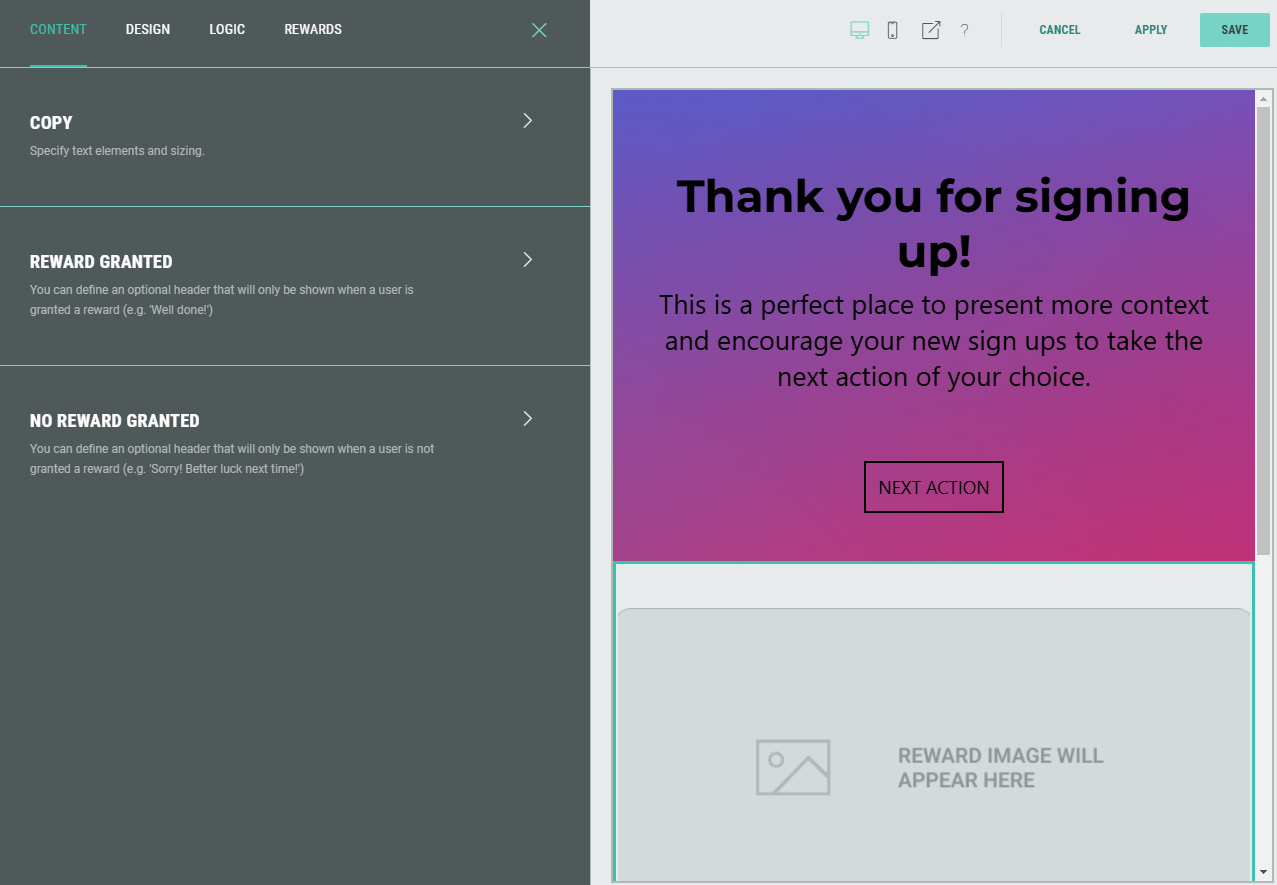
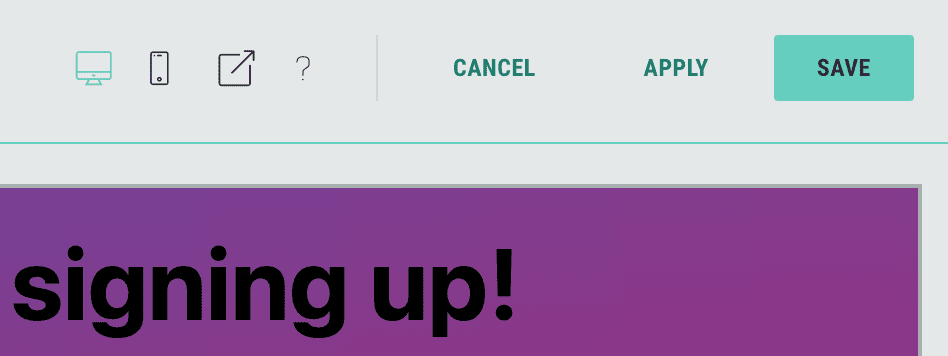
Note: In the preview on the right, you can see the content already configured in the Experience. For our example there's a message thanking the entrant for signing up. This can be accessed if edits are required via the Callout module which you can see in the image of step 3.
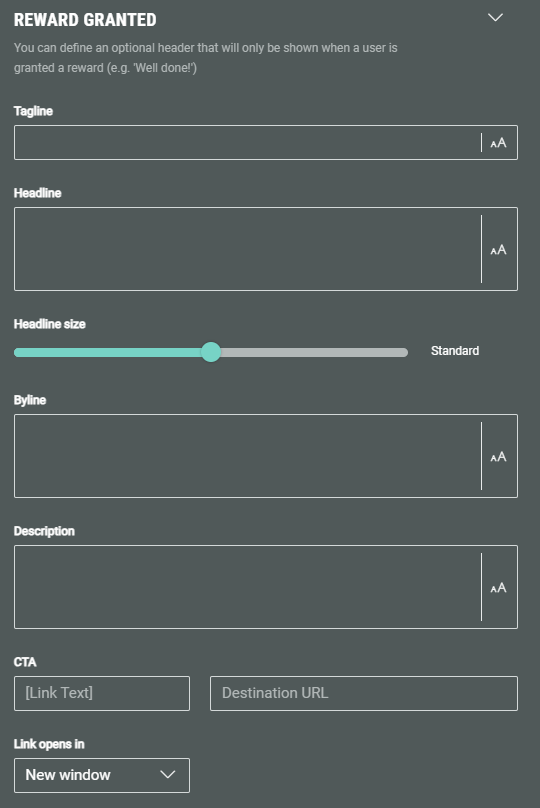
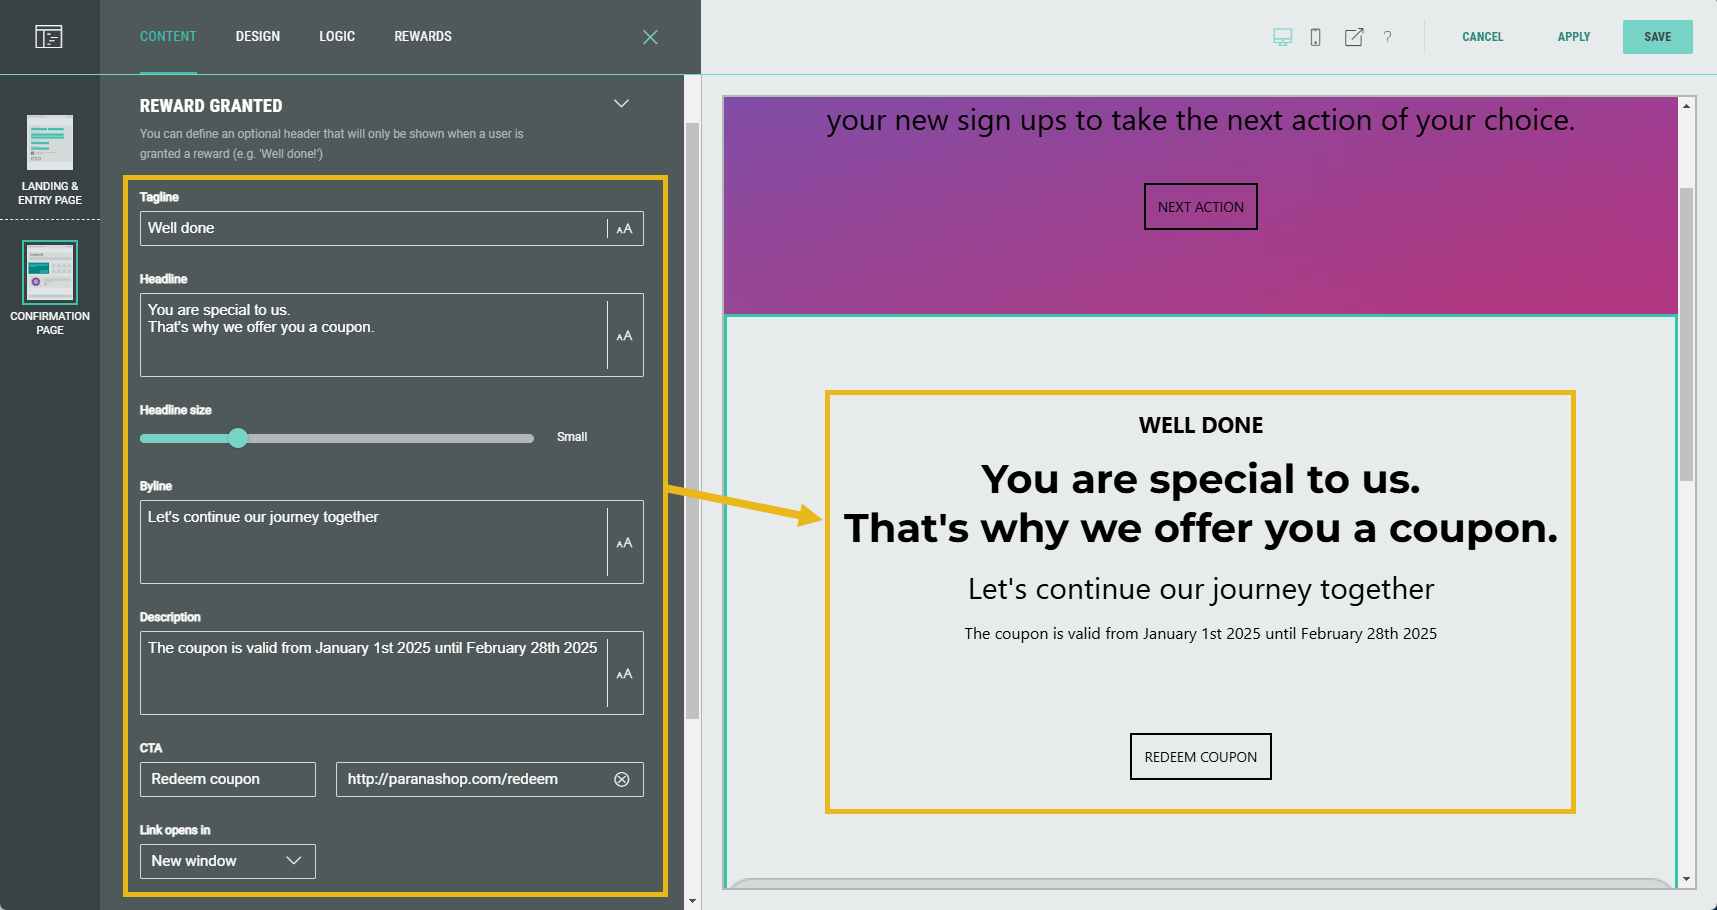
Reward granted
-
Expand the Reward Granted section.
-
In here, you can fill out the text content that will be shown to customers to which the reward is granted: Tagline, Headline, Byline and Description.
The size of the headline can be adapted with the slider.Additionally, a call-to-action (CTA) button can be used to redirect them to a destination URL (e.g. to your online shop).
Besides the URL, you can add the link text that will be shown on the CTA button, and determine how the destination URL should be opened (in a new window, parent window or same frame).Note: Opens in a new window means the entrant can easily switch to the confirmation page, as it remains open in a separate tab. You can also select opens in a parent window or opens in the same frame which means the entrant would have to click the back arrow in their browser to get back to the confirmation page.
You can see how the Reward Granted content appears in the preview at the right-hand side as you build.
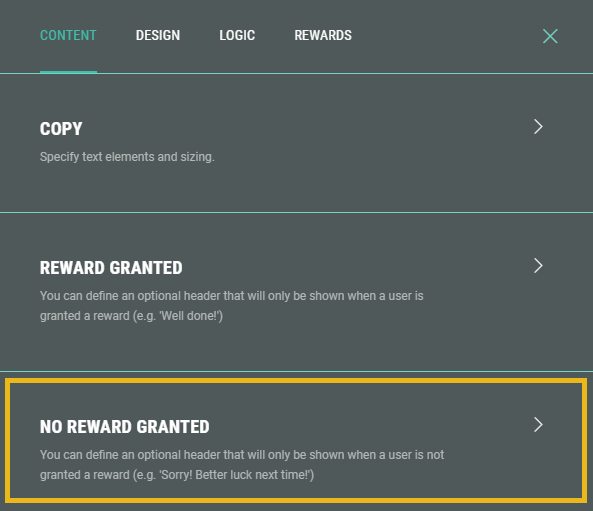
No reward granted
- The same kind of content as explained above in the Reward Granted section (Tagline, Headline, Byline, Description and CTA) can be set in the No Reward Granted section, that will only be shown to users when the reward is not granted to them.
General copy text
-
Besides the Reward Granted and No Reward Granted sections, you also have the possibility to set generic content, that will be shown to all entrants, whether the reward is granted to them or not. This generic content can be set in the Copy section.
Note: For our example, which is Always Win, you could add the details of the reward in here (instead of using the Reward Granted and No Reward Granted sections). However, for other distribution strategies where not all entrants are entitled to a reward, you should only use the Copy section for generic content (e.g. Check below to see if you’ve won a reward for completing our sign up form).
Therefore, we advise to always use the Reward Granted and No Reward Granted sections for reward-specific content, and the Copy section for generic content only.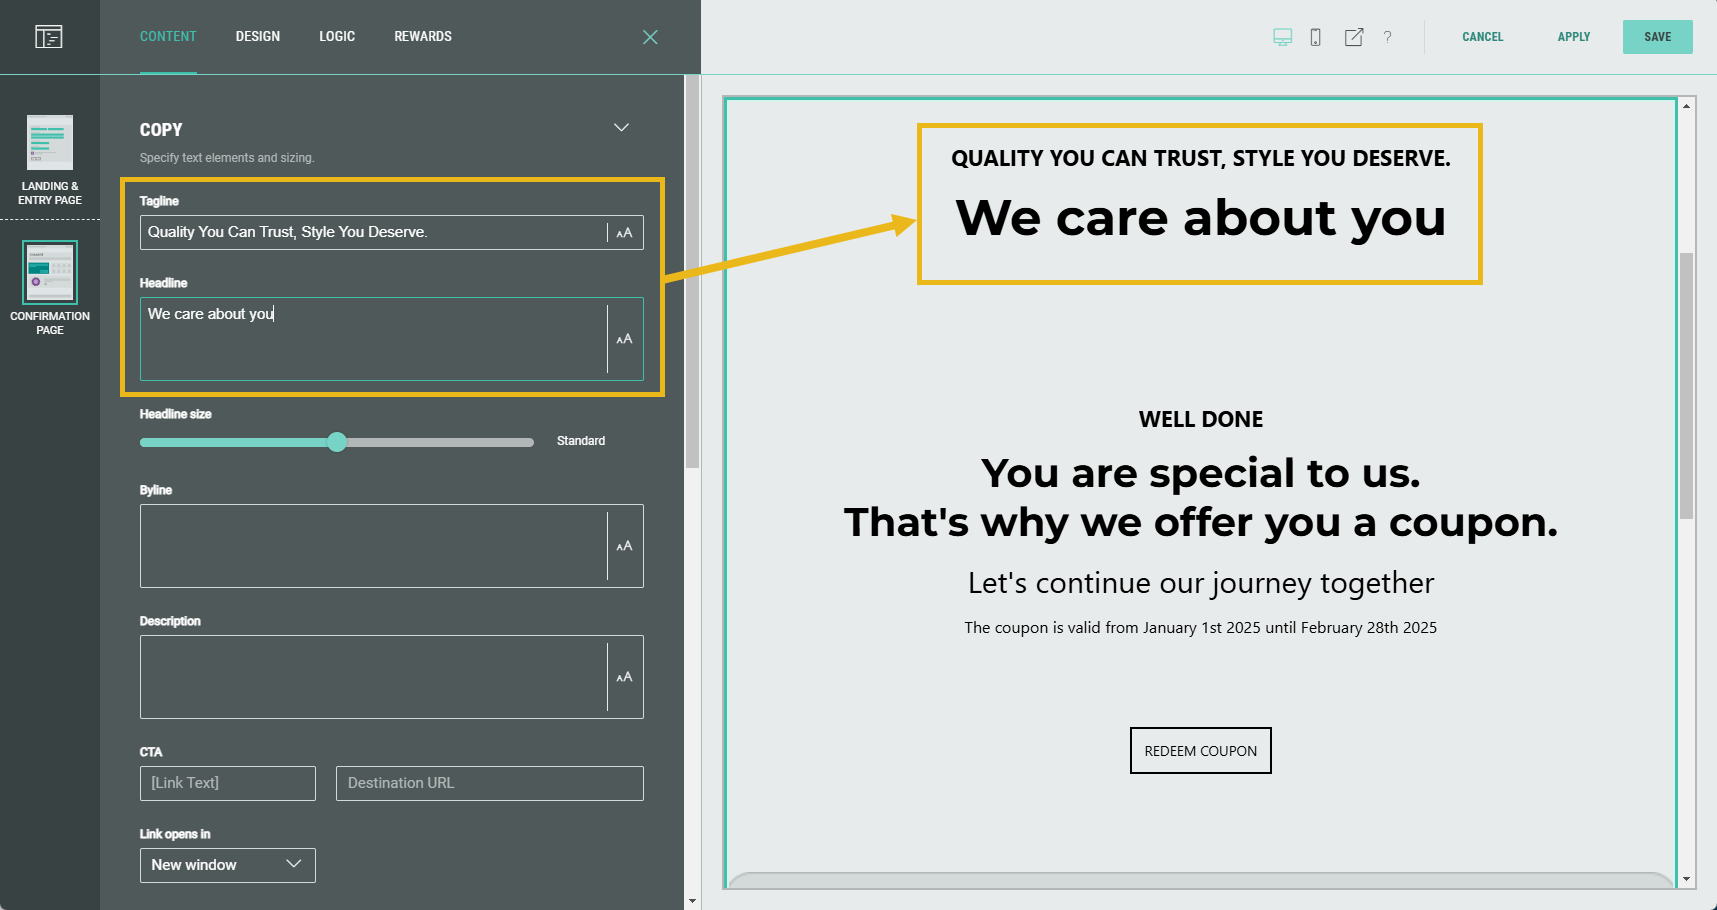
-
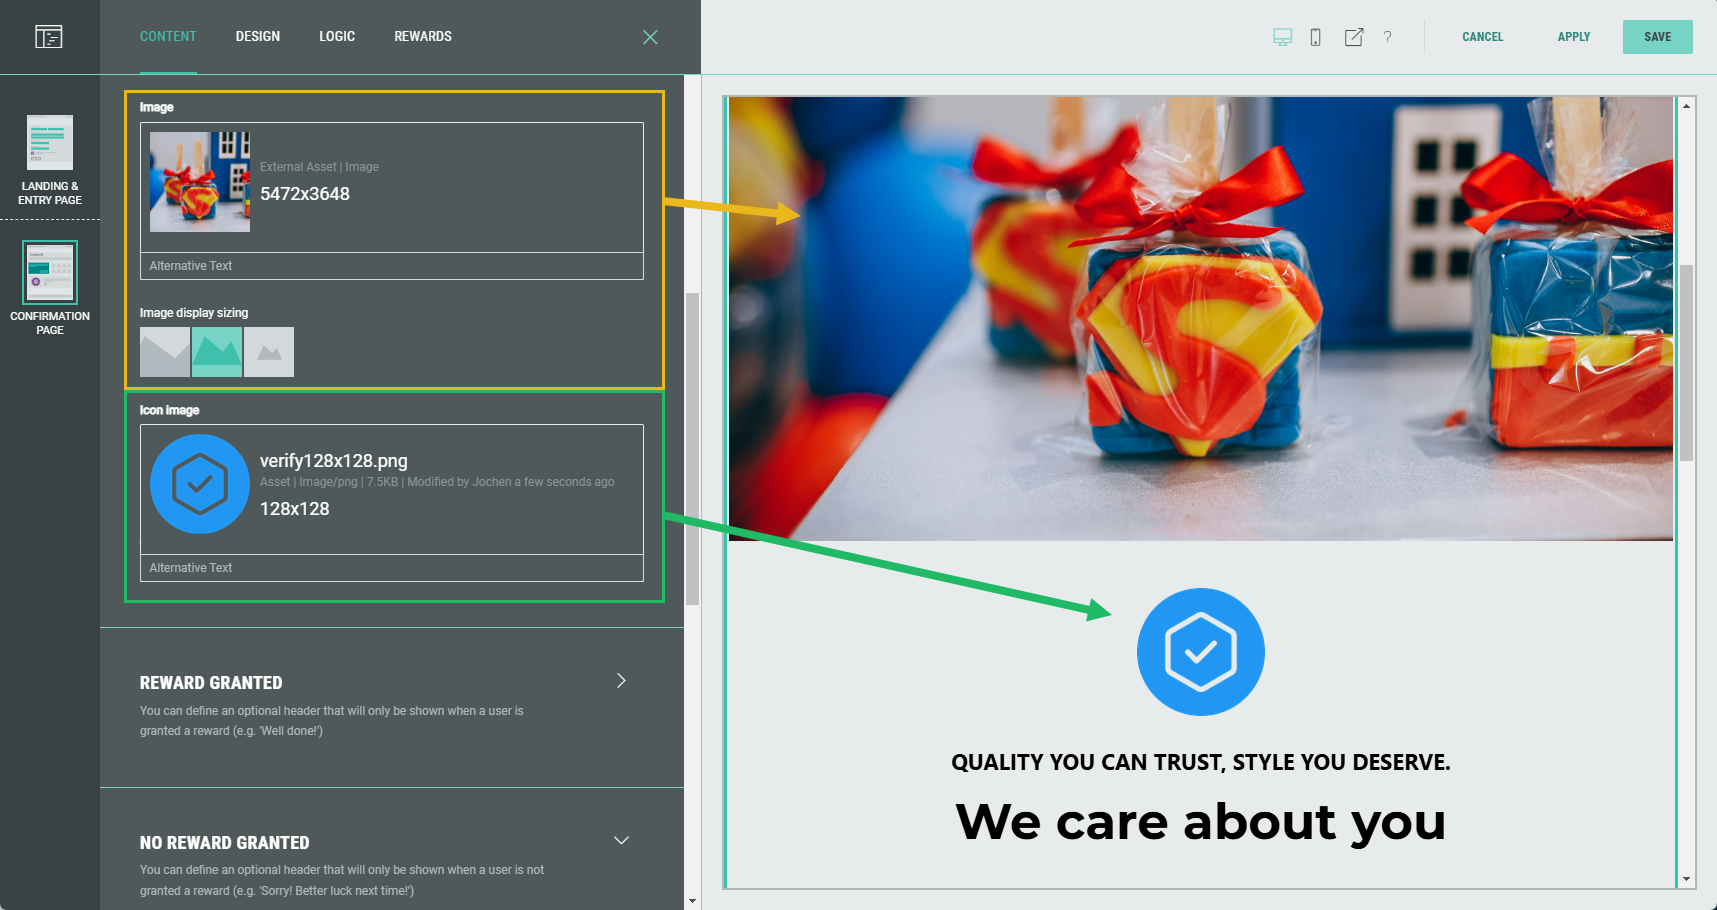
Different from the Reward Granted and No Reward Granted sections, in the Copy section you can add an image and an icon image. Let's add an image.
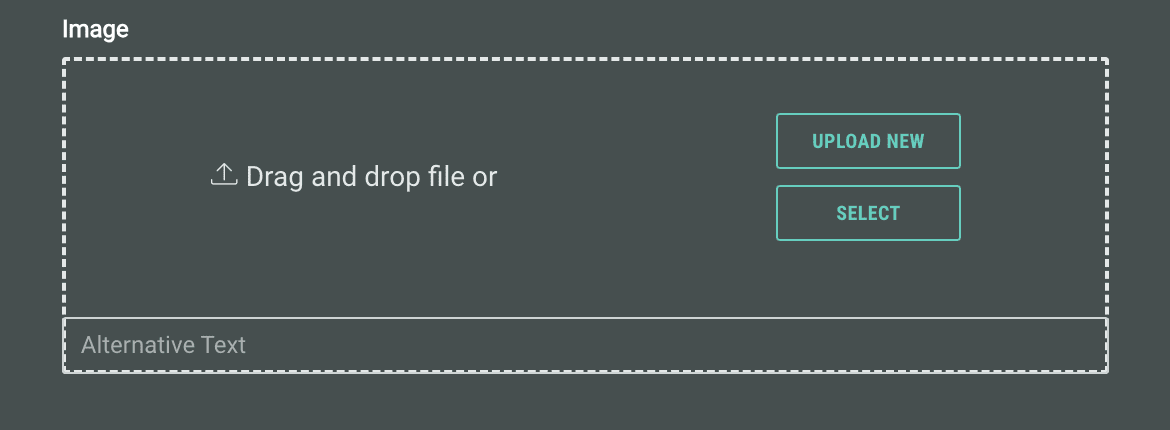
The image will appear above the Copy and Reward Granted content you’ve configured.
-
You can also add a second image, called an icon image.
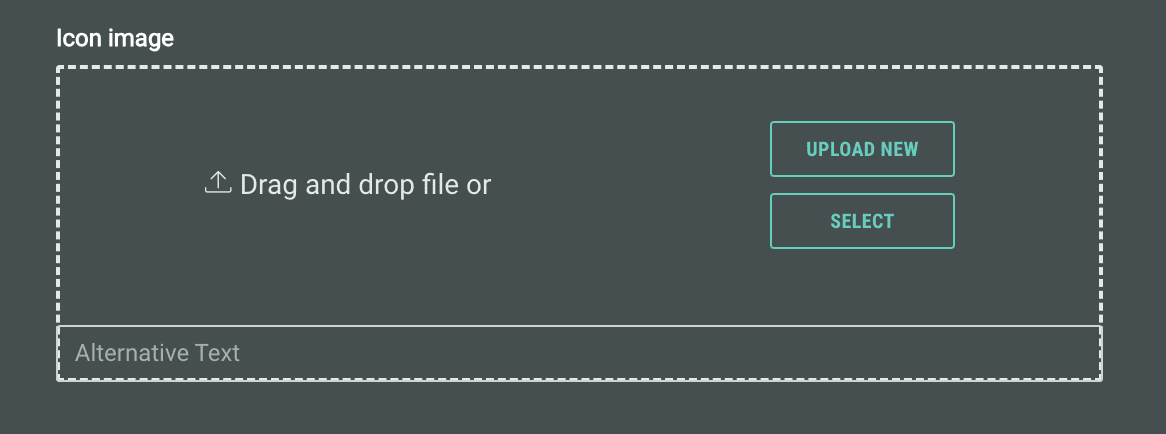
The icon image will appear below the previously added image.
Note:
The Reward content itself (that has been set up during the creation of the Reward; such as heading, byline, description, reward code, validity dates, image) is not shown on the module preview. For those, the preview only shows placeholders. The entrants will see the configured content when they enter the Experience.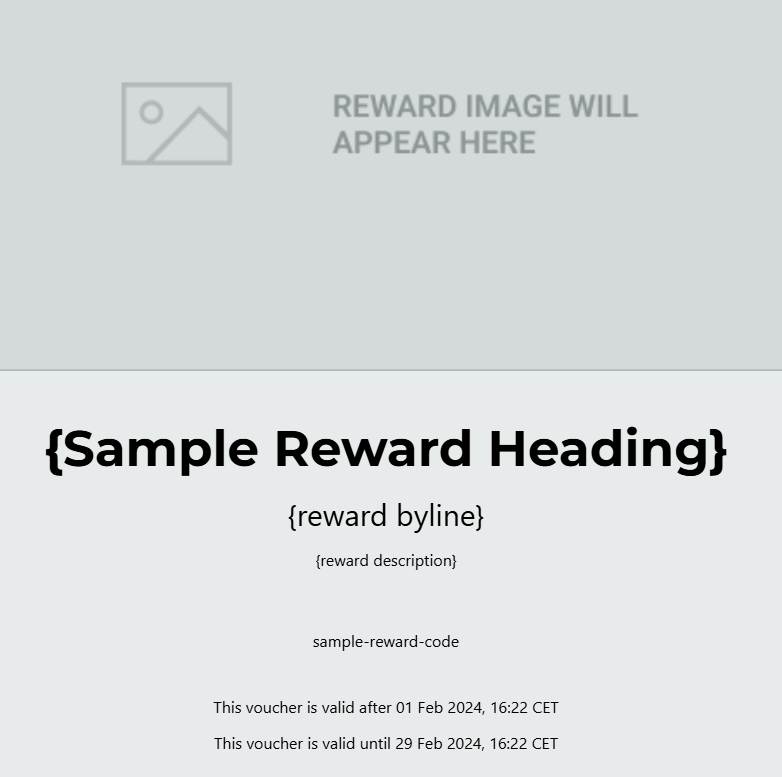
-
Optionally, on the Design tab, you can define layout settings (how to display text versus images), the display style when there are multiple results (carousel or stacked), color, text alignment, and other design options.


-
Finally, click Save at the top-right.
The Reward is now configured and ready to be used!

