
OpenID SSO Integration
Intended Audience: Technical marketers or expert users who have experience with solution configuration, data management, and advanced setup.
OpenID lets you log in to different tools using one trusted account — similar to how many websites let you Sign in with Google. When you do that, you're using a version of OpenID behind the scenes. It's a standard way apps agree on who you are, so you don't need separate passwords everywhere.
Technical note: OpenID is an open standard for authentication, allowing users to sign in to one website or application using an existing account from an identity provider like Google or Apple, instead of creating new credentials. The most common implementation today is OpenID Connect (OIDC), which is built on top of OAuth 2.0 and provides a standardized way for clients to verify user identity. When you sign in with Google for example, you are using OpenID Connect.
Note: More info on OpenID can be found on the OpenID website.
How OpenID Connect works is explained in the Developers section their website.
For Grow this means that when an OpenID SSO integration is set up, people participating in your Experience will be able to login through their known identity provider like Google, and form fields can get auto-populated, such as the participant's first name, last name and email address.
You can also decide whether people must be logged in to access the Experience and which login page they get to see if they're not.
Configure OpenID credentials set
To set up an integration in Experiences with OpenID, first an Integration credentials set needs to be configured.
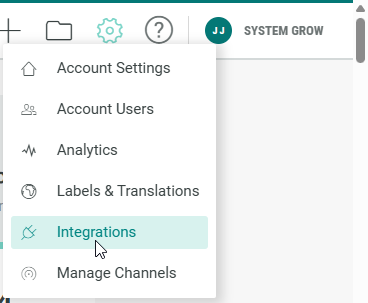
- Click on the Gear icon in the top navigation bar and select Integrations from the list of available options.
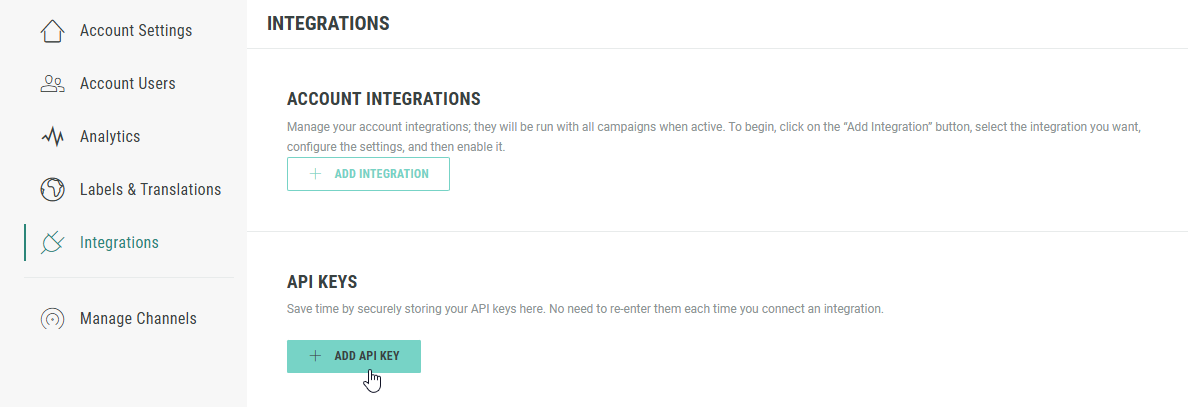
- On the Integrations page, in the API Keys section, click on + Add API Key.
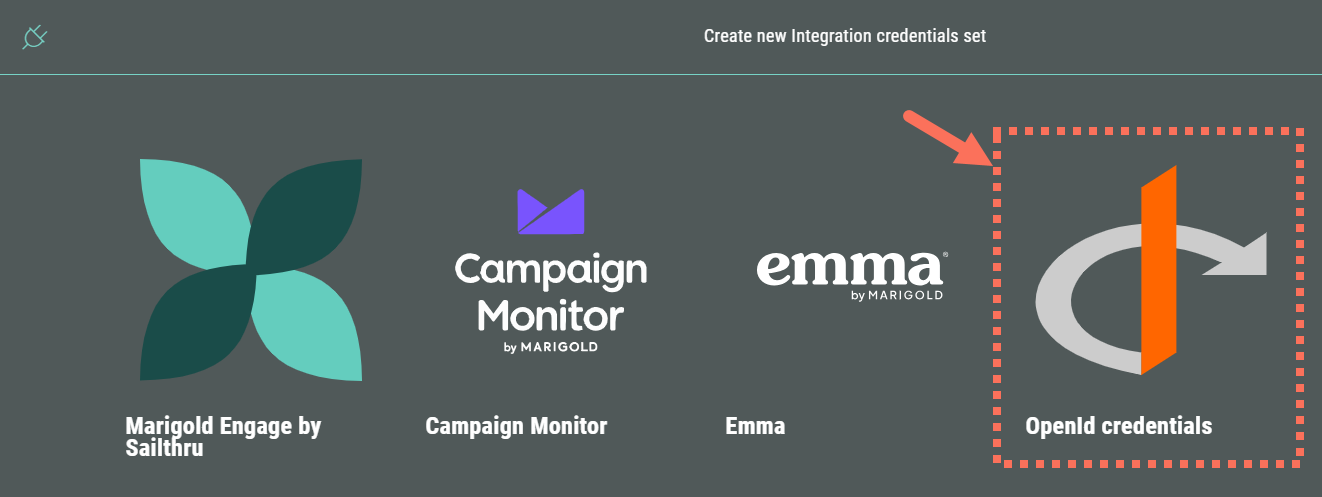
- Then select OpenID credentials.
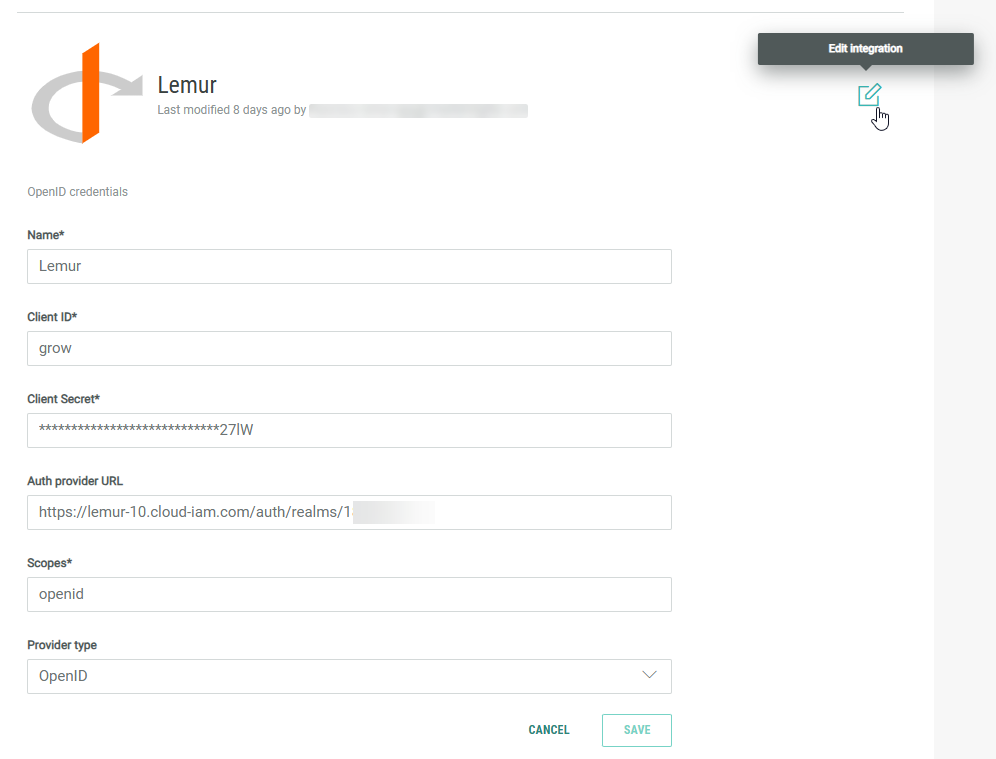
- A screen is shown in which you can enter values for the OpenID credentials fields.
Note: The OpenID field values above can be found in the settings, configuration, or credentials section of your registered application within the OpenID Provider's administration console (e.g., Google Cloud Console, Azure Portal, Okta Admin dashboard).
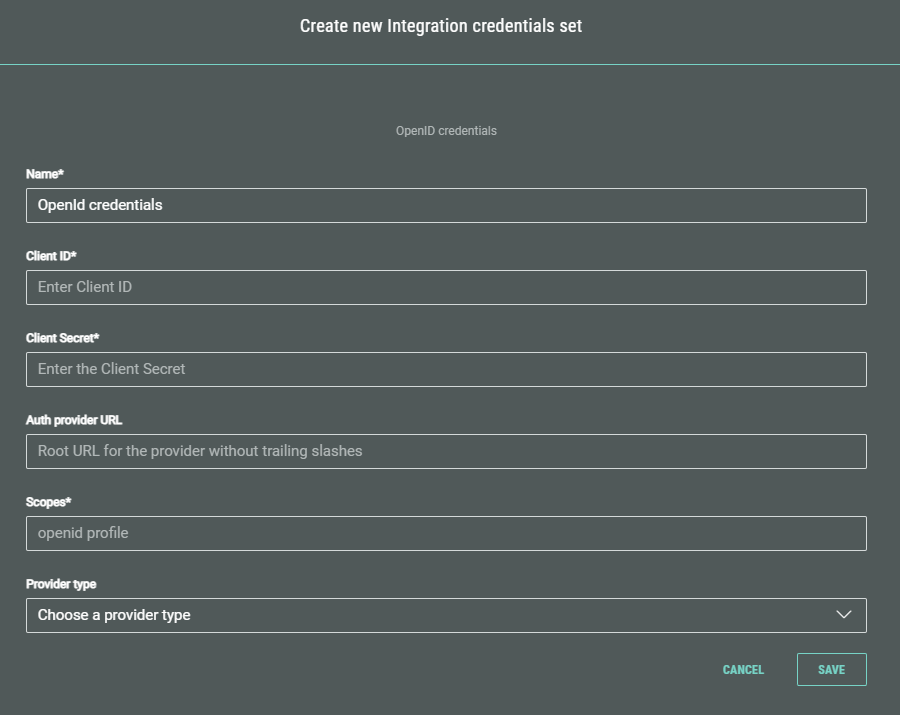
- Name* — Enter a clear name for your OpenID integration key.
- Client ID* — Enter the Client ID. This is a unique, public identifier that the Identity Provider issues during registration. It is used by the authorization server to identify which application is making the authentication request.
- Client Secret* — Enter the Client Secret. This is a confidential password known only to your application and the authorization server. It is used to authenticate the application itself when exchanging a temporary authorization code for an ID token and access token, typically in secure back-end communication.
- Auth provider URL (optional) — This is the root URL of the OpenID Provider's authorization server. Your application uses this root URL to discover the various endpoints needed for the OpenID Connect flow (e.g., the authorization_endpoint, token_endpoint, userinfo_endpoint). If this optional field is filled out, it should contain the root URL without trailing slashes.
- Scopes* — Scopes are used to specify the level of access or specific user information that your application is requesting access to. The OpenID scope is mandatory for all OpenID Connect requests, but others like profile, email, or offline_access are requested to get additional user data or functionality.
- Provider type (optional) — This is a configuration setting used to specify which type of identity provider you are connecting to (e.g., OpenID, Gigya, Keycloak, Salesforce, Shopify, Custom). This helps your software automatically apply the correct default settings and endpoints for that specific provider.
When done, click Save.
- You return to the Integrations screen with the configured OpenID API Key being visible.
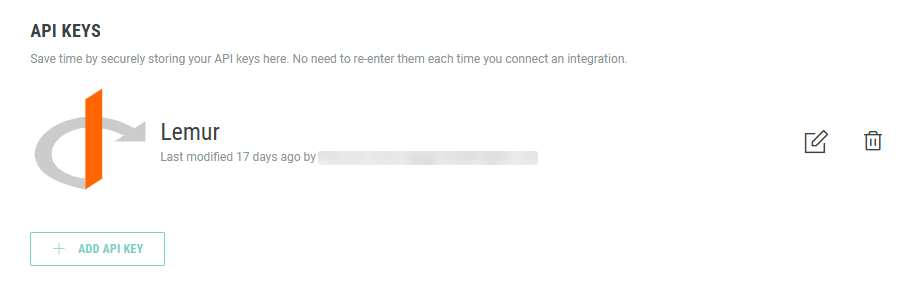
- You can click the pencil icon to edit the key, and make any necessary changes. (Don't forget to Save your changes.)
Note: You can delete a key by clicking on the trash bin icon. This is only possible when the key is not actively being used in a live Experience integration.
Set up your Experience for personalization
Create a new Experience or edit an existing one.
More info on setting up an Experience can be found here.
Note: You can use nearly all Experience types. The only exception is a Content Page, which doesn't support form fields because it's designed for editorial content rather than data collection.
To add personalization, execute the following steps:
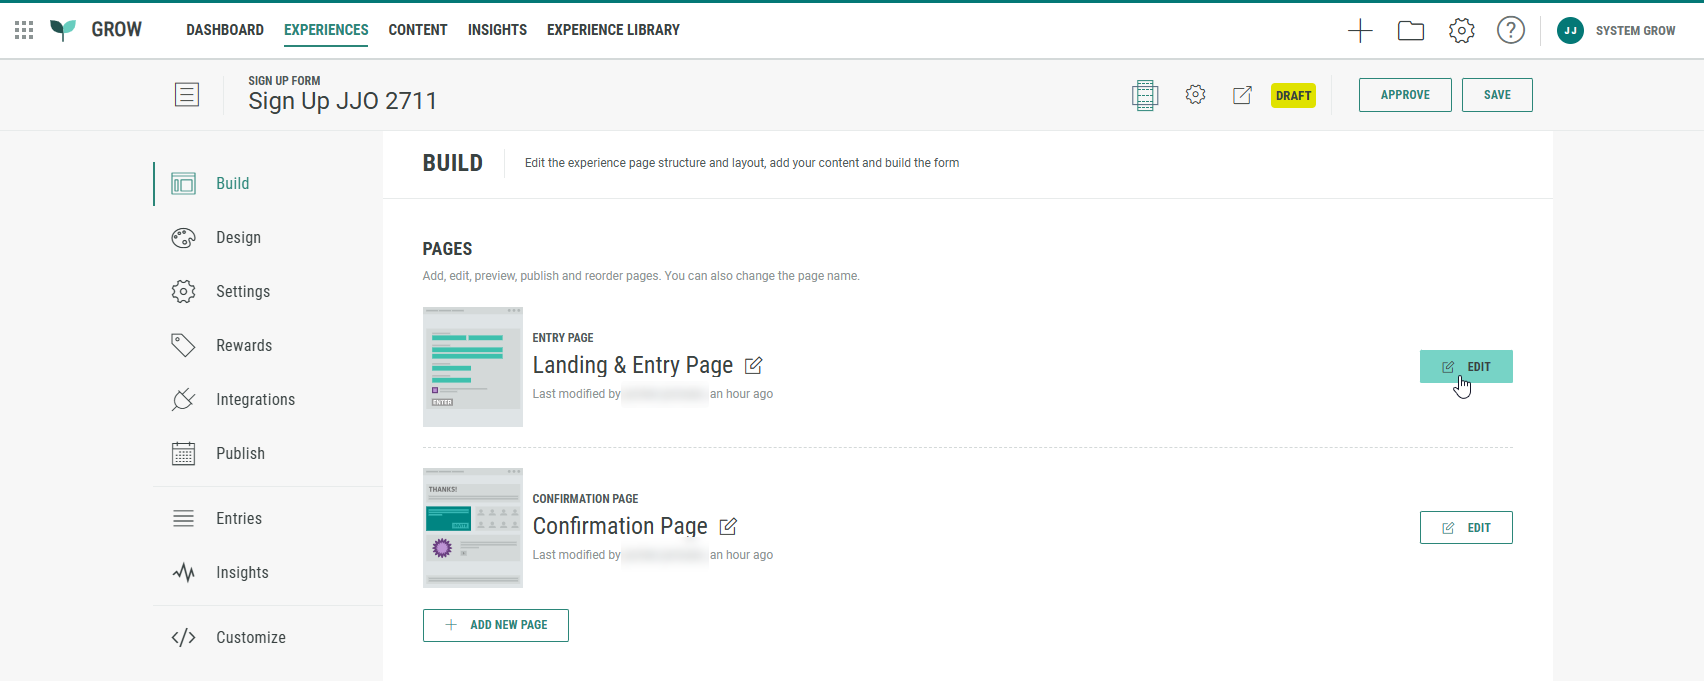
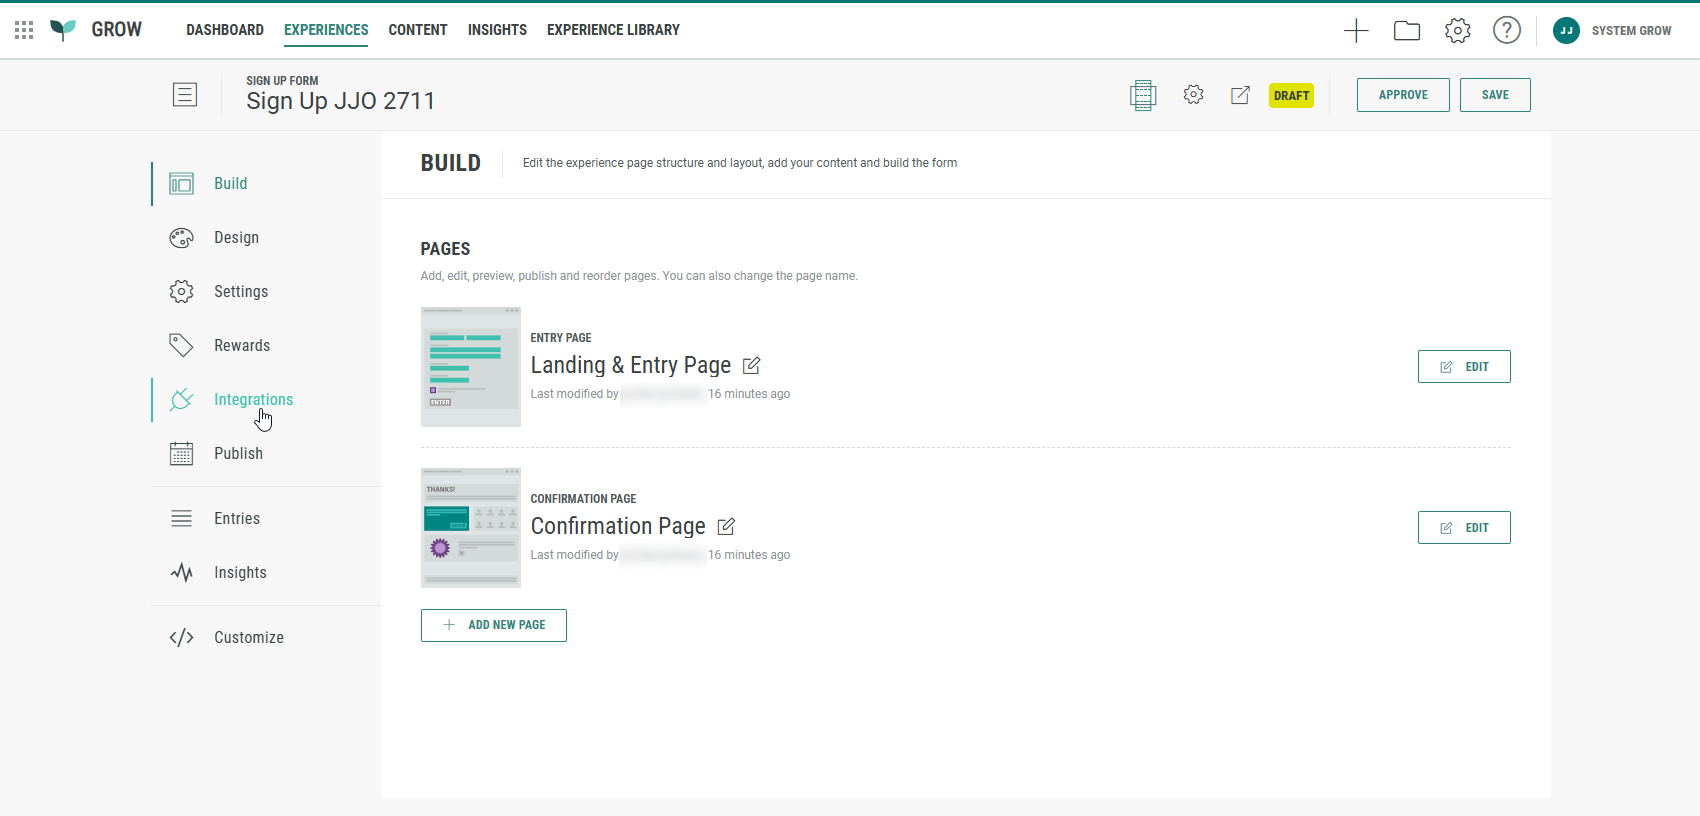
- Click on the Build tab in the left-hand navigation, and edit the Landing & Entry page.
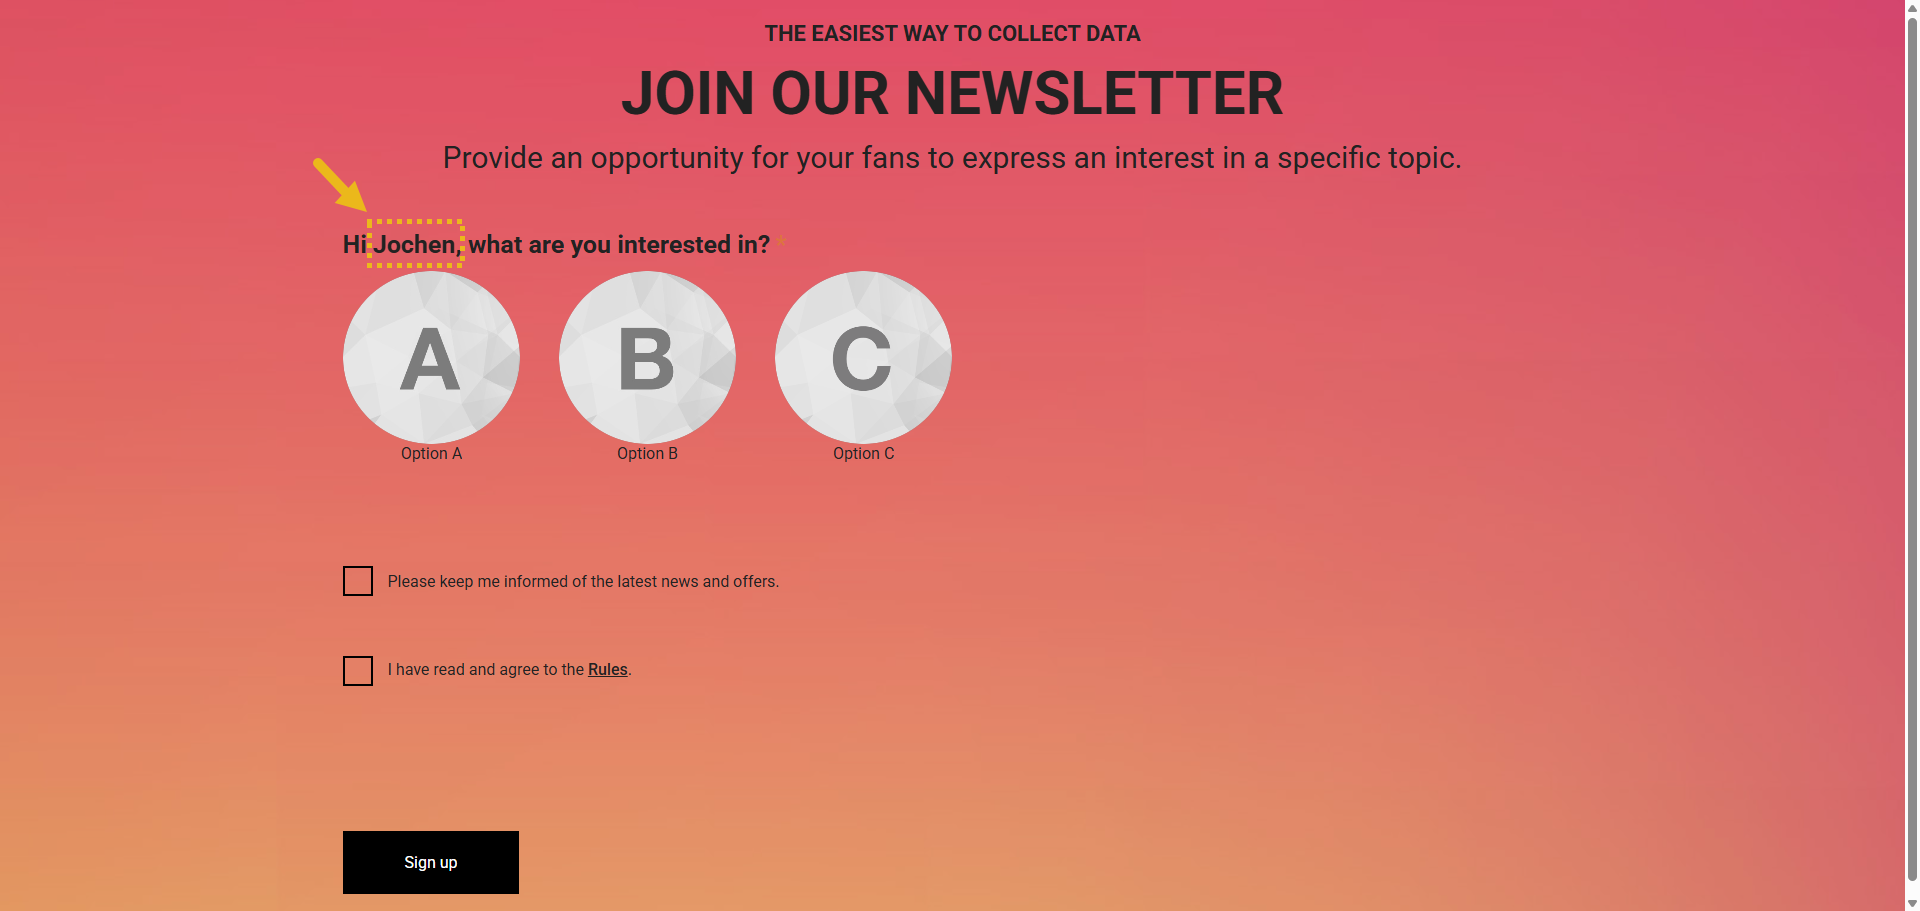
- We want to personalize the label in the Single Choice module in the Form Section, so it shows the participant's first name once they're logged in through SSO (OpenID). To do so, first move the Name module so it's above the Single Choice module.
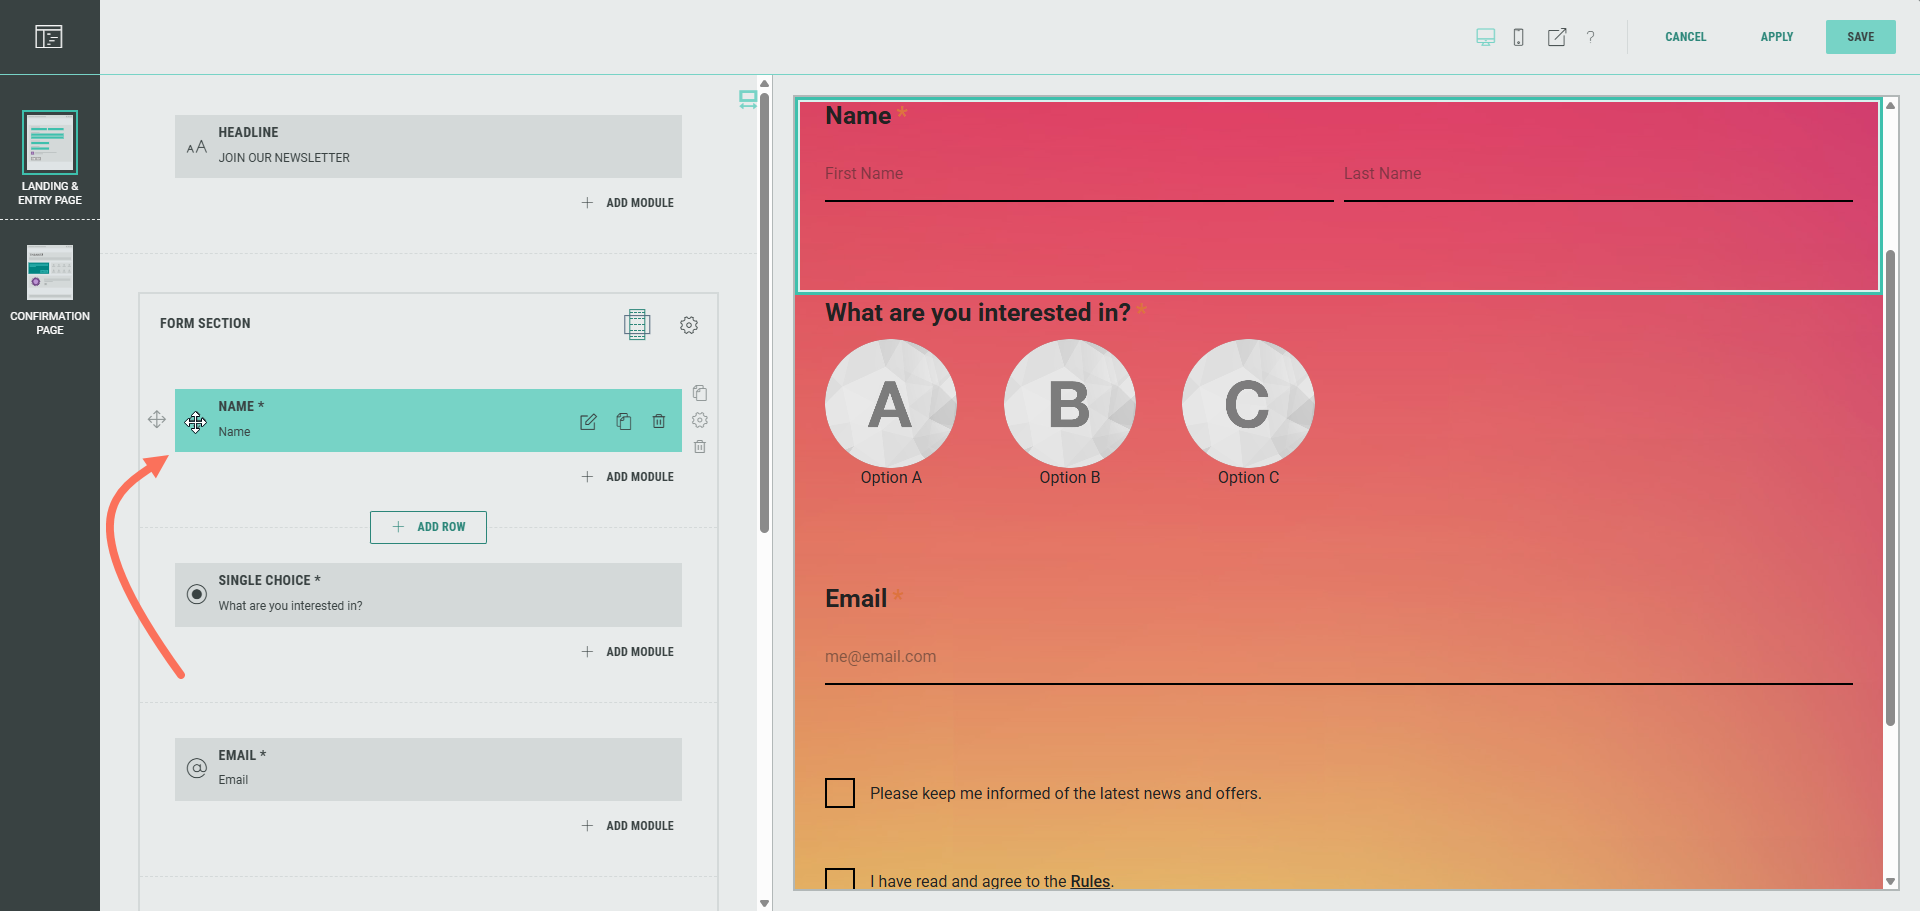
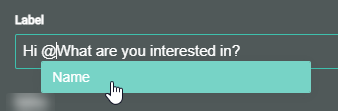
- Then click the Single Choice module and update the default Label from What are you interested in? to Hi Name, what are you interested in?. To enter the Name personalization field (also called a token), type an @ sign. The Name field will automatically pop up for selection.
Note: The same way, other personalization fields (e.g. Email) can be added in any of the Form fields.
The only prerequisite is that the linked module (e.g. Email module) appears before the module in which you want to add the personalization.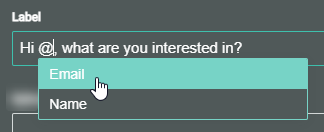
Also good to know is that the personalization field shows the label value of the available/selected field(s).
For example, if the label of the Name module is : What are you called?, then that's also how it appears as a personalization field (token).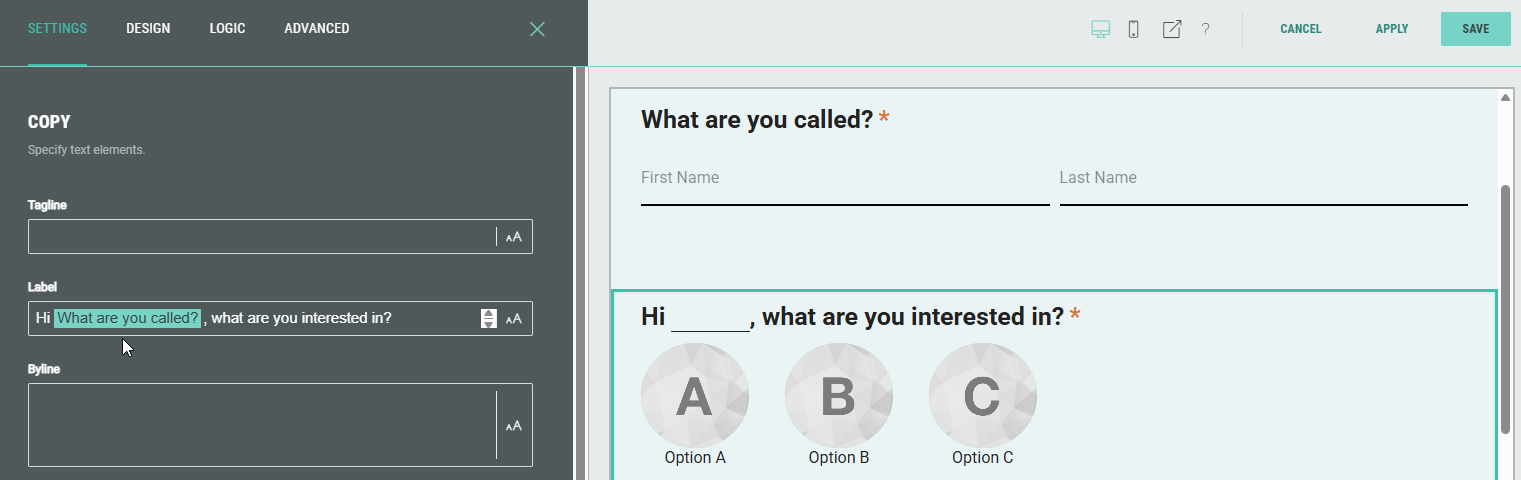
More info on personalization using tokens can be found in this article.
Link your Experience with an OpenID integration
Once the Integration credentials set is configured, and your Experience is built, it's time to link it to the OpenID integration.
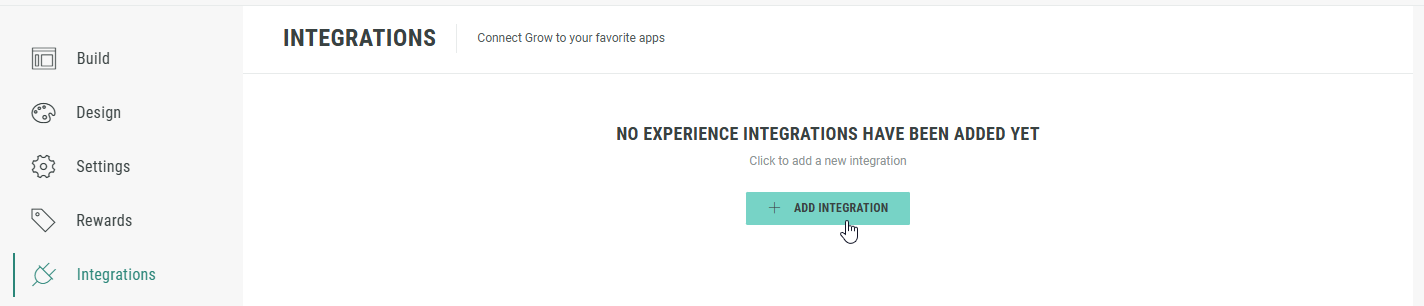
- On your Experience screen, click on Integrations in the left-hand navigation.
- Click + Add Integration.
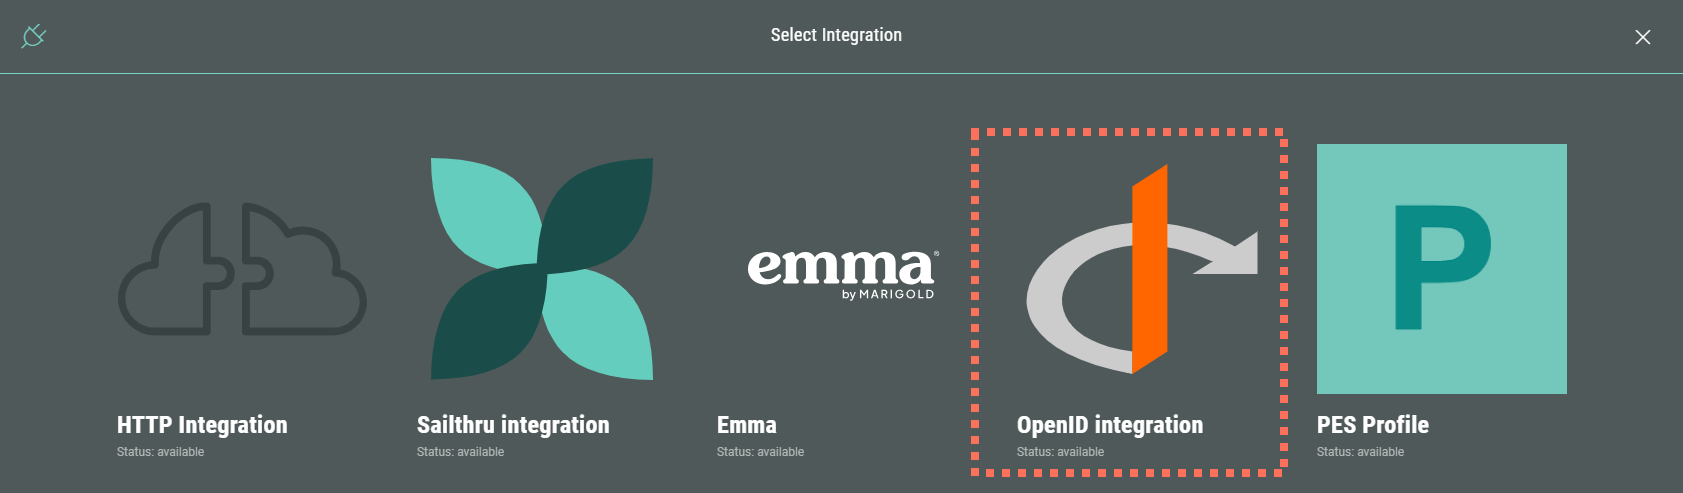
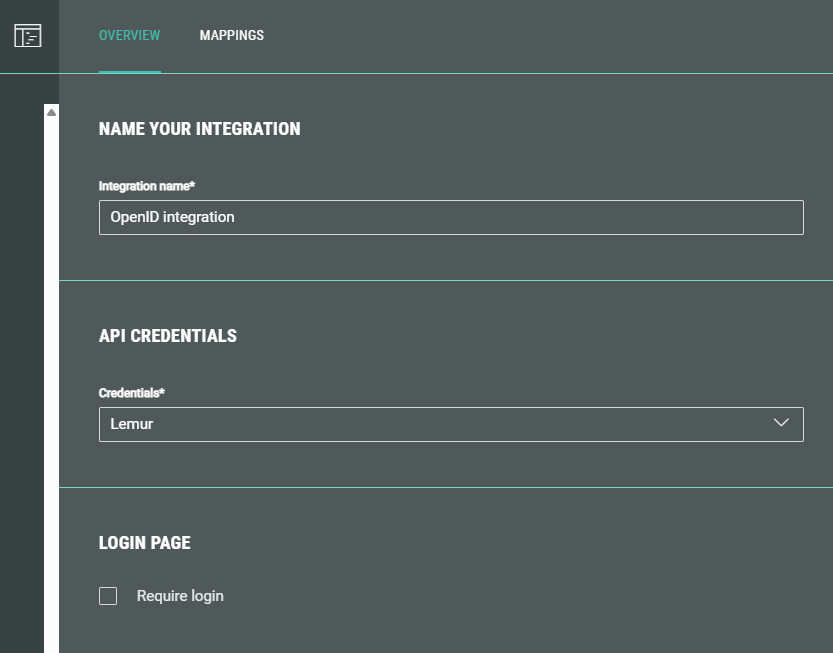
- Select OpenID integration.
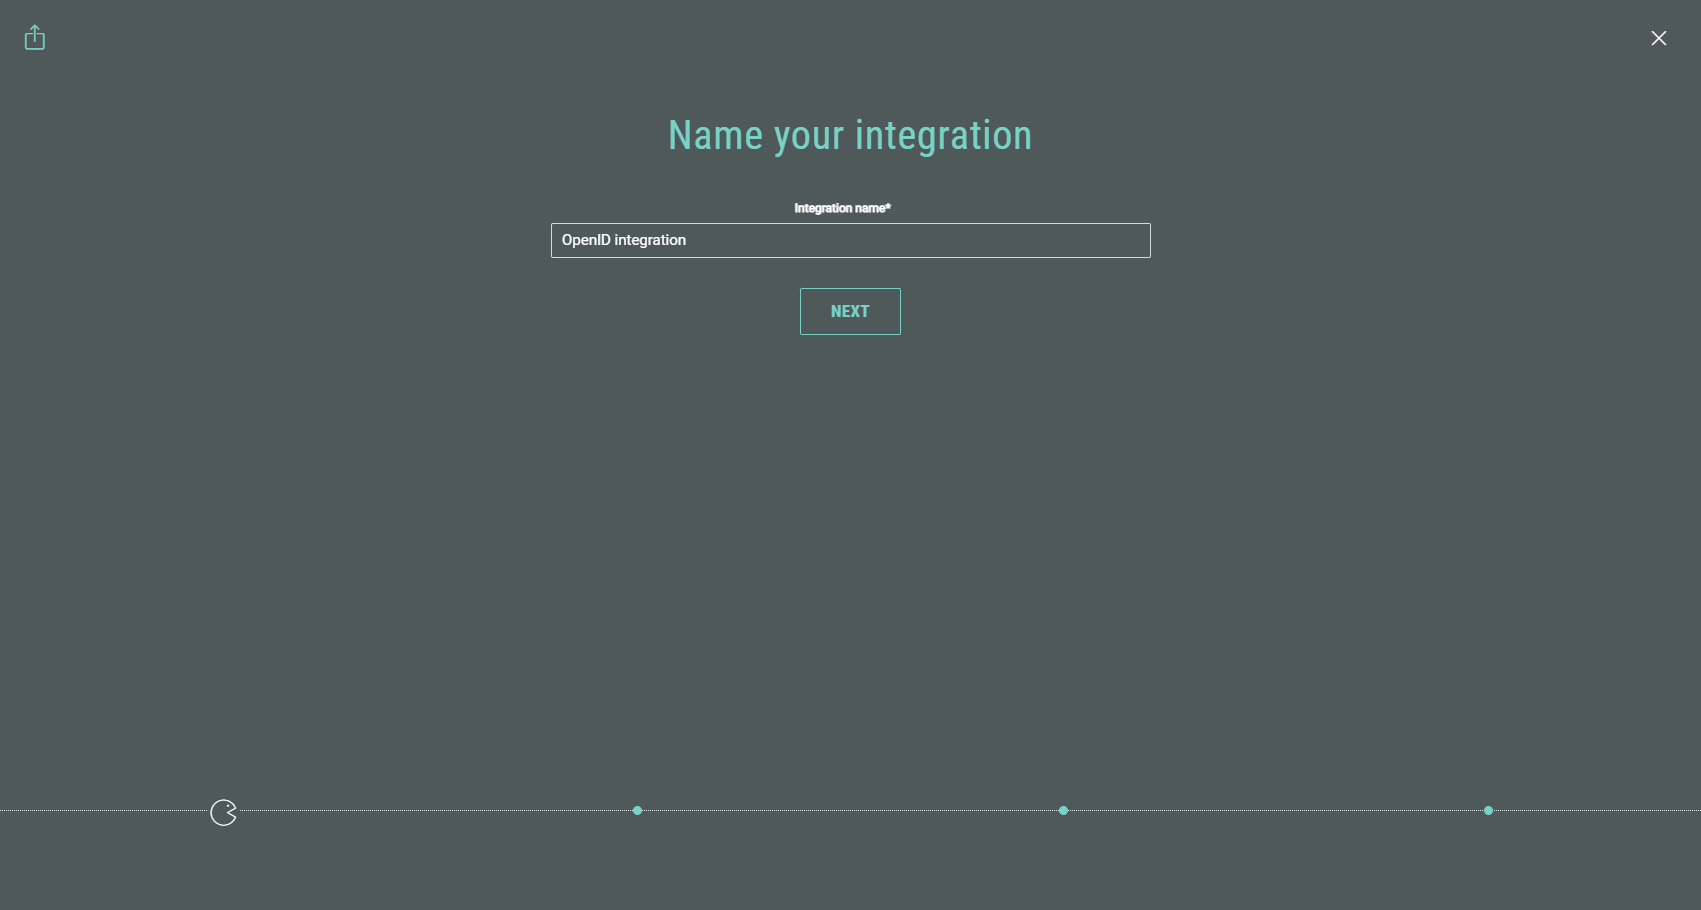
- Enter a name for the integration. Then click Next.
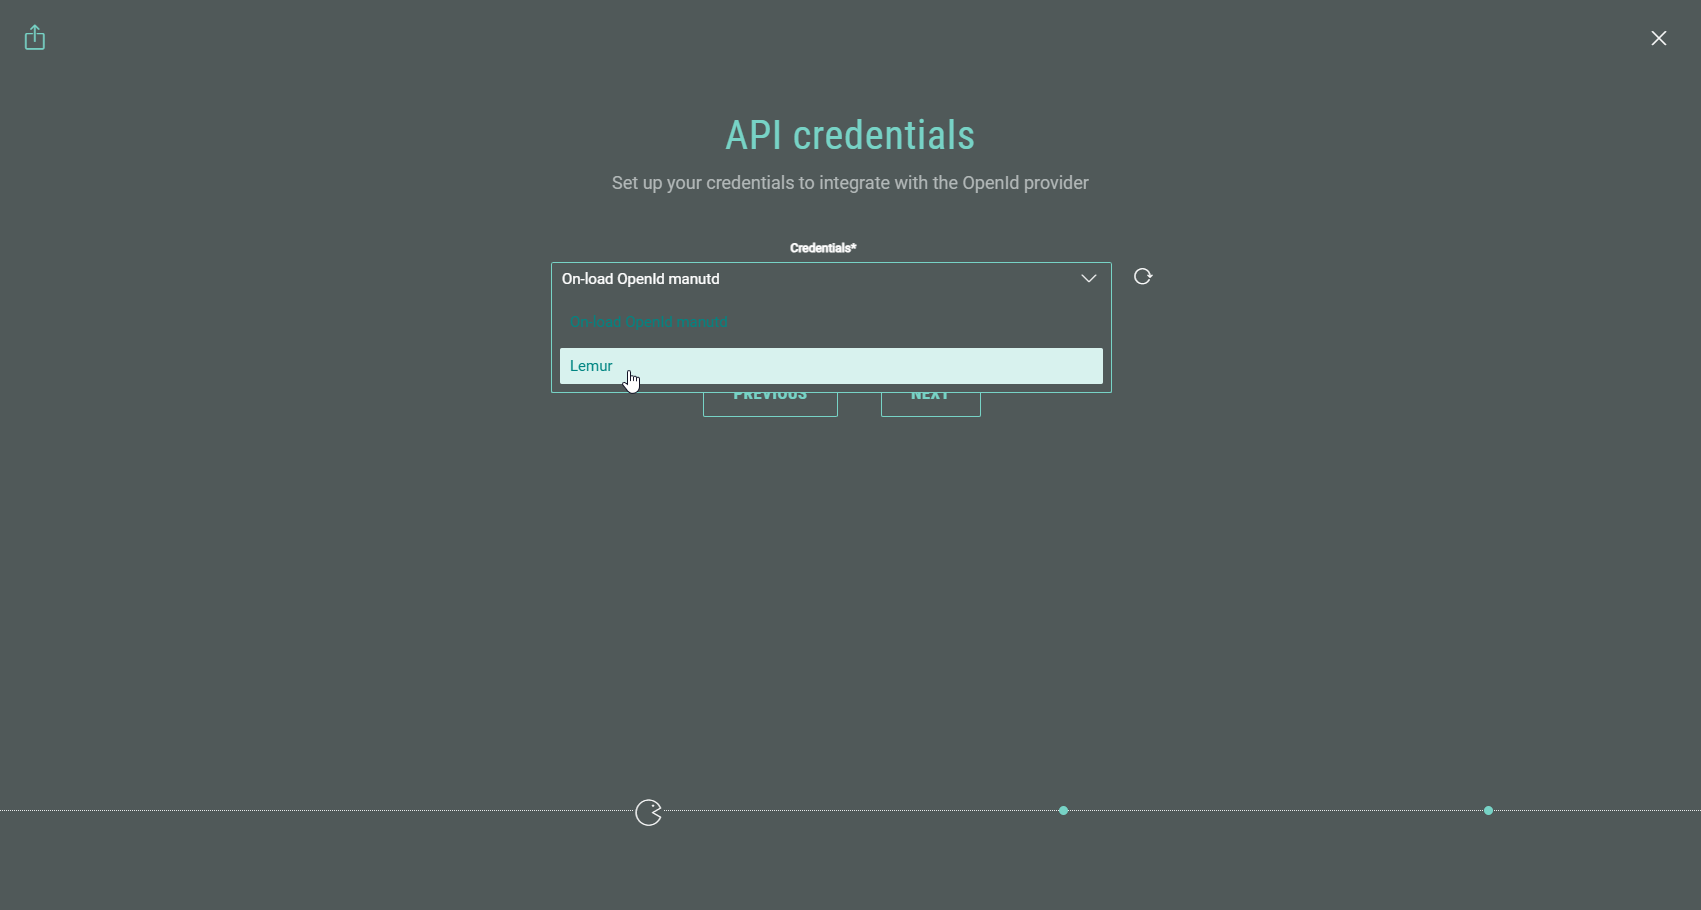
- An API credentials step is shown only when more than one OpenID API Key has been configured. If so, select an OpenID API Key here. Then click Next.
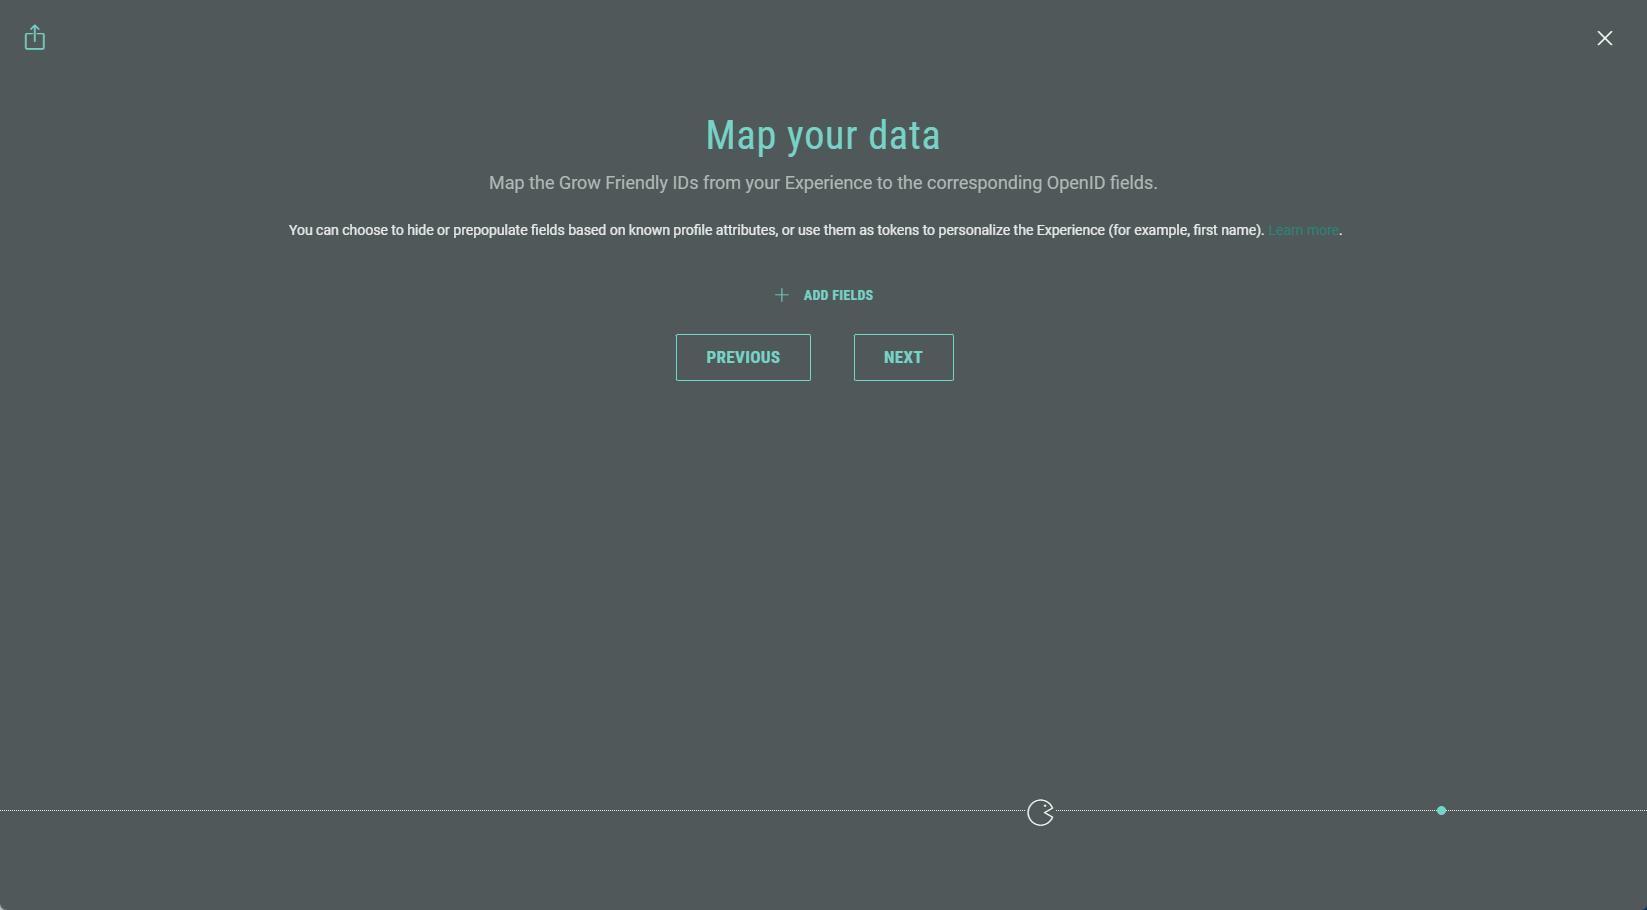
- Map the Grow Friendly IDs from your Experience to the corresponding OpenID fields.
Click + Add Fields and select the applicable fields.
Note: A Friendly ID is configured in the Connect section of a module/field (e.g., a single choice quiz module) while building an Experience.
The Friendly ID is used to help identify this field when synchronizing data with third party apps (ESP, CRM etc.)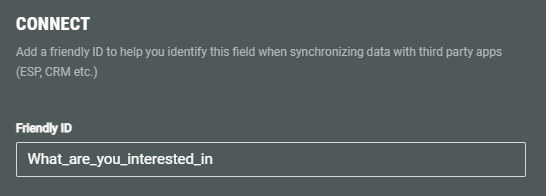
For more info, see this article on how to set up the Friendly ID in a Form Experience.
OpenID fields are a set of known attributes about the authenticated user (e.g., name, given_name, family_name, email).
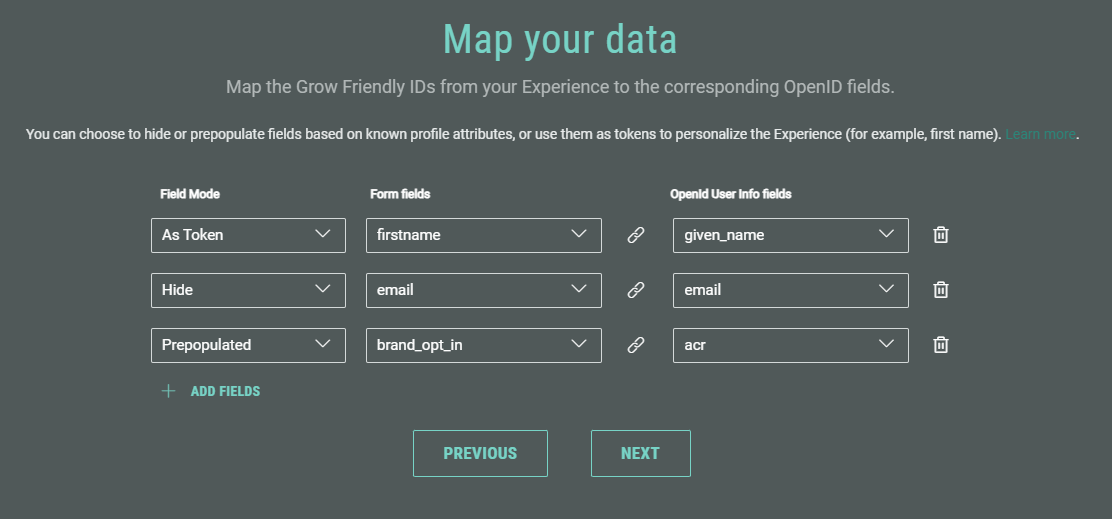
While mapping the data, set the following:
- Field mode — Hide, prepopulated or as a token.
- Hide — The field won't be shown in the Experience to participants. The field value will be gathered and displayed in the Experience entries though.
- Prepopulated — The field is automatically filled using information you already know about the participant. They can review and edit it if needed. For example, opt-in status.
- As token — The field value is used to dynamically personalize the Experience using tokens (see the personalization part above). Data from the OpenID integration can automatically populate content or labels within the Experience. For example, you can greet participants by their first name.
- Form fields — Select the Grow Friendly ID.
- OpenID fields — Select the corresponding OpenID field.
When you're done with the mapping, click Next.
- Choose whether your Experience requires participants to log in. If login is required, you can set a custom login URL. Otherwise users will be redirected to your default login page.
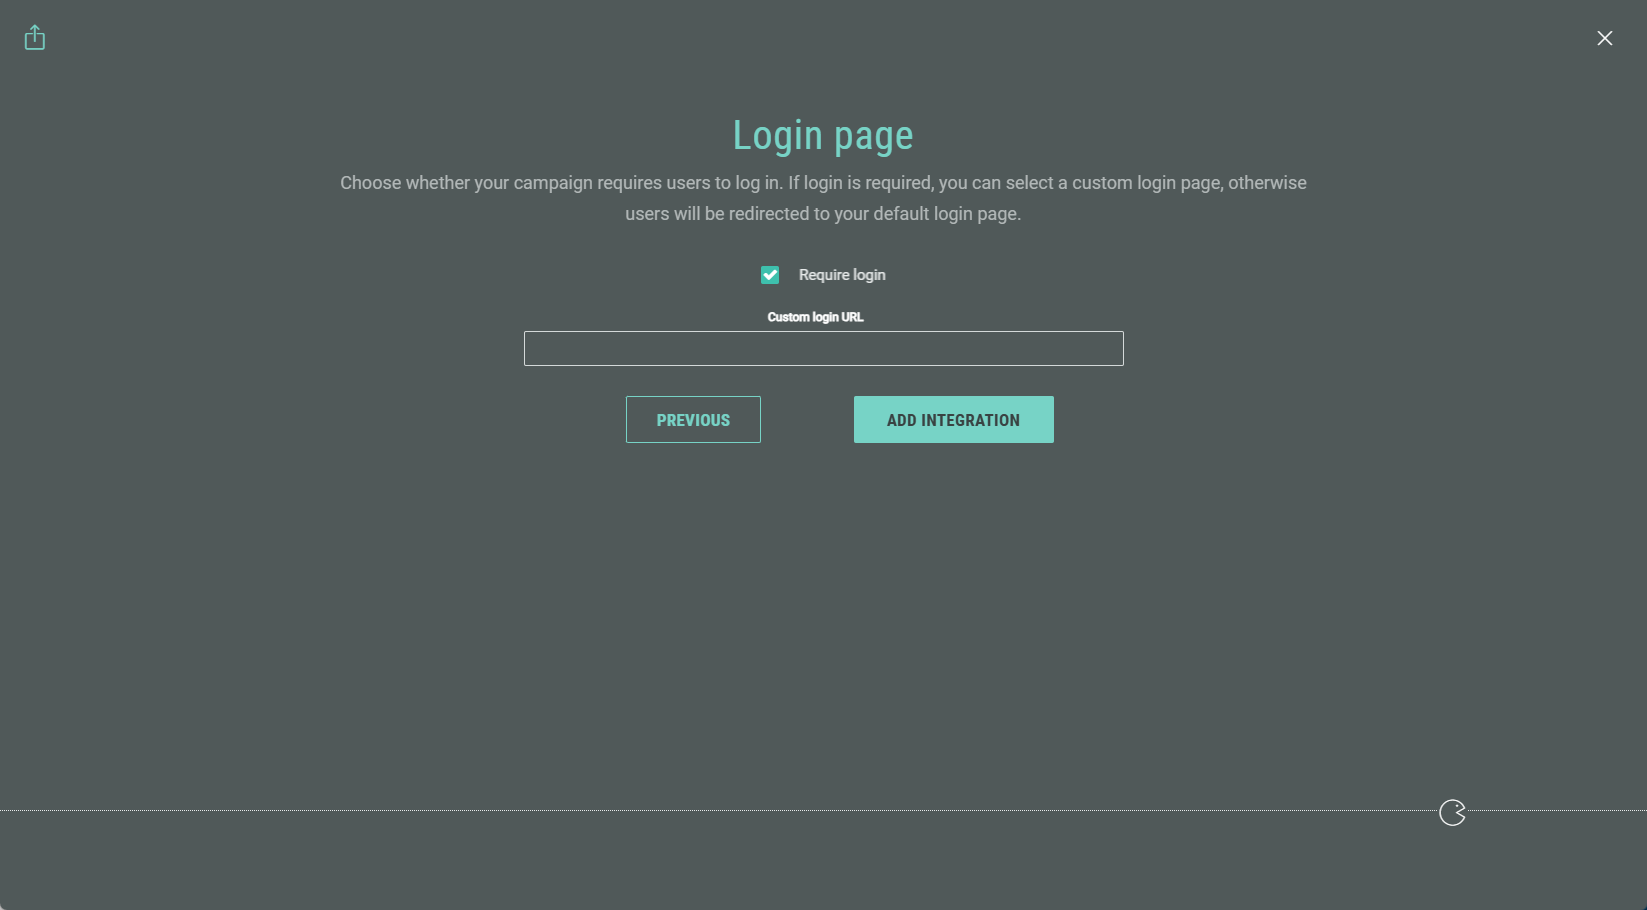
When done, click Add Integration.
- You return to the Experience Integrations screen with the configured OpenID integration being visible. Click the toggle on the right to enable the integration.
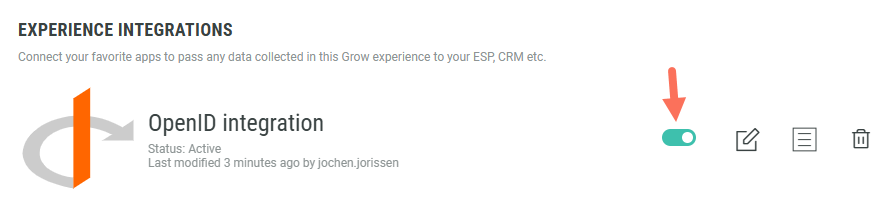
Note: By clicking on the pencil icon at the right of the integration, you can edit the integration settings.
- You can update the mappings: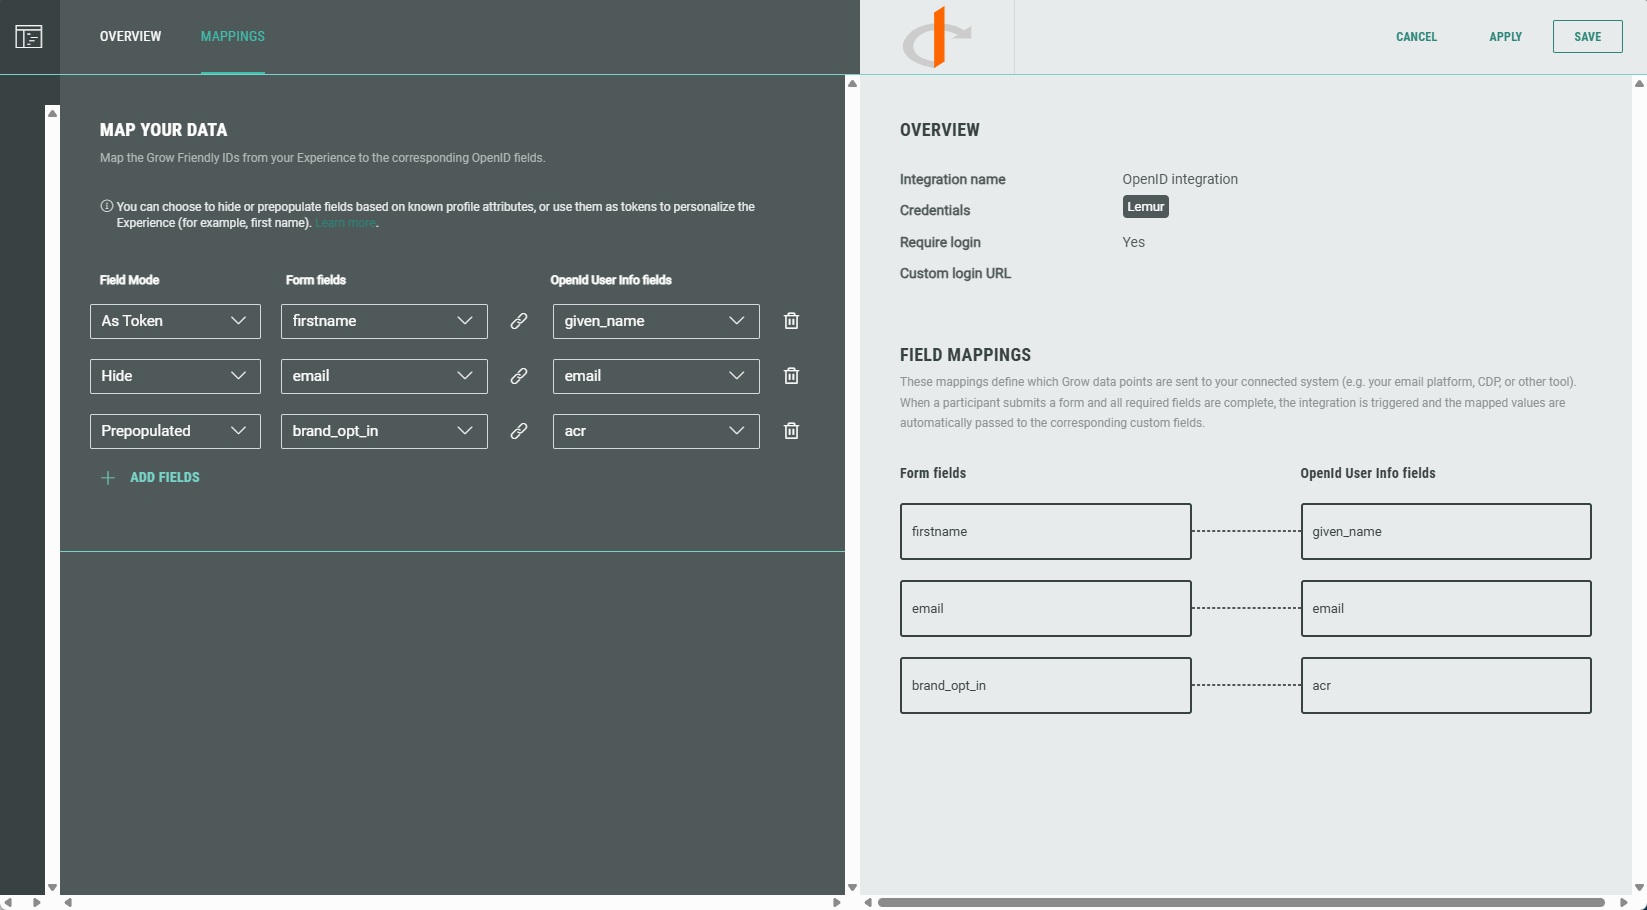
- On the Overview tab, you can change the integration name and credentials.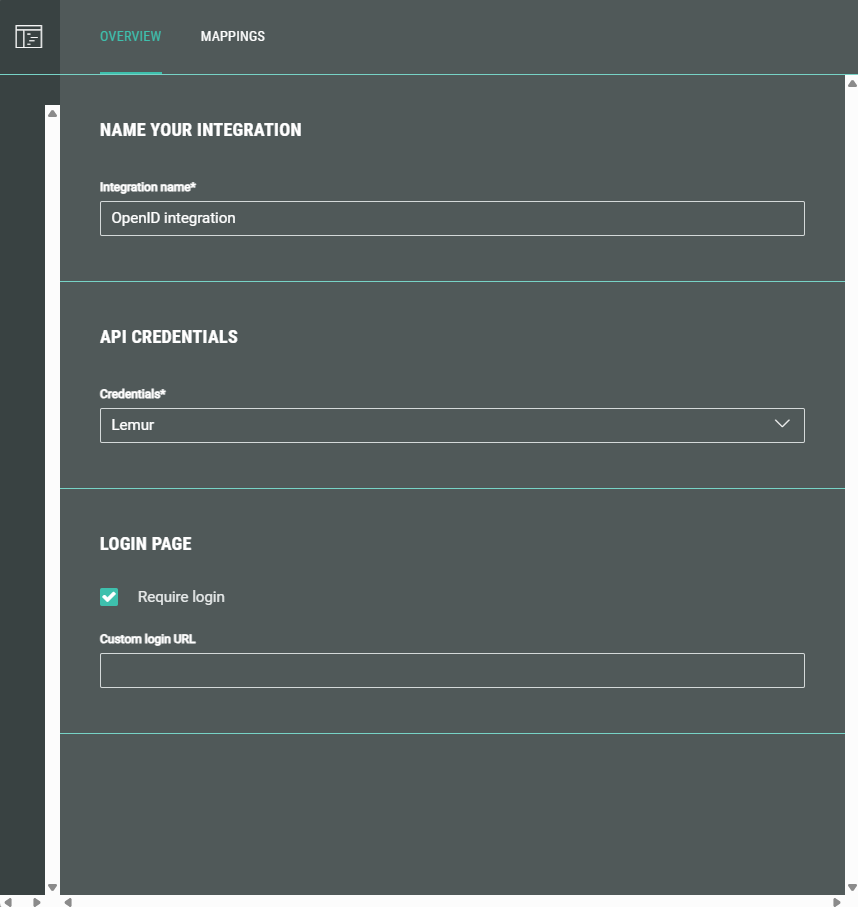
It's also possible to update (enable/disable) the Require login option, and set/remove a custom login URL.
Authentication required (gated login)
When you want to use a gated login, do the following:
- In the Experience Integrations section, make sure that the following setting is active for the configured OpenID integration: Require login (and leave the Custom login URL empty).
- When navigating to the OpenID Microsite URL ([Experience URL]/oi) of the publishing destination, you'll see that the SSO integration is triggered, opening the login/register page.
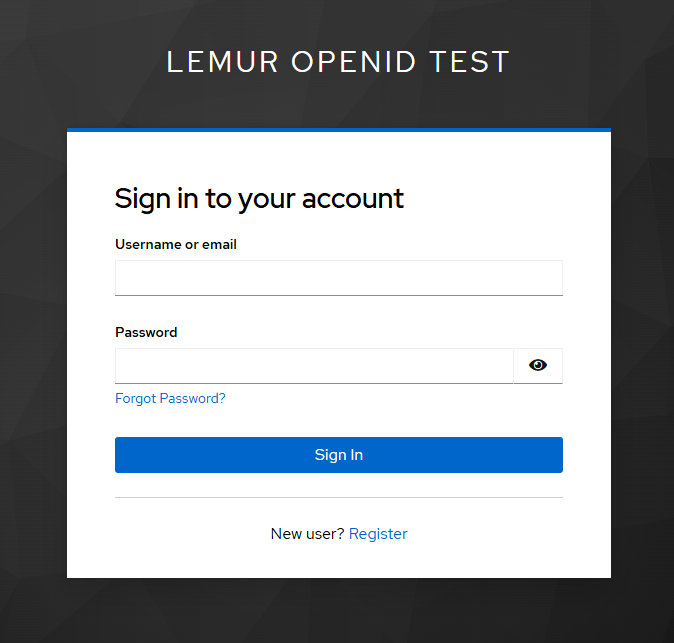
- When you don't have an account yet, you need to register first.
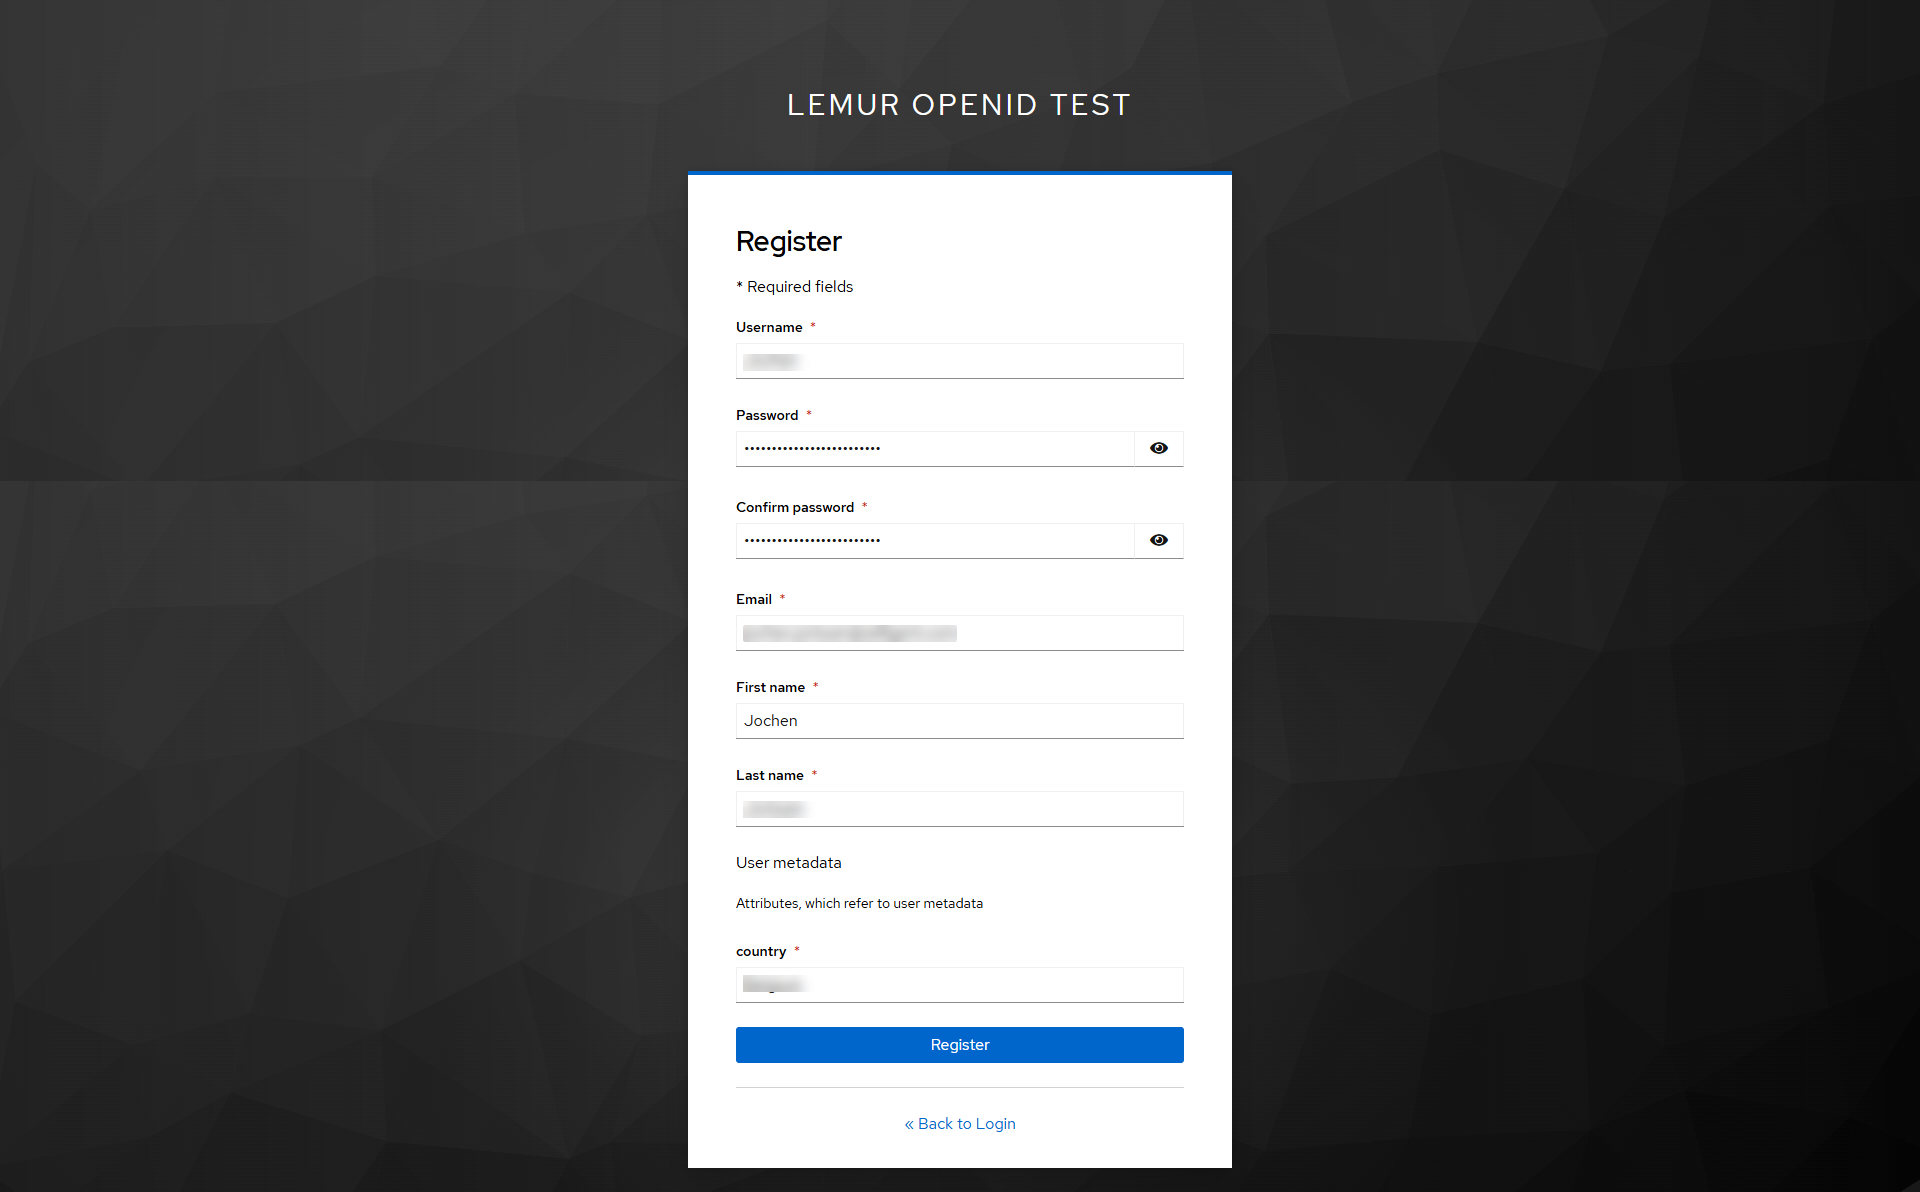
- After (registration and) signing in, you'll get redirected to the Experience in which the first name (that was defined as token), coming from the SSO login info, is automatically filled out.
Note: While remaining logged in to the SSO provider, the personalization field (token) will be automatically filled out in the Experience.
When logged out, you'll get to see the login screen, and after logging in successfully, that will also be the case.
Non-authorized participants (not logged in) can't access the Experience.
Note: When login is required, you can also set a URL that leads to a custom login page (instead of the default login page).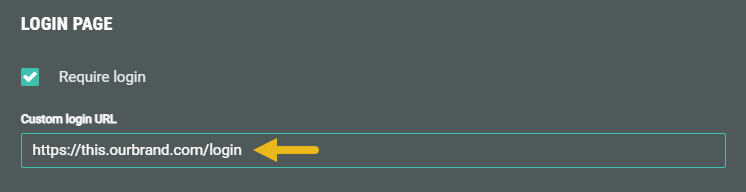

No authentication required
When you don’t want to use a gated login, do not check the Require login option.
The Experience will then be accessible for participants without asking for authentication.
Approve and publish the Experience
Approve and publish the Experience to any type (Microsite, Web Embed, or Lightbox).
Note: Have a look at this article if you need to know more about how to publish an Experience.
Retrieving the Experience OpenID URL
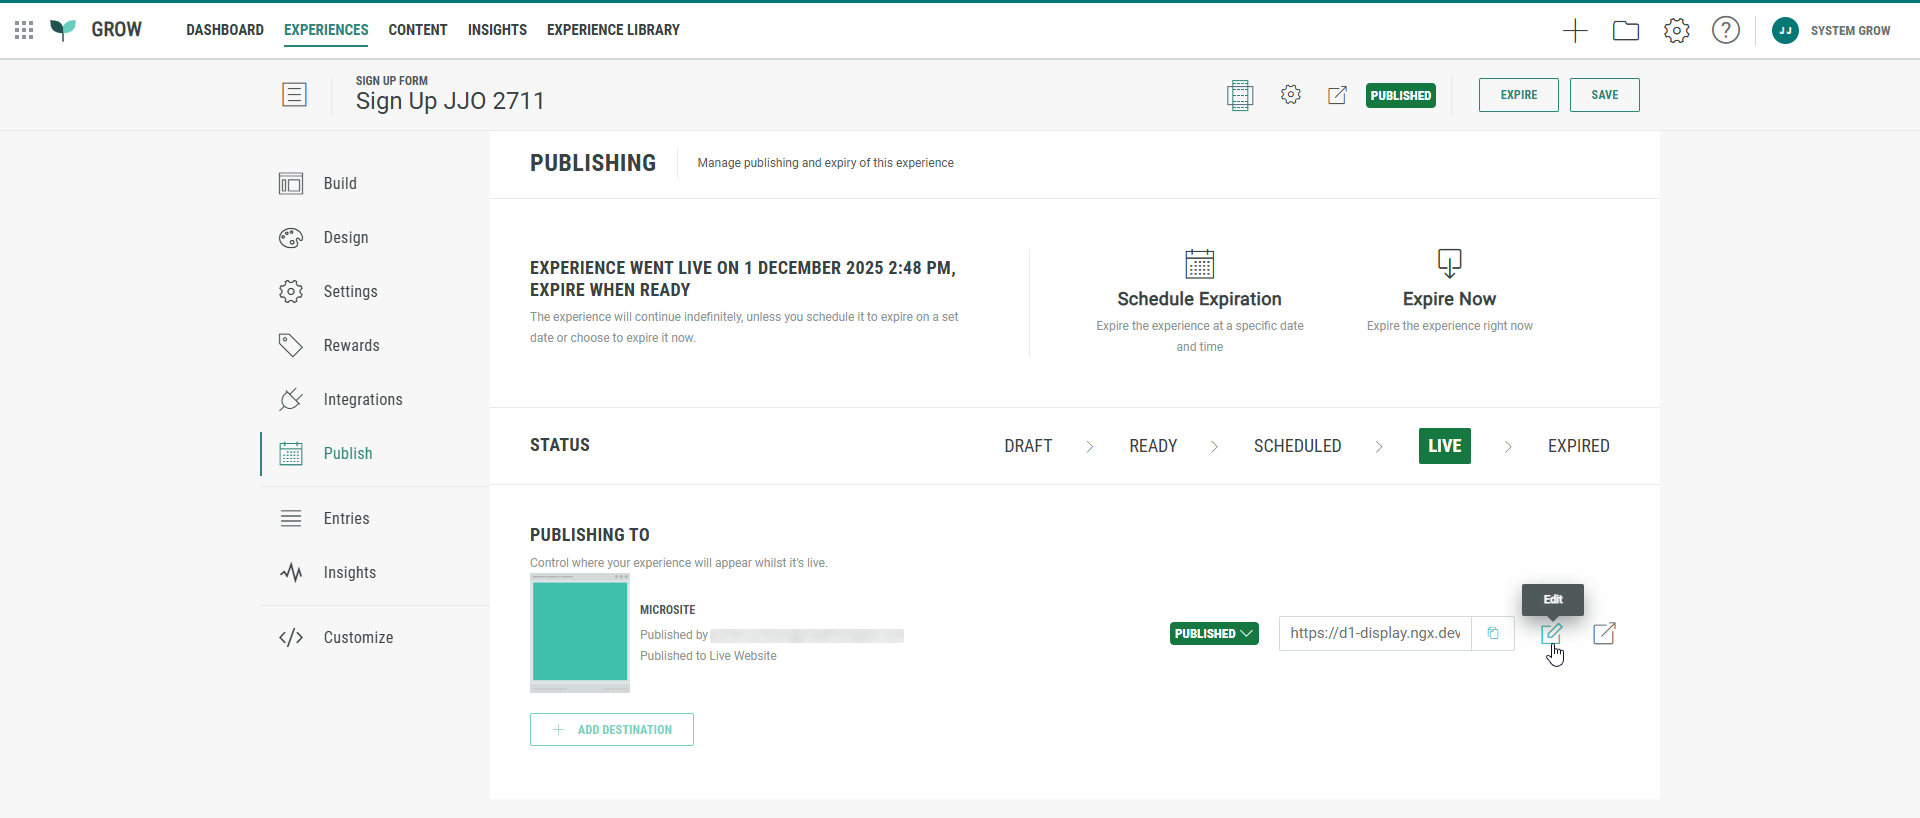
Note: For our example, we publish the Experience as a Microsite.
- Once published, edit the publishing destination by clicking the Pencil icon on the right.
- Besides the regular Microsite URL, the Code tab also shows an OpenID Microsite URL.
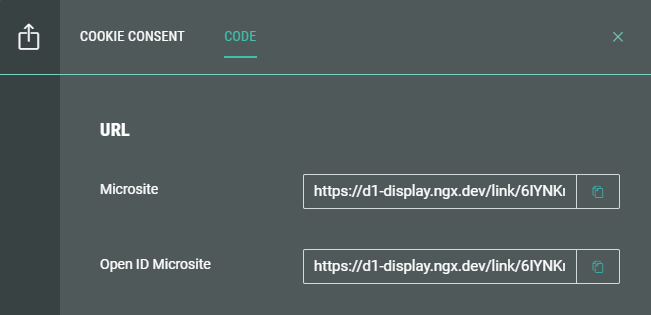
The OpenID Microsite URL ends with /oi.
This is the one that should be used, in combination with the option to require authentication, when you want the Experience to be gated behind a login.

The regular Microsite URL can still be used for participants who don’t require to log in. (Or you can disable the authentication option, which will then work as a regular Experience.)
