Create a Content Block
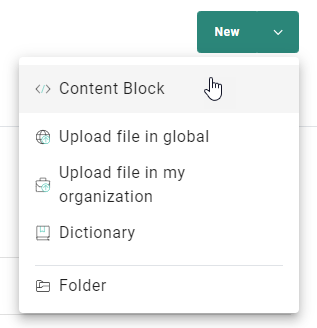
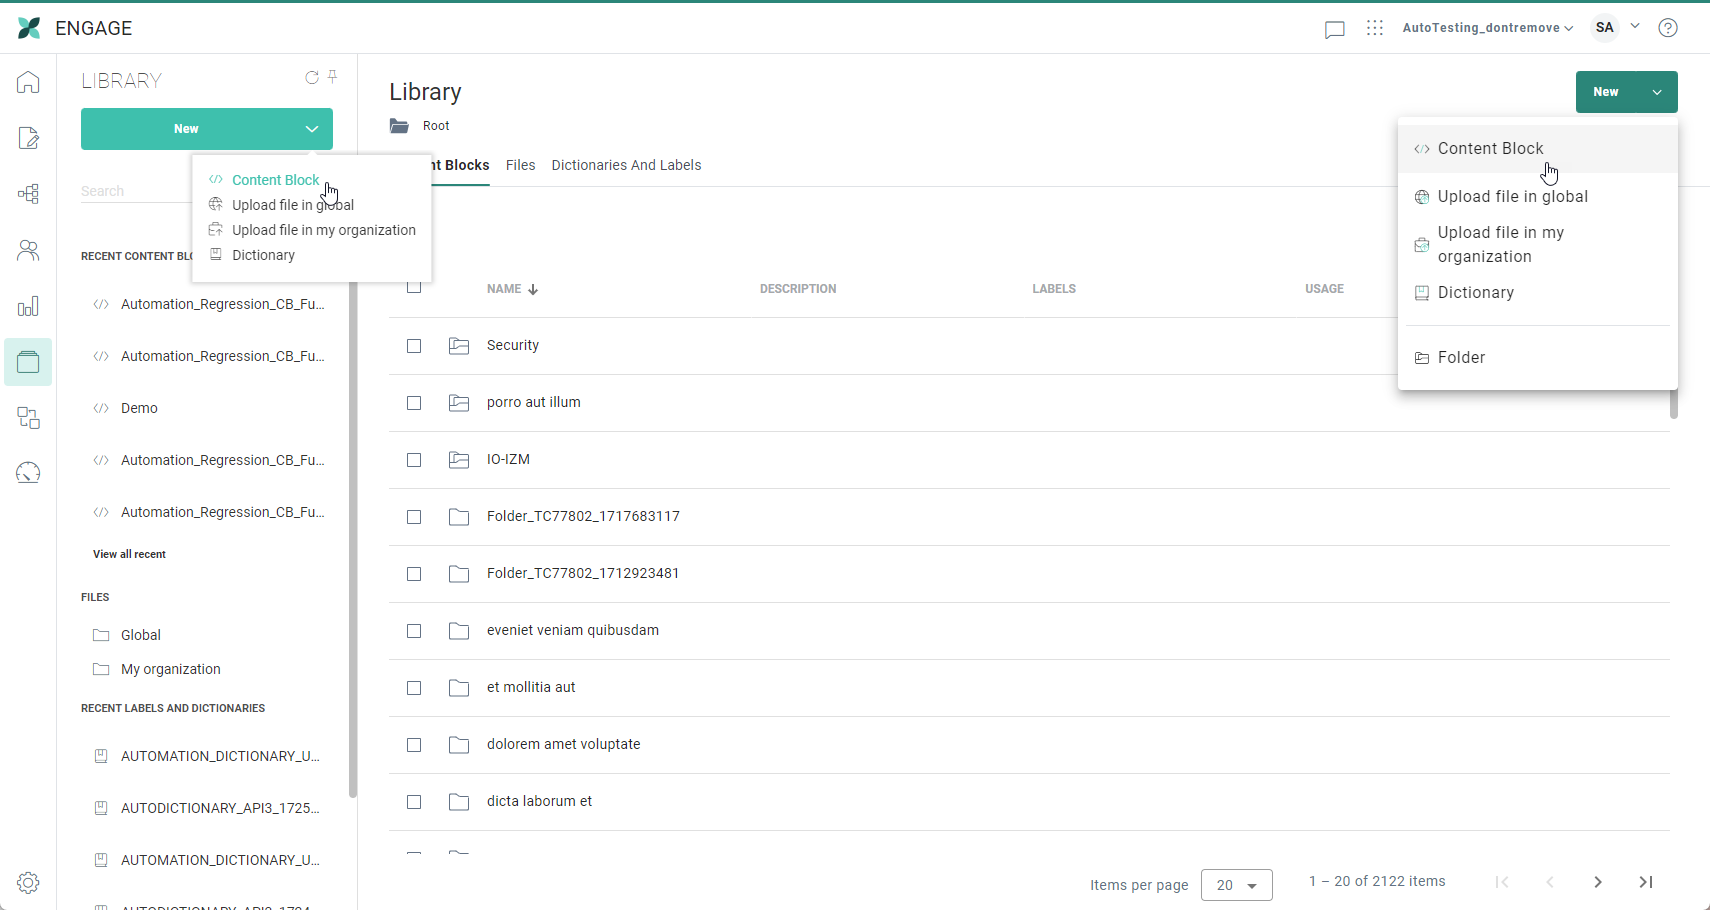
1. To create a new Content Block, do one of the following:
- at the top-right in the Library chapter, click the New ⌄ drop-down arrow, and select Content Block.
- from the Library fly-out menu on the left, click the New ⌄ drop-down arrow, and select Content Block.
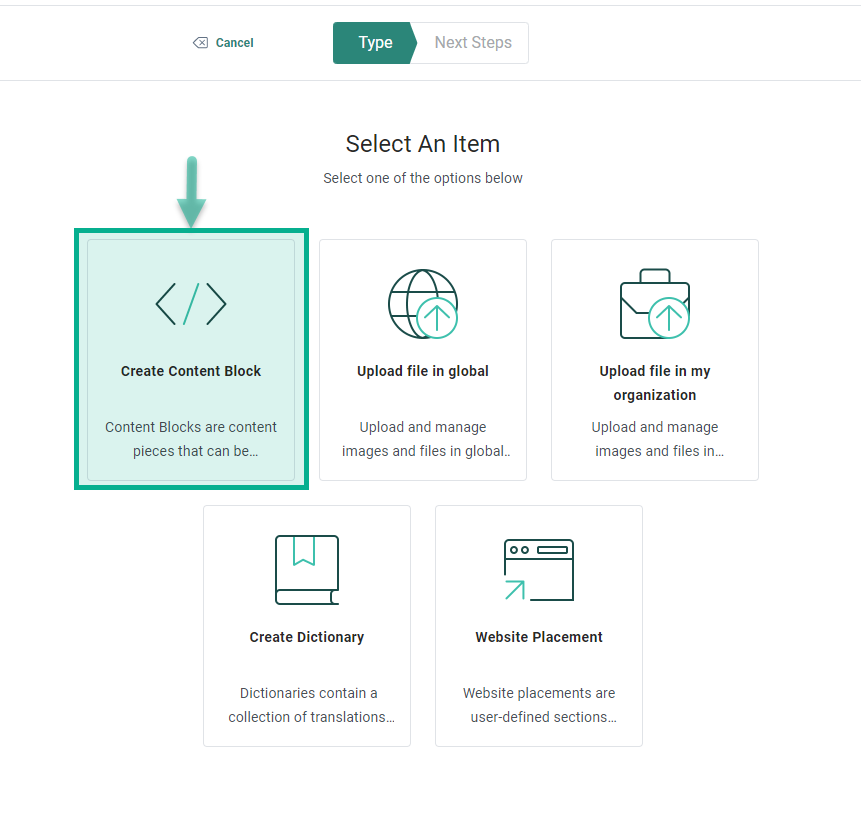
- at the top-right in the Library chapter, click the New button. On the next screen, click Create Content Block.
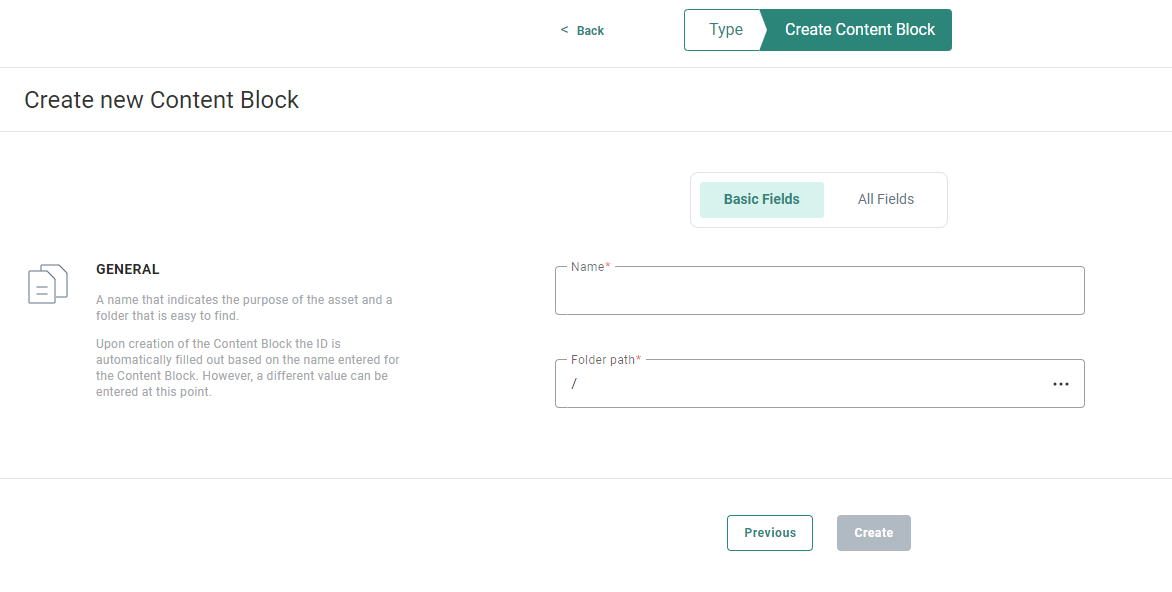
2. The properties page is displayed and shows by default the Basic Fields.
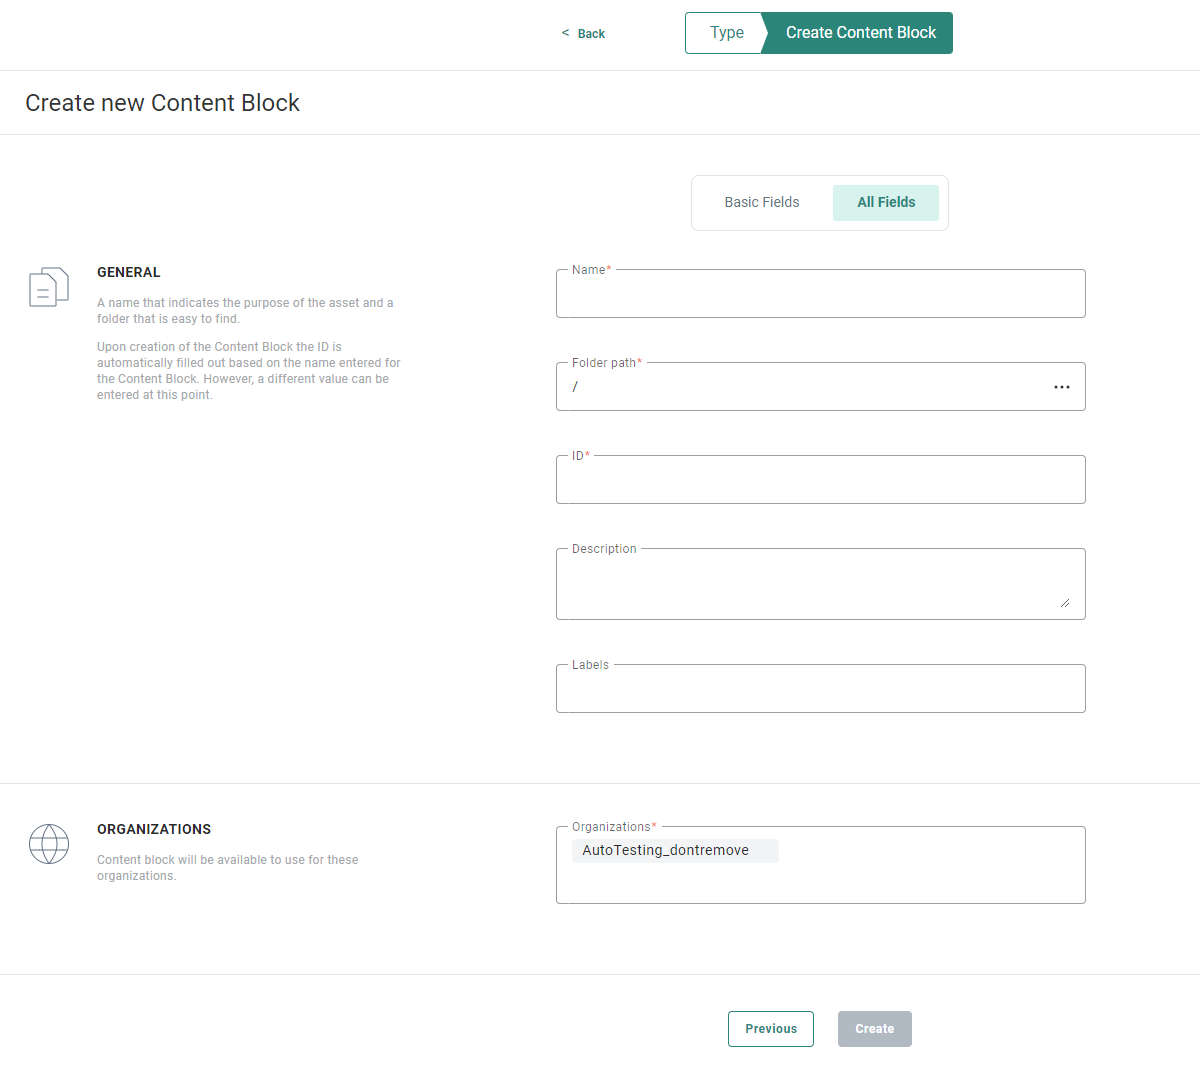
3. You can switch to All Fields to display all of them (basic and additional fields).
4. Complete the required fields (marked with an asterisk):
- Name — The Name field can contain any value. Enter a clear name for the Content Block so it's easy to use and find.
- Folder Path — The Folder path is filled out by default with the breadcrumb for the folder you are currently in. If you want to change this, click the 3 dots at the right to access the folder selector and select a different folder to store the Content Block.
The folder path can never be empty. - ID — Upon creation of the Content Block, the ID is automatically filled out based on the name entered for the Content Block. However, a different value can be entered at this point. While editing an existing Content Block, the ID field is read-only if the Content Block is used in a message.
Note: The ID field can only contain alphanumeric characters, underscores and dashes. No special characters are allowed.
- Business units — It's possible to indicate if the Content Block should be available for use in other Business units as well. By default, the current Business unit is selected. Others can be added. Click the + icon to add additional Business units.
5. Additionally, complete any of the optional fields:
- Description — You can enter a description to for example explain what the Content Block contains and what its intended use is.
- Labels — You can assign one or more asset labels to the Content Block. A drop-down list is available with a list of all labels (These labels are configured in the Admin configuration section of Selligent).
Users with the proper access permissions can also create new labels here by typing the new label value in the field.
6. When done setting up the Content Block properties, click Create.
7. The Content Block is created, and the Source tab is shown. No content is shown at this point.
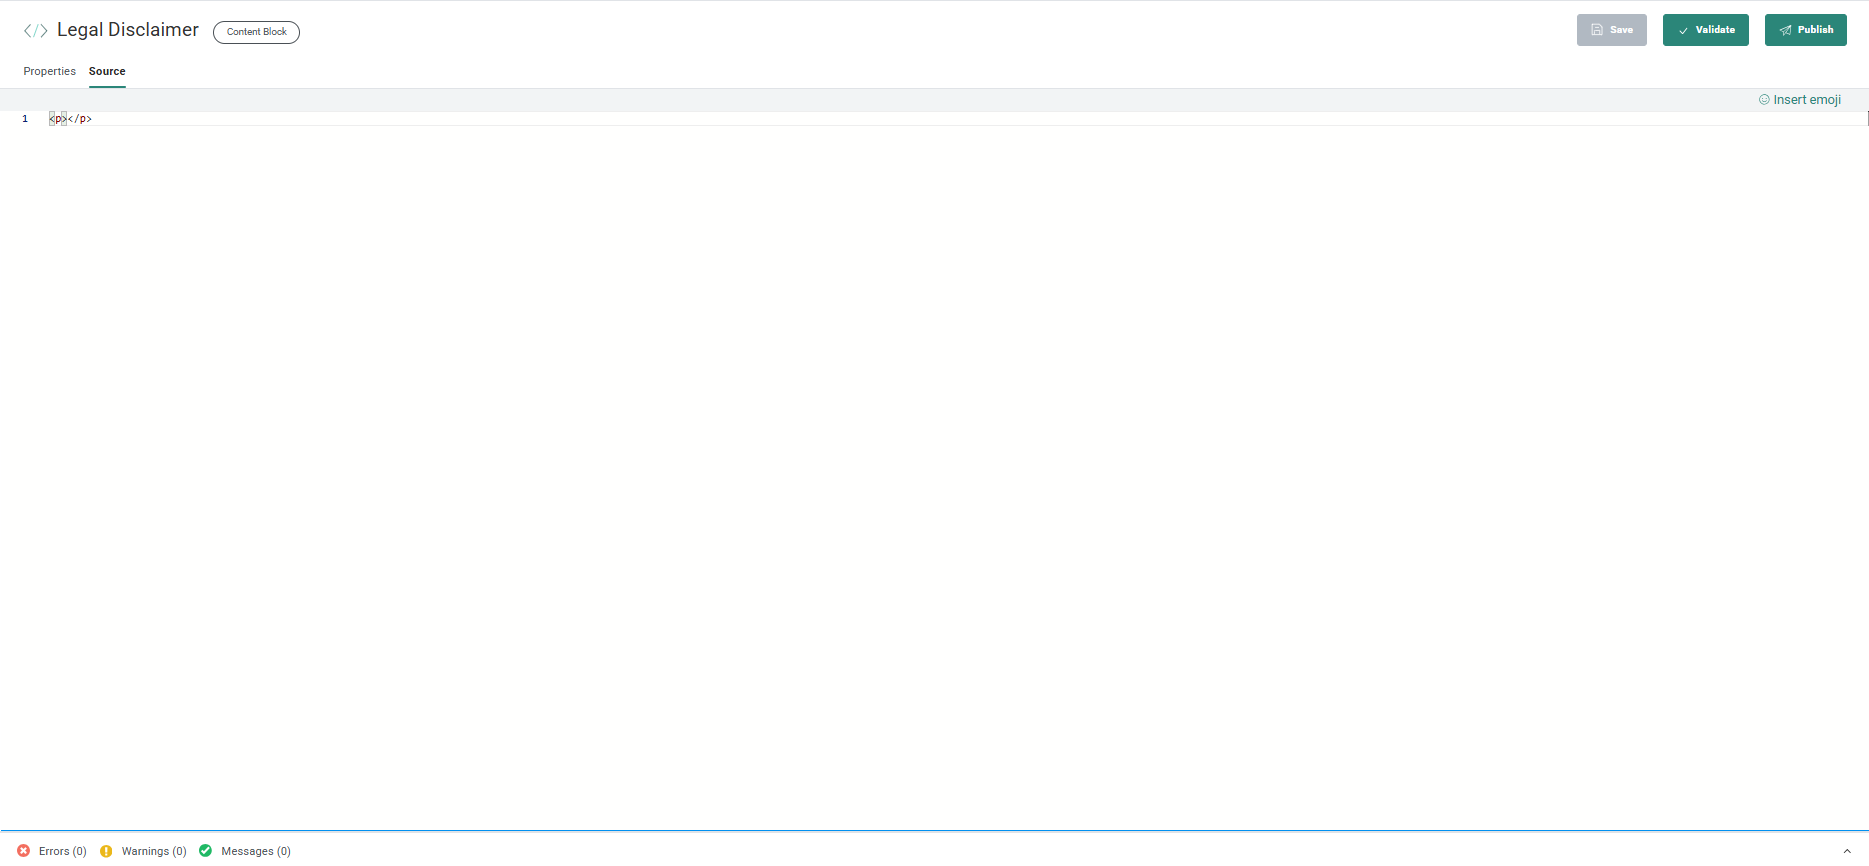
8. Next, fill out the actual content of the Content Block. This is done by typing HTML source code in the editor (including an auto-complete function while typing for ease of use). You can also copy-paste HTML code in the source code editor.
Auto-complete examples:
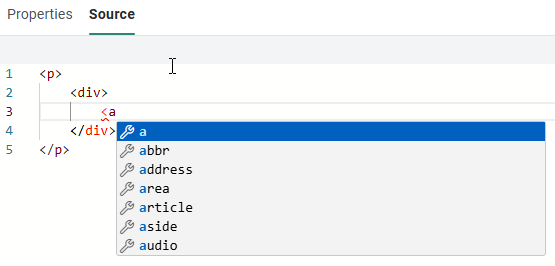

The HTML code in this section can contain complex nested HTML blocks or a small HTML block, such as a single table, footer content, a section with texts and images, etc.
Emojis can be used, as can personalization fields and Data Selection fields.
The HTML syntax must be valid (validation of your HTML code is applied).
Example of a validation error:
Opening and closing tags should correspond, which is not the case here: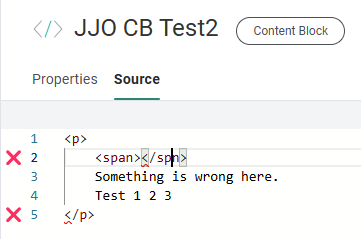
Hovering over the error icon on the left shows a tooltip with the error message: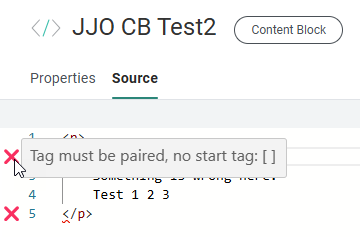
9. When done adding the HTML content to your Content Block, click Save.

Note: Saving the Content Block can also be done by using CTRL+S.
If there are issues with the HTML code upon save, warnings are returned:

Note: You can also launch a manual validation of your code, without saving the Content Block first. Click the Validate button.
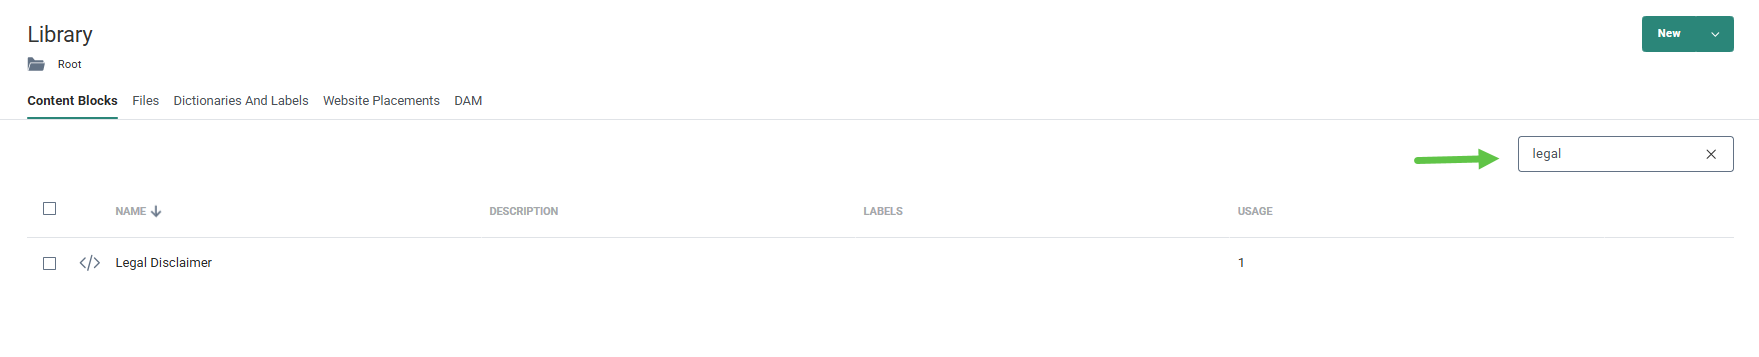
The Content Block is added to the Start Page, which presents an overview of all existing Content Blocks and their usage.
You can perform a search to locate any Content Block.