
Build a flow
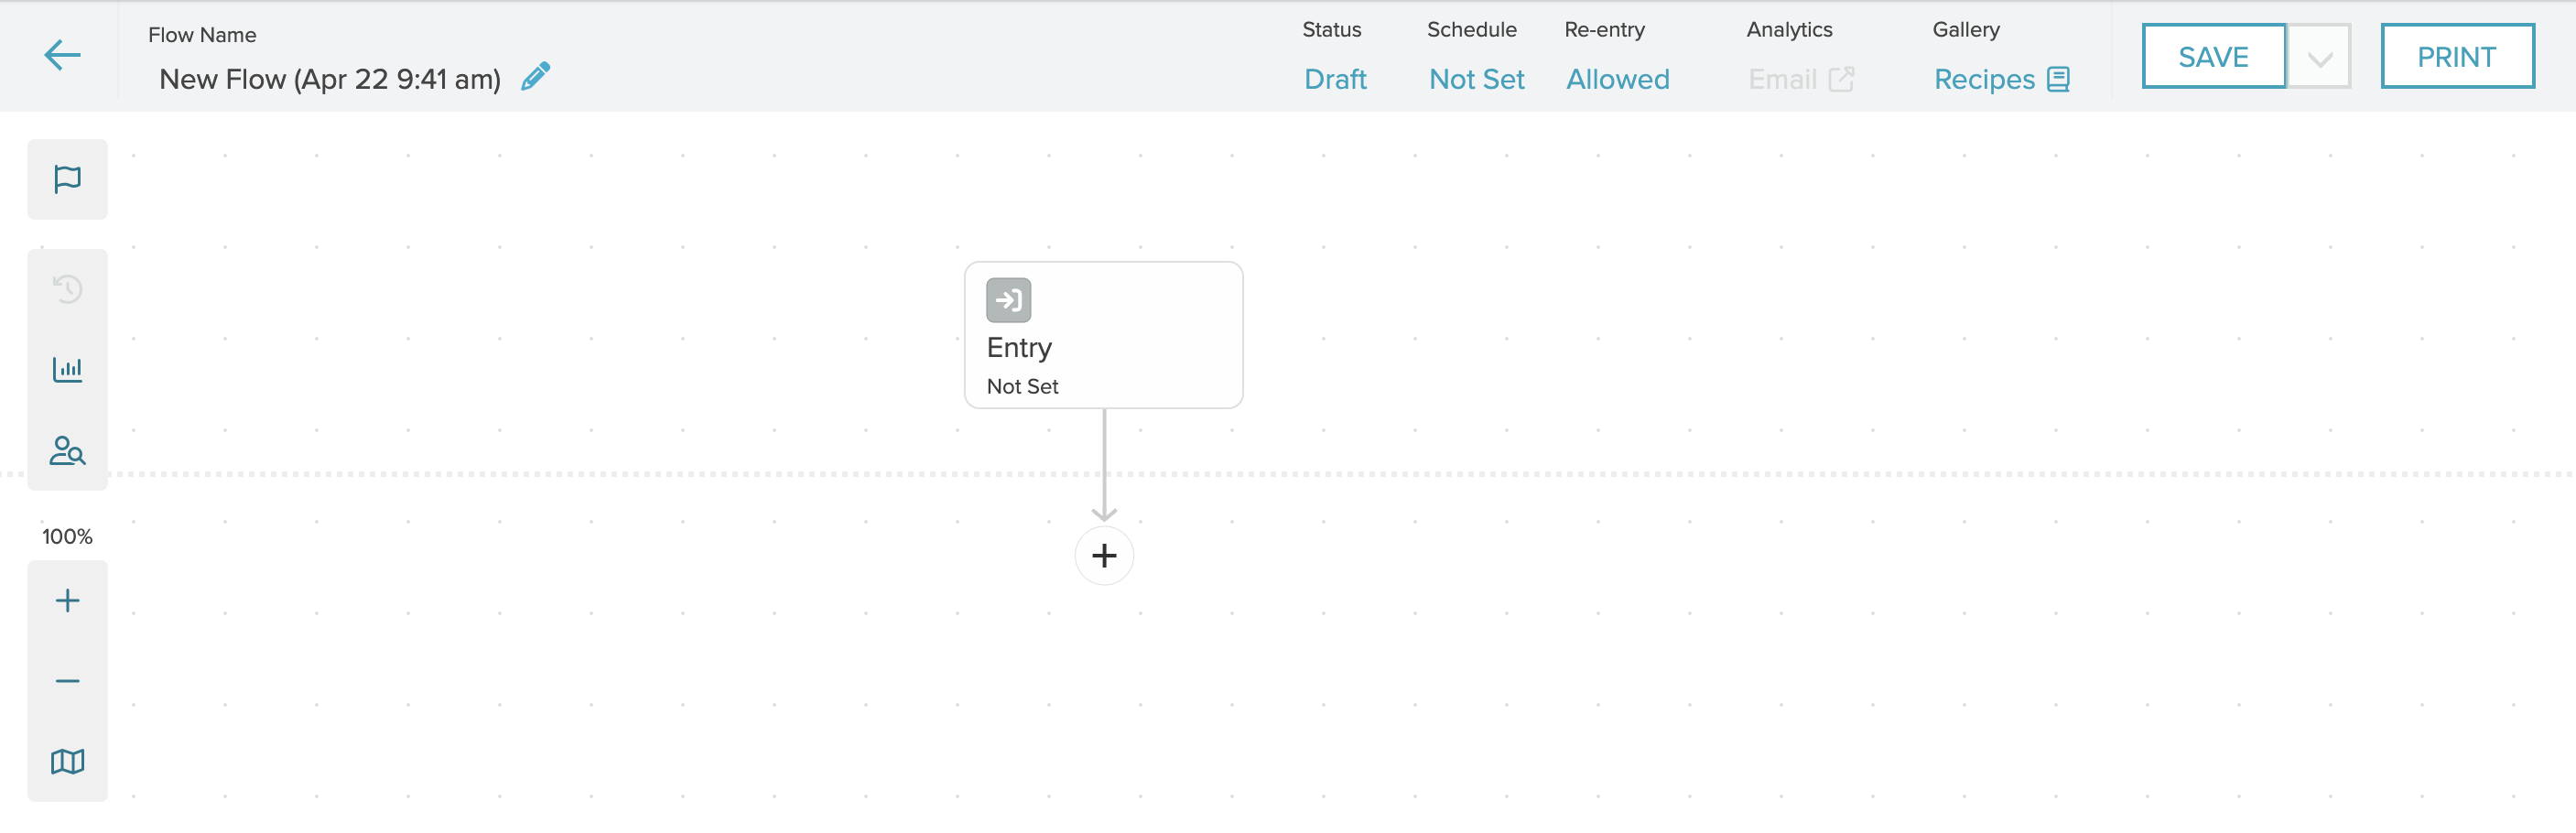
From the Flow List page, select a flow from the list to edit it or select the New Flow button to open the Builder. When you create a new flow, the Builder opens with an unconfigured Entry step on the canvas.
Set up a flow
This section describes the setup options for a flow, including changing the flowname and setting a schedule.
-
From the Flow List page, select the New Flow button.
-
Select the Flow Name at the top left to change the default name. Edit the name, then press Enter.

-
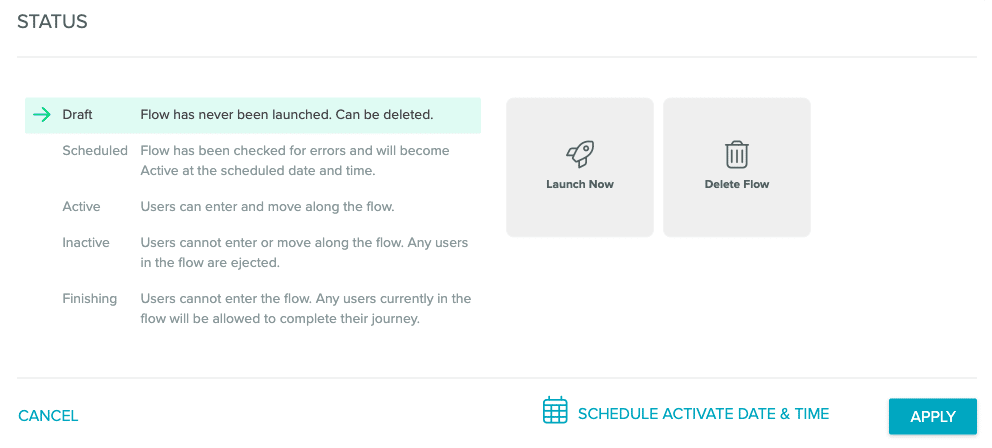
The flow status allows you to manage when your flow should be used. Select Status from the top menu bar. From the Status modal, you can immediately launch your flow or schedule a date and time for it to launch.
- To set a schedule for a flow, select Schedule Activate Date %26 Time next to the Apply button.
- The Schedule modal shows your account timezone and allows you to set a start and end date and time.
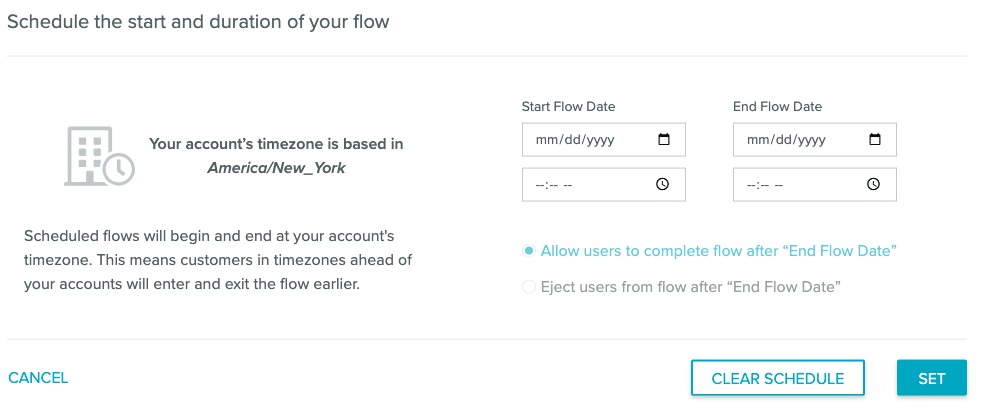
- Select a way to handle subscribers still in the flow on the end date. You can allow them to complete the flow or you can eject all subscribers from the flow once it ends.
-
Save your flow.
-
To launch your scheduled flow, set it to Active. A scheduled flow in Draft status will not send.
Flow re-entry
You can restrict users' entries into a flow using the flow's "Re-entry" settings. This allows you to restrict, or cap, the frequency that a user may participate in a given flow when it's active. Note: Flow re-entry is only supported for two years. After two years, a user will enter and move through the flow like a new user. The Builder toolbar displays a flow's re-entry status. Click on the status to open the configuration panel.
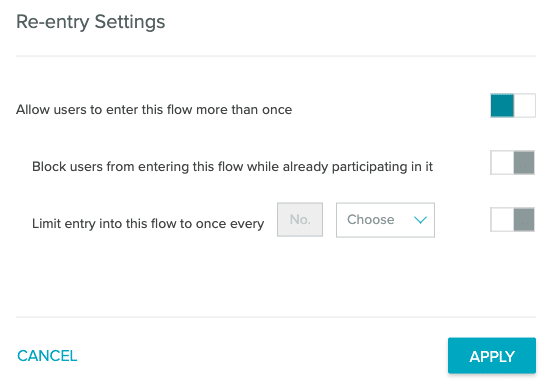
You can control three levels of re-entry behavior for users:
-
"Allow users to enter this flow more than once" (enabled by default)
-
When disabled, users can only participate in a flow one time ever.
-
Example use: Prevent users from receiving a welcome series more than once.
-
-
"Block users from entering this flow while already participating in it"
-
When enabled, users will not be allowed to enter the flow if they are already active within it, such as holding in a "Wait" step.
-
Example use: Prevent multiple, simultaneous post-purchase series.
-
-
"Limit entry into this flow to once every ..."
-
Set the time period that must elapse after a user enters a flow before they're allowed to re-enter the flow.
-
Example use: Only send incentive messages, at maximum, once every 3 months.
-
To configure re-entry settings:
-
Click the re-entry status in the Builder toolbar.
-
Configure your settings as desired.
-
Apply the settings to the flow's current state.
-
Save the flow to confirm the changes, whether the flow is draft, active or inactive.
Changes to re-entry settings can be made while a flow is active, and once saved, will only affect new entry attempts. If you enable "Block users from entering this flow while already participating in it" on an active flow, users with multiple presences in the flow will not be removed from the flow.
Flow status
A flow has one of four statuses at any given time: Draft, Active, Inactive, or Finishing. New flows not yet activated begin in Draft status. You will change the flow's state as needed by selecting the status name at the top of the flow builder.
- You may only delete flows in the Draft state. To delete a Draft flow, click on the "Draft" status in the toolbar. From the pop-up Status selector box, click the "Delete" option followed by the "Apply" button.
- Setting a flow to Active turns on the flow immediately. All qualifying Entries will enter into the flow. Setting a flow to Inactive immediately terminates the flow. Entries will not be allowed, and all users in the flow will immediately exit and no longer experience any actions from the flow. Reporting will persist for the flow, but will no longer update.
- You can activate or deactivate a flow at any time. Re-activating a previously activated flow will not automatically add users back to the flow; they would need to re-enter by again meeting the Entry criteria (for example, a new email click).
- If reactivated, a flow's metrics will reflect an aggregate of all past active sessions and the current session. To reset metrics, Save the flow as a new flow before activating the new copy.
- If you want to discontinue new entries in a flow, but allow its current users to continue through the flow, you can set the flow to Finishing. You cannot edit a Finishing flow; you can only set it to inactive.
| Flow Status | Description | Changes Allowed |
| Draft | Flow is not running and has never been made Active. Users cannot enter. | All changes allowed. |
| Inactive | Flow is not running. Users cannot enter. If flow was previously active, users were removed upon it being marked inactive, preventing any further action. | All changes allowed. |
| Active | Flow is running, allowing new entries, and taking specified actions. | All changes allowed. |
| Finishing | Flow is running but no longer allowing new entries. Users already in the flow will proceed and experience any applicable actions. | No changes allowed. |
Design a flow
As you design your flow, consider your objective and what audience behavior you'd like to build from. A good design is simple so you can build and publish quickly to receive actionable data.
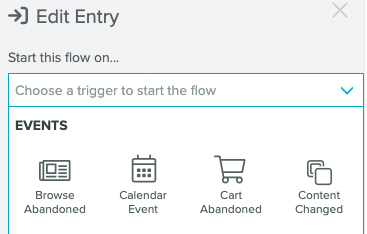
- Select the unconfigured Entry step to open the Edit Entry panel. Select an Entry from the panel. Entries are organized into categories: Events, Email, Mobile, Users, and Predictions (if Predictions are enabled on your account).
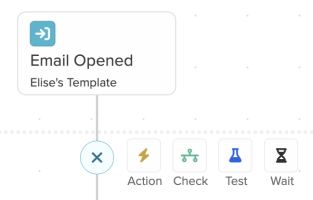
- Hover over the Add Step
 icon below the Entry you just set. This opens the step menu.
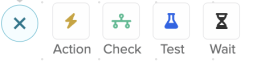
- Select the step you wish to add. Each step type will have different options for configuration.
- For in-depth information on the individual steps available, see the Lifecycle Optimizer Step Glossary.
- If you wish to add a step between two steps, select the node
 on the branch between them. The node also opens the Steps menu.
- Save your work.
Merge branches
Use a Check step to connect branches in complex flows.
- Open an existing Lifecycle Optimizer flow or create a new one.
- In a new flow, select the unconfigured Entry step to open the Edit Entry panel. Select an Entry and configure the settings.
- Hover over the Add Step icon below the Entry you just set. This opens the step menu.

- Add a Check step to your flow and configure the step.
Note: If you wish to insert additional steps into your flow, select the node on the branch between them. The node also opens the Add Step menu.
- Merging is available after you configure your Check branches. Hover over the icon at the end of the step and select Join.
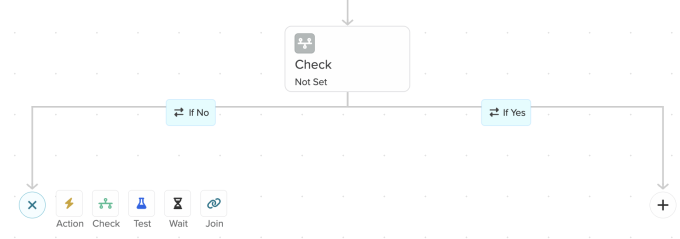
Note: The Join option will only be available if the step can be merged. - To delete a merged branch, hover over the unjoin
 icon.
icon.
Edit active flows
Add, remove, and/or edit steps to active flows. To make structural changes, select a flow to edit, make your changes, and click Save.
Add Steps
To add a step to an active flow:
- Select a flow you wish to edit.
- Hover over the flow node where you want to add a step.
- Select a step. A warning box will appear as adding a step may affect reporting:
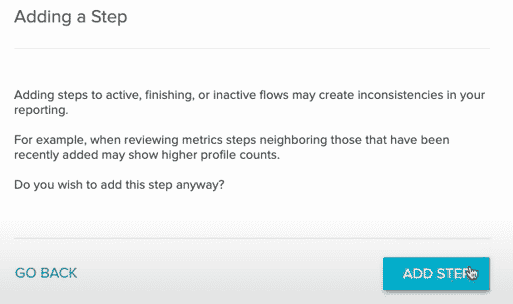
- Click Add Step.
- Edit the step and select Save.
Remove Steps
To remove a step form an active flow:
- Select the step you wish to delete. Hover over the shape on the builder canvas.
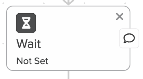
- Click the X in the top right corner. A warning will appear as deleting a step could affect reporting. You will have two options to handle user flow:
- Delete the step and the users waiting in this step.
- Delete the step and relocate waiting users to another step. The users within the Wait step will observe the original wait time you set before moving to the selected relocation step.
Note: If there are no users in the Wait step, it will be deleted without the warning modal appearing.
- If you're moving users to another step, use the following instructions. If you're removing users from the flow, go to step 4.
- Select Send them to different step.
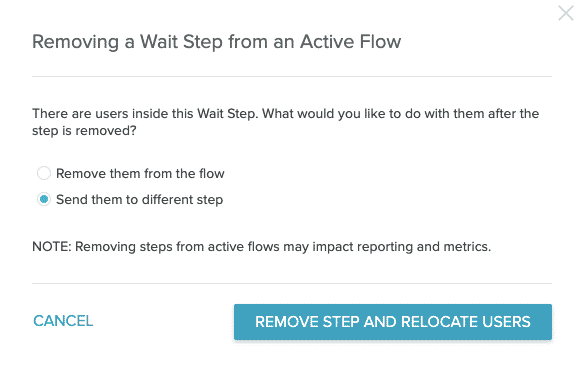
- Select Remove Step and Relocate Users.
- Select the relocation step. Save your changes.
- Select Send them to different step.
- If you're removing users when deleting the Wait step:
- Select Remove them from the flow.
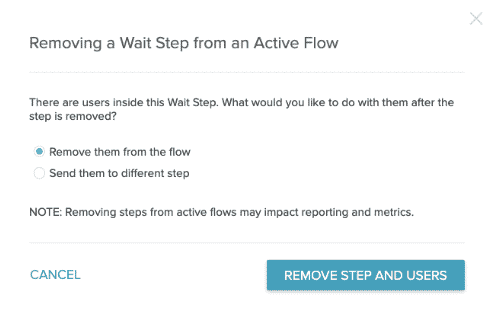
- Select Remove Step and Users. This will delete both the step and the user in it from your flow.
- Save your changes.
- Select Remove them from the flow.
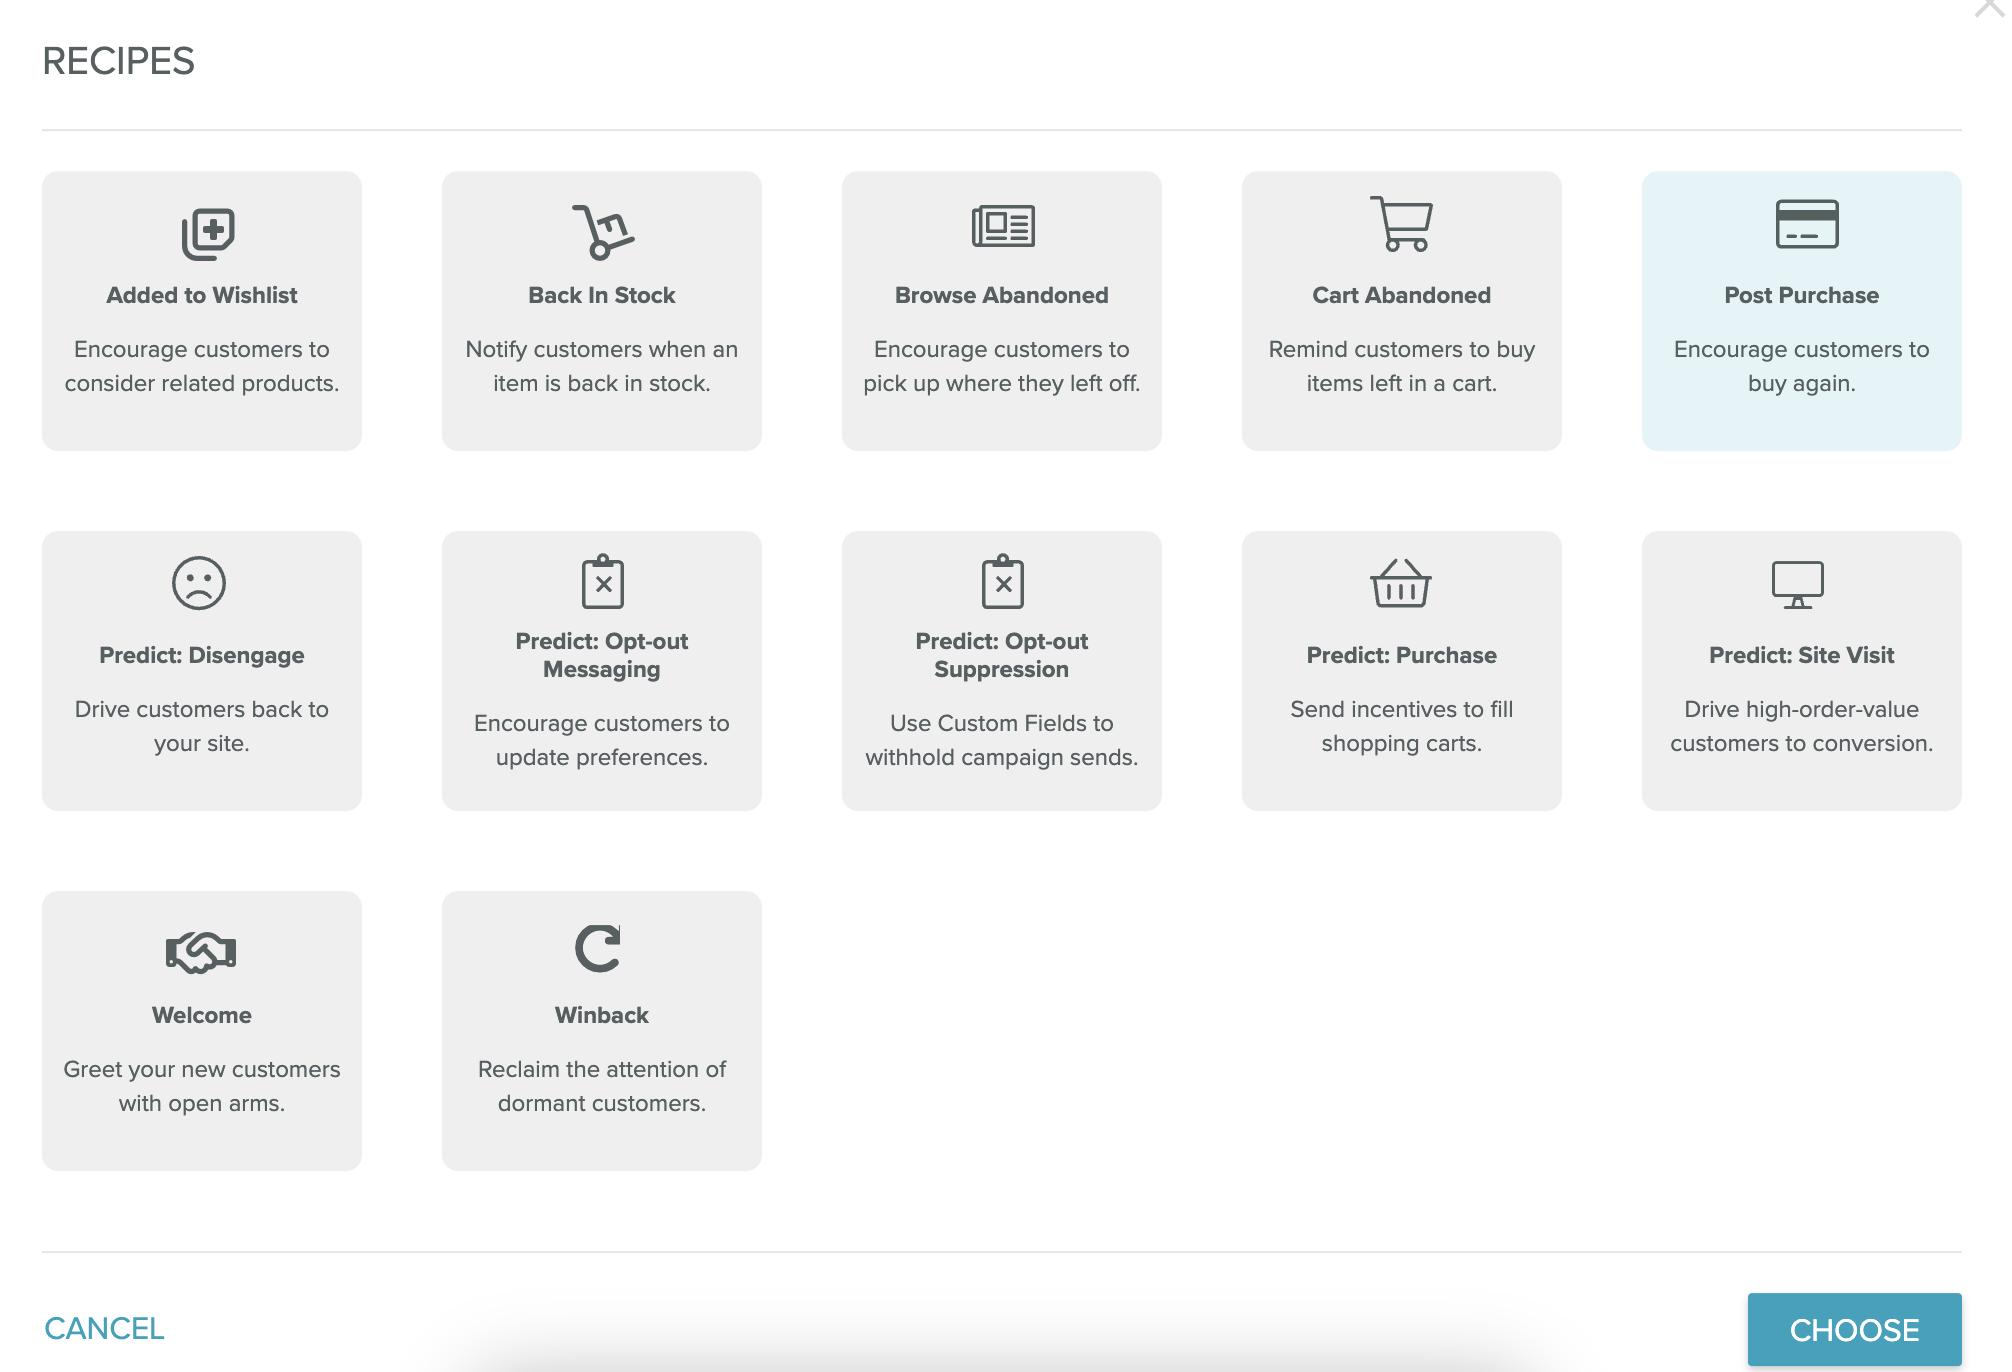
The flow gallery
Lifecycle Optimizerprovides a gallery of commonly-built flows to get your started. From a simple welcome flow to more complex options that require Predictions or the Content Triggers API, there's a recipe available.
Version Control
Restore previously-saved versions of your favorite flows in Lifecycle Optimizer. To view and restore a previous version:
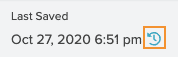
- Select the Time Machine button to view the version history. The version history will show in a bar below the flow name.
- Click any version to see a visual representation of the differences between it and the current version of the flow. When you click a version in the history, its background will show as white.
- When you locate the correct version, select the Revert button.

The reverting flow modal allows you to either apply the reversion or to go back. When you select Apply, the flow will revert to the selected version.
Note: If you decide you don't want to revert to any of the previous versions, click the Time Machine button again to close the Version History.
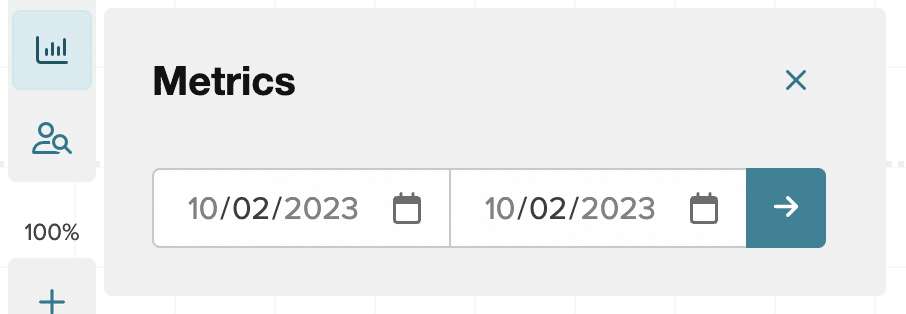
Flow insights
View your flow’s performance by linking to Email Summary or using the built-in Lifecycle Optimizer metrics.
View the number of profiles that have passed through each step in your flow and engagement activity from Email, SMS and Push/In-app sends using Journey Insights.
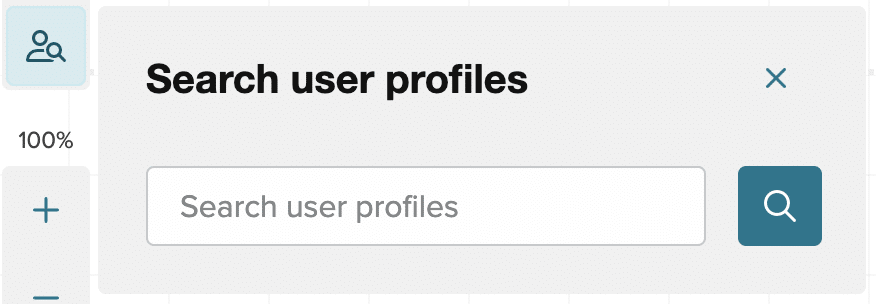
Search User Profiles - view a subscriber’s path through the flow by entering their email address.
For more information on Journey Insights, see the full documentation.
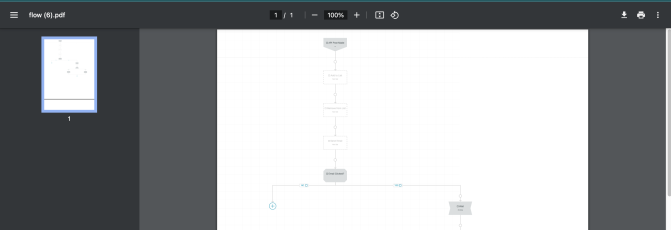
Print a Flow
Print an entire flow as a PDF for a complete, end-to-end view.
- Open an existing Lifecycle Optimizer flow from the Flow List page.
- Select the Print
 button from the top menu bar.
 - A modal opens while your PDF is building.
- When the PDF build completes, it will be available in your browser's downloads list.
- Select the download to view your flow PDF. From there, you can download to your machine or print the file.
Occasionally, your flow may exceed the PDF size limit. If this happens, you'll see the following warning:

Navigate a Flow
When you have a complex Lifecycle Optimizer flow, you can navigate in one of two ways:
- Drag the flow builder to the step or steps you wish to see.
- Use the map to navigate through steps without scrolling:
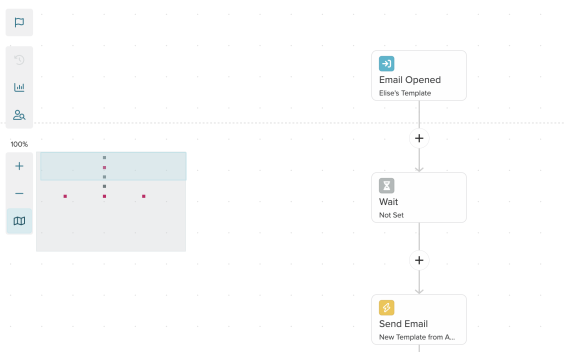
Find the map icon in the top left corner of the flow Builder. Click to open the map. Select one of the shapes to navigate to that section of the flow. The section you're viewing is highlighted with a blue rectangle.
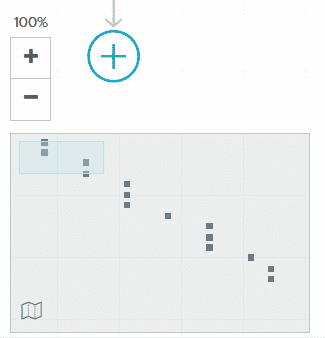
When editing a step, it will show green in the map. Any invalid step will show red, so you don't have to hunt through a complex flow to find it.
When viewing larger flows, you can use the Zoom feature in the bottom left to more easily view the flow in its entirety. You can also zoom using your keyboard plus (+) and minus (-) keys.
Comments
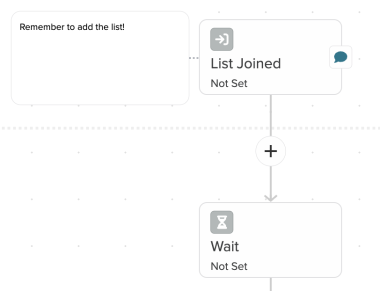
Add a comment to any step of your flow to give your team insight or helpful tips regarding what the step is intended for and/or why it changed.
To add a comment to a step in Lifecycle Optimizer:
- Open an existing Lifecycle Optimizer flow or create a new one.
- Locate the "Add comment" icon on the step.
- Select the icon to open the Edit Step Comment panel on the right side of your screen.
_263x254.png)
- Add your comment.
- Save the flow to save your comments.
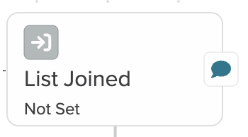
Goals
Set one goal for your Lifecycle Optimizer flow. As users move through the flow, their behavior is evaluated. When they meet a goal, your flow can take one of two predetermined actions. Goals only apply to users within a flow. The following goals are available:
-
List Joined - check for users who have joined a specified natural list.
-
Purchase Made - check for users who have made a purchase. This is checked from the start of your flow.
-
Email Opened - check for users who have opened any email message or a specific email message.
-
Email Clicked - check for users who have clicked any email message or a specific email message.
To set a goal in Lifecycle Optimizer:
- Open an existing Lifecycle Optimizer flow or create a new one.
- Locate the Goal icon
 at the top left of the builder page. It will appear gray when a flow does not contain a Goal.
- Select the icon to open the Edit Goals panel on the right side of your screen.
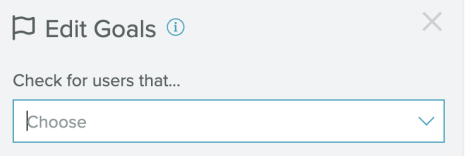
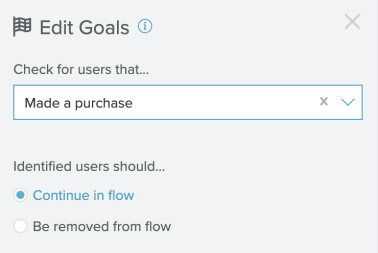
- Select one of the two options in the drop-down menu, List Joined or Purchase Made:

- If you select List Joined, you will need to select the list.

- For either Goal, you must decide what should happen once a user completes the goal. Identified users can continue in the flow or be removed from it.
- Save your existing flow or complete a new one.
Troubleshooting
-
- Why is a user stuck at a Wait step?
- They are waiting at a wait step.
- The metric after the wait step is how many users entered the wait step. It's possible there are some people still waiting.
- The structure of the flow has changed.
- The metric of a newly added step might be lower than a surrounding step.
- They are waiting at a wait step.
- If you are using the Google Chrome browser, Lifecycle Optimizer requires version 50 or higher.
- If you are using multiple tabs and multiple accounts, switching to another account will cause open Lifecycle Optimizer tabs to automatically refresh, to avoid cross-account conflicts.
- Sending a push to a mobile profile through LO can generate multiple sends if a user has multiple apps on their profile.
- If you have any other issues using Lifecycle Optimizer, please contact Support.
- Why is a user stuck at a Wait step?

