
How to: Manage Users
This article explains how to add a new user, edit user information and suspend/delete users. Furthermore, you can find info on logging in and requesting a new password.
User management is done through either Zeta Login (when activated) or directly in Grow (when Zeta Login is not activated).
User management in Zeta Login
Note: User Management in Zeta Login is only applicable when Zeta Login is activated.
Get in touch with your Zeta contact for more info.
Important: When Zeta Login is activated, the Account Users section in Grow becomes read-only, and user management takes place entirely in the Zeta Login application.
Add a new user in Zeta Login
To add a user in Zeta Login with Grow application access and role definitions(*), please have a look at this article.
(*) Note:
To learn more about each user role and the available capabilities, have a look here.
Edit a user in Zeta Login
To edit a user profile in Zeta Login, have a look at this article.
Suspend/unsuspend a user in Zeta Login
Only users with a status of Active are able to log into Zeta applications. The platform allows Organization Administrators to suspend user accounts, which sets their status to Suspended, and prevents them from logging in. Suspended user accounts can later be unsuspended, which sets their status back to Active.
Note: Learn more about suspending/unsuspending a user here.
Deactivate/reactivate and delete a user in Zeta Login
Deactivating a user can be done to maintain security, limit data retention, and to protect the privacy of your users. A user will be deactivated automatically after 120 days of suspension.Can be done to maintain security, limit data retention, and to protect the privacy of your users. A user will be deactivated automatically after 120 days of suspension.
A deactivated user can be reactivated again. Once a user has been reactivated, they will become an active user and will no longer have any restrictions on their account.
Deleting a user can not be reversed, however the data (the user's activities) will be stored in the system for 1 year following the security retention policy. A user will automatically be deleted 90 days after their account was deactivated.
Note: Learn more about deactivating/reactivating and deleting users here.
Zeta Login User Groups
A User Group is a reusable set of access privileges governing a user's access to an Organization, Business Units, and applications. User Groups allow for efficient and consistent administration of access privilege; instead of manually assigning a user's access on a one-by-one basis, the administrator can define a User Group with the appropriate privileges, then assign multiple users to that User Group.
Find more info on User Groups here.
Note: User Groups are an optional feature that must be enabled in your Zeta account. Please speak with your Zeta team for details.
Log into the platform
Once a user account is added in Zeta Login, the platform sends an invitation email to the given email address, containing an activation link (that expires in 7 days).
After activating the account, the user can log into the Zeta Login workspace and start using their assigned Zeta apps, such as Grow.
See this article on how to set up your Zeta Login account and logging in to the Zeta Login workspace.
Request a new password
Users can reset their password through the self-service Forgot Password option on the login screen, or an Organization Administrator can manually send them a Reset Password email.
More info on this can be found here.
Set up multi-factor authentication
Zeta Login requires the use of Multi-Factor Authentication (MFA) for non-SSO users.
See this resource for guidance on Zeta Login MFA.
User management in Grow
Note: User Management is done in Grow when Zeta Login is not activated.
(Otherwise, when Zeta Login is being used, the Account Users section in Grow is read-only.)
Add a new user in Grow
Users can only be created by an Admin within the Grow account, or by Zeta through a request (to Support or a CSM).
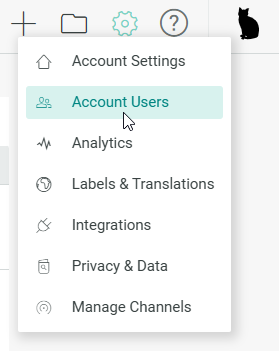
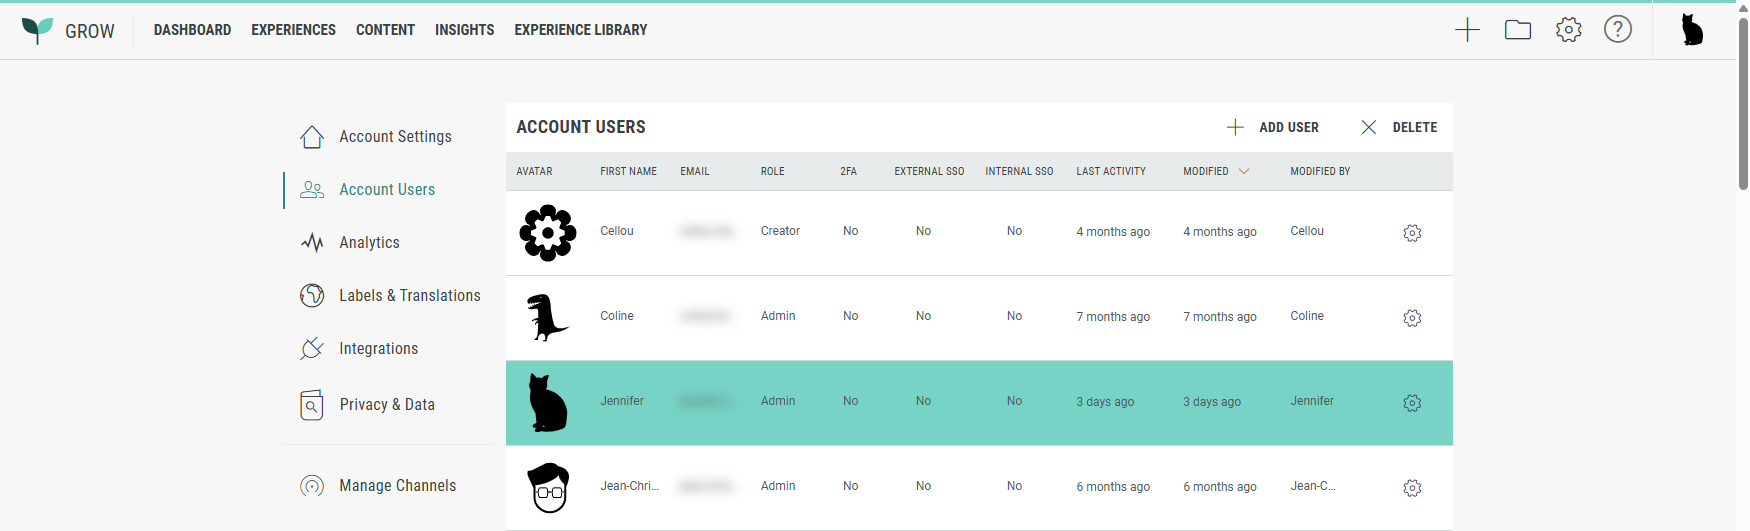
- Hover over the cog icon at the top-right and select Account Users from the drop-down.
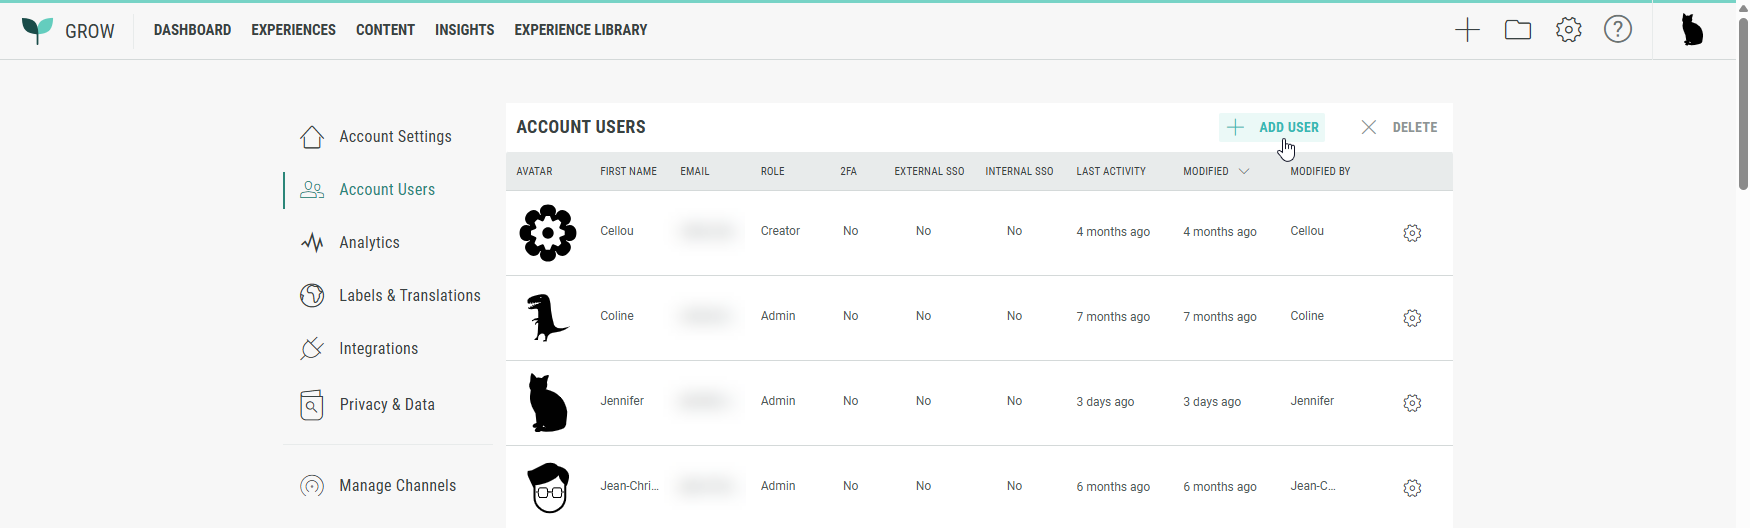
- Inside the Account Users screen, click + Add User at the top.
- The create user screen is presented. Enter the user information:
- Name — Enter first name and last name of the user.
- Email — Enter the user's email address.
- Role — Select the user role. See this article for detailed info.
- Capabilities — Select any additional (or less) capabilities. These are dependent on the selected user role. See this article for detailed info.
- ExperienceScope — Select All or Account Templates Only. See this article for detailed info.
- Timezone — Select the user's timezone.
- Locale — Select the user's locale.
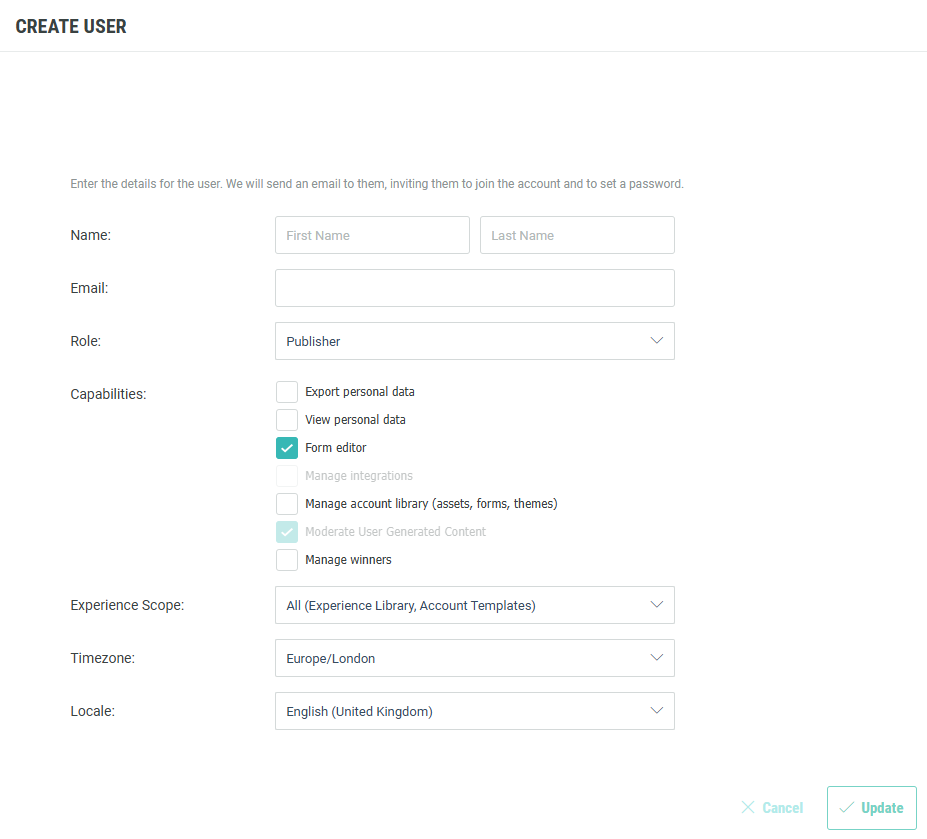
- Upon clicking Update the user is created.
- Once the user has been created, they receive a platform activation email at the email address provided, to complete the user activation process.
Edit a user in Grow
As an Admin user, you can edit users from the Account Users section.
At the right of a user in the list, click the cog icon to edit the user.
On the Edit User screen, you have the following edit options:
- Update the user's first name, last name, email address.
- Select a different user role. See this article for detailed info on user roles.
- Select additional (or less) capabilities. These are dependent on the selected user role. See this article for detailed info.
- Update the Experience Scope. Select All or Account Templates Only. See this article for detailed info.
- Change the user's timezone, locale, and avatar (profile icon).
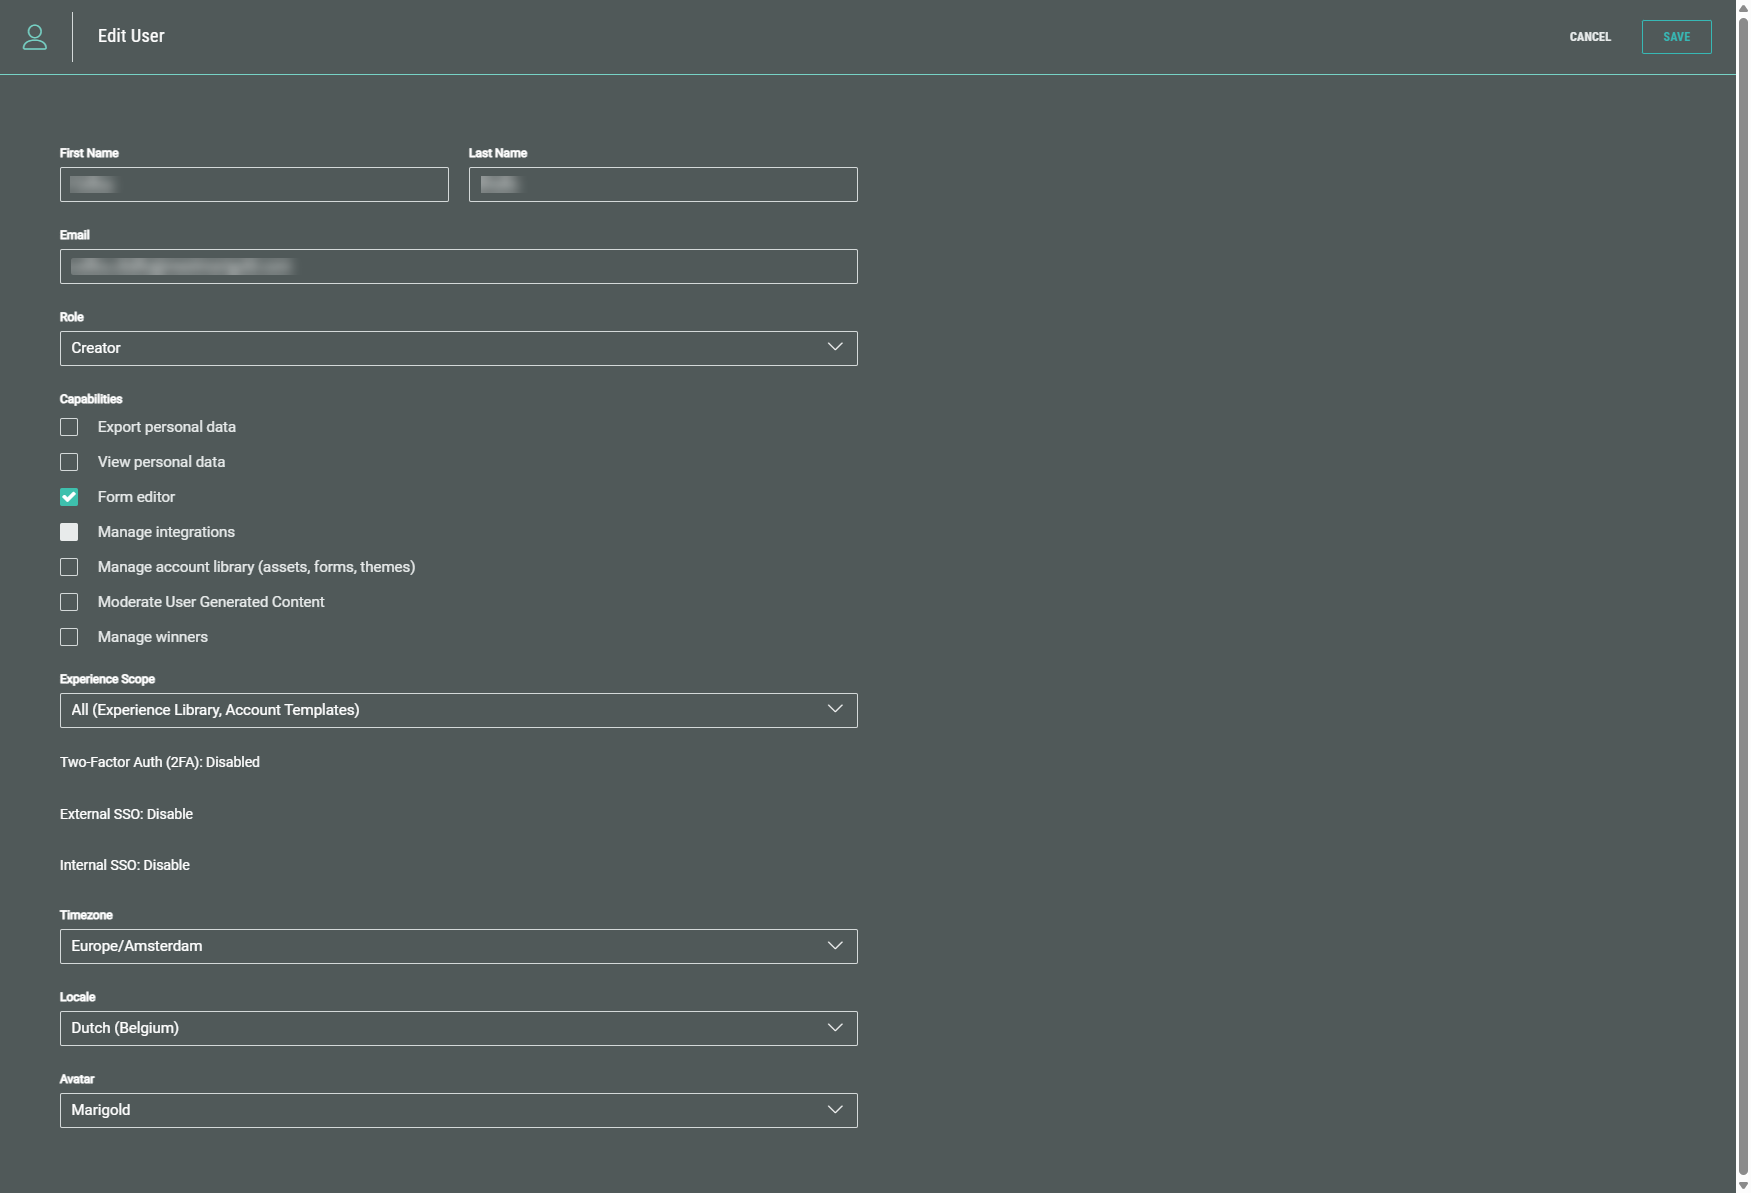
Once you have made the required changes, click Save at the top-right.
Delete a user in Grow
As an Admin user, you can delete users from the Account Users section.
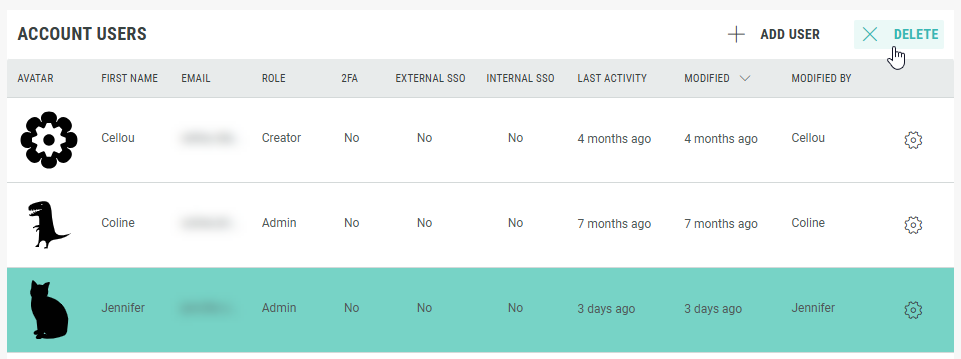
- Click anywhere inside a user row to select it.
- Click Delete at the top-right.
- A confirmation screen is shown to warn that a deletion can't be undone. Click Yes to delete the user.

Log into the platform
Note: A Grow account can be set up for users to sign in with a user name and password every time they access it, or via an SSO account. To know more about this and get this done, please get in touch with your Zeta contact.
The login process for SSO enabled accounts is a little different to the process for regular users.
- Regular users — The login URL looks like this:
- https://app.wayin.com/<friendly-name>
OR - https://us-app.wayin.com/<friendly-name>
Sign in with your Grow username and password.
- Users on an SSO Grow account — A designated SSO login URL is used:
- https://app.wayin.com/sso/<friendly-name>
OR - https://us-app.wayin.com/sso/<friendly-name>
As a user on an SSO-enabled account, you will not be able to log in via the usual platform URL. The dedicated login URL can be found in the invitation email that has been sent to the given email address when the user was first created.
Also, when accessing Grow via another Zeta application (e.g. Selligent), you can access it directly without the need to sign in again (as would be required for a non-SSO account).
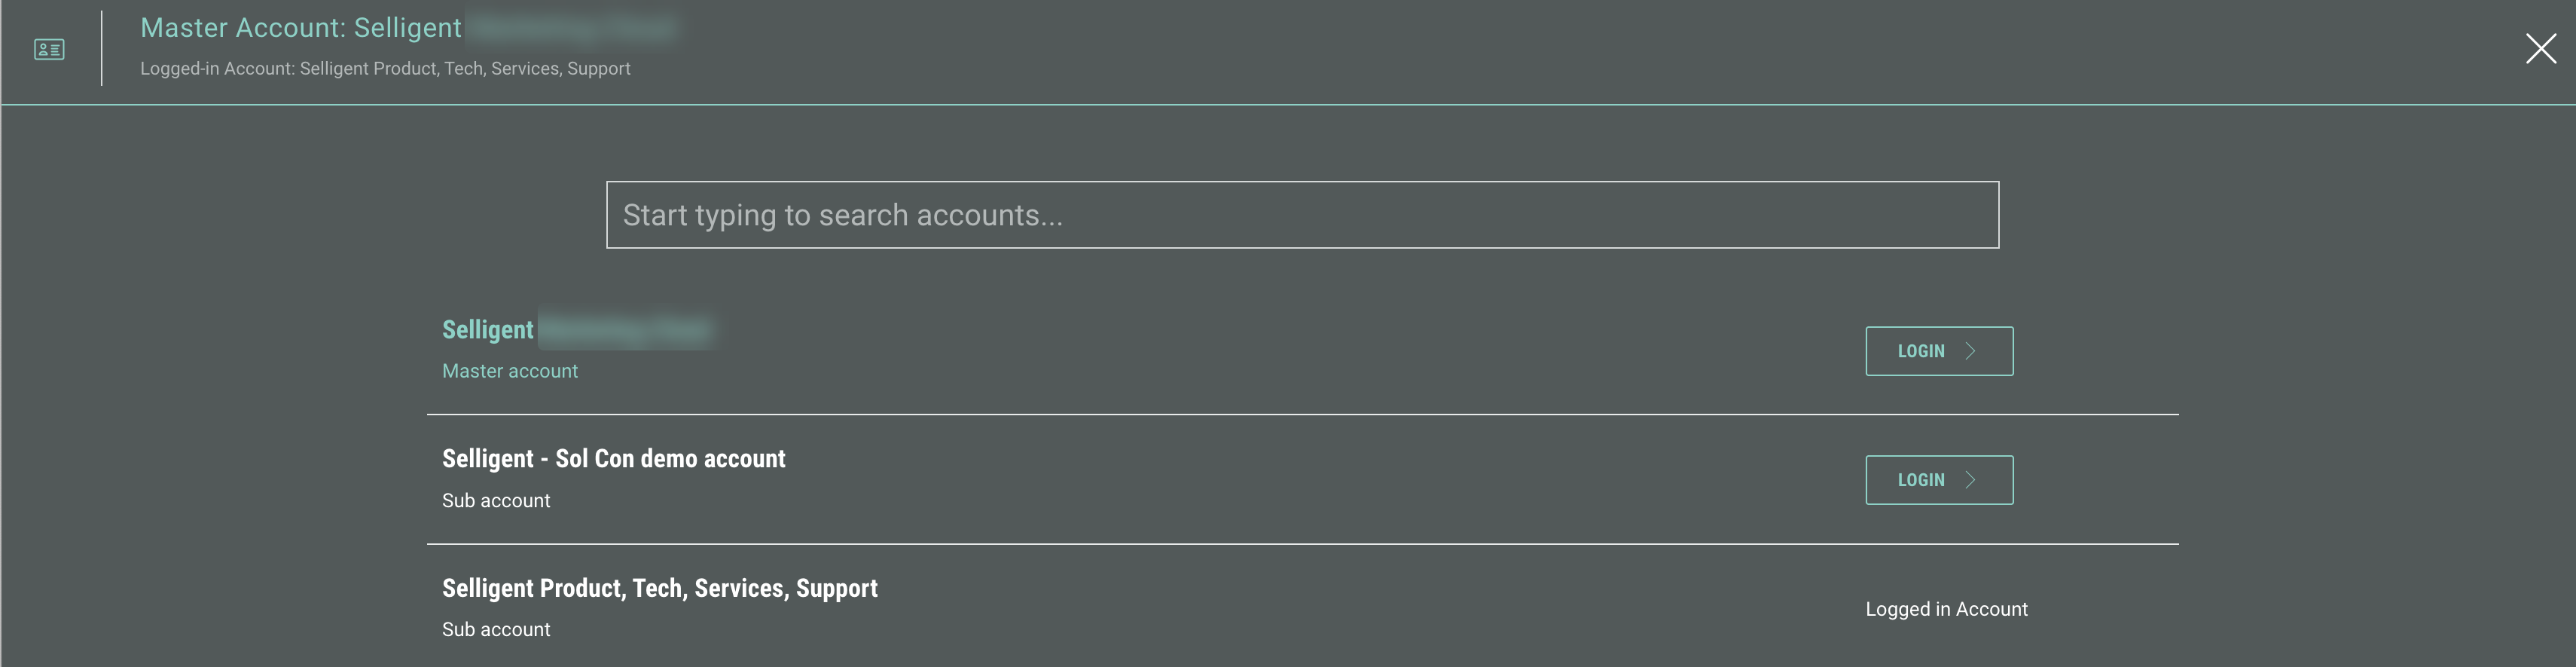
Note: When multiple Grow sub-accounts are used, you can switch account after clicking your avatar at the top-right.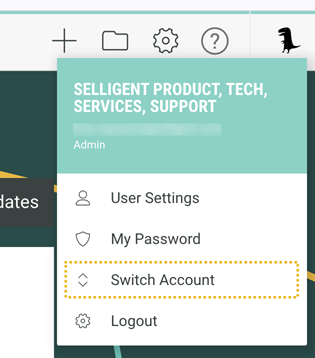
Request a new password
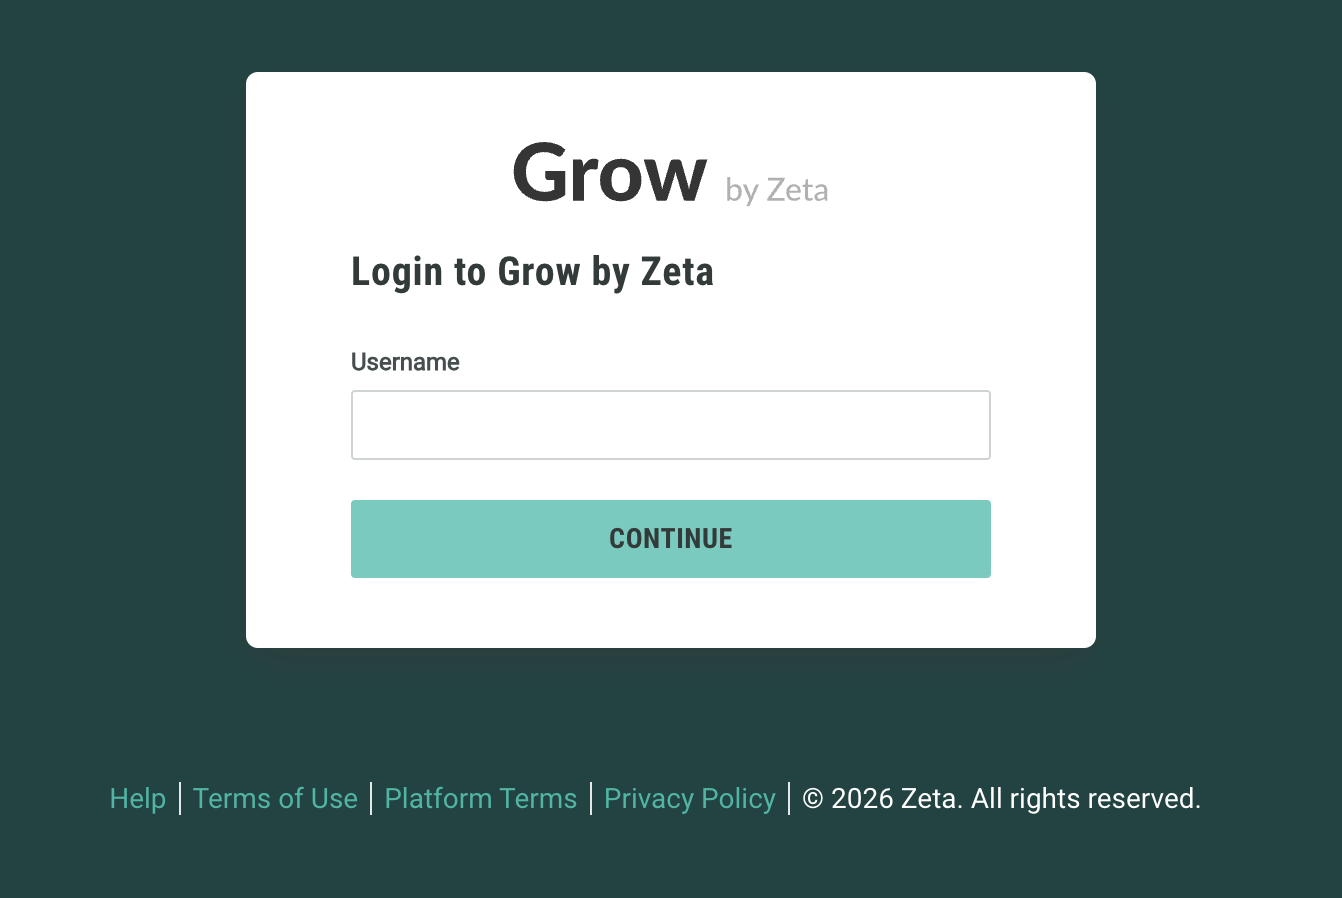
If you lost your password, click the Forgot your password? link on the Grow login screen.
See this article that guides you through the process of resetting your password to regain access to the Grow platform.
Set up two-factor authentication
Two-factor authentication (also known as 2FA) helps reduce the risk of unauthorized access to your Grow account.
Details on this can be found in this article.
