
Understanding: The Experience Area
For the majority of Experiences, the Experience area navigation options (on the left side) will be the same. Below are the key areas you'll want to work through to get your Experience finalized and published live.
Build
On the Build tab, you build the pages or slides of your Experience, with all content, layout and other settings. These are specific to the Experience you're building.
For more details, consult this section.
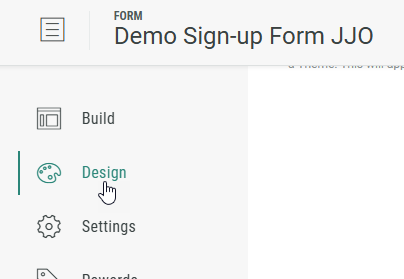
Design
The Design tab can be found directly below the Build tab. Here, you can customize your Experience with the Display Type (Page- or Slide-based), change or edit the Theme, and add a footer and background in the Page Structure and Design section.
- Display Type — You can set your display layout to be a page, horizontally navigated slides, or vertically navigated slides.
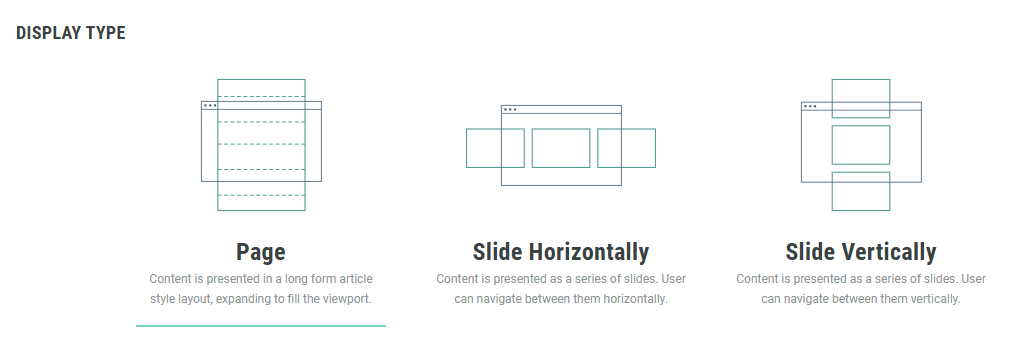
Note: If you don't see this setting available, this will be because the display type is locked for the selected template.
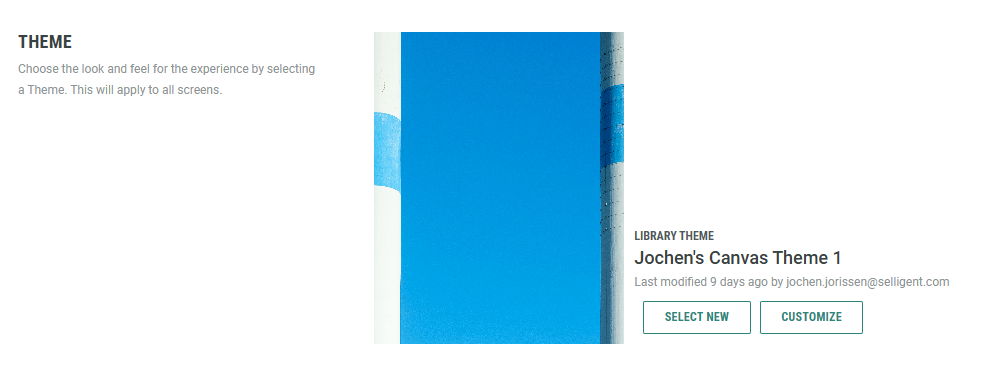
- Theme — You can customize the look and feel of your Experience by selecting a theme or customizing the applied one (when applicable). Consult the theme help articles for more info.
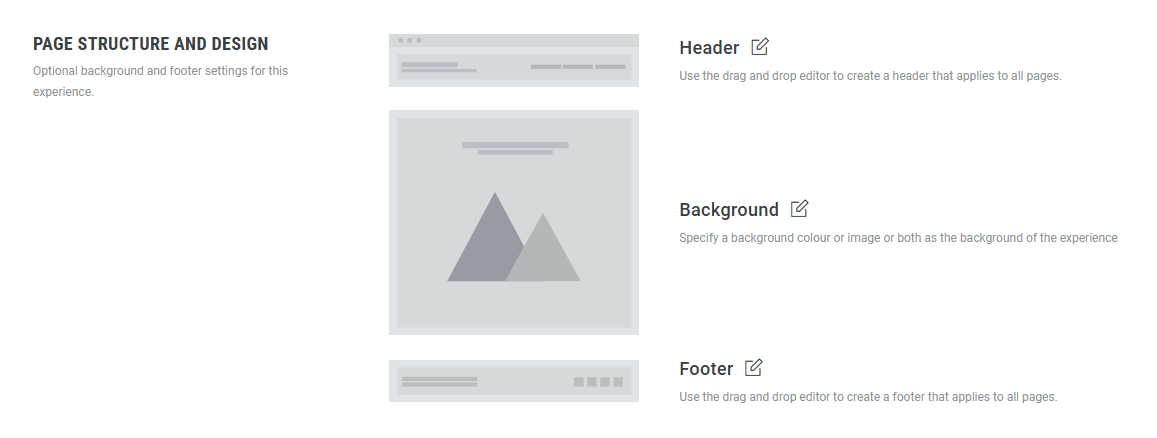
- Page Structure and Design — You can add a header, create a footer, and update the background color and/or set a background image (more info on adding backgrounds in this article). These settings apply to all pages in the Experience.
Example:
- A header has been added with a headline in a single-column row, and an image and callout in a thin-wide 2-columns row.
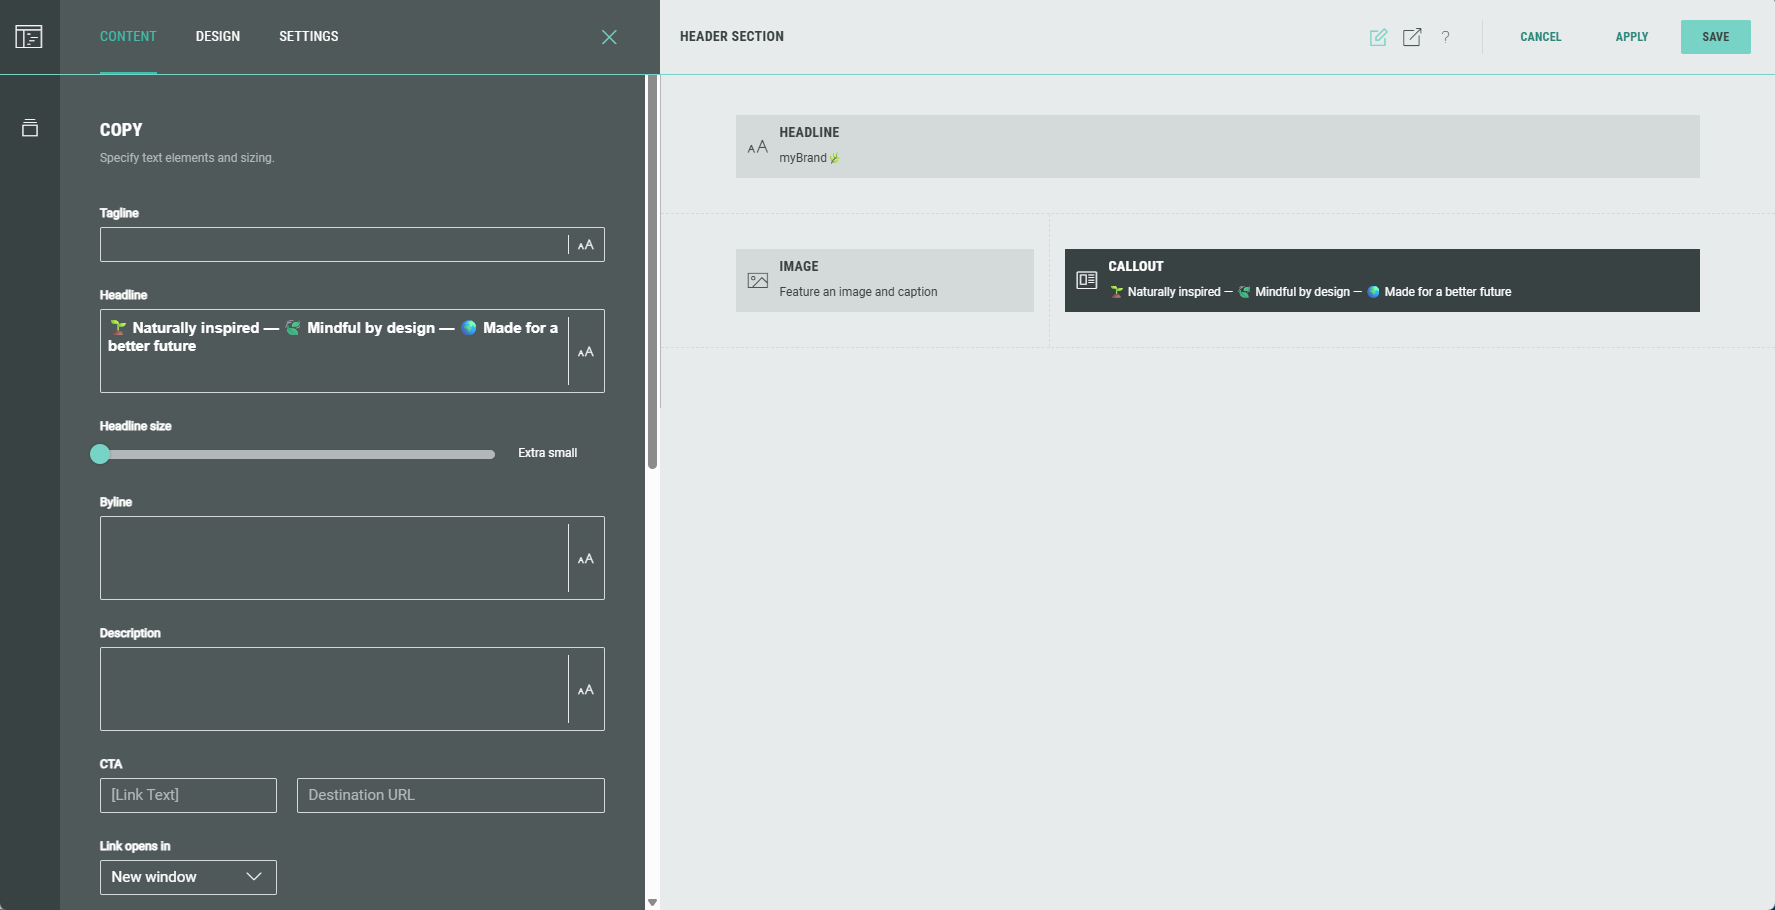
- A footer has been added with a callout, containing some footer text and an icon image.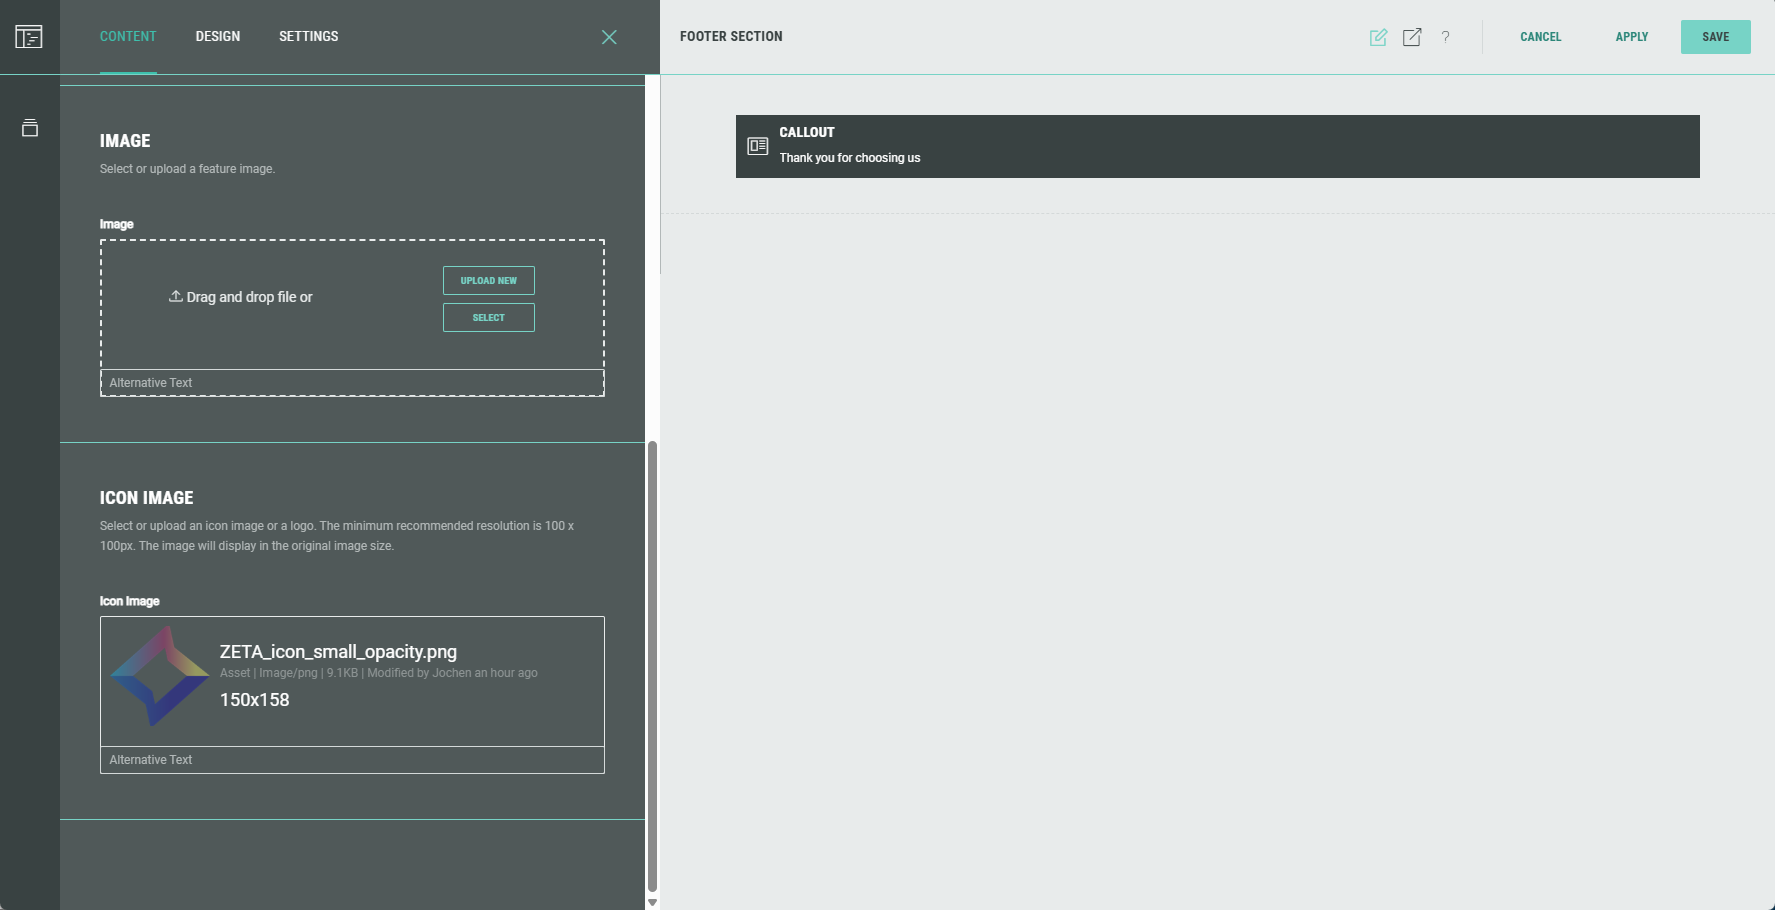
- The result may then look like this, showing the header at the top, the scaled background image and color in the middle section (body), and the footer at the bottom.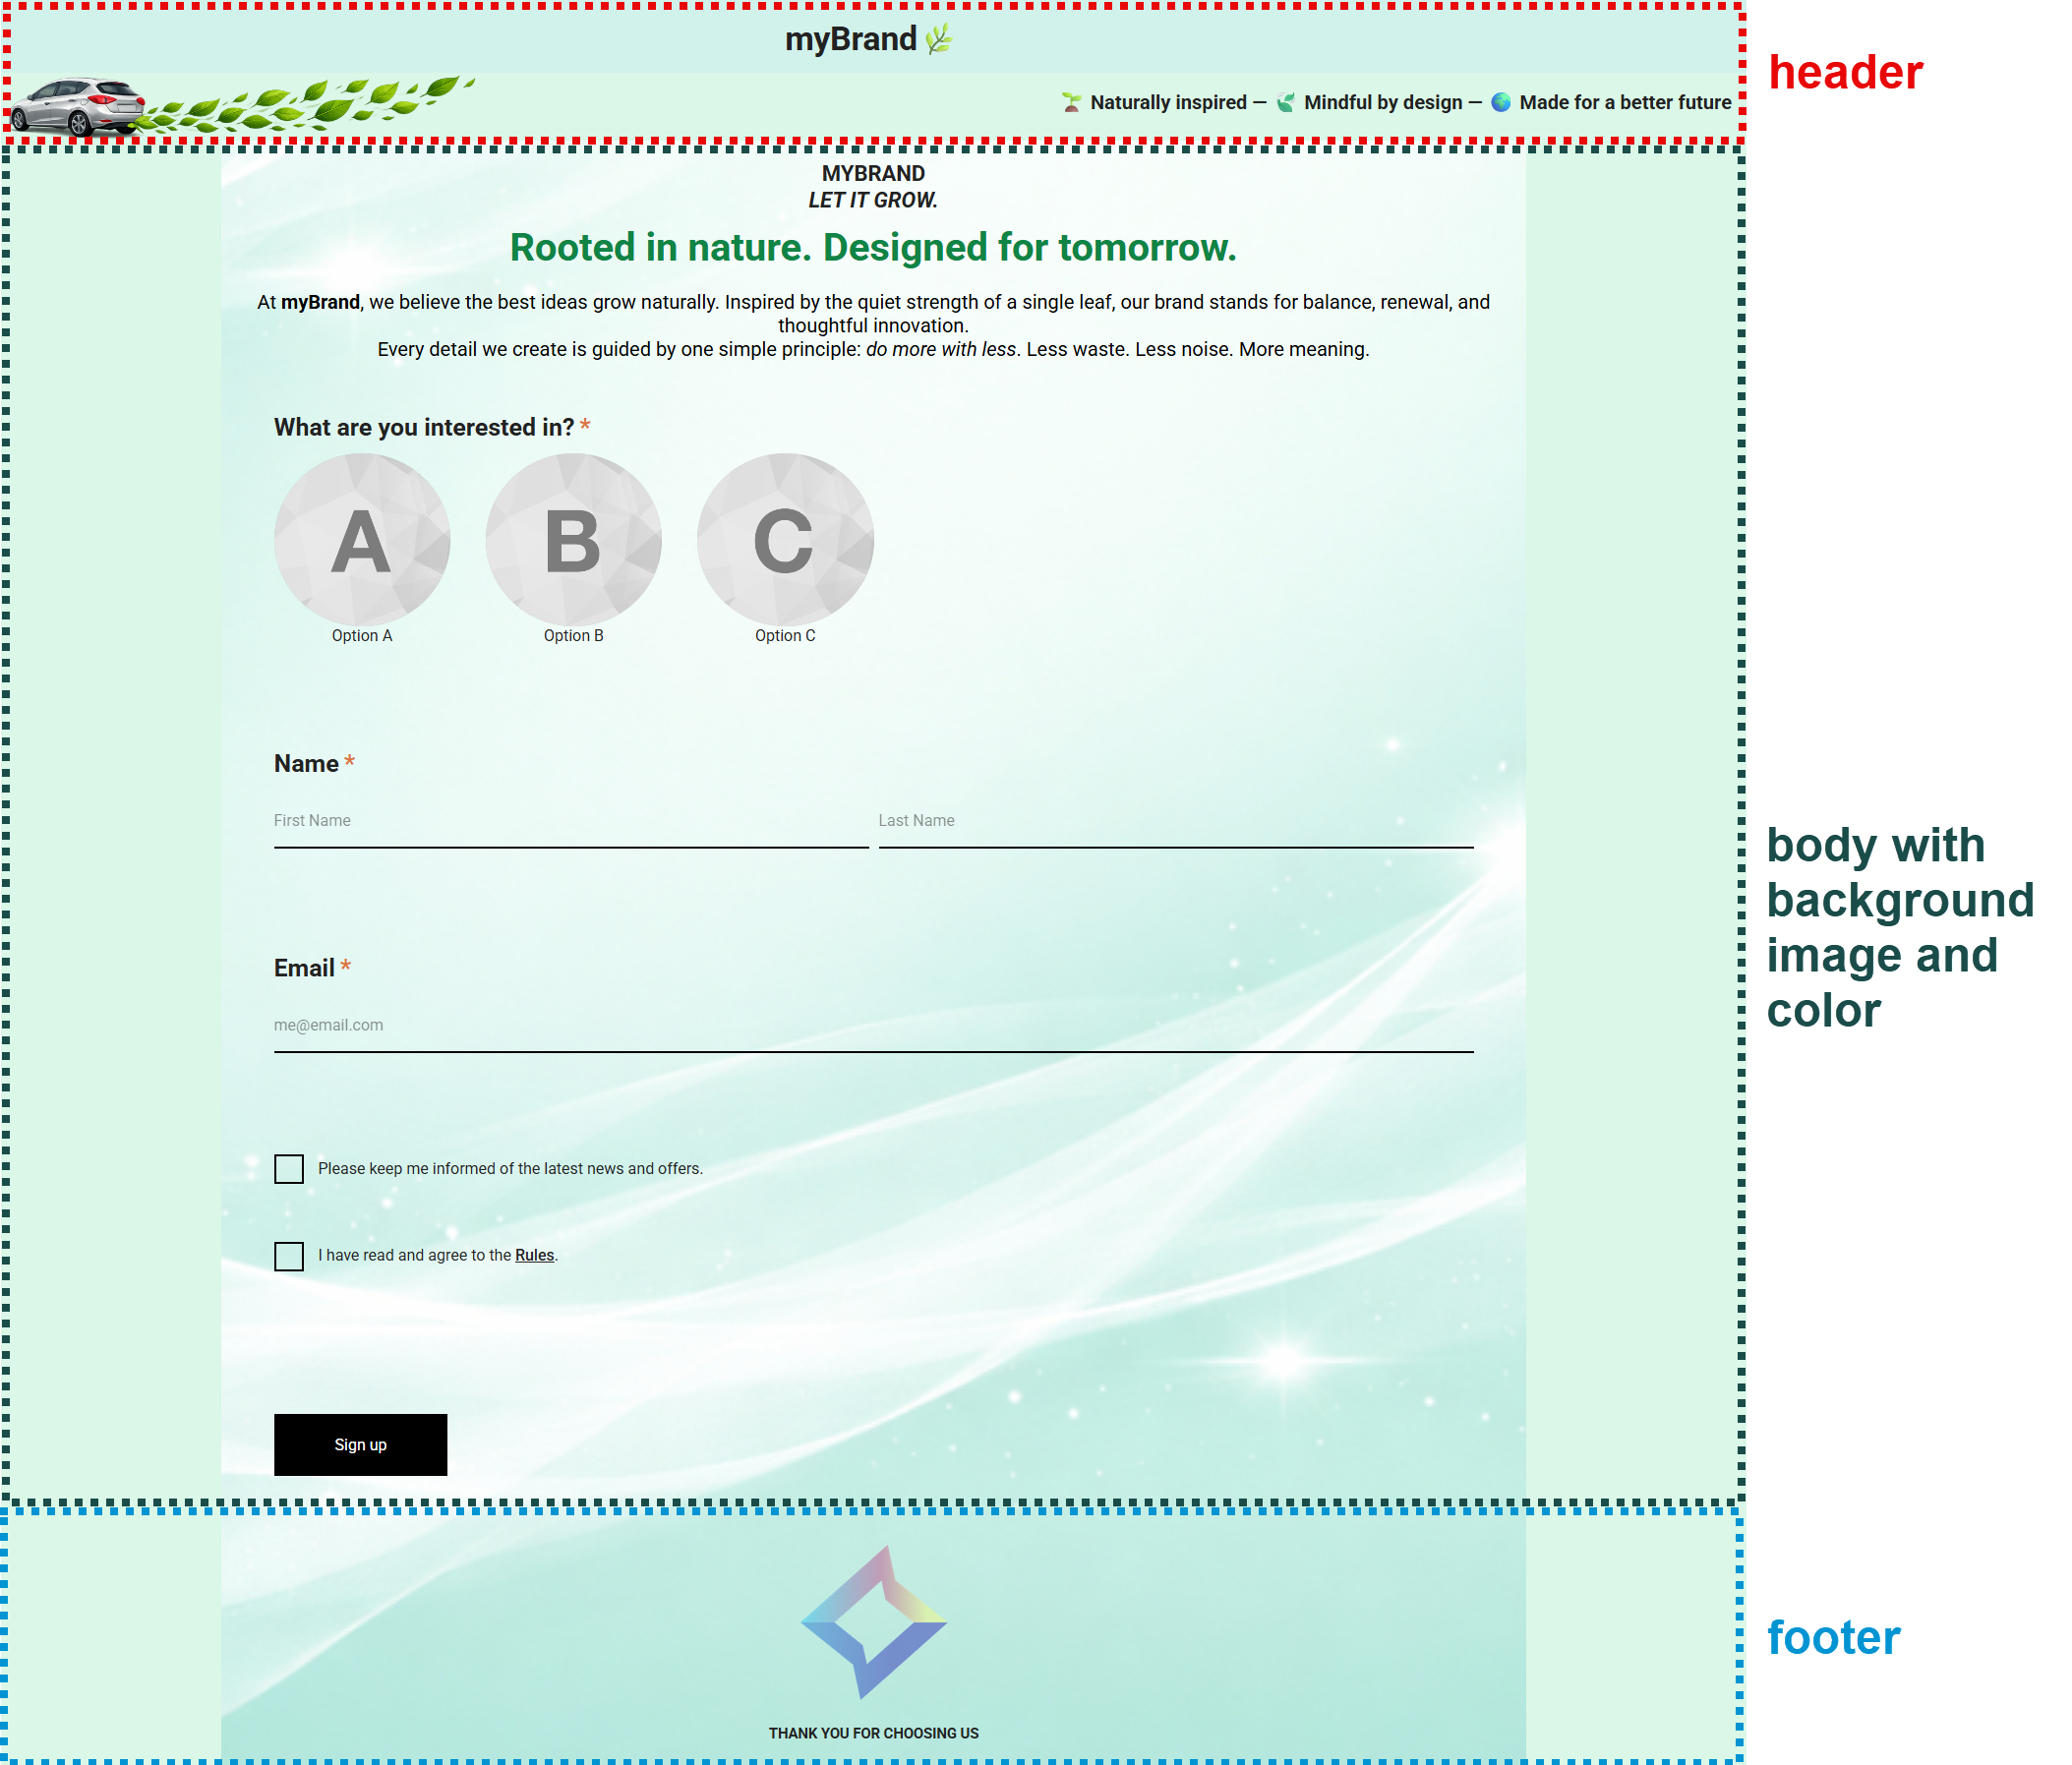
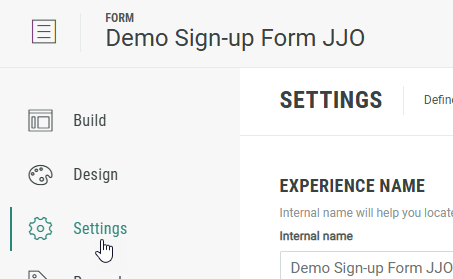
Settings
On the Settings tab, you define and edit the key settings for your Experience.
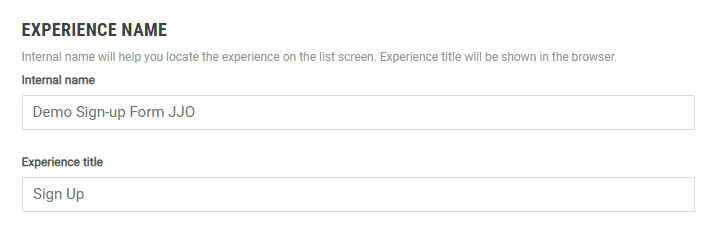
- Experience Name — Set an internal name to help you identify this Experience in the list of all Experiences, and an Experience title that will appear in the browser (page/tab title) when someone accesses the Experience.
- Choose one of the entry control criteria to define how many times unique participants can enter the Experience.
If the selected option is changed while the Experience campaign is live, the new option applies moving forward.- Once — The participant can only enter the Experience once.
- Hourly — The participant can enter the Experience up to the specified number of times per hour.
- Daily — The participant can enter the Experience up to the specified number of times per day (midnight to midnight).
- Unlimited — The participant can enter the Experience an unlimited number of times.
- Total — The participant can enter the Experience up to the specified number of times (time-independent).
Example: Daily is selected and the value 3 is entered.
This means that unique participants can enter the Experience up to 3 times per day.
After midnight, this resets to 0, and 3 new entries can be done during the next day, and so on.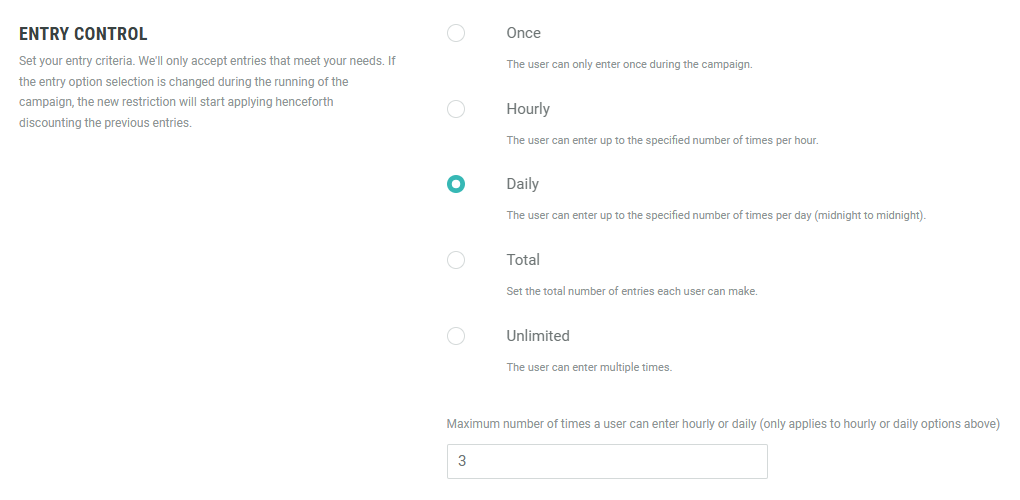
- Maximum Entries — If you want to limit the maximum number of participants that can enter the Experience, enter a value here.
Leaving this value empty means an unlimited number of participants can enter the Experience.

Note: The entry control criteria and maximum entries setting only apply when the Experience is submitted. This means participants who start but don't complete the Experience (e.g., if they drop off before submitting) won’t have their attempt counted toward these limits.
- Timezone — Select a timezone from the list. This will be used for time-sensitive settings.

Example: When changing the timezone, you'll notice that the timezone in the opening times is updated to reflect what you selected.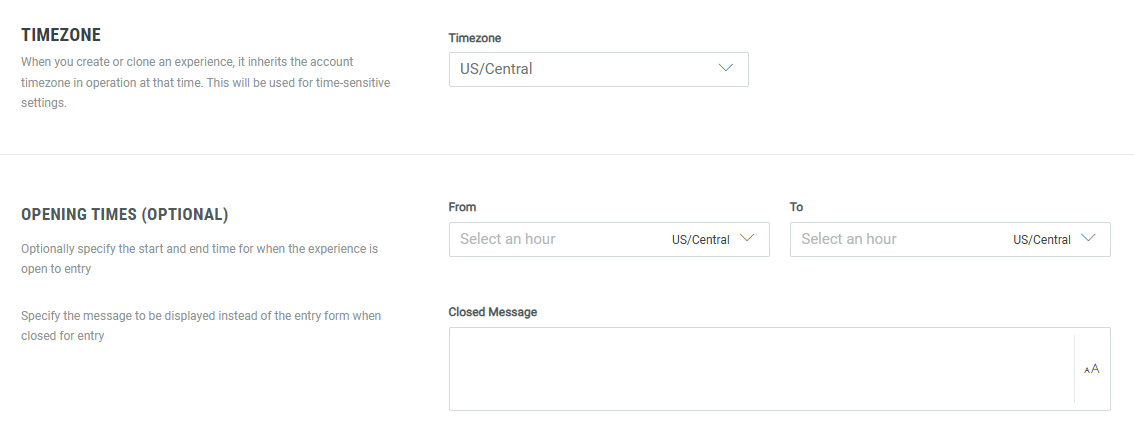
Note: When you create or clone an Experience, it inherits the account timezone in operation at that time.
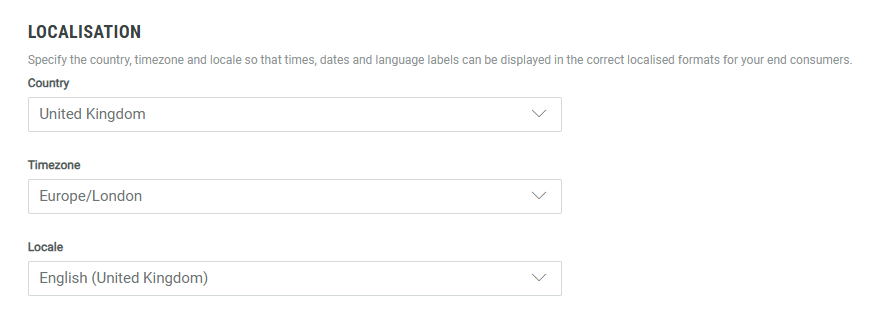
The account timezone is visible from Account Settings > Localisation.
- Opening Times (optional) — You can set the start and end times to control when the Experience is available for entry (for example: only during office hours).
You can also specify a message to be displayed instead of the entry form when the Experience is closed for entry.
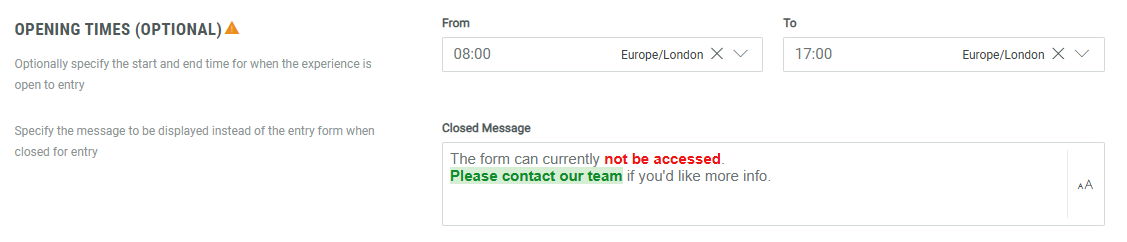
Important: Opening times will be locked once the Experience goes live.
Note: You can apply styling to text, and even use links.
Just mark some text and the styling pop-up appears to format the message.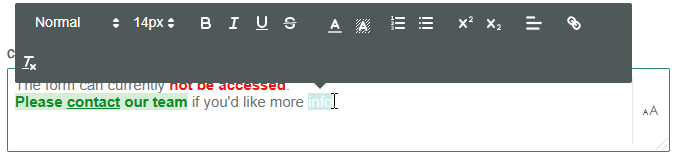
More settings can be defined, such as Data Collection, Entry fraud prevention, Voting & Poll fraud prevention, Additional Metadata and Advanced Options.
For more info on these, see the inline Settings descriptions in the Grow Experiences themselves.
Rewards
A Reward is an incentive offered to customers for participating in a Grow Experience, with the ultimate goal of learning something new about that customer or driving engagement with your brand. Rewards, like prizes, offers, or coupons, can be provided in real-time and have been shown to boost overall engagement. They can be structured as everyone wins or with set odds with consolation rewards as an option. Inclusion of a reward in your experience will boost participation.
Learn more about Rewards in this section of the help center.
Integrations
Grow can be integrated with other Zeta products, as well as with different external providers (such as Google Analytics).
Discover how to use other Zeta products with Grow here.
Find out how to integrate Grow with applications outside the Zeta portfolio here.
Publish
Your Experience moves through a series of states before going live, these are the following...
- Draft — This is the primary building phase of your campaign, once the ground work is in place and you've reviewed the campaign with your team, you click approve, this moves the status on to the next milestone.
- Ready — Once in the Ready state, you will then have the option to Publish.
Once you're ready to Publish, you'll be presented with four options, each of which are discussed in detail here.
Entries
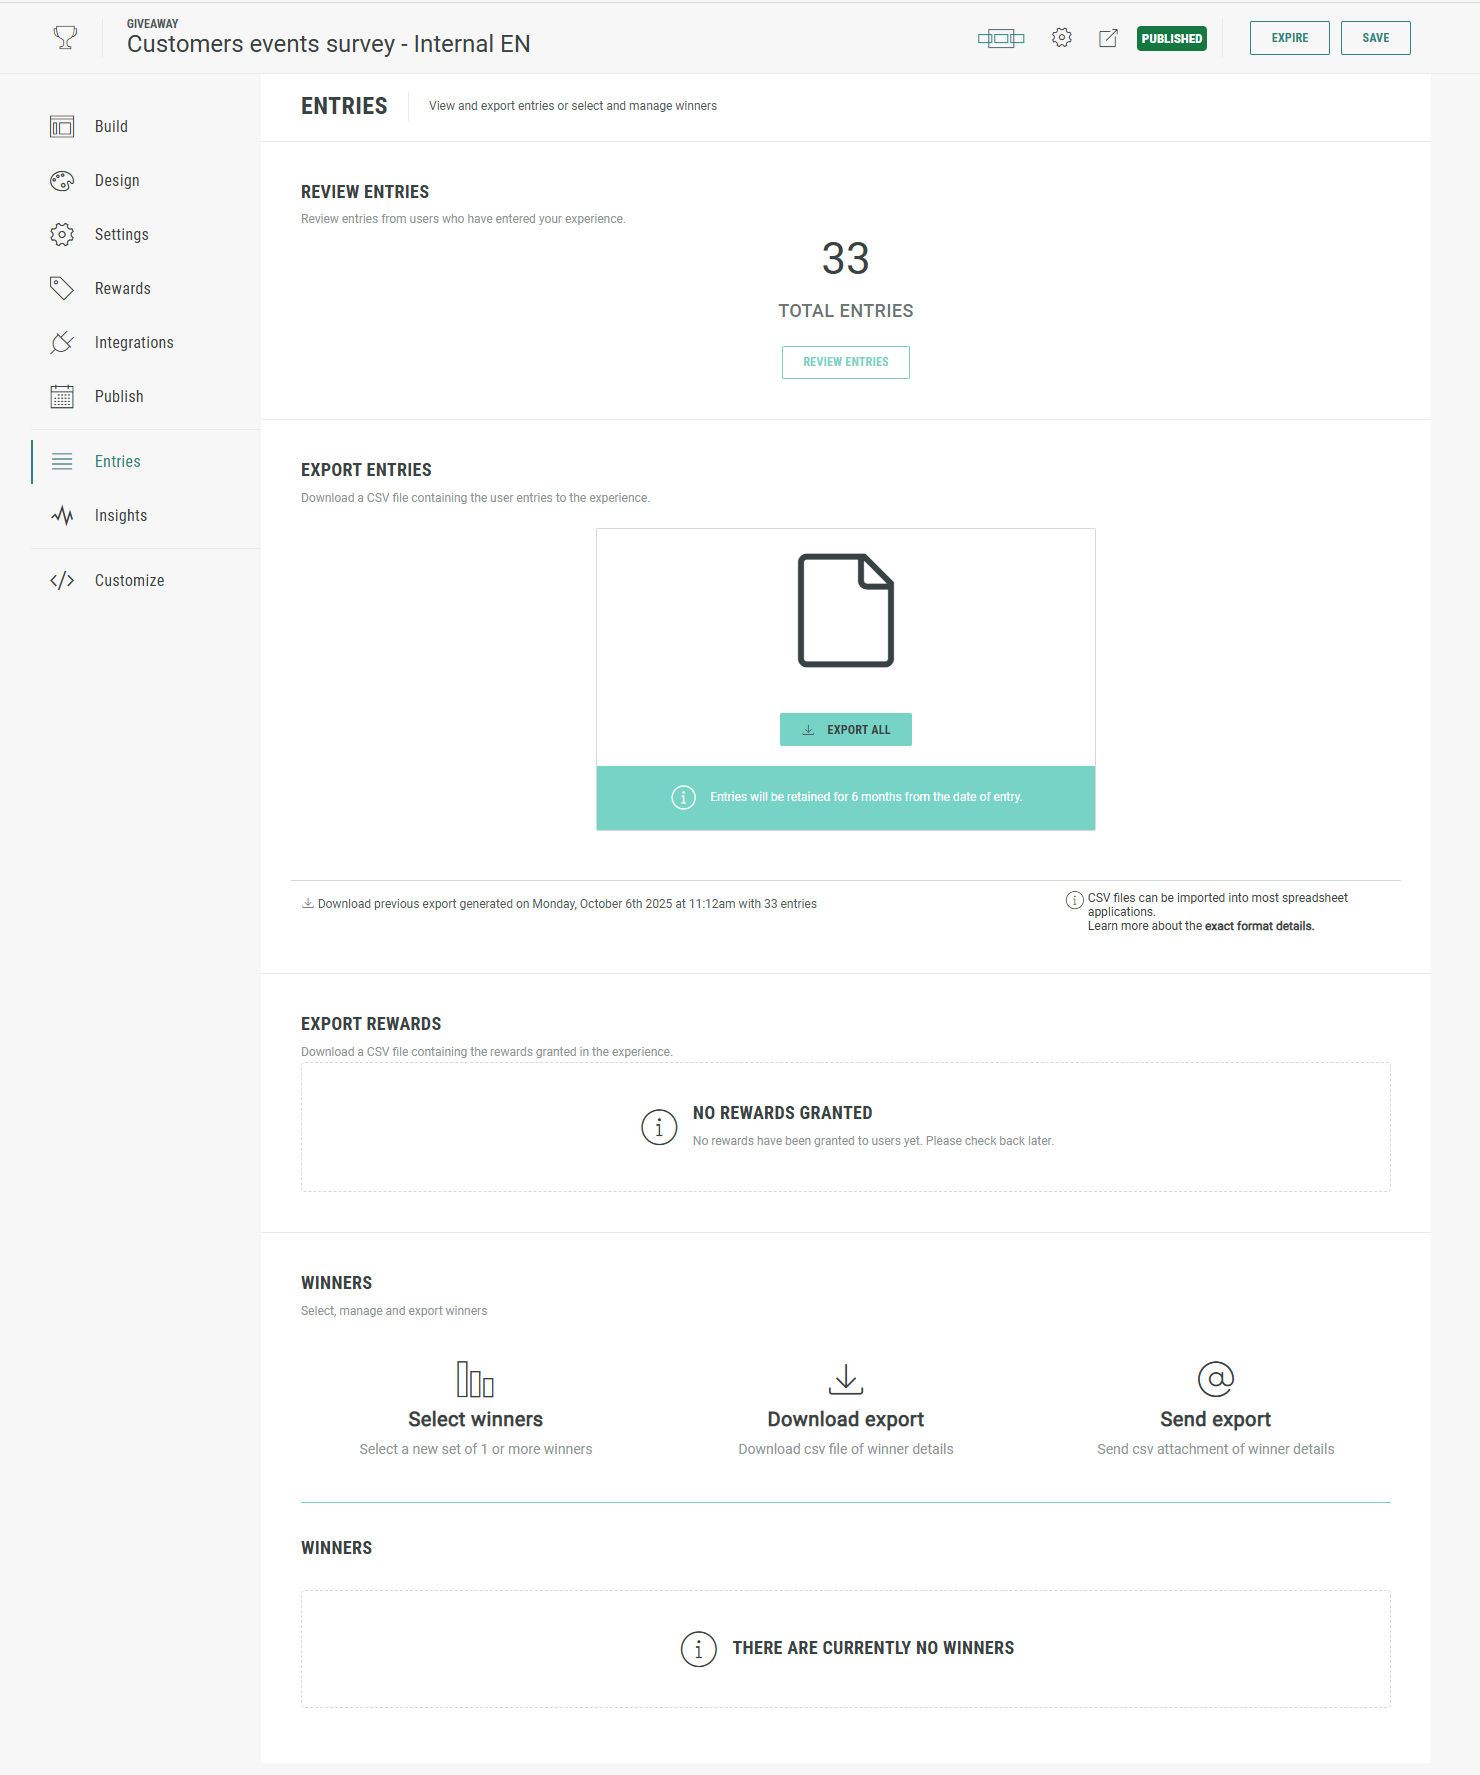
In the Entries section of an Experience, you can:
- View, review and export the Experience entries.
- Export Rewards.
- Select, manage and export winners.
Review entries
Review Entries from participants who have entered your Experience.
Click on the Review Entries button to do so.

More details on reviewing entries can be found here.
Export entries
Export Entries to a CSV file enclosed in an encrypted ZIP bundle.
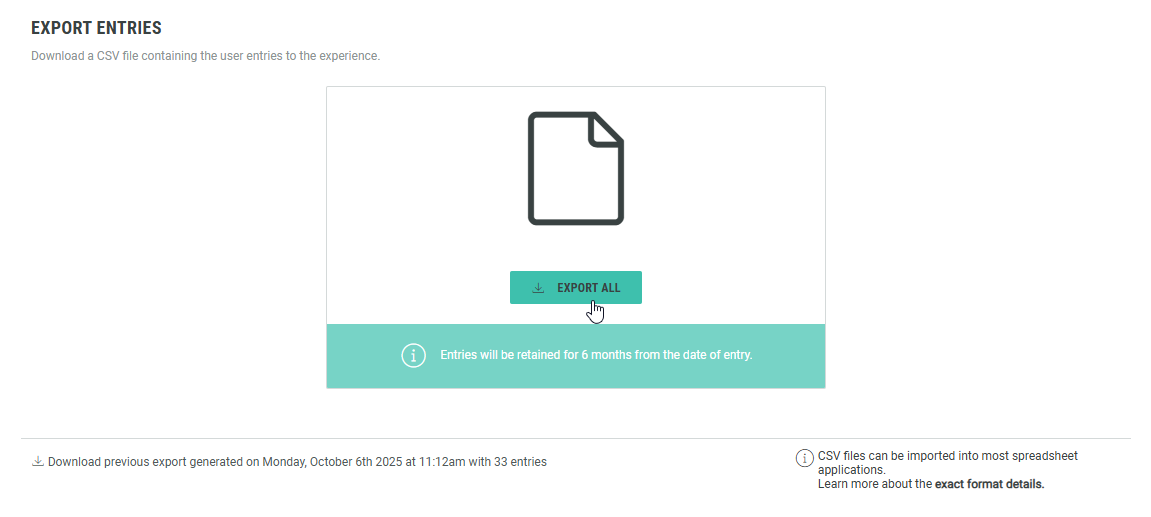
Note: The encryption password is shown when the export is ready to be downloaded.
Click on Download to save it locally, and enter the password on opening the CSV file (a box will pop-up asking for it).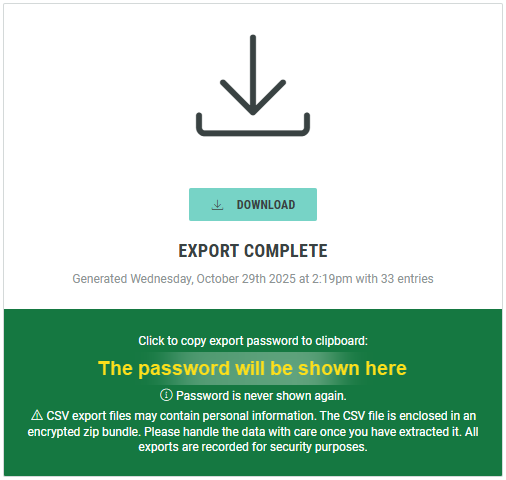
More details on exporting entries can be found here.
Export Rewards
A Reward is an incentive offered to customers for participating in a Grow Experience, with the ultimate goal of learning something new about that customer or driving engagement with your brand. Rewards, like prizes, offers, or coupons, can be provided in real-time and have been shown to boost overall engagement. They can be structured as everyone wins or with set odds with consolation rewards as an option. Inclusion of a reward in your experience will boost participation.
More details on exporting granted rewards can be found here.
Consult the Rewards section on Rewards setup and usage.
Export-specific FAQs can be found in the Rewards — Frequently Asked Questions (FAQ) article.
Select winners
The Winners section is used for prize draws — it's where you can pick winners post-launch of an Experience campaign. (Note that this is different from the My Rewards module, which handles instant-win prizes distributed during the Experience rather than post-launch draws.)
More details on Winner Management can be found in this article.
Export winners
You can export the winners' contact details using the Download Export (as CSV file) or Send Export (send CSV attachment) options.
Insights
Insights help you understand the key metrics and performance indicators of your Experiences over a selected time period.
Grow offers global insights on all of your Experiences as well as more detailed Experience-level insights.
Detailed info on insights can be found here.
Customize
The Customize section is meant to be used by developers and designers that need advanced customization options for the Experience.
Custom CSS
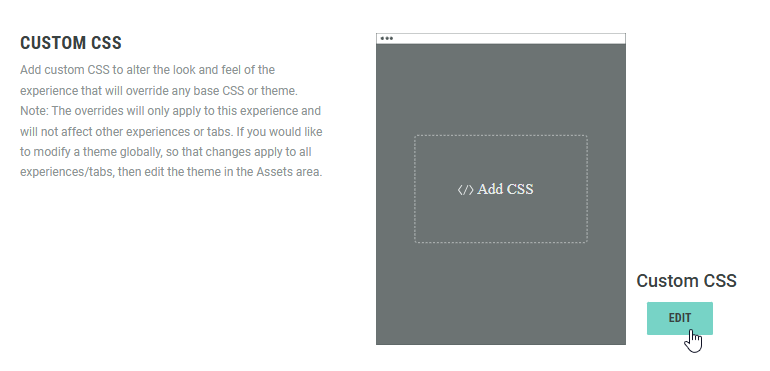
You can add custom CSS to alter the look and feel of the Experience. It will override any base CSS or theme.
Note: The overrides will only apply to the current Experience and will not affect other Experiences. If you would like to modify a theme globally so that changes apply to all Experiences, then edit the theme in the Themes area.
Click Edit in the Custom CSS section.
A custom style editor is shown:
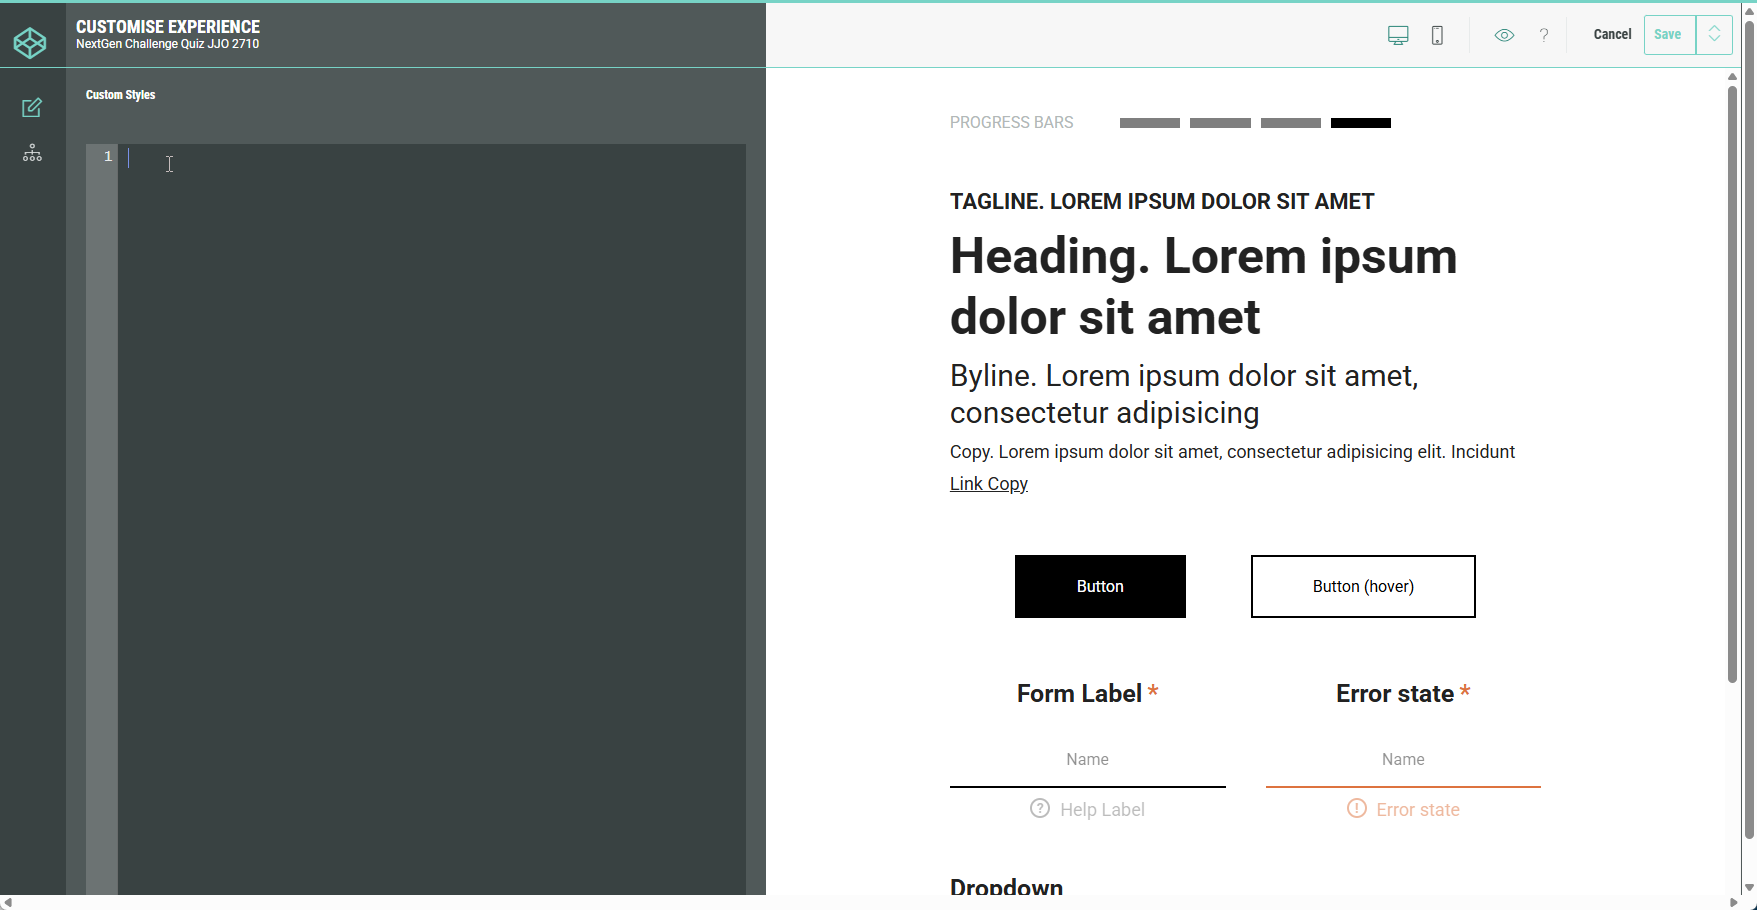
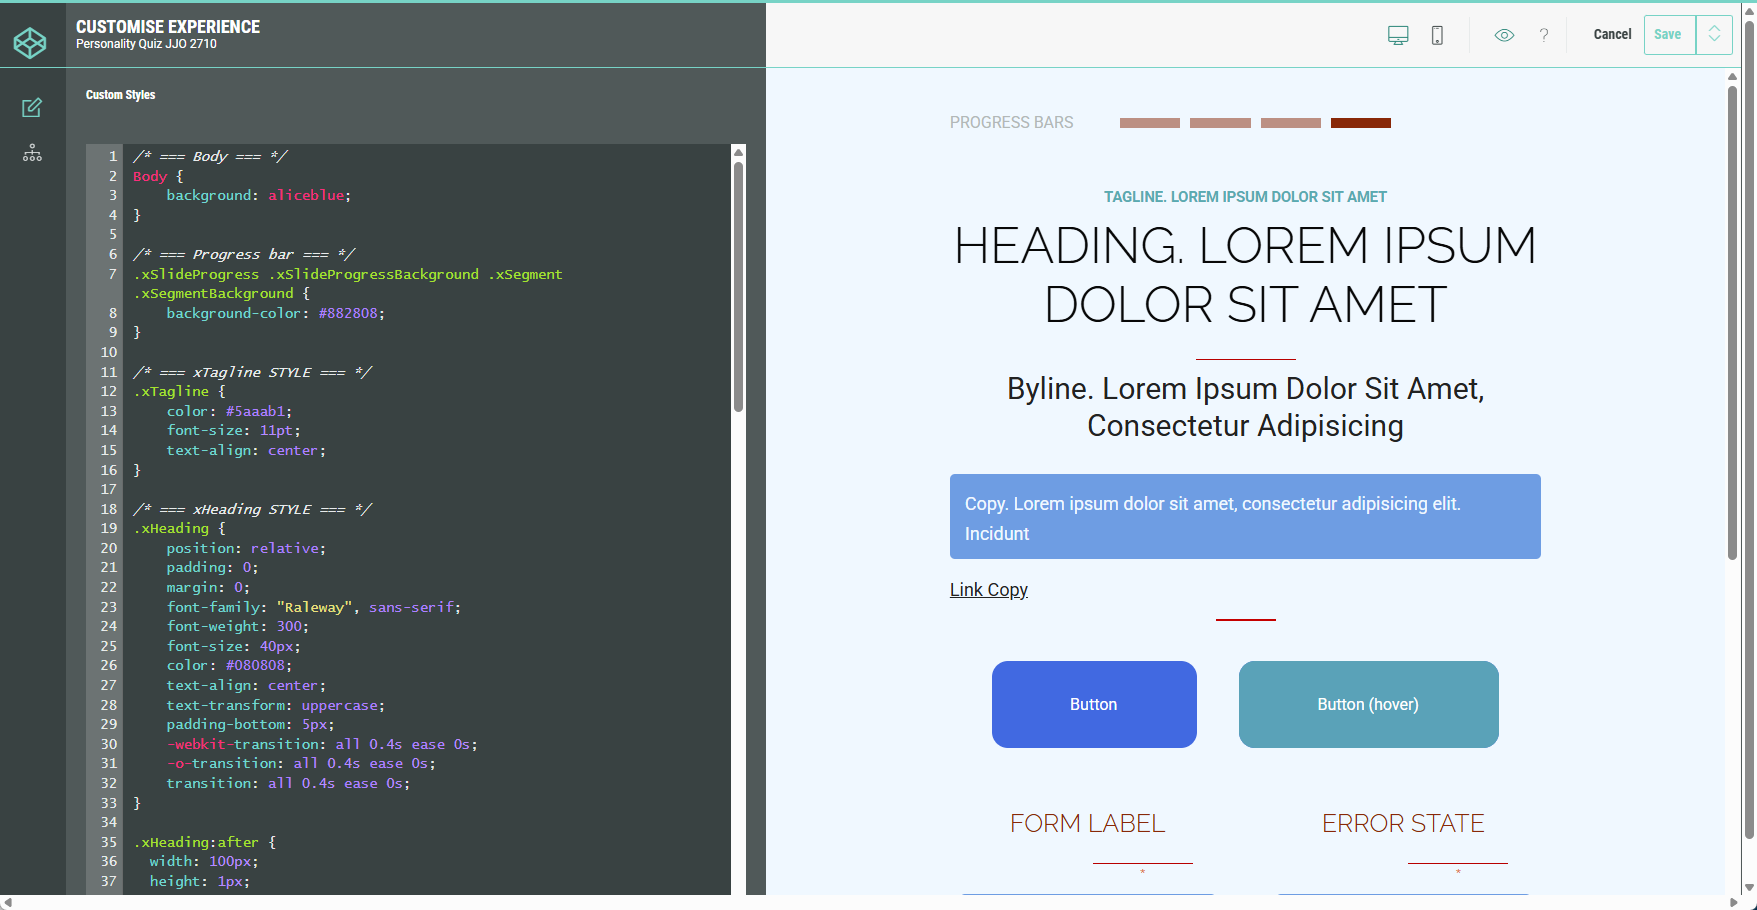
At the left, enter your CSS code. At the right, the previews are updated accordingly.
Click Save at the top-right to save your custom CSS.
Example:
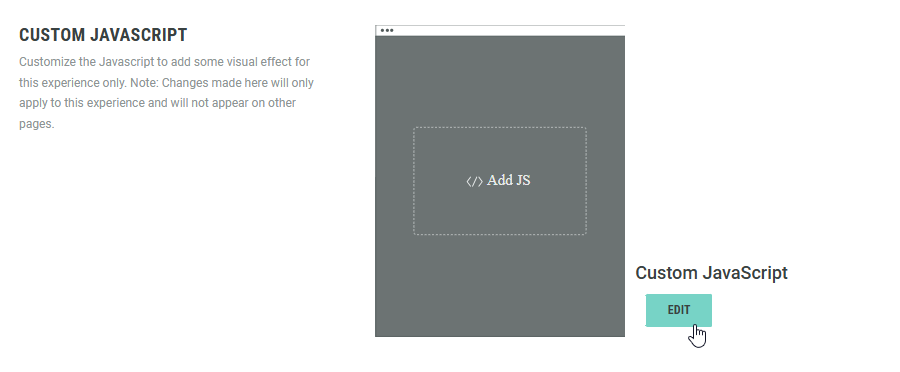
Custom JavaScript
Add custom JavaScript to this Experience, which will be output inline in the page rendering the Experience.
Common use cases are tracking and analytics, combined use with custom HTML page components, and bespoke interactive elements. The system platform uses PreactJS and therefore you should not attempt to modify the DOM directly for any system page components (instead, use the provided Customization API methods where available).
Note: Changes made here will only apply to this Experience and will not appear on other pages.
Click Edit in the Custom JavaScript section.
A custom JavaScript editor is shown:
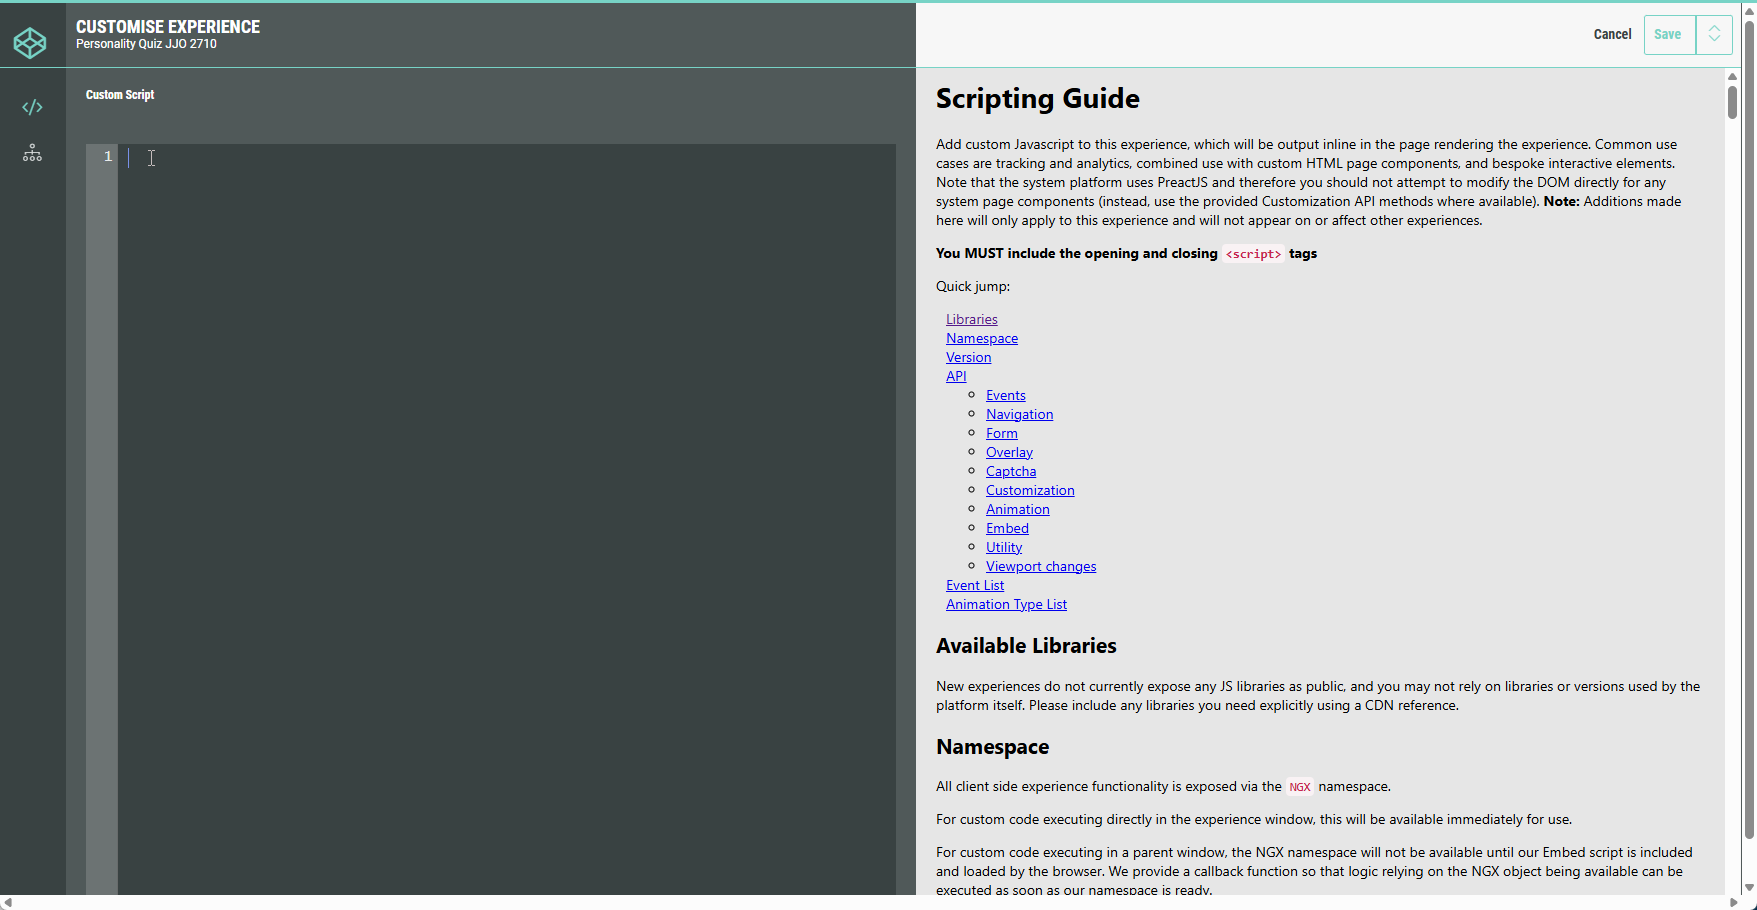
Enter your desired JavaScript code in the editor on the left and click Save at the top-right once you're done.
