
The subscribe form
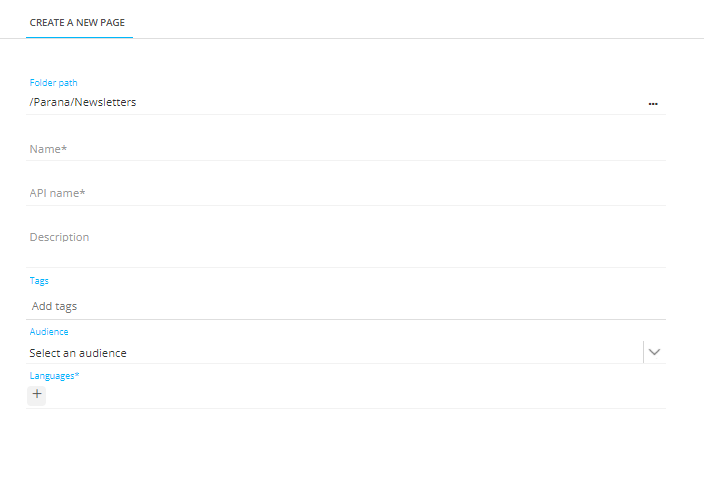
1. In the Content Editor, select a folder and create a new BLANK page. Give it a name 'Newsletter Subscription form' and select your Audience List as well as the language
2. Drag a Form Component from the Components panel on the right onto the design canvas. In
In the source code of the page; enter 'Newsletter Subscription form' as the form name.

3. In the Available components section on the right, click the pencil icon next to the Form Component to define the form's action.

Use a link so the clicks on the form's Submit button can be measured. click the + icon to create the link.
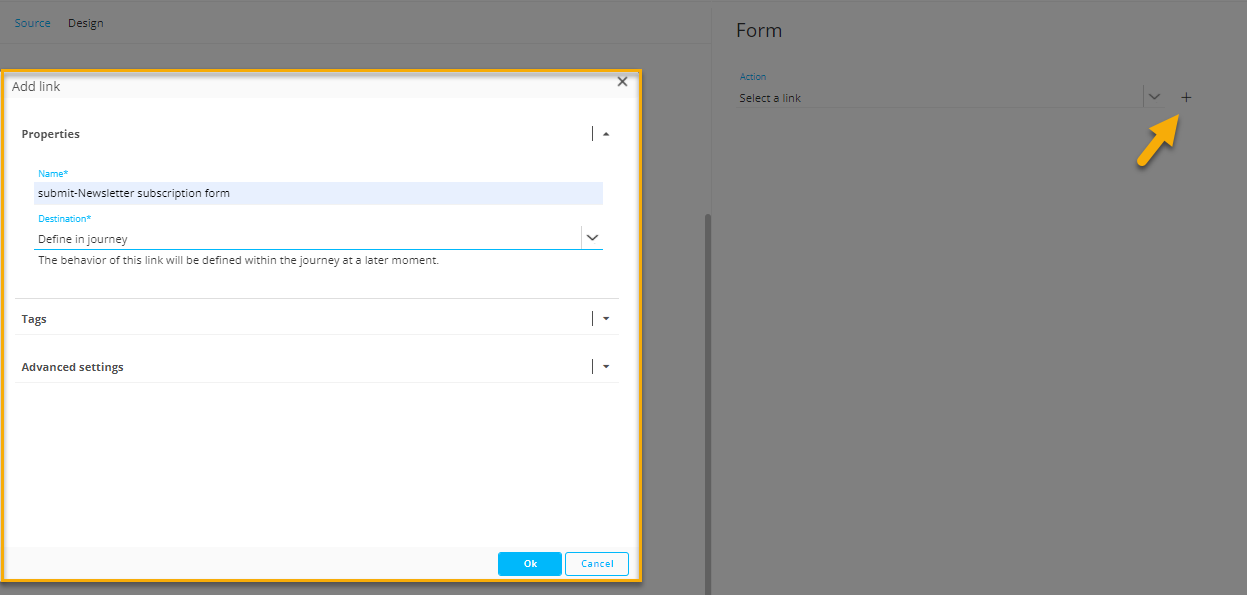
4. Enter the name 'Submit - Newsletter subscription form' and select the option "Define in journey".
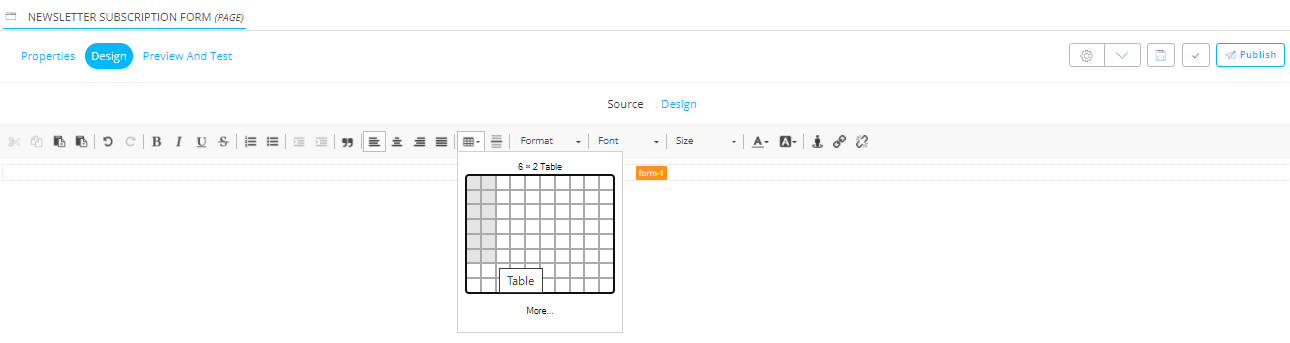
5. Drag a Table component in the form from the Components panel on the right. Set it to 6 rows, 2 columns, width 100%, border thickness 1, cell padding and cell spacing 5.
6. Type in each cell of the first column: "Firstname, Lastname, Email and Gender".
7. Drag a Textbox field to the first cell of the second column. In the properties of the Textbox, start typing the name of the First name field to automatically search for the corresponding field in the Audience List.
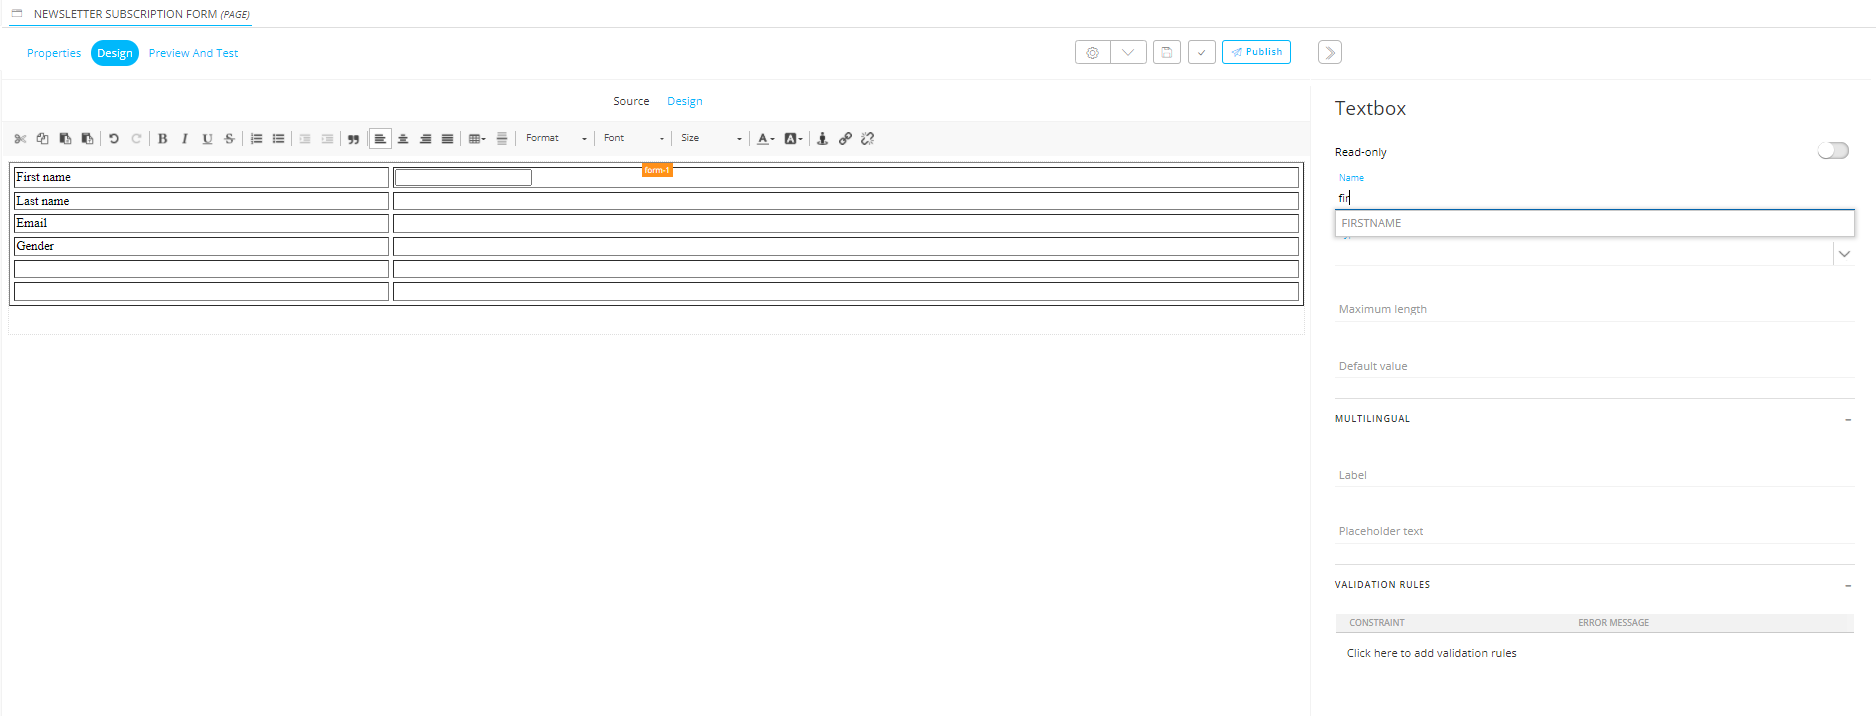
8. Do the same for Name and Email.
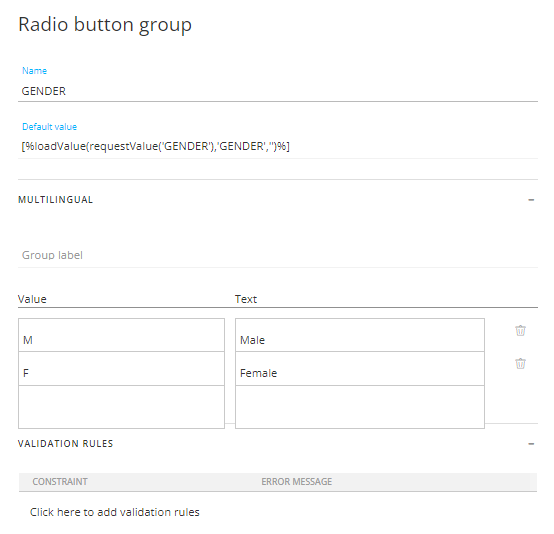
9. GENDER has an option list linked to it, determining the possible values for GENDER: 'M' for male, 'F' for female. Add a radio buttons field to the table and fill out the possible values and Text.
10. Now add the check boxes for the Newsletter and the Promotions. In the properties of the check box, select the corresponding field in the Audience List and make sure to check the box if the value in OPTIN_NEWSLETTER or OPTIN_PROMOTIONS field = 1;
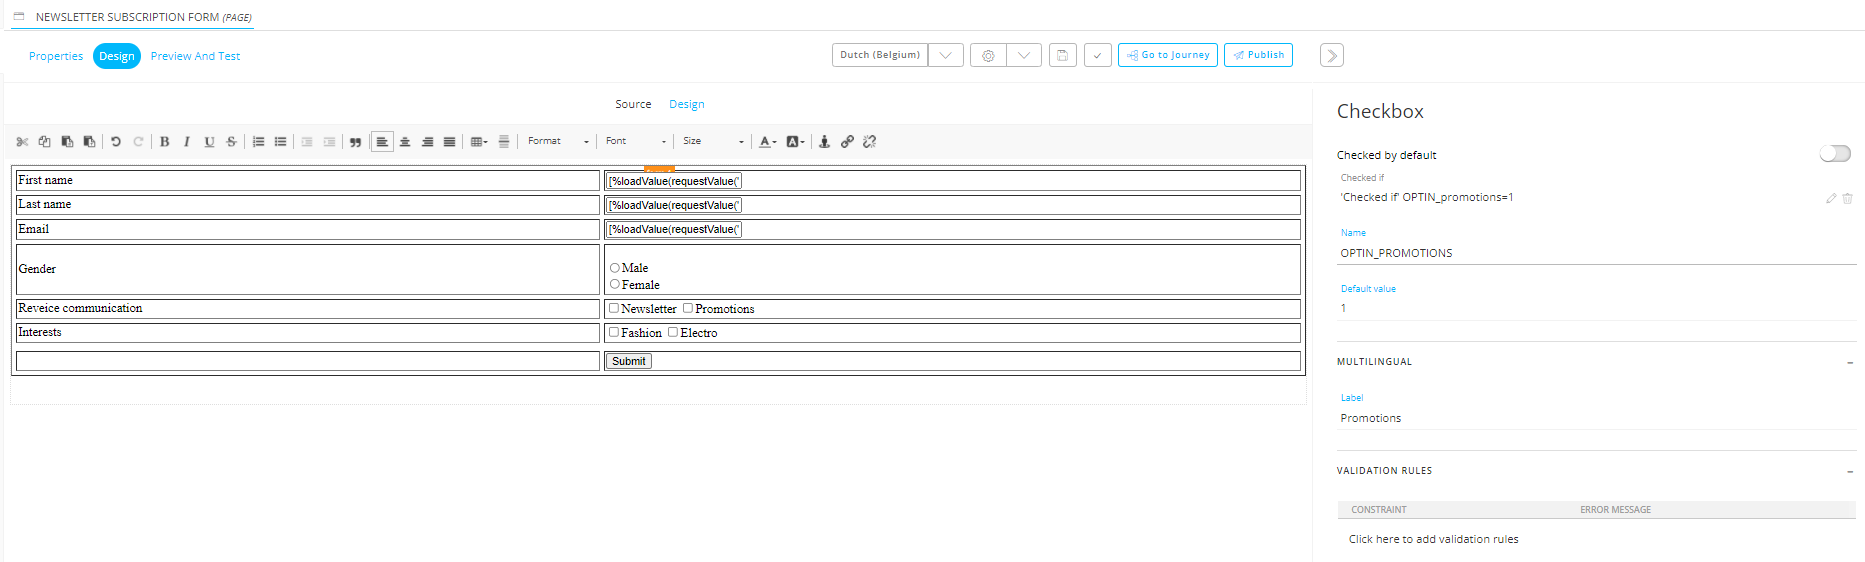
Note: If saving the data in the Data Component in the journey fails, the Data component's 'Failed' trigger will point back to the form. "Checked if OPTIN_NEWSLETTER='1' makes sure the checkbox is still checked when the form is reloaded. It reads as follows: "Checked if the posted value of the form input field (=checkbox) is '1'.
11. Drag a Button component from the Components panel on the right. Drag it in the last cell of the second column. Leave the field name to Submit. Your page should now look like this:

Note: You could add validation rules and errors to the form page here as well. 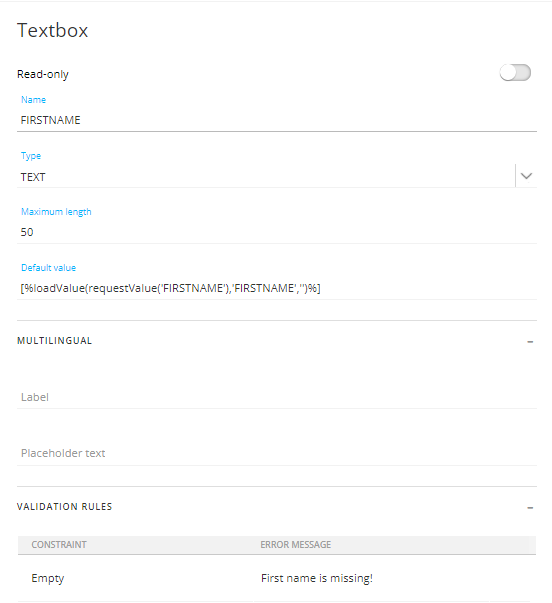
For example, if the first name is not filled out, an error message is displayed pointing this out.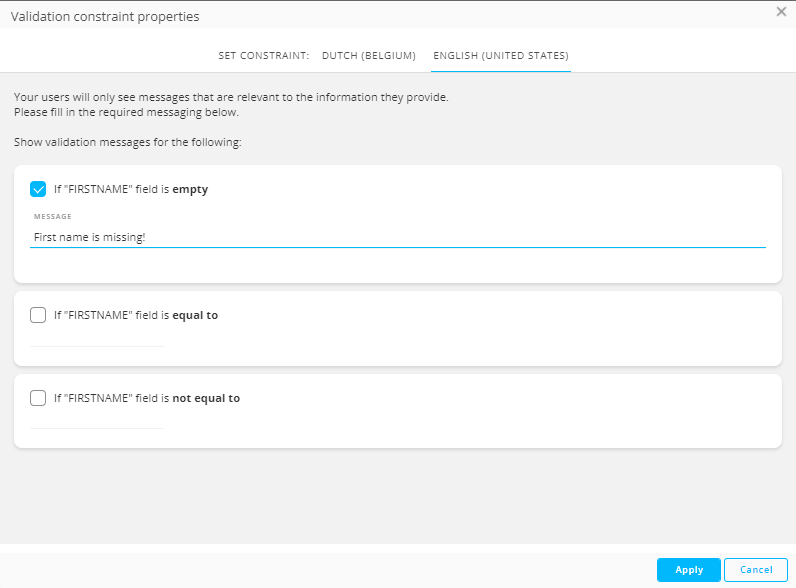
Newsletter Subscription - thank you
Create a second blank page "Newsletter Subscription - thank you" in the same folder, using the same Audience List. Set a language as well.
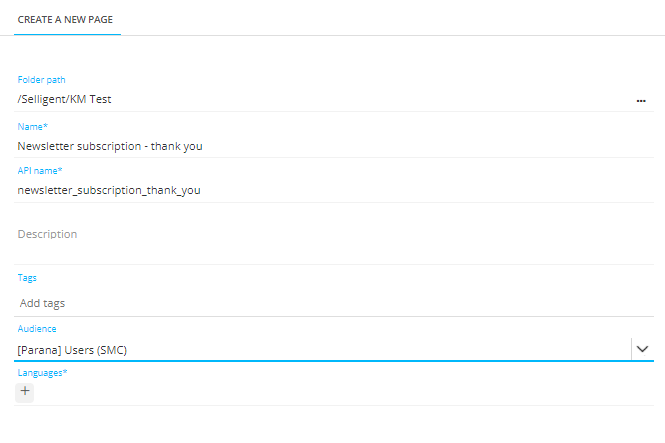
This will be the page following the form submit. Add the following content:
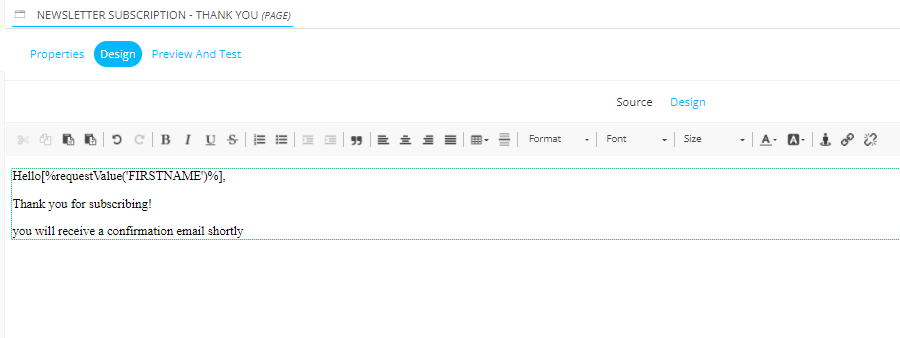
Note: We used [%requestValue('FIRSTNAME')%]. This displays the posted value of the form input field, and not the value from the Audience List. This is a security measure. If the contact already exists in the Audience List, you will continue to the "thank you" page with the already known profile . If the contact does not yet exist, we will store their data and continue to the "thank you" page with the new contact profile. If we used MASTER.FIRSTNAME, the value of the already known contact could be different from the value given in the form. Because we will not store values for already known contacts. This difference on the page could allow malicious persons to know if a contact already exists in our database. By using [%requestValue('FIRSTNAME')%] there is no distinction. The page always displays the posted value from the form input field.
See also:
