In this example, a use case is explained on how to setup a Google reCAPTCHA in a form and use it in a Custom Journey.
Note: reCAPTCHA is a CAPTCHA system owned by Google. It enables web hosts to distinguish between human and automated access to websites.
Traditional CAPTCHAs mainly use text-based challenges, requiring users to decipher distorted or scrambled characters.
reCAPTCHA offers a more advanced approach, incorporating image based captchas using real-world images and analyzing user behavior to distinguish between human users and bots.
Setup
To integrate a Google reCAPTCHA in Selligent, you'll need to have an account to access the Google reCAPTCHA admin console to generate and retrieve the API keys.
Generating the Keys
-
Click on Admin Console.

-
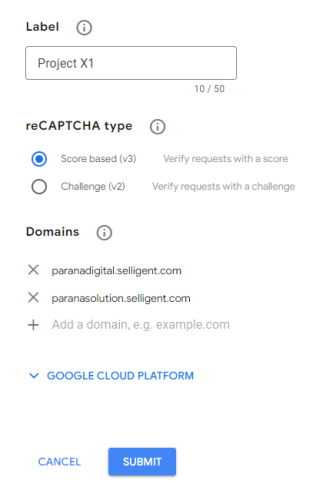
Fill in the form:
- Add a label (for instance client name or project name)
- Choose the reCAPTCHA type you want:
- reCAPTCHA v2 : always requires user interaction
- reCAPTCHA v3 : can do verification without any user interaction
- Add all the domain names where the reCAPTCHA can be reached on (paranadigital.selligent.com, paranasolution.selligent.com, ...)
-
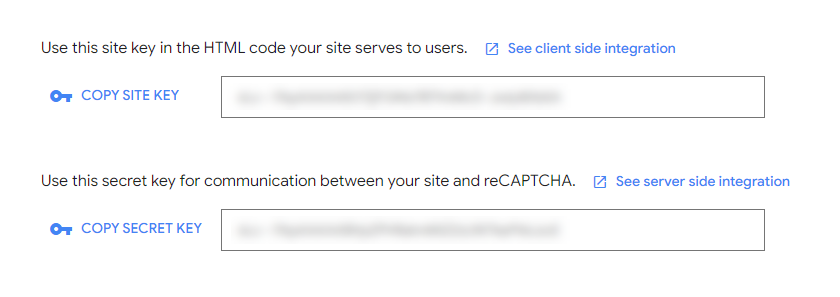
After submitting the form, store the reCAPTCHA type chosen, the site key and the secret key for later use in Selligent.
Functionality
Step 1 : Add reCAPTCHA request to a form
Create a page in Selligent containing a form.
- Within the <form> tag, add this hidden field:
<!-- Recaptcha -->
<input type="hidden" name="recaptchaResponse" id="recaptchaResponse">
<!-- End Recaptcha -->- Add this script at the top of the HTML page to load the API:
<!-- Recaptcha -->
<script src="https://www.google.com/recaptcha/api.js?render=[siteKey]"></script>
<!-- Recaptcha -->
Then add one of the following two scripts, depending if you're using reCAPTCHA v3 or reCAPTCHA v2:
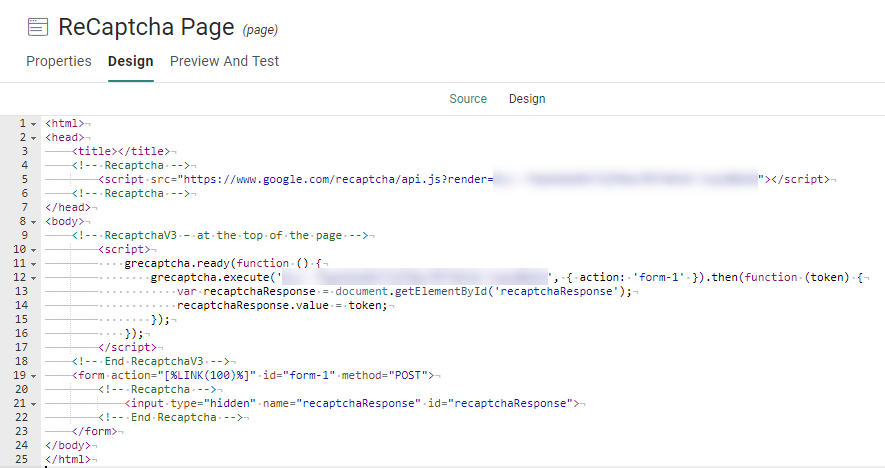
- When using reCAPTCHA v3, add this script at the top of the HTML page (the API loading script should always come first):
<!-- RecaptchaV3 – at the top of the page -->
<script>
    grecaptcha.ready(function () {
        grecaptcha.execute('[siteKey]', { action: '[FormName]' }).then(function (token) {
            var recaptchaResponse = document.getElementById('recaptchaResponse');
            recaptchaResponse.value = token;
        });
    });
</script>
<!-- End RecaptchaV3 -->- When using reCAPTCHA v2, add this script at the bottom(*) of the HTML page (*important for v2 so the page is loaded before executing the script):
<!-- RecaptchaV2 – at the bottom of the page -->
<script>
    function updateResponse(){
        document.getElementById("recaptchaResponse").value =
        document.getElementById("g-recaptcha-response").value;
    }
</script>
<!-- End RecaptchaV2 -->
Note: In the scripts above:
- replace the [siteKey] with your copied site key from Google reCAPTCHA.
- replace the [FormName] with the name of your Selligent form.
Example:
Save and publish your page.
Step 2 : Add a custom component to call the reCAPTCHA API
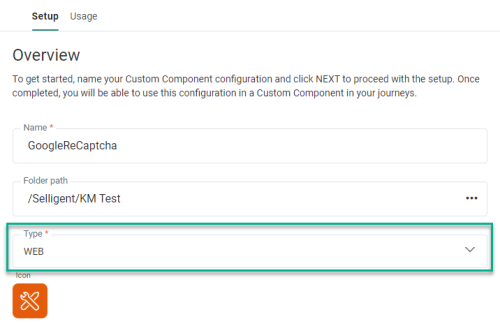
In the Data Exchange chapter of Selligent, create a Custom Component of type web.
Setup
Type — Web
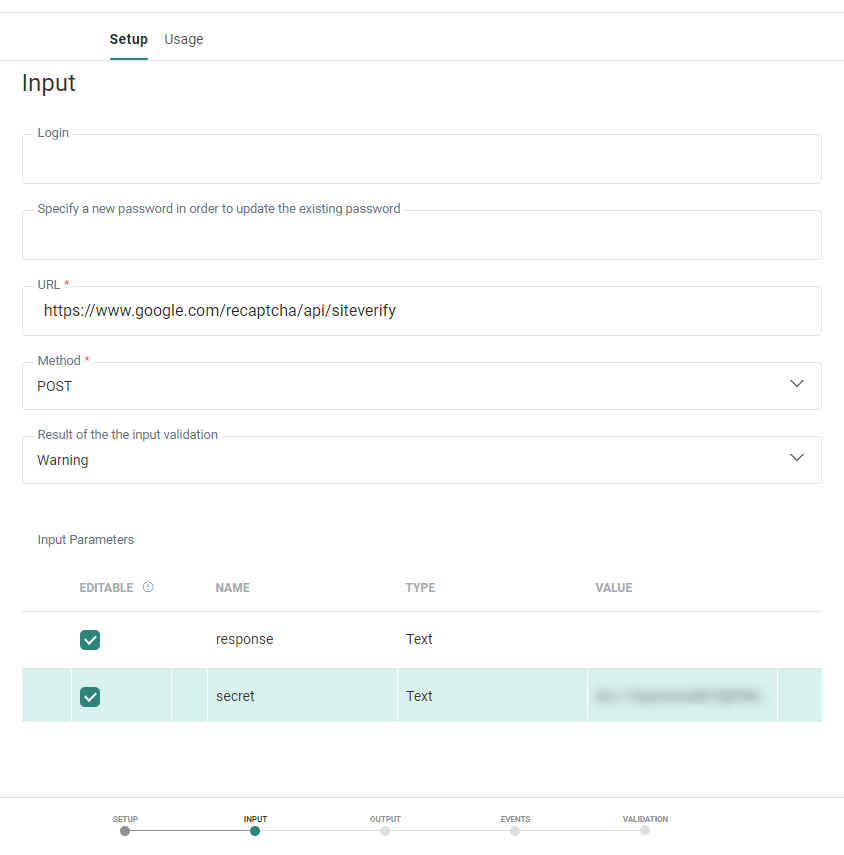
Input
- Login — none
- Password — none
- URL — https://www.google.com/recaptcha/api/siteverify
- Method — POST
- Input Parameters:
- Parameter 1 : Name = response, Type = Text
- Parameter 2 : Name = secret, Type = Text, Value = enter the site key
Output
Name — response
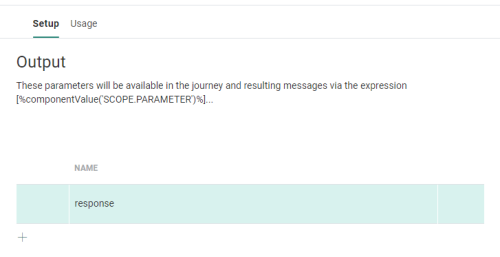
Save your Custom Component configuration.
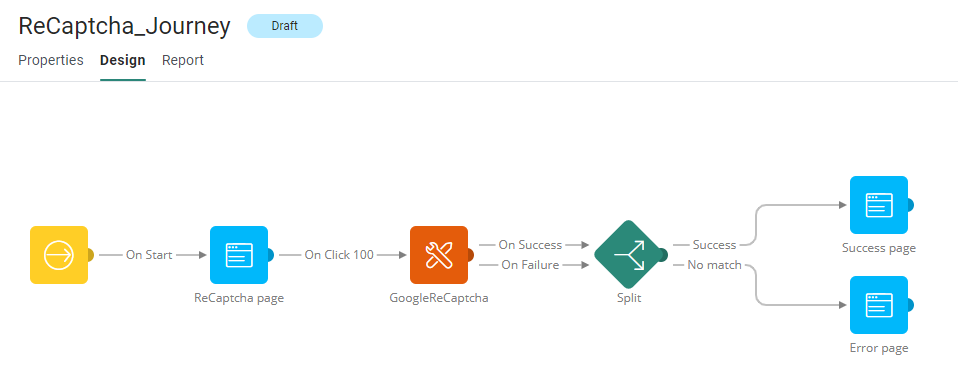
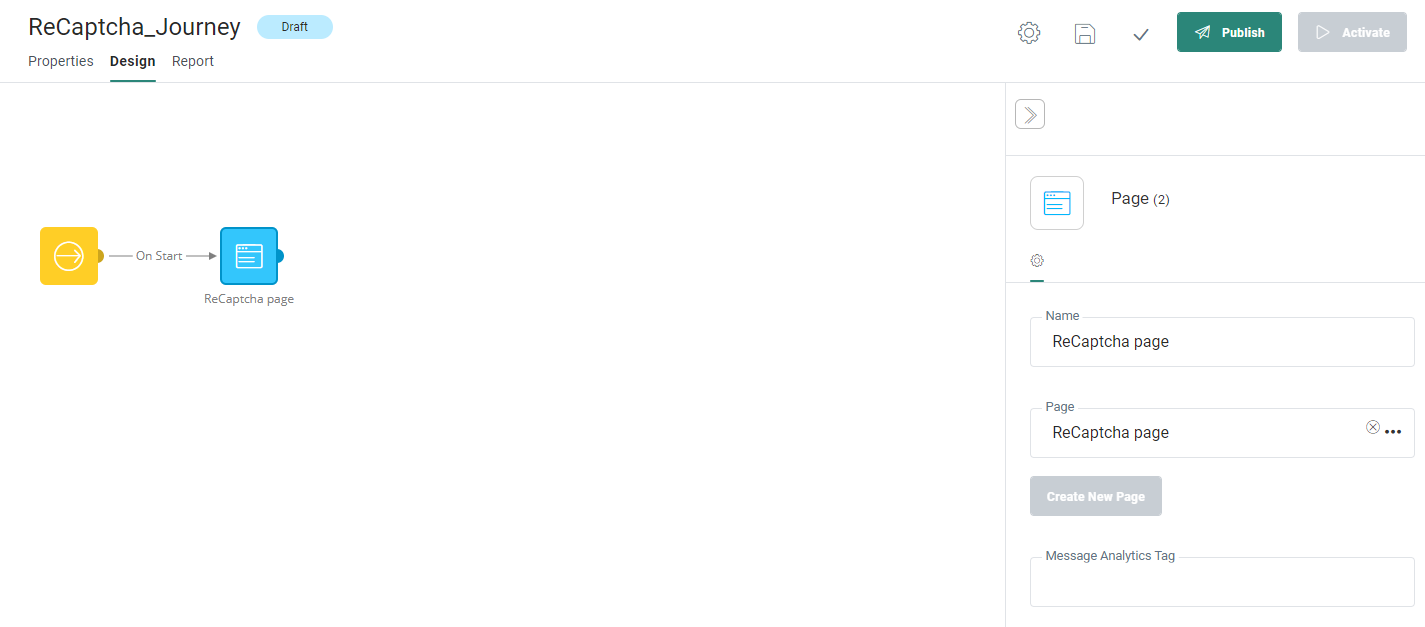
Step 3 : Create a reCAPTCHA journey
Create a Custom Journey.
Start with an Input component.
Add the form you created in step 1
Add a Page component to the journey, connect the Input component to the Page component, and link the Page component to the page you created in step 1.
Add the Custom Component you configured in step 2
In order to verify the response with Google, the Custom Component created in step 2 must be added.
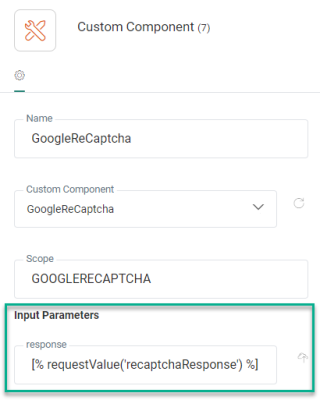
Add a Custom Component onto the canvas, and select the Custom Component configuration from step 2 in the component properties.
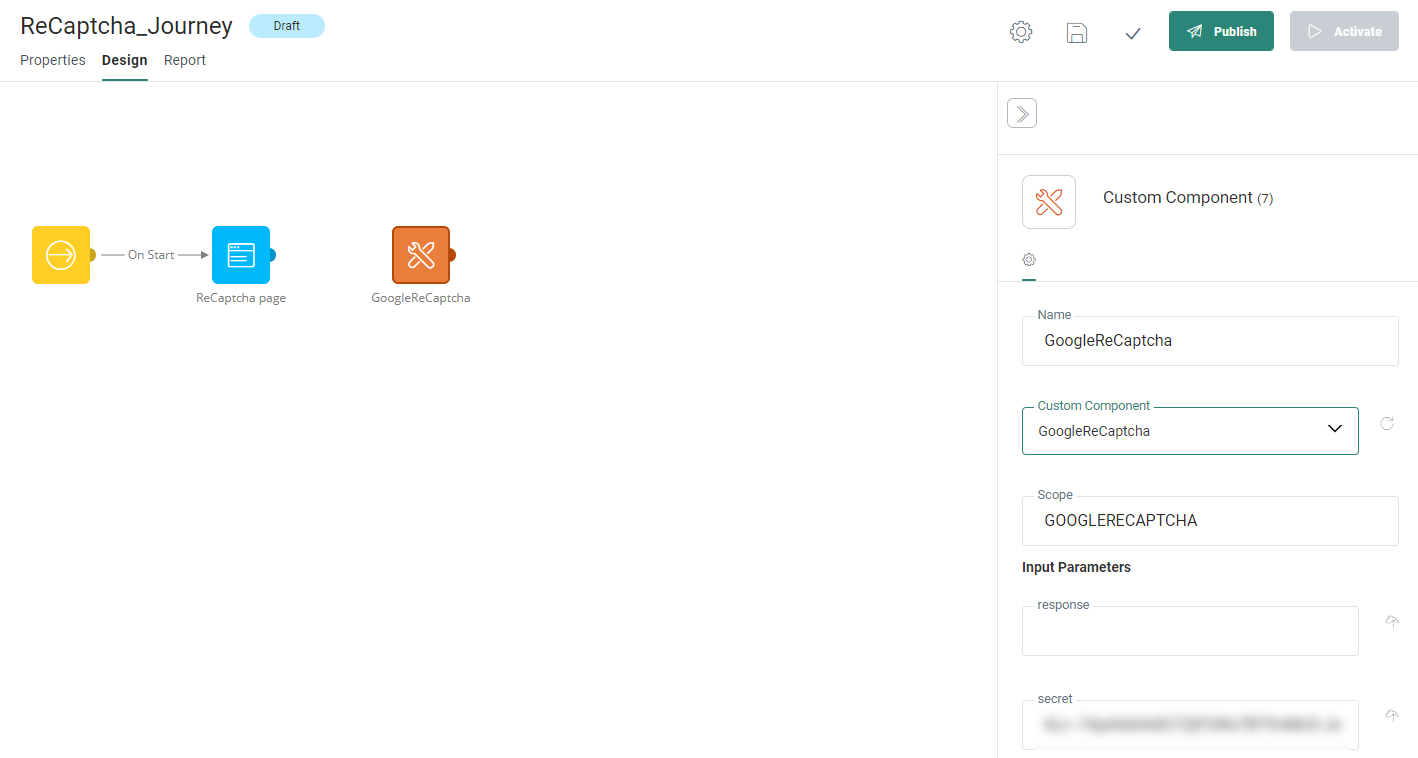
Also, set the response Input parameter to the form response: [% requestValue('recaptchaResponse') %]
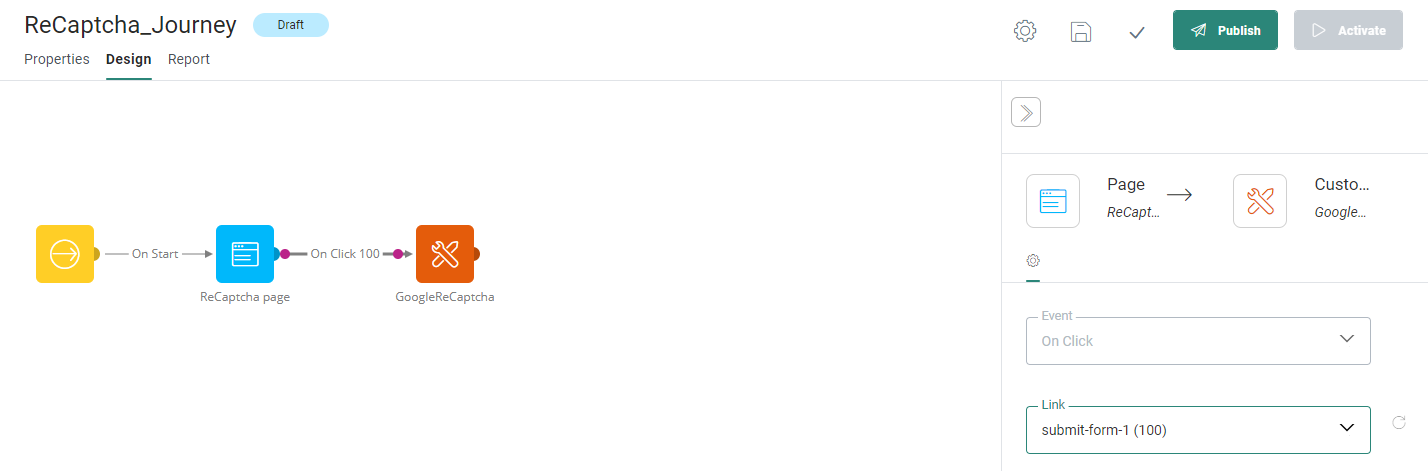
Connect the Page component with the Custom Component and link the On Click Event to the form submit action button.
Add a Rule Based Split Component (optional)
If you need different actions based on the google reCAPTCHA response, you can add a Rule Based Split Component.
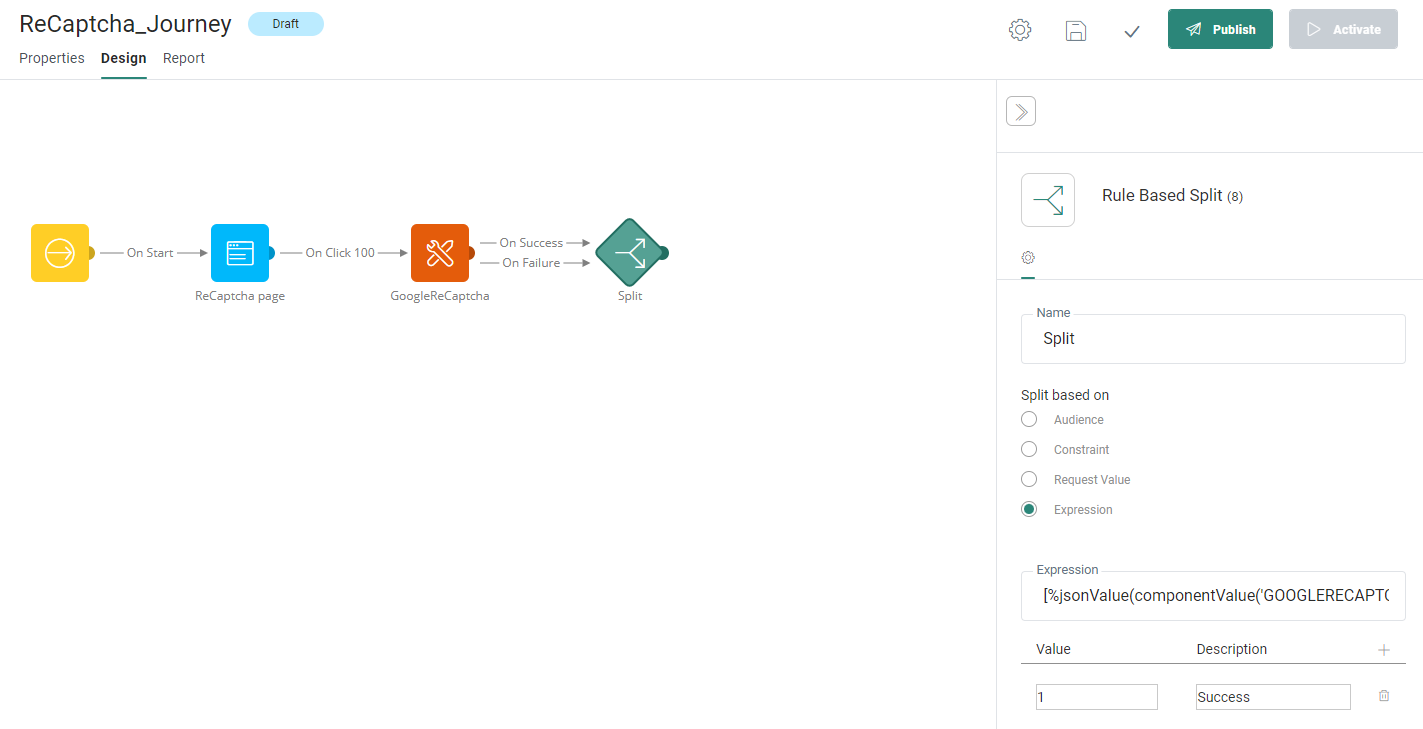
- Split based on : Expression
- Expression : [%jsonValue(componentValue('GOOGLERECAPTCHA.RESPONSE'),'success')%]
- Value : 1
- Description : Success
More actions ...
Depending on success or failure, you can further expand your journey as desired by saving the data from the form, displaying a page and so on.
Add a Response Page
At the very end of the journey, add a Page component and link it to a page in which you can display a message to the contact.
You can use multiple pages, depending on the success or no match result.