Recurring Campaigns
Recurring Campaigns are set to deliver on a recurring basis, keeping the same design, but delivering new content with each send.
Recurring Campaigns help you to automate campaign sending but keep content fresh through data feeds. For example, you could set up a recurring weekly newsletter populated with content from a data feed, automating the campaign building and sending process, allowing you to spend less time building emails and more time on content and strategy. You can further curate each send using Recommendation Manager--locking key content items in place for all users while allowing Sailthru to personalize the other content to each user's interests. Recurring campaigns can also send to a different set of users each time, if you set them to use a dynamic Smart List. For example, you could create a static Happy Birthday email that sends each day to a Smart List of users whose birthday is 'today', or a follow-up campaign sent daily to all users who made a purchase 'one week ago'.Getting Started
To create a new campaign:
- Go to Messaging > Campaigns.
- Click Create New from the Campaigns page.
- Enter a Campaign Name.
- Select the Recurring campaign type.
NOTE: For more information on creating a new campaign, see the Campaigns Overview page.
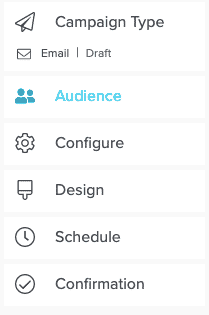
After creating your new campaign and choosing the Recurring Campaign type, you'll see the menu on the left in My Sailthru which will guide you through next steps. You can always move from section to section if you need to add information in a different order.
Use the links below to jump to each section on this page.
Audience
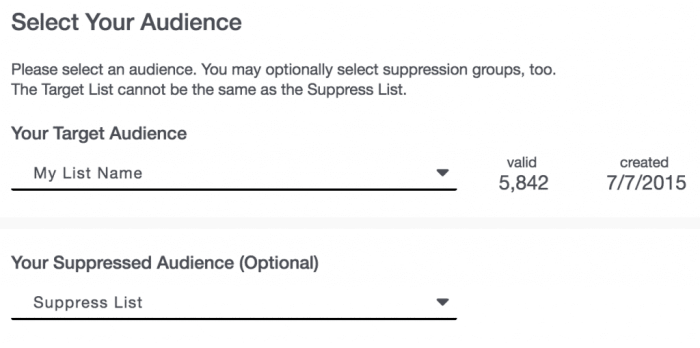
and, optionally, Your Suppressed Audience.Sailthru allows you to have multiple suppression lists if needed to exclude subsets of the target audience.Please reach out to your Customer Success Manager to enable this feature.
To read more about how to create, manage, grow, and track lists, see the Lists Creation section of the Audience Overviewdocumentation pages.
To select your target Audience and Suppression Audience
- On the Audience page, set who will receive your email via Your Target Audience drop down.
- Once you choose Your Target Audience, you will have the option to exclude recipients via the Your Suppressed Audience drop down.
- The number of valid emails refers to the number of valid emails on a list, minus hard bounces or optouts. See the User Levels Engagement page for more information. If you're using a Natural List, Createdwill show the date the Natural List was created.
Configure
In this section of My Sailthru the basic information such as the From Name, Email Subject and Reply-To Email are populated based on the template you choose for your recurring campaign.You will not be able to edit the Basic information. The Data Feed and/or Ad Plan are also populated from the template. Only the Data Feed can be edited for each recurring campaign.
Select a Template and Enter Campaign Details
On the Configure page, you are required to choose your Template from the drop down menu. For more information on building templates, see theTemplate Overviewdocumentation pages.
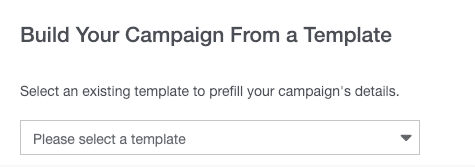
If you have selected a template with unsaved changes, you will be prompted to review and save them. Unsaved changes will not be sent.
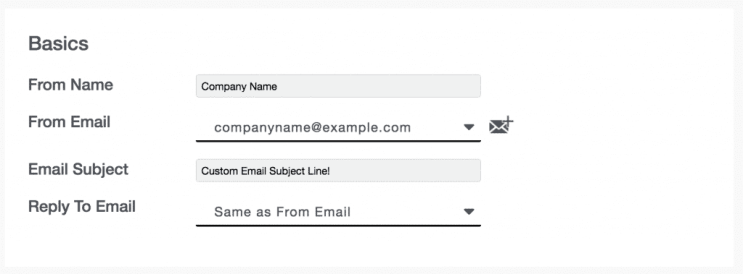
The following basic campaign details are pulled from the template you are using:
- The From Name and From Email that will display for recipients.
- Email Subject for the email.
- Reply-To Email to which recipients can respond.
NOTE: Clicking the envelope and plus symbol icon allows you to add a verified email that you have already added to My Sailthru for verification.
Add a Data Feed, Promotion, or Ad Plan (Optional)
Data feeds can supply your email messages with content to display, such as the latest articles or products on your site. Sailthru utilizes the following feed types, which should contain your product or content URLs:
- Content Feeds are supplied by Sailthru's Personalization Engine product, which gathers users' interests based on website activity.
- You provide URLData Feeds, which may be generated by your content management system. It is recommended that you add these to your feeds page in My Sailthru so that Sailthru can cache them and make them easy to access within your template or campaign. JSON format is recommended.
- Merged Feeds contain multiple Content and/or URL data feeds, which Sailthru merges for you into a single feed.
See the Data Feeds Overview documentation page for more information, and note that your template must be coded to support the display of data from a feed (see Use Feeds and Content Data in Templates).
To insert a unique, single-use promotion code in each message, configure a Promotion, then select the name of this promotion from the drop-down.
See the Ad Targeter Setup documentation page for more information on the Ad Plan feature.
Frequency capping
Frequency capping limits the number of marketing messages that can be sent to a subscriber. Rules are set globally on the account level through your account settings. For more information about global frequency capping rules, see the Frequency Capping documentation.
If you wish to exclude a message from the frequency capping rules you've set, select the checkbox to exclude the message.

Design
Recurring Campaigns will generate a Regular Campaign for each send. You cannot directly modify the code or content in the Recurring Campaign. You can either modify the template before the campaign is generated, or modify the code directly in the Regular Campaigns as they are generated.
When viewing the Design page in a Recurring Campaign, the HTML view is hidden by default. You can view but not modify the HTML content.
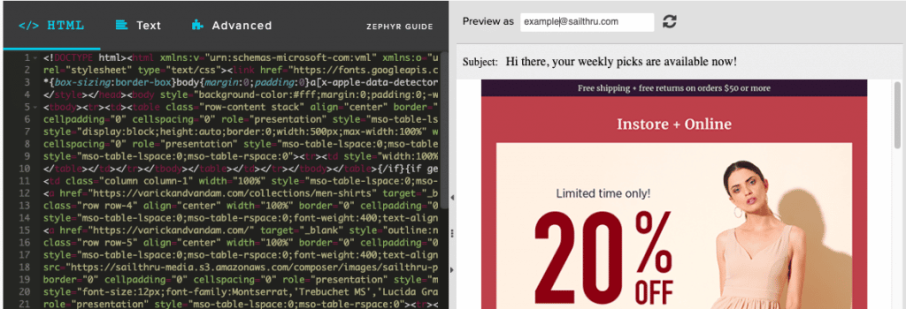
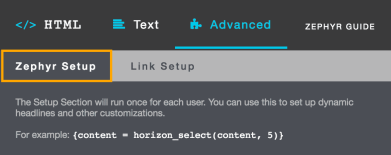
Also, above the HTML viewer are your Advanced options. You will be able to check these options while creating a Recurring Campaign. Modify these options from the Regular Campaigns as they are generated.
- The Zephyr Setup section will run once for every recipient before their email is sent allowing you to prepare and manage user data, feed content, etc., prior to generation of the message body. This is especially useful for preparing dynamic email, where content differs per user.
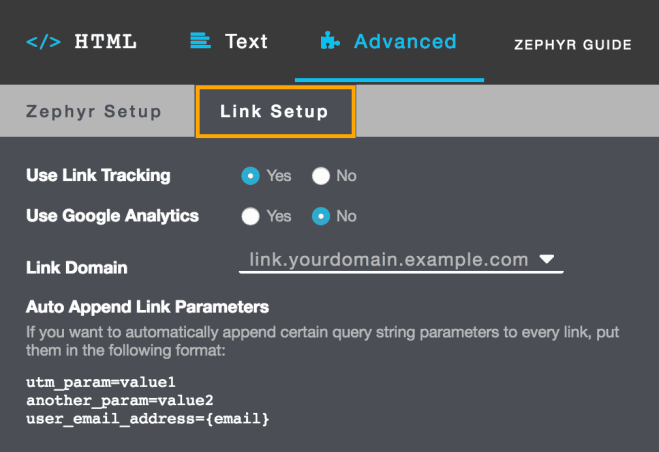
- Link Setup allows you to indicate whether you'll be tracking links and/or using Google Analytics to measure what happens on your site after a user opens and clicks within your email.
Viewer Options and Image Library
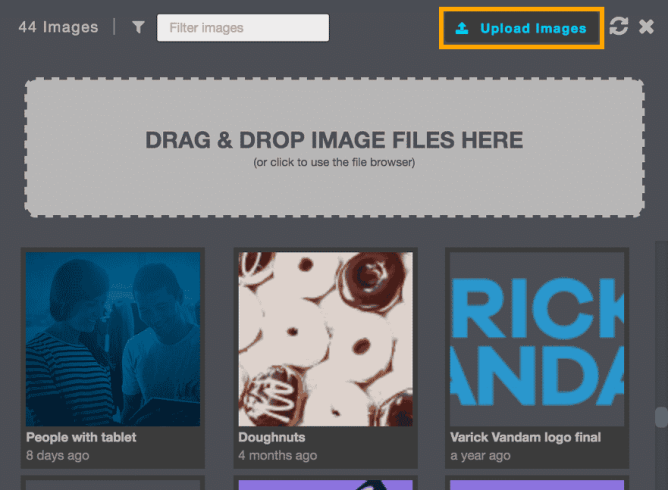
You can adjust your viewing options by clicking the cog icon at the bottom of the HTML viewer. This is also where the image library is located. Images you upload are available to you for all emails you design. When deleted from an email, they remain in the library for use in other emails.
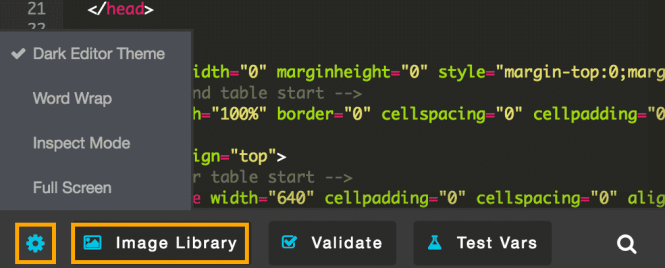
You can easily bulk upload images by dragging and dropping from desktop or folder into the Image Library.
Schedule
When and how your email will send is critical in getting a response from your audience. There are multiple options that let you control the send date and time to reach your audience when your content is most relevant and valuable, including Personalized Send Time.
When scheduling a Recurring Campaign, set:
- Start Date - this is the activation date of the calendar window for your recurring send. If your start date falls on a Monday and your selected send date falls on a Wednesday, for example, your send will be activated on Monday and sent on Wednesday.
- End Date or check the Run Indefinitely box if you have no end date in sight
Note: When an End Date is specified, no email is sent on that date. The recurring campaign is considered to have ended at 12:00 a.m. on the specified End Date. - Repeat Every sets the weekly cadence for email sends. Select every 1 week or every 2 weeks.
- Repeat On to set the days of the week on which you wish to send if you are using the Repeat Every option.
- Or Repeat Monthly on one or more days of the month. This is the actual day your message will send each month.
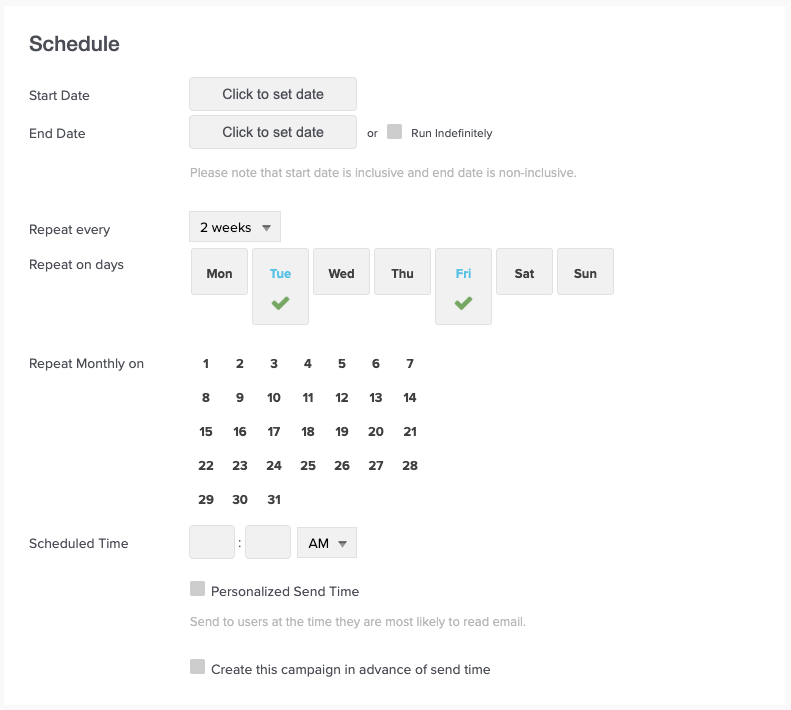
Set the Scheduled Time of day. Choose Personalized Send Time to optimize engagement by sending emails to individuals when they are most likely to engage based on their email interaction history. For example, if you choose to send your email starting at 9:00AM with a 14-hour send window, the email will be sent to each user at the time between 9:00 AM and 11:00 PM when they are most likely to engage with it within that window.
If you select Create this campaign in advance of send time, each send will appear in your Scheduled campaign list 1-20 hours prior to its send time. This offers you the opportunity to make edits to that send (including the subject, design code/text, or send time) without unscheduling the entire recurring campaign. Even with this setting enabled, your campaign will still pull the latest email list and feed (if configured as dynamic; see below) at send time.
NOTE: If you're scheduling a campaign so that its first recurring send will occur within the next 20 hours, ensure that your advance creation time falls within that time span. For example, if it's currently 1 p.m. and the campaign is configured to send for the first time today at 7 p.m., you have 6 hours until the send. Choose an advance creation time less than 6 hours.
NOTE:To make changes once a campaign has been scheduled, you can pause the Recurring Campaign by visiting the Confirmation page and checking the unschedule box at the top of the page.

Data Feeds
Data Feeds pull content into emails for a customizable end-user experience. Dynamic mode controls how data is pulled from the feed.
- Dynamic Templates pull Data Feedsat the campaign's scheduled delivery time, so a Monday-morning send that you've created on the previous Friday will pull up-to-date data on Monday morning at send time.
- Static Templates pull Data Feeds at the time of the campaign's creation.
Confirmation and Seed Emails
Enter the Confirmation email address that should receive a message when the campaign completes sending, including a statistic of the total email messages sent. To enter multiple addresses, separate them using commas.
If you add multiple email addresses, those in the list will receive three messages:- A test message for review
- A pre-send message to remind you that the campaign is sending soon
- A confirmation message that the campaign has been sent
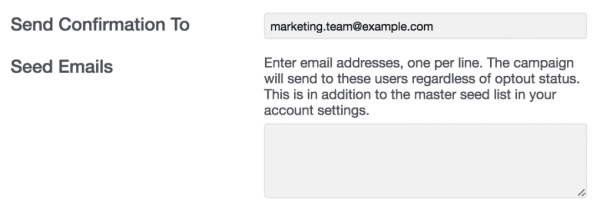
Enter the optional Seed Email(s) to which the campaign email itself should be sent, in addition to the campaign's audience list(s). This is useful for confirming that your email is sending as expected.
- Each of this campaign's sends will be sent to the listed seed email address(es) regardless of their opt-in status.
- If you already have any global seed emails set in your account settings, they will already receive each message. There is no need to include them again here, but no harm in doing so inadvertently.
Confirmation
The Confirmation section provides you with an opportunity to review a summary of the settings you've chosen for your campaign.
You can always return to edit any section of your campaign. For Recurring Campaigns the campaign must first be paused in order to edit if it is already live.
TIP: Make it best practice to review all of your campaign details presented on this page prior to clicking Schedule. Try reading this page from the bottom up, or printing to review on paper. Changing the order or method in which you've previously reviewed information can help you to find errors or items that need updating.
If you need to adjust a setting once a campaign has begun sending, you can pause your campaign to do so. To pause a campaign that is currently sending, select the Sending folder, hover over the Campaign and hit the pause button.
Editing a Recurring Campaign
There are a few notes to keep in mind when editing a scheduled Recurring Campaign.
- If you're changing the template, unschedule the campaign first. Make your template change and then reschedule the campaign.
- Changing or adding a data feed is independent of any template changes. Unschedule the campaign, change or add a data feed, and then reschedule the campaign.
- If an associated template name or list name has changed, the Recurring Campaign cannot be sent. Create a new Recurring Campaign using the renamed assets.

